Transcripts
1. Welcome: Hey, you're probably here because you like patterns. right must be something to it. All of those pieces fitting together in a pattern swatch that becomes an infinite repeat that just draws you in. There's so many variations on how you can make that happen; geometric, tossed, intricate, or a bit of everything combined with a perfect symmetry into a diamond shape repeat. What do you think? Should we give it a go? If we haven't met before, I'm Nina, even though everyone knows me as Di Ujdi. I'm an illustrator and a pattern designer. In this class, I want to show you how I make symmetric diamond patterns in Procreate. The best way to describe this process is that it's captivating and fun. Plus, the results are just mesmerizing. These types of patterns remind me of old decorative tiles. They're so versatile so you can print them on fabric, gift wrap, wallpaper, or on stationery products. For example, journals and notebooks look very elegant and effective with these designs. One of my symmetric diamond patterns actually ended up as a cover for this year's Surface Pattern Design Guide in be Uppercase magazine. In this class, we're going to explore what makes a good symmetric diamond pattern, how we can plan it out by starting from very simple templates, and then make it rich by adding different elements, and colors, and details to it. Also to turn our illustration into perfect repeating swatch in Procreate, we'll use custom actions. This class is for intermediate levels. Before taking it, you should already have a basic knowledge of Procreate. By the end of this class, you'll have a new set of skills when it comes to planning and creating these types of patterns in Procreate and a new beautiful portfolio piece. If all of this sounds fun, then let's get started.
2. Project: For this class project, you'll create a symmetric diamond pattern in Procreate. I prepared a few templates that you can use as a starting point. You can find them and download them in the Class Resources section. Of course, you can also make your own templates or change mine to fit with your project. When it comes to the subjects you'll be illustrating for this pattern, that's totally up to you. I personally like using botanical elements to make lush and versatile pattern. But you can go totally geometric, abstract, or come up with something completely new and in your style. I also made a Pinterest board with some examples to spark your imagination and you'll find a link of that also in the Class Resources section. Not to forget, another thing I'm leaving for you in the resources is a downloadable Procreate file with prepared templates for the full drop custom actions, which is something I'll show you how to use throughout the class. All in all, the best way to put your new skills to the test is to make something. Once you've finished, click on the "Create Project" button and share your pattern design. I cannot wait to see what you'll make.
3. Pattern Base - Diamond Templates: Okay guys, as I mentioned before, I prepared for you three different symmetric diamond pattern templates that you can download and use. These are JPEG images that you'll find in the class resources section and you can just add them to your procreate canvas as drawing base. By the way, the canvas size I'm using right now is 3000 by 3000 pixels in the 300 DPI resolution. Before I show you the logic behind making diamond templates by yourself, let's first of all talk about these types of patterns. The most simple base of this pattern would be just a regular diamond shape like this one. Then when it repeats, each part fits with another perfectly. Very easy. For example, if we change this shape a bit, curved it, but still kept it completely symmetrical on all four sides, then this is the pattern repeat we would get. As you can see, now we have a pattern that is not made out of one shape, but out of two different shapes. If this is what you like, absolutely go for it, but in this class, I want to show you how to make just one shape that tiles perfectly in repeat, like this one. To actually do that, the lower part and the upper part of the diamond need to be different, but at the same time constructed using the same curved lines, like this shape on my template number 1. I will now recreate this template to show you how it's done. Let me just drag it up and I can now lower the transparency of it. What we need to do is to open our guides, I'll and go to Settings, Drawing Guides, Edit, and go to Symmetry, and then choose Vertical. Now what we need to do is to actually just draw in the lower part of the canvas, so we need to know where the horizontal line is. Since the guides, I have turned on, the symmetry guides are not showing that. I basically need to make a little workaround, so I will just open a new layer, drop the color, then go to Transform. Also, when you go to Transform, make sure that you're Snapping and Magnetics is on, and now we can just drag this until the middle or until it snaps in place. Deselect it, lower the transparency, and now we basically have this little horizontal line, so we know where to end our lower part of the template. I will now open a new layer and before we proceed, since the guides are on, the only thing I need to do is press on the layer and select Drawing Assist, and now everything I draw on that layer will repeat from one side to the other side. I will now just start drawing from this part and end it somewhere here at the horizontal line. Of course, this doesn't have to be absolutely perfect, so if you miss this middle part of it, it's not a big deal. This is just a template, it's just a guide that will help us imagine the overall pattern shape we want to work with, and also help us create the pattern sketch later by following this shape. Now, since we have the lower part created, we need to create a perfect upper part. To do that, I basically need to move the lower part up and then drag it to the left, and drag it to the right. I will now just delete a template and the color layer, I do not need them anymore. I will duplicate this little sketch and I will create another layer for the color. Basically, this color is going to be my place holder. One thing to note, if we want to move elements precisely in procreate, we always have to use a placeholder layer, and this is what I'm doing right now. I have my placeholder layer and I will just select the upper sketch and the placeholder layer, go to Transform, and just drag it until it snaps, until the middle. This is now placed and I need to duplicate it once more. Duplicate the sketch and duplicate the color layer. Basically, as you can see, we have two groups, so select one, drag it to the left until it snaps, and the other one to the right, again, until it snaps. Now you can see our template, I can just merge the layers together. These are the basics of how to create your own templates. I find it very interesting to experiment with this and see what interesting shapes I can create. If we put this in repeat, it will look like this. Exactly what we wanted, just one shape that tiles perfectly. The other two templates I prepared for you were made in the exact same way, and this is how they repeat. Now that we know the basics, we can start sketching the pattern. I will use this template as my starting point.
4. Pattern Sketch - How to Plan it Out: This is where all the fun and exploration starts. I just love doing these symmetric designs. It captivates my attention as if everything is magically filling itself up without much effort. The first step will be to sketch some frame for this pattern following our template, and then we can fill in the central part. To create this frame just as we did with a template, we will start by sketching in the lower part of the canvas. Again, we have the same problem we're not seeing the central horizontal line that we should not cross. To solve that problem quickly, I can just open a new layer and create a straight line. Now I can just lower the transparency for the line and also for the template. To start drawing, I need a new layer, so I will open a new layer and then press "Drawing Assist". What I'm going to do actually is start by drawing from the central part here and I want to make sure not to cross the canvas down here. Then I will just, and this somewhere here, but I will leave a bit of space so that it looks good when it connects. I will basically just follow this line to create a branch, and what I like to do is create a branch with a better flowers and greenery I think than the frame has wonderful flow when it repeats. This part is done. As you can see, I left a bit of space in the upper part to make it look good when it connects. Now we can just duplicate this as we did with the template. We'll just duplicate this, create a placeholder layer, and I can also turn this off and just select the duplicated sketch and the color layer, and just drag it until the middle. Again as we did before, duplicate it again, drag one part to the left and the other one to the right. Now we can see the finished sketch frame. The reason I'm doing this before moving on to sketching the central part is simply because once I have this frame in place, I will know where I can place elements that go inside of it, and by the way this method is something I'm using only for making templates and planning out the patterns sketch. But once we start adding colors and creating the final pattern, we'll do it a bit differently, you will see. But for now just keep in mind to leave your sketch layers separated. You will have one sketch layer for the lower part and another one for the upper part, and then the third one for the center. Let's open a new layer to create the central part of this pattern swatch. This part is really just about seeing how to fill up the central part and how to create a balance with a frame you've made. This can be as simple as you want or you can add more elements and then fill everything. What I found that works best for me when it comes to these types of patterns is to keep my elements diverse but still similar to each other and to use the same elements in the center as I did on the frame. That's just because I want this pattern to have a smooth visual flow when it repeats without separating the frame and the inside, of course it's just my preference. You can absolutely make the frame visually different and give your final pattern a spot on diamond shape. There are a few of those examples in the Pinterest board I made for you. It really depends on what you like and what you want to achieve. All in all, this is the first rough sketch I made and now I can more closely observe to spot some problems if there are any, which is usually the case. I'm also looking at how old these elements are fitting together and if I have some gaps and I need to fill them or remove something or have areas where elements are too close to each other and I need to give them some breathing space. What I'll do now is basically repeat this whole process once more but while refining the sketch. It's better to fix all the problems at this phase and not once you start adding the colors in details. I'll continue working on it and I'll see you in the next video where we'll learn about custom actions and see how we can turn our final sketch into complete pattern swatch.
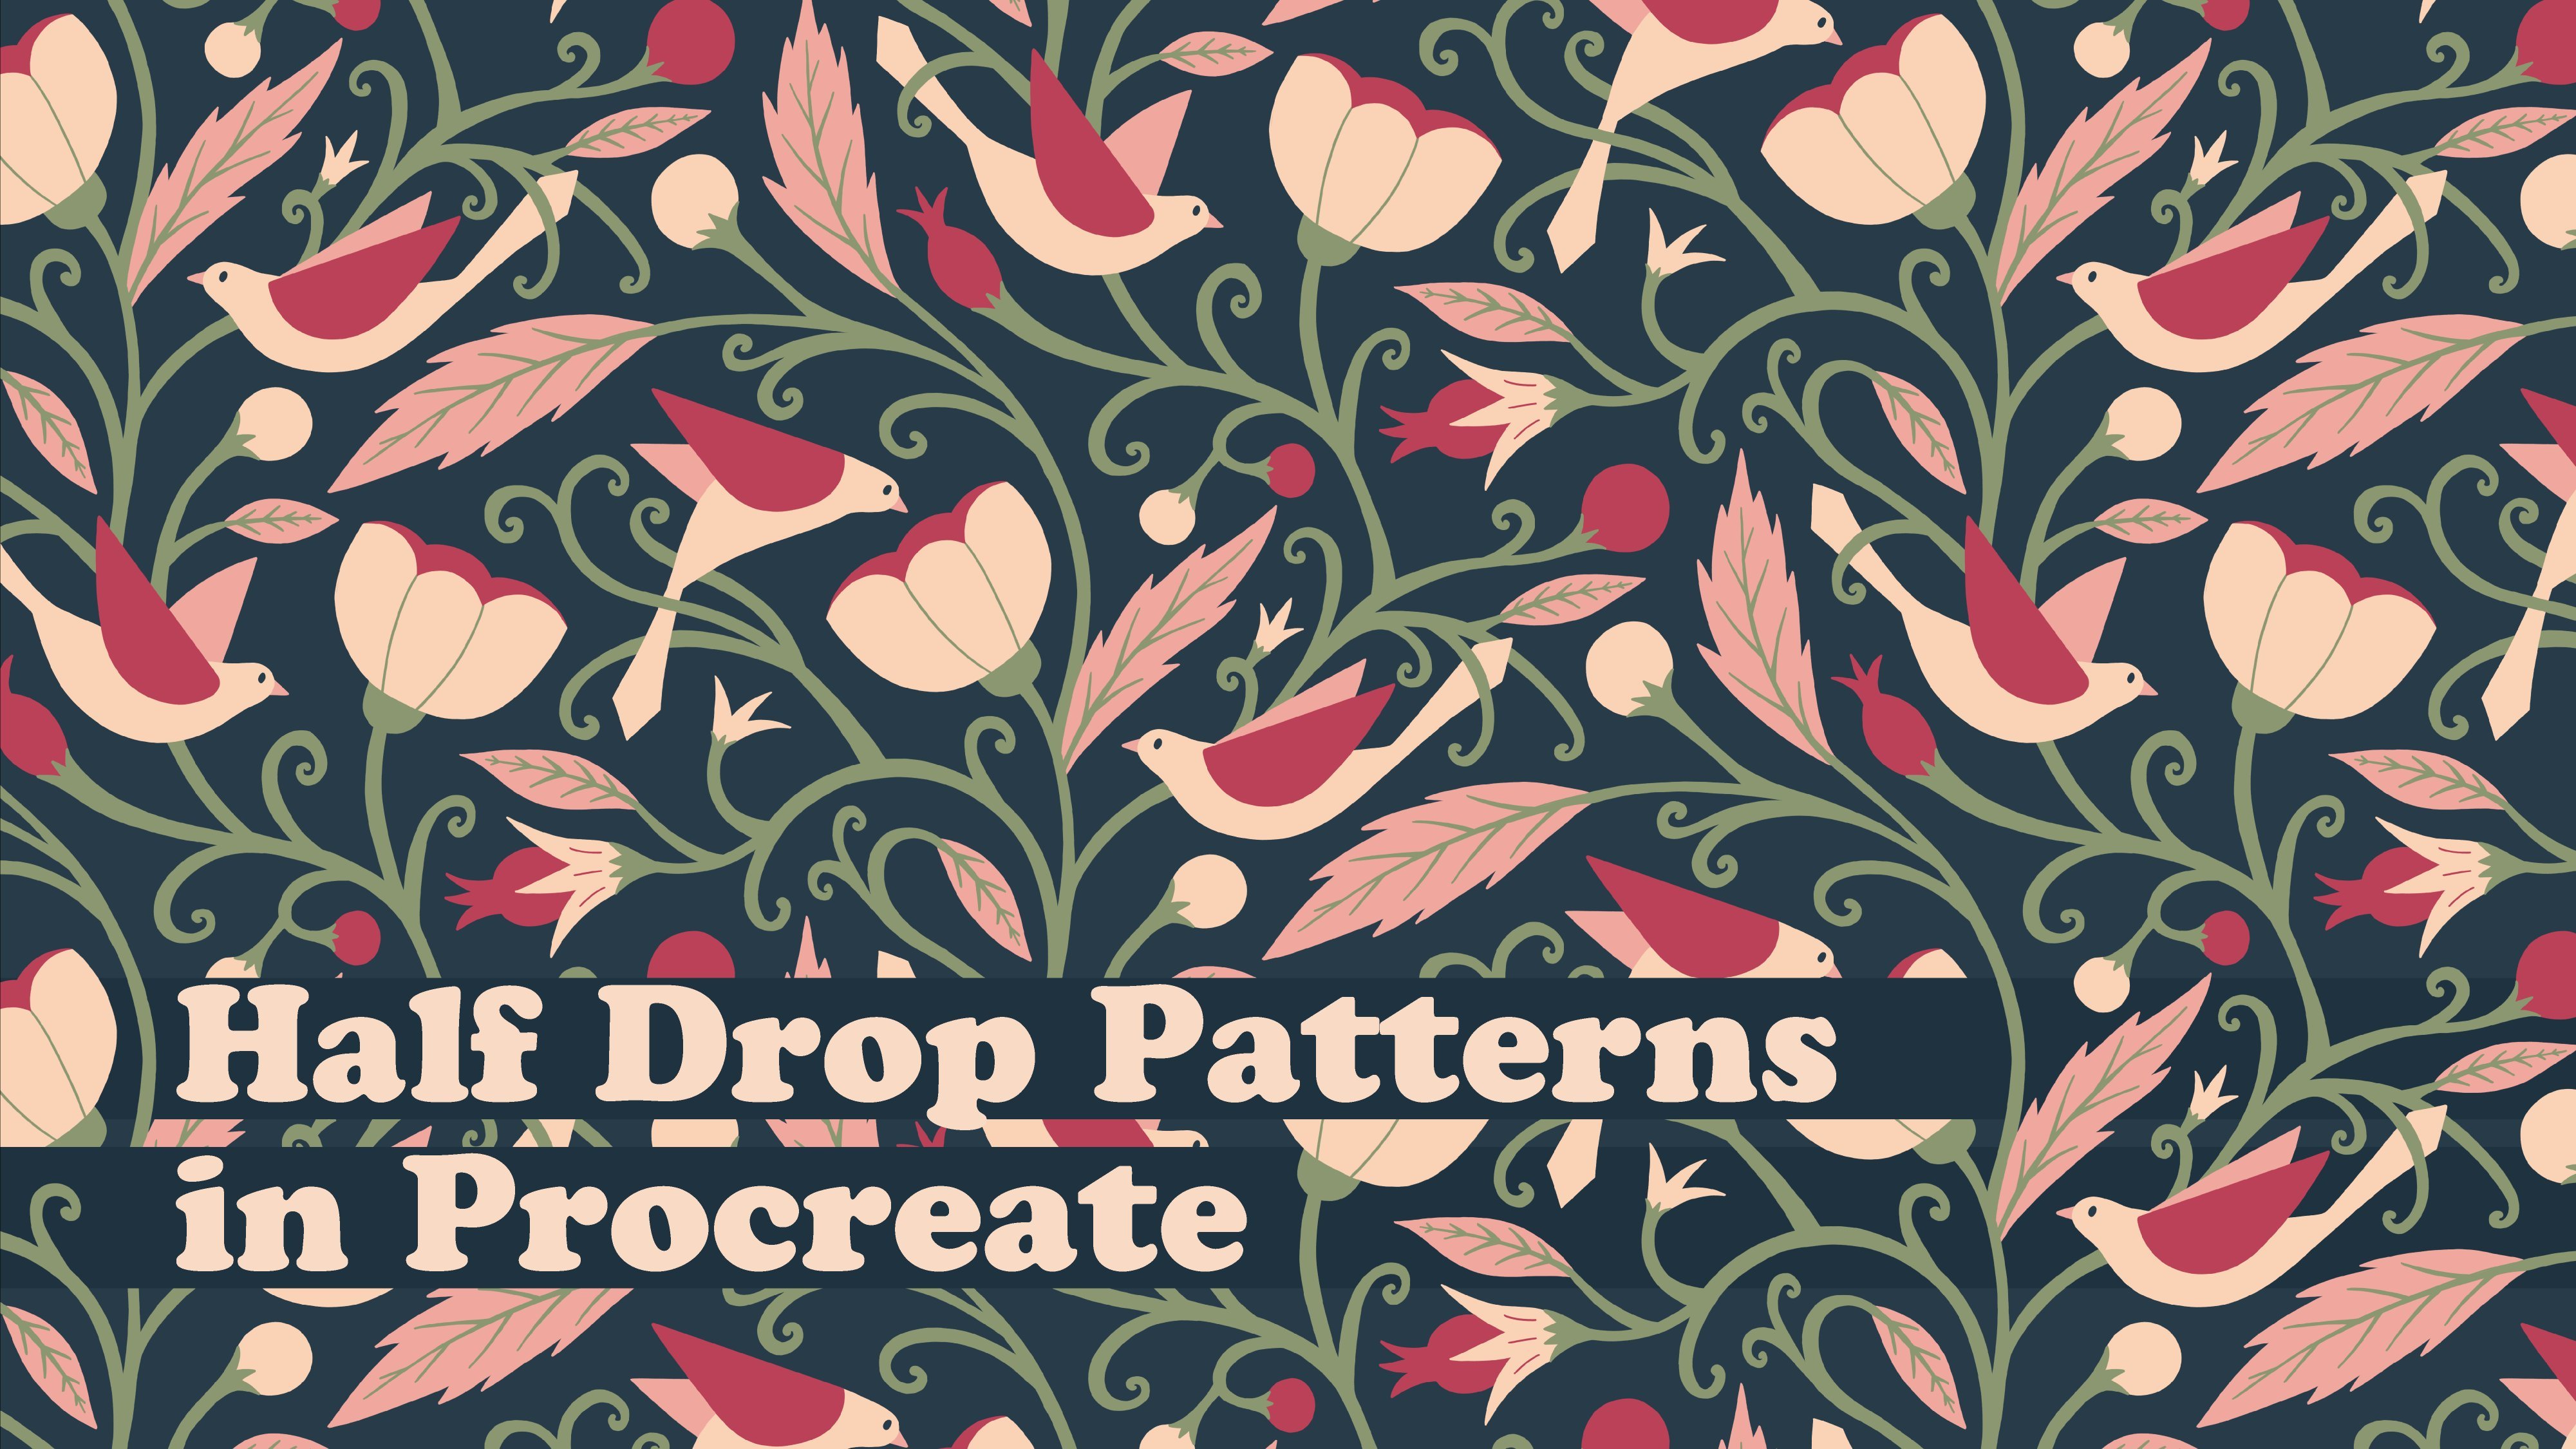
5. Custom Actions - Full Drop: Guys, my final sketch is finished. You can see that I kept my layers separated; one for the lower part, another one for the upper part, and the third one for the central part. We can now learn how to turn this into a pattern swatch and also tested out in a repeat to see if we even like it. That's why before we continue, I'll show you all about wonderful custom actions that you can use so that you don't have to move things manually anymore. In my previous class, half drop patterns in Procreate complex elements and custom actions. I showed you how to make a half-drop custom actions and use them to range your half-drop pattern swatch. If you want to learn more about that, you can also watch that class. The link will be in the class resources section. But in this class and for this type of pattern, we're going to use custom actions for the full drop repeat. It's super-easy and fast. Once you make them, you can also use them for creating regular half drop patterns in Procreate or use them for a diamond pattern like this. That's what I'm going to show you right now. I will now turn off my sketches. For this, we can also turn on the drawing guides, but 2D grid, and we can also set the size to be max. Now what I want to do is create four new layers. In each layer, I will drop the color. You just select it and drop the color. Before we proceed, make sure when you tap on Transform and snapping magnetics and snapping is on. Also, you can see the distance and velocity are set to max and that is something that works best for me. First of all, I will just turn off these ones so that you can see what I'm doing. I will select the first one, go to Transform, and then I will just grab this corner and scale it down until it snaps in place. This is basically scaled down to half of its size. To de-select it, just press this arrow. Let's turn on the other one, select it, and do the same thing for the other corner. The only thing to note is when doing this, just make sure you're doing it precisely and correctly. Also while dragging this and snapping into place, make sure you don't tap somewhere outside of Canvas because if you do that, you'll basically nudge the layer and it will not be correct. Once you have this placed, again, just de-select it by pressing the arrow. We have all four layers scaled down and positioned. The custom action template is ready. By the way, I prepared this template for you as a Procreate file that you can download from the class resources section and basically drag and drop these squares in your Canvas. The only thing to know is that if you're going to use my template, make sure that it matches your canvas size. The canvas size I'm using is 3,000 by 3,000 pixels with a 300 dpi. Another tip before we move on, you can always save this in a separate Canvas and reuse it and without having to repeat this process over and over again. Now enough talking, let's turn this template into real custom actions. First of all, I'll select a one square and I'll tap on the layer and press "Select". Now while it's selected in this menu, you have save and load this little heart icon here and all you need to do is press this plus and you have your first saved selection, selection 1. This is your first custom action. Now to de-select it, just press this selection icon hear. We can delete this one and then do the same thing for the other one. Again, just press "Select", go to save and load, plus, and you have selection 2. Basically, I will just do the same thing for the rest of them. As you can see, if I press this selection icon and go to save and load, I have four selections saved, so basically I have four custom actions. It's very fast to create them, and they will save you a lot of time. Not to mention that using custom actions solves the biggest pin point of Procreate, which is layer limit. No more dragging, no more duplicating, this is a big game changer. Plus, if you've created these custom actions precisely, there should be no errors in your pattern swatch. Let's test them out. If you remember, I told you in the previous video that we will do things differently from now on. We basically kept the layers separated, one for the lower part, the central part, and the upper part. We did that to be able to plan this whole pattern swatch. But now since we have custom actions, we do not need it like that. I can basically just delete the upper part and merge these two together. This is the base we need to work on right now. I will just duplicate it and I will create another layer which is going to be my placeholder. Let's just drop the color. Now to use the custom actions, we need to select the duplicated layer and the place holder. Now I can go to selection, go to save and load, and press selection 1. Now while it's selected, I need to press this arrow for the transform and I need to flip this horizontally and vertically. Now to de-select it, just press this arrow. Now let's do the same thing for the other selection. Again, press the selection icon, save and load, selection 2, and again, this arrow and flip horizontally and vertically. Basically, we will repeat this two more times. Selection, save and load, selection 3, arrow, flip horizontally and then flip vertically and de-select it. The last one. This is now almost finished. The only thing left to do is to flip it vertically, so we'll just press the arrow for the transform and I will flip it vertically and de-select it. Now as if I'm performing some magic trick, I will delete the color layer and reveal the finished pattern swatch. It's always super exciting to see this finished patterns swatch even though it's just a sketch. It's also incredible how much time these custom actions save. We can really create a pattern swatch very fast and without any errors. Now we should definitely test that out. The way I'm going to do this, I will basically just save this image as a JPEG and then I will just add it. I'll put it up and just duplicate it four times. Basically, I will do the same thing as I did while creating the template for the custom actions. I will just drag one by one and size it down. Here it is, our pattern swatch test repeat. What do you think? I personally think it looks very nice. I'm actually very excited to start bringing this sketch to life and adding colors and details, which is something we'll do in the next video.
6. Final Pattern: So far we've made templates, we sketched, we planned out this pattern, and we tested it out. Now is the time to take it to the next level. If you remember in the previous parts, I told you that I want to create a pattern repeat that is cohesive and has an effortless visual flow without having parts that are going to stick out right away or take all the attention. While making my sketch, I was focusing on creating a balanced structure, and now I want to see how to do the same thing but with colors. I want to think about how many colors I'm going to use, which colors I'm going to use, and where I'm going to apply them. Before we begin, I need to delete this little test I made and also I will delete this outside patterns swatch test and I'm only left with my main sketch, and I can just lower the transparency. By the way, one thing to note is that I'm going to draw different colors in different layers to keep my file editable. First of all, let's see the background color. I will go with this lovely yellow, green color, and I will just open a new layer, go to Drawing Assist, and I will just start recreating the line work that is going to be my skeleton, and for that, I'll just use a Procreate 6B pencil, which I use throughout this class because I really loved a natural texture it has. Remember that monotone. This part is done, and now I'll show you one lovely trick for picking colors that I often use. Let's open a new layer, again, Drawing Assist and I will place this one underneath. For these drawings, I will use a different brush. So I will go to my quick menu and to do that, I just need to hold with one finger, and here I have a quick menu, and as you can see, I saved all my favorite brushes here. I will choose this classic fountain pen. It's from a RetroSupply collection, but if you want to use something similar, you can use any Procreate ink brushes. I will pick this one. By the way, if you want to do the same thing, if you want to set your favorite actions or favorite brushes, you can do that by opening a quick menu and then you can maybe make another one, and here you can see that there are no actions. We can just press "One", wait a sec. You can just press it, and then you can find whatever you want to place here whether it's a brush or something else. Let me go back. Anyways, where were we? We should be talking about colors and I should show you my color trick. I will go to my palette and I have this light green color that I really like and I will basically use it as my base color. I will pick three leaves and I will color them, and then I'll show you what we'll do in the next step. Once I have this done, I will open a new layer, go to Drawing Assist, and I will still use the same green color, but we will change that later. I'll pick, for example, these two. Here is the trick I'm going to use. I will go to Adjustments; Hue, Saturation, Brightness; and then Layer. Here in the settings, I will just change the hue of this color. Let's change it, maybe to something more blue, and that's it. We have these lovely two matching colors. I will also color these two leaves that I have left, and again, I will do the same thing. Let's open a new layer, drawing assist, and let's color this. Now again, I just have to go to Adjustments; Hue, Saturation, Brightness; Layer, and again change the hue. This time I might go just for a bit of olive green. As you can see, this is such a wonderful trio of colors. It's very calm and balanced. I used all three colors evenly in different places. Since the colors of the greenery are making a balance, I can maybe use some more vibrant and contrasting colors for the flowers. For example, I can maybe use this dark pink and a light pink and also this orange color here. I will quickly fill this up and add some details on top. Okay guys, the pattern illustration is finished and I'm so happy with this color palette. Now, to turn this into a pattern swatch just as we did before, we'll use custom actions. To do that, first of all, let me just turn off the sketch and I just need to group. First of all, I'll need to select older illustration layers without the sketch and I need to group them. We have one group. Now I will duplicate the group and I will open another layer and fill it with color. This is going to be my placeholder layer. What I need to do is select the duplicated group and the color layer. As we did before, we'll go to Selection, go to Save and Load, Selection 1, Transform, Flip Horizontally, and Flip Vertically, and then deselect it. Now again, Save and Load, Selection 2, Transform, Flip Horizontally, Flip Vertically. Basically, we just do the same thing for all of them. Once more, Selection 4, and if you remember, before we finish this we need to go to Transform and just flip everything vertically. Now here is another grand reveal. Let me just delete the color layer, and here it is, a finished symmetric diamond pattern swatch. I totally love how it turned out. You can see how beautifully these colors are working together. Let's test it out to see how everything looks in a repeat and also to see if there are any errors. Again, I will just go to Share and save it as JPEG. Now I can just add the photo. Let's drag it up and I will just duplicate it four times as we did before. Now I just need to scale each of them by half. Here it is. It works perfectly and everything fits correctly. I really like how this one turned out. It's very soft and subtle, but yet it's vibrant and colorful. Elements look very balanced together and there is nothing that sticks out and shifts my focus. That's the effect I wanted to have. A pattern that just effortlessly flows and feels light. With all these characteristics, it would work wonderfully as a wallpaper or maybe a journal cover. With the magic of editing, here is how it looks in a zoomed-out repeat. But we're not done yet. Now that I determine that everything was done correctly, and my repeat is perfect without any errors, plus I'm satisfied with how the repeat looks visually, there is one last thing I need to do to finish this pattern swatch. I need to order the layers. You can think of this as little final tidying up and we're going to do this to keep our file editable and professional. Once we finish, you can also play with creating more colorways for your pattern. What I need to do is basically open these two groups, but first of all I can just delete this test so it doesn't get in the way and also delete the sketch. Now let's open the groups. What I need to do is basically select the same layers, the duplicates I have, and I will just go to Group and then I can tap at a group and flatten them. Basically, we're merging the same layer so we don't have duplicates. Again, just select same layers, Group, tap to Group, Flatten. I will do the same thing for all of them. That's it guys, all the duplicate layers are merged together, everything is in order and now I can officially say that this symmetric diamond pattern design is finished.
7. Thank You: Thanks so much for spending time with me and watching this class. I hope you enjoyed and learned something new when it comes to creating these wonderful symmetric diamond patterns. I showed you one way of creating these patterns, which will give you a good base to start your own exploration and find out what works best for you. Put your new skills to the test, and once you finish, share your project. I really want to see your amazing work. By the way, make sure to rate and review this class, I would love to hear what you think. As always, if you have any questions or something I was showing that wasn't clear, feel free to ask anything in the Discussion section of this class and I'll get back to you as soon as I can. To get notified about my next classes, follow me here on Skillshare and you can also keep in touch with me on Instagram @diujdi. I'm sending you lots of love and good vibes, and I'll see you in the next one.
 Di Ujdi, Illustrator & Art Explorer