Transcripts
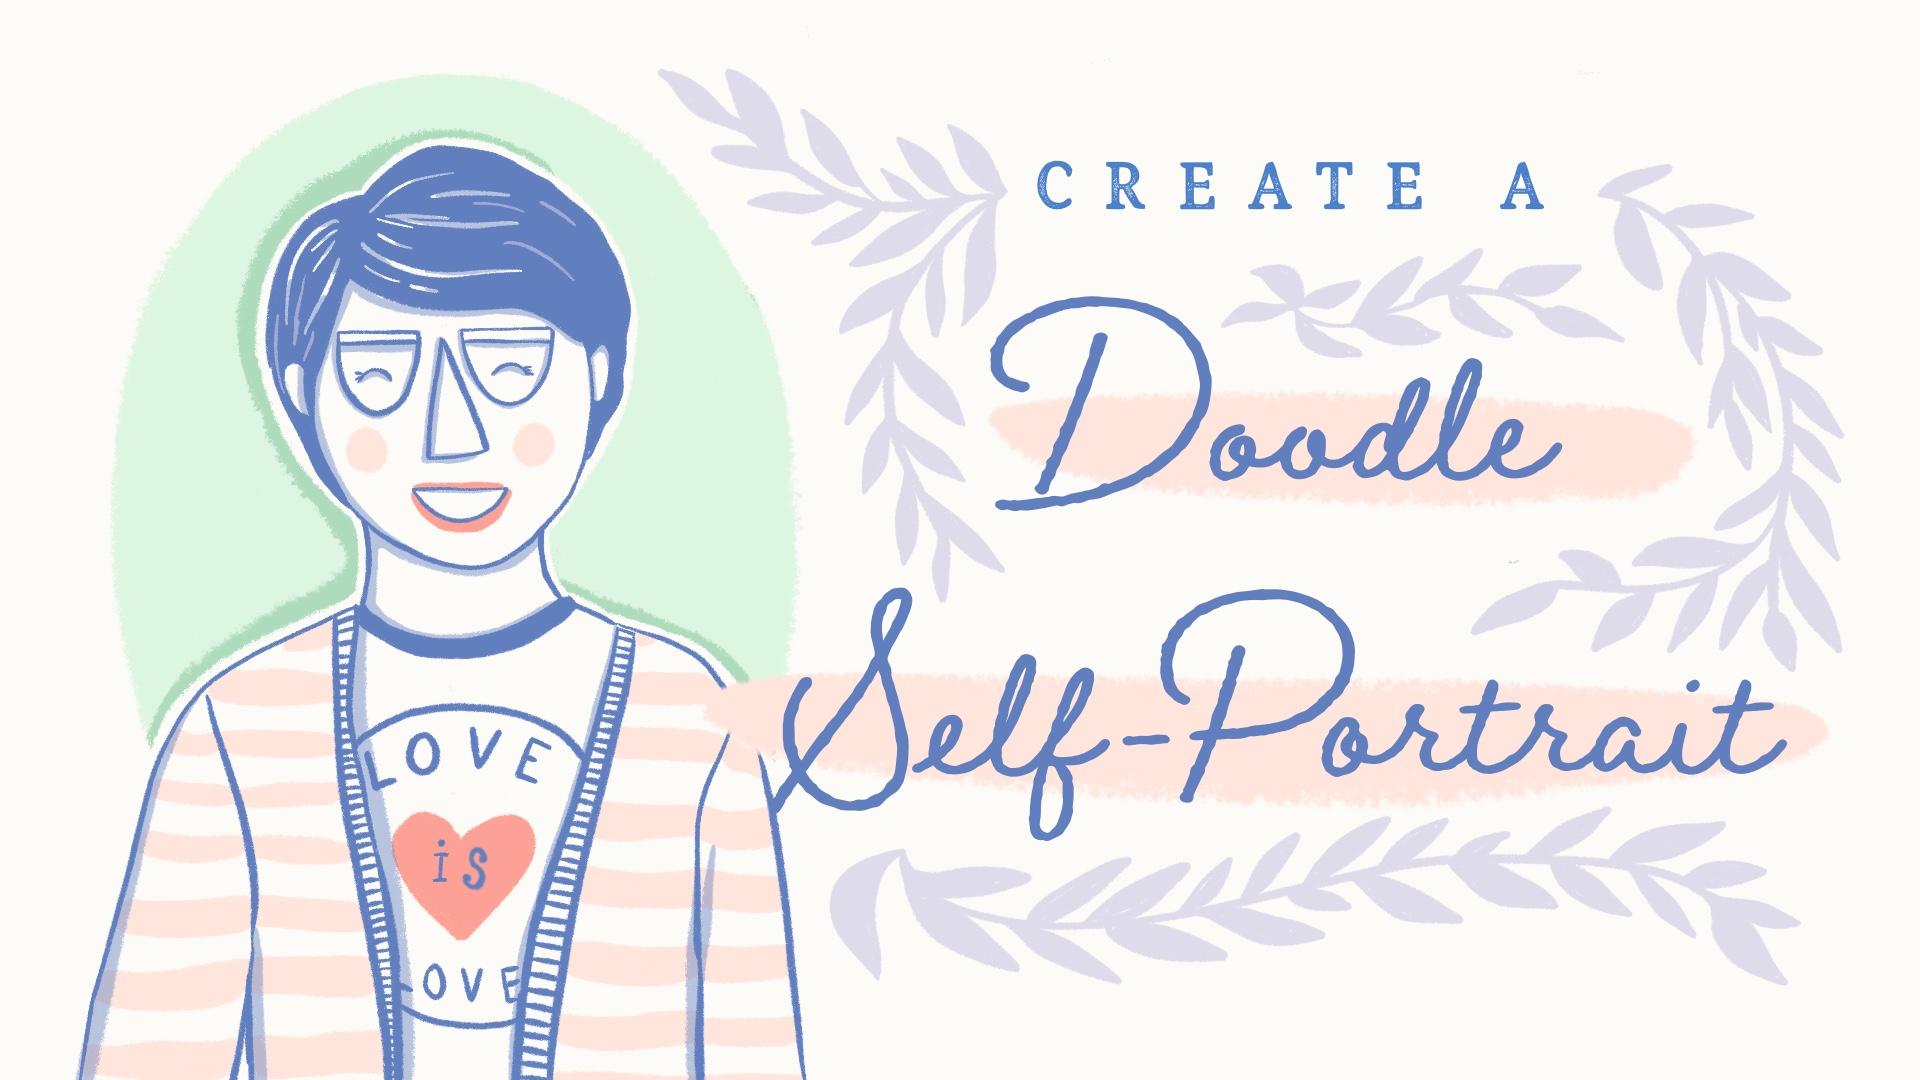
1. Introduction: Hi, I'm Alanna and I'm an artist and illustrator from Toronto, Canada. I'm here to show you how to make doodle self-portrait. Self portraits are a great way to begin making art if you're new to drawing or painting, because you know your own face better than anyone. Self portraits also give us the chance to explore who we are without the limits of our current reality. For me, that would mean a self-portrait without my current muck of self isolation hair. But for you, that would mean a self-portrait of the out and proud LGBTQ plus person you wish you could be outside of your family or community. Self-portraits can also offer the perfect canvas to try on new identities, to understand ourselves a little better. Self-portrait can express any self you want it to. This class is perfect for beginners or anyone looking for a quick fun project to make art. Now, let's start creating.
2. Supplies: To sketch my doodle self portraits, I'll be working in a sketchbook with a regular old pencil and eraser. I'll transfer my sketch using a light box and a Col-Erase pencil. If you want, you could also sketch on your iPad and print the sketch, or use your iPad as a light box to trace your sketch onto watercolor paper. To add color to my self portrait, I'll be working on paper with acrylic wash paints. I use washi tape to get crisp, clean edges. But this method could work with watercolor, marker or pen and ink. Whatever supplies you have on hand are exactly the right supplies to get started. Now, let's jump in to sketching.
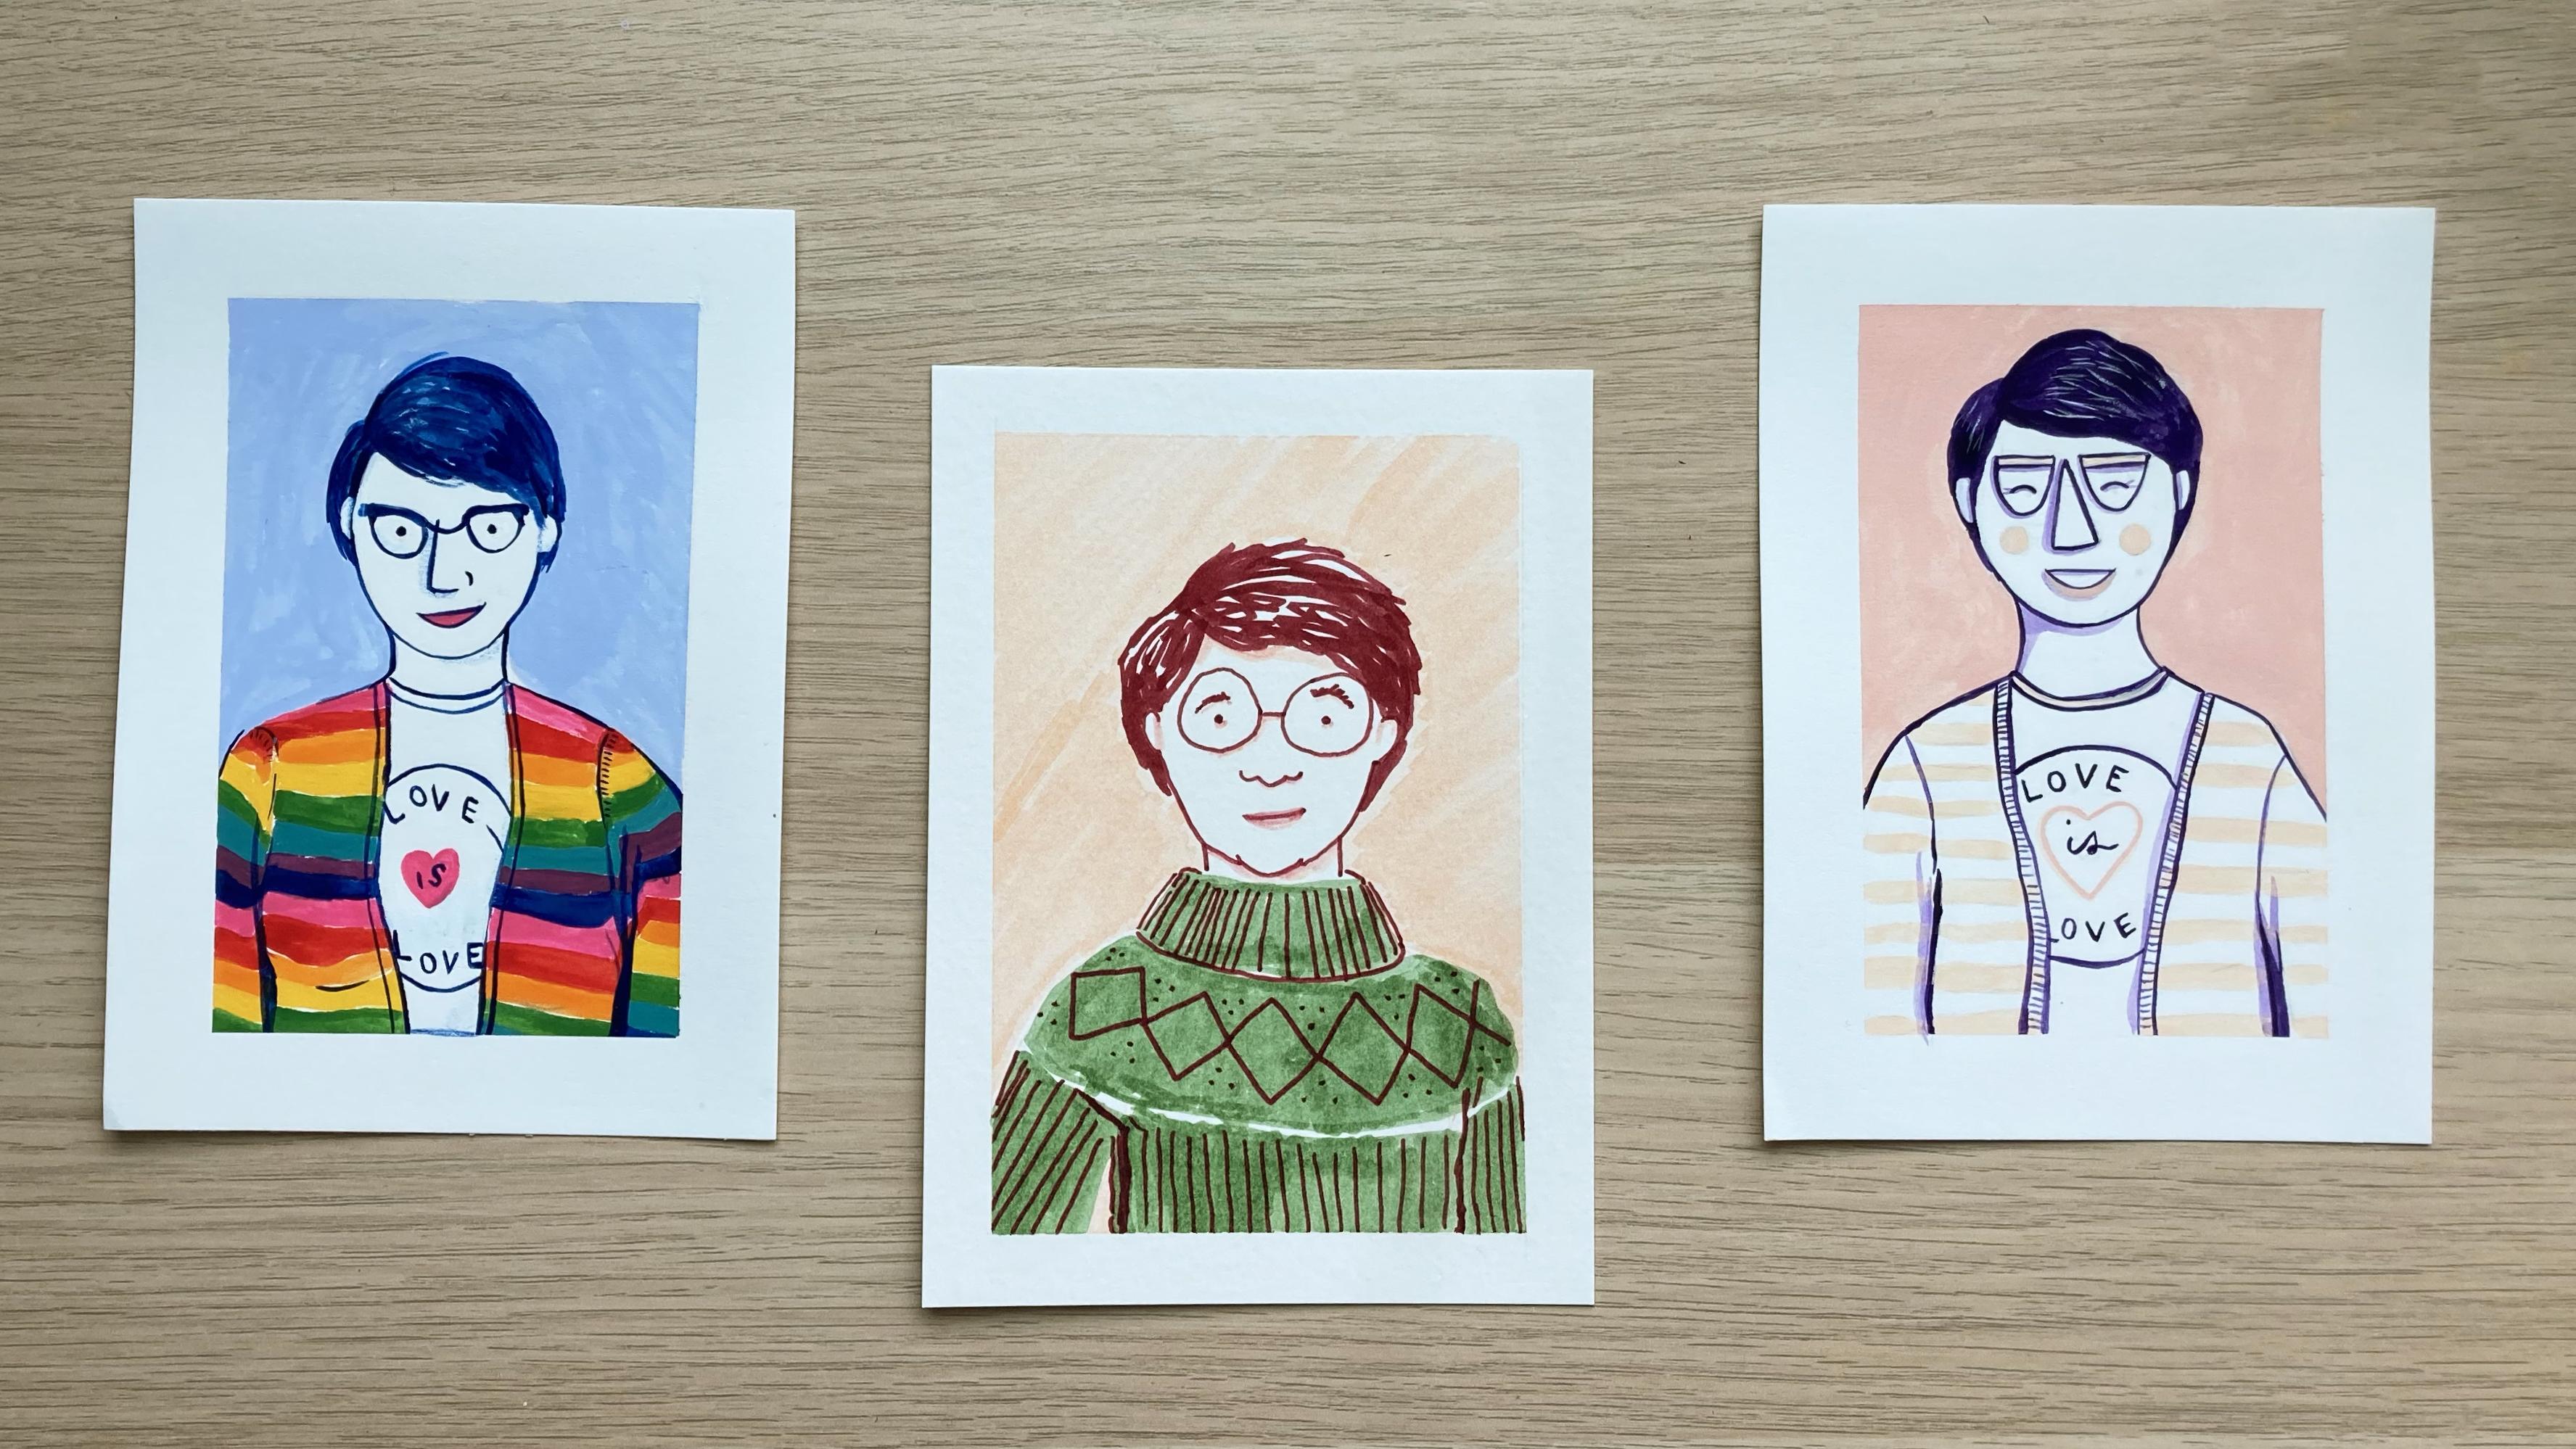
3. Sketching: We start our self-portrait where all great self-portrait start, the face, which is a wonky-looking oval, but maybe not that wonky. If you struggle like I do with getting just the right shape on the first try, you can always use anything you find on your desk as a guide, and my head is not going to be perfectly round. But using some things circular can give my eyes a point of reference so that my shape comes together a little more quickly. You may have noticed that I'm not sketching on watercolor paper. I'm sketching in a sketchbook, and I do this for one big reason. I can erase as much as I want, and it's not going to muck up my paper and get in the way when I'm painting. I like to sketch on plain old paper in a sketchbook and then transfer that sketch to watercolor paper using a lightbox or a sunny window so that my sketch is crisp and clean when I finally get to painting. We'll move on to the features of the face. The eyes sit about halfway down the face, and there is a width of about one eyeball between each eye. I sketch the guides on first and then erase them, so there's just a faint hint of them in the background that guides where I'm putting my features. I love to do dots, triangles, and funny shapes in my self-portraits. But this is a great time to think about what your face looks like. What things make you, you, how do your eyes look? Are they wide open and best represented by dots, or are they more closed and would be best represented by curved lines? I always like to use dots because I'm way too proud of my glasses and I want the focus to be on my glasses. I use simple shapes to create my nose and mouth as well. Then I move on to my hair. This is my favorite thing to draw. I like to make it a little disheveled, which is what it generally looks like in real life. Is your hair smooth, or curly, or wavy, or kinky? How can you use your pencil strokes to show off the amazing texture of your hair? Now, I just add some ears and maybe fix the ears so that they're not sticking out so much. But if you have long hair, you might not have to worry about adding ears at all because there might be covered up. If you are adding ears, it might be worth noting that the top of your ear generally sits about level with the top of your eye, so you can start there. It may also be worth noting that with any of these suggestions about proportion that I'm making, you don't have to listen to them. Your head could be square, your eyes could be at the very top. You can do anything you want to express the you that you feel inside or just to have a ton of fun. I'm just fussing with a few of the details to make them feel quite right. I thought my eyes were just a little bit too far spaced and then my glasses are a bit too wonky, so I'm looking to polish them up just a bit. I can always tweak anything as I'm painting, but I like to have at least a pretty good sketch before I get started. That way, I don't have as many decisions to make once. I have a brush on my hand, I can just enjoy the process of putting paint on paper. I'm going to move to the neck and shoulders. I like to keep this really simple so that the focus stays on my face. My plan for this doodle self-portrait is to have me wearing a rainbow sweater and a T-shirt saying love is love. I'm not worrying too much about making these shapes perfect because I want them to be fun, inorganic, and because the sweater is going to be stripped, it's to have a lot of visual interest anyway. I don't need too much else to draw focus. Now that I have everything ready to go, I just add a few last-minute details like my arms, and now, we'll move on to transferring our sketch.
4. Transferring Your Sketch: To transfer my sketch to watercolor paper, I have this light-box I use. It's not super fancy. I got it on Amazon. But you could also use this exact same technique on a sunny window. All you're looking to do is to shine light through your sketch onto your watercolor paper so you can trace what you've made. I don't try and be too precise with this. The point is to just get the gist of what you've sketched out and give yourself a great foundation to start painting. I like to transfer my sketch using a pale peach colorized pencil, which is an erasable colored pencil. This is my preference so that the dark pencil lines don't show through on my finished painting. Up next, we'll cover how to transfer your sketch using an iPad.
5. Transferring with the Ipad: If you want to use your iPad as a light box to transfer your sketch, you just have to change a few settings. Just go into Settings, then Accessibility, and find Guided Access. Make sure this is turned on. This is a setting used to block certain apps for kids and to stop them from pushing all the buttons. But it works excellently for this purpose. By just tapping the top button on your iPad three times, you can turn on guided access mode in Procreate and set a simple password. Now, when you try and draw on your screen, nothing will happen. You can't change the screen at all which means if you put a piece of paper on top to trace what's happening, your image won't shift around. To turn this mode off, you just press the top button on your iPad three times again and then select, and now your iPad works as usual. Now that we've transferred our sketch we'll move on to adding color.
6. Adding Colour: To begin adding color, I start by taping down the edges of my paper with washi tape. This isn't strictly necessary, but if you're using a water-based medium like acrylic gouache watercolor or ink, it can help you have crisp clean edge on your painting. I use washi tape and not masking tape because I find it has just the right amount of stickiness to give a crisp line without tearing up my paper. I start by creating a flat block of color for the background. I wanted something bright, but not too bright. I'll work with a pretty neutral blue. Now, I'll start adding lines and details. I like to use a deep blue instead of black in all of my paintings. I find this makes the darker value areas of my painting less harsh and dark. I also just love this color of blue because it's a little bit translucent, so you can get a lot of dimension. It's the Prussian blue from whole-brain if you're using the acrylic gouache paints. If you're using marker or watercolor or any other colored medium, the process is the same here. I'll just start by filling in the big areas of color and outlining the things that aren't going to have any color. When I do a doodle self-portrait, I like to leave my face as negative space because it creates great contrast. That's what you want to be thinking about as you're adding color, making sure your colors that you're using are different enough that you can tell them apart, and that you can clearly read a beautiful image of your face you're trying to create. That's one of the reasons I use my black color, my dark blue for my hair even though my hair is not black, it's just dark brown. But that's okay. It can be the darkest thing in the photo because there's not much else that I'm going to be wearing that's darker than it. If your eyes are still learning to see contrast when you're working with color, you can always snap a quick picture on your phone and put it in black and white. That will show you if there is enough contrast between the colors that you're using so that your image will really pop. I just realized that I don't really love the outline of the mouth that I had before, so I'm just adding a quick little detail so that I can fill it with paint. This is a great reminder too that your sketch is not set in stone. If as you're painting you notice that you want something to be different or something is a bit off, just change it. That's all there is to it. You're not stuck with that original sketch that you started with just because you set it down on paper. Sometimes when you're painting, you will paint something and you'll look at it and go. Well, that's not how that should look. If you're working with something like acrylic gouache, that's not a problem. You can just paint over it in white and start from scratch. I'm going to let it dry and come back to that part later because that bottom love looks strange. Now I'm going to move on to color. My color palette is going to be that of the 1977 original pride flag that was created, mostly because the colors are really banging. I'm freaked out. My color mixes in advance and I'm ready to start painting some stripes. Let's get going. I'll sketch that first, now I'm ready to go. Now that my stripes are done, I'm just working on adding a few more tiny details and shadows to my sweater, and fixing all the little fussy things that bug me about painting right now. Those things are things like the tiny gaps of white that I thought would look cool, but I don't like as much as I thought I would like. I'll fill those and I'm also going to play around with the shape of the mouth a little bit, and the shape of the hair, and the shape of my glasses just to tweak them so they feel like me. If you've reached this point of your self portrait and it doesn't feel like you either, that's okay, it's part of the process. Portraits are hard and you know your own face pretty dang well. The words of my excellent friend, Dylan Myers Winsky start with what is most wrong here. I can tell that my hair doesn't quite have the volume that I wanted to, glasses are wonky. Those are the things I'm going to focus on. When I first started painting and creating self-portraits, I had this very fullhearted idea that great artists get everything right on the first try, and that's just not true. To create something that feels right, sometimes it takes a little bit of refining. It doesn't come out of your brush or your pen or pencil perfectly. That's okay. That doesn't mean you're a worse artist, that doesn't mean you failed, that just means that that is part of the beautiful process of creating art. If you are working in acrylic gouache and need to cover over any areas, just use undiluted white paint and let it dry between layers until whatever you're trying to cover is covered. Then, go on painting as usual. I think I'm almost finished fussing now, but probably not, who knows? I'm going to remove the tape anyway. If any paint has seeped beneath your tape, you can fix that up as well with just a little bit of whitewash. Just make sure the paint is dry and cover the spot. This is how you make a doodle self portrait. Up next, a quick thank you from me to you.
7. Thank You: Thank you so much for watching my class. You are the absolute best. If you want to receive updates when I publish future classes, you can follow me here on Skillshare. If you want to check out my art and see pictures of my fat cat Penelope, you can follow me on Instagram at alannacartierillustration. If you want to keep up to date of all my creative goings-on, you can sign up for my newsletter at alannacartier.com. Thank you, again. I can't wait to see the beautiful things you create.
 Alanna Cartier, Artist, illustrator