Create 3D Text in Adobe After Effects - Learn in Five Minutes | Tyler Bennett | Skillshare

Playback Speed


1.0x


  • 0.5x
  • 0.75x
  • 1x (Normal)
  • 1.25x
  • 1.5x
  • 1.75x
  • 2x

Create 3D Text in Adobe After Effects - Learn in Five Minutes

teacher avatar Tyler Bennett, Motion Graphics Designer & Photographer

Watch this class and thousands more

Get unlimited access to every class
Taught by industry leaders & working professionals
Topics include illustration, design, photography, and more

Watch this class and thousands more

Get unlimited access to every class
Taught by industry leaders & working professionals
Topics include illustration, design, photography, and more

Lessons in This Class

    • 1.

      Introduction

      0:18

    • 2.

      Getting Started

      0:24

    • 3.

      Lesson 1 - Create The Text

      2:40

    • 4.

      Lesson 2 - Animate The Text

      3:42

    • 5.

      Outro

      0:07

  • --
  • Beginner level
  • Intermediate level
  • Advanced level
  • All levels

Community Generated

The level is determined by a majority opinion of students who have reviewed this class. The teacher's recommendation is shown until at least 5 student responses are collected.

2

Students

1

Project

About This Class

A short class that will teach you how to create a 3D spinning text animation. The only thing you will need to follow along is Adobe After Effects. This is a very short and straight to the point class where we will jump right into animating. For a more comprehensive class explaining how to use Adobe After Effects check out my beginner classes such as Basics of Motion Design: Start Animating in Adobe After Effects  or The Easiest Motion Graphics Class you will Ever Take - A Perfect Intro to Adobe After Effects

In this class you'll learn:

  • How to create 3D text
  • How to animate the 3D text
  • How to use a text animator while animating the text

You’ll be creating:

  • A 3D text animation using the techniques taught in this class

Adobe, After Effects, and Media Encoder are either registered trademarks or trademarks of Adobe Systems Incorporated in the United States and/or other countries.

Meet Your Teacher

Teacher Profile Image

Tyler Bennett

Motion Graphics Designer & Photographer

Teacher

Hello, I'm Tyler. I'm a motion designer & photographer based in Ottawa, Canada. I make simple and easy to follow classes for beginners.

You can find me at tylerbennettvideo.com/

Connect with me at @tytyttheguy or @learnmotionwithty

or on YouTube: @tylerbennett3601

See full profile

Level: Intermediate

Class Ratings

Expectations Met?
    Exceeded!
  • 0%
  • Yes
  • 0%
  • Somewhat
  • 0%
  • Not really
  • 0%

Why Join Skillshare?

Take award-winning Skillshare Original Classes

Each class has short lessons, hands-on projects

Your membership supports Skillshare teachers

Learn From Anywhere

Take classes on the go with the Skillshare app. Stream or download to watch on the plane, the subway, or wherever you learn best.

Transcripts

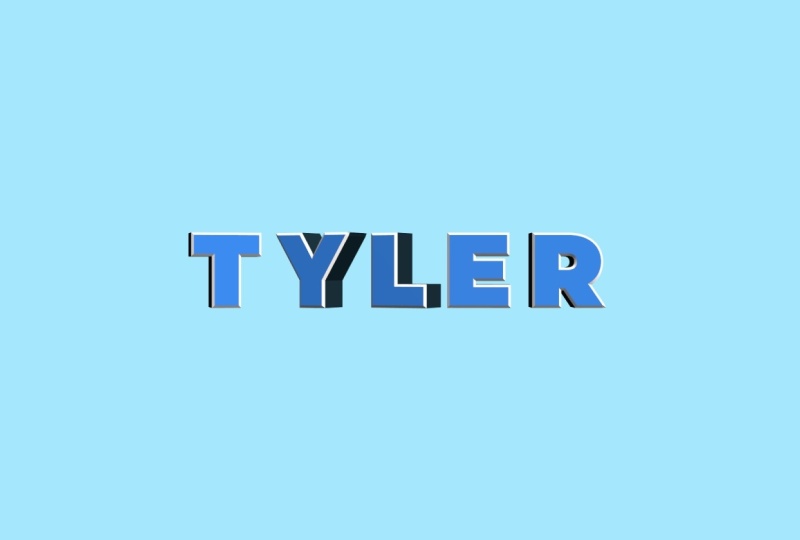
1. Introduction: In this earning five, we will be creating a three D spinning text inside Adobe After effects. Looks complicated, but I promise you can learn it in under 5 minutes and wait to see your projects. 2. Getting Started: To get started, you'll need Adobe After Effects to follow along. Your class project is to create your own three D text animation. You can download a completed version of the project file on the project and resources page. Feel free to post your projects to the project gallery. Always love seeing the animations you create. 3. Lesson 1 - Create The Text: We'll start off by clicking the new composition. I'll name it Main. Settings really don't matter for this composition, but you can copy mine if you want. Background color. I'm just going to change it to anything but pure white. Maybe go with the light blue. Just jumping in here from the future to mention that I forgot. You will need to change your three D renderer over here on the three D renderer tab, toggle down this and you'll find advanced three D. So you will need to do that in order for this tutorial to work. You can also find it in your project by clicking on this menu. We'll start out by typing out some text. Font color doesn't really matter at the moment. Going to align it to the center of my composition. These are my font settings if you would like to copy, but you can use any font you would like. First thing we're going to do is we're going to turn on three D, looking this button right here, toggle down our layer. We'll head to geometry options. First, we'll add a bevel. For now, we'll make it angular. We can always change it later. Bevel depth. I'll go with five. Extrusion depth. I'll go with 75. We change our view over here. You can see that we already have three D text. You see the four views, we already have our three D text created. Now we can add our colors. We'll go to animate, go to front, Color RGB. Here we can choose the front color. First, I'm going to name the animator one to color or colors. Remember, Enter to rename a layer. We'll go in, we'll choose a color. I might go with a darker blue. I will go to add property. We'll add a back color, RGB. We'll make it the same as our front color by using the eyedropper. Now we'll add our side color. Why don't we make our side pure black? And now, finally, we'll go to add property, and we'll add our bevel color. And why don't we make our bevel color pure white? Go to our four views again. Now you can see our three D text now has color all around it. There we go. That's part one of this tutorial. Now in lesson two, we're going to start animating. 4. Lesson 2 - Animate The Text: Part one, the main rotation. The first thing we have to do is make sure per character three D is turned on. Mine is already turned on. Then we go to animate rotation. We're going to be animating our Y rotations. But instead of putting keyframes on Y rotation, we're going to use something called the offset. First, we're going to have to plug in a number to our Y rotation. I'll type in one times as in one full rotation. Then I'll head to the offset, change it to negative 100%, and press the stopwatch, move over 20 frames on the timeline, and change the offset to 100%. Under Advanced we'll go to shape and change it to ramp up and change our E's high and E's low to 50%. Now let's give that a preview. The final touch, we're going to rename animator one to main rotation, Enter to rename a layer. I Part two, start rotation. We can close our layer for now. We'll bring up our key frames with the U key, and we'll move our main rotation keyframes over ten frames on the timeline. Now we'll open our layer again and we'll go to animate rotation. This time, we'll change our y rotation to 25. And under advanced, we can keep all those settings the same for now. We'll change our offset to negative 100%, and we'll move over to frame 30 on the timeline and change our offset to 100%. Now let's preview what that looks like. We'll rename our Animator one to start rotation. Part three, the end rotation. We can duplicate our start rotation with Control D. First, we'll rename it to end rotation. We'll change our Y value to negative 25. Now we can bring up our keyframes by pressing the U key, and we'll move our end rotation keyframes over ten frames on the timeline. Part four, change the easing. We'll toggle open our start and end rotations, and we'll change the Ease high and ease low on both of them to 30%. I almost forgot. We'll also have to change our shape to smooth. And what that'll do is it'll smooth out the animation. Now let's preview and see what it looks like. Finally, to give an overall summary of what's going on, I'll bring up the key frames with the UK. See, when I turn off the main rotation, you can see the start and end rotations working together. We've got our start and our end. And I'll turn back on the main rotation. And in between, we have our main rotation. And that's just about it for our class. Thank you for taking my class. Hopefully, you'll learn something. See you in the next one. 5. Outro: Congratulations, and thank you for taking my course. Now you can post your projects to the project gallery so everyone can see the animations you create.