Transcripts
1. Cold Season Essentials Preview: It will never have
been easier to face Winter with this crochet
class I prepared for you. Hi, my name is Emily Burdek, a French Canadian crochet
designer behind Krochem brand, and I'm pleased to introduce you to my Crochet Essentials series. To be able to follow this class, you will need to know
the crochet basics. You can learn all of
this by following my Crochet course for beginners
here on this platform. In the cold season Essentials, you will learn how to
make usi accessories in less than 4 hours, whether you're right
or left handed. I will show you the conce
of these three accessories. So you will be able to customize the stitches or the
size in the future. Are you ready? Ay, what are you doing here? Let's start now.
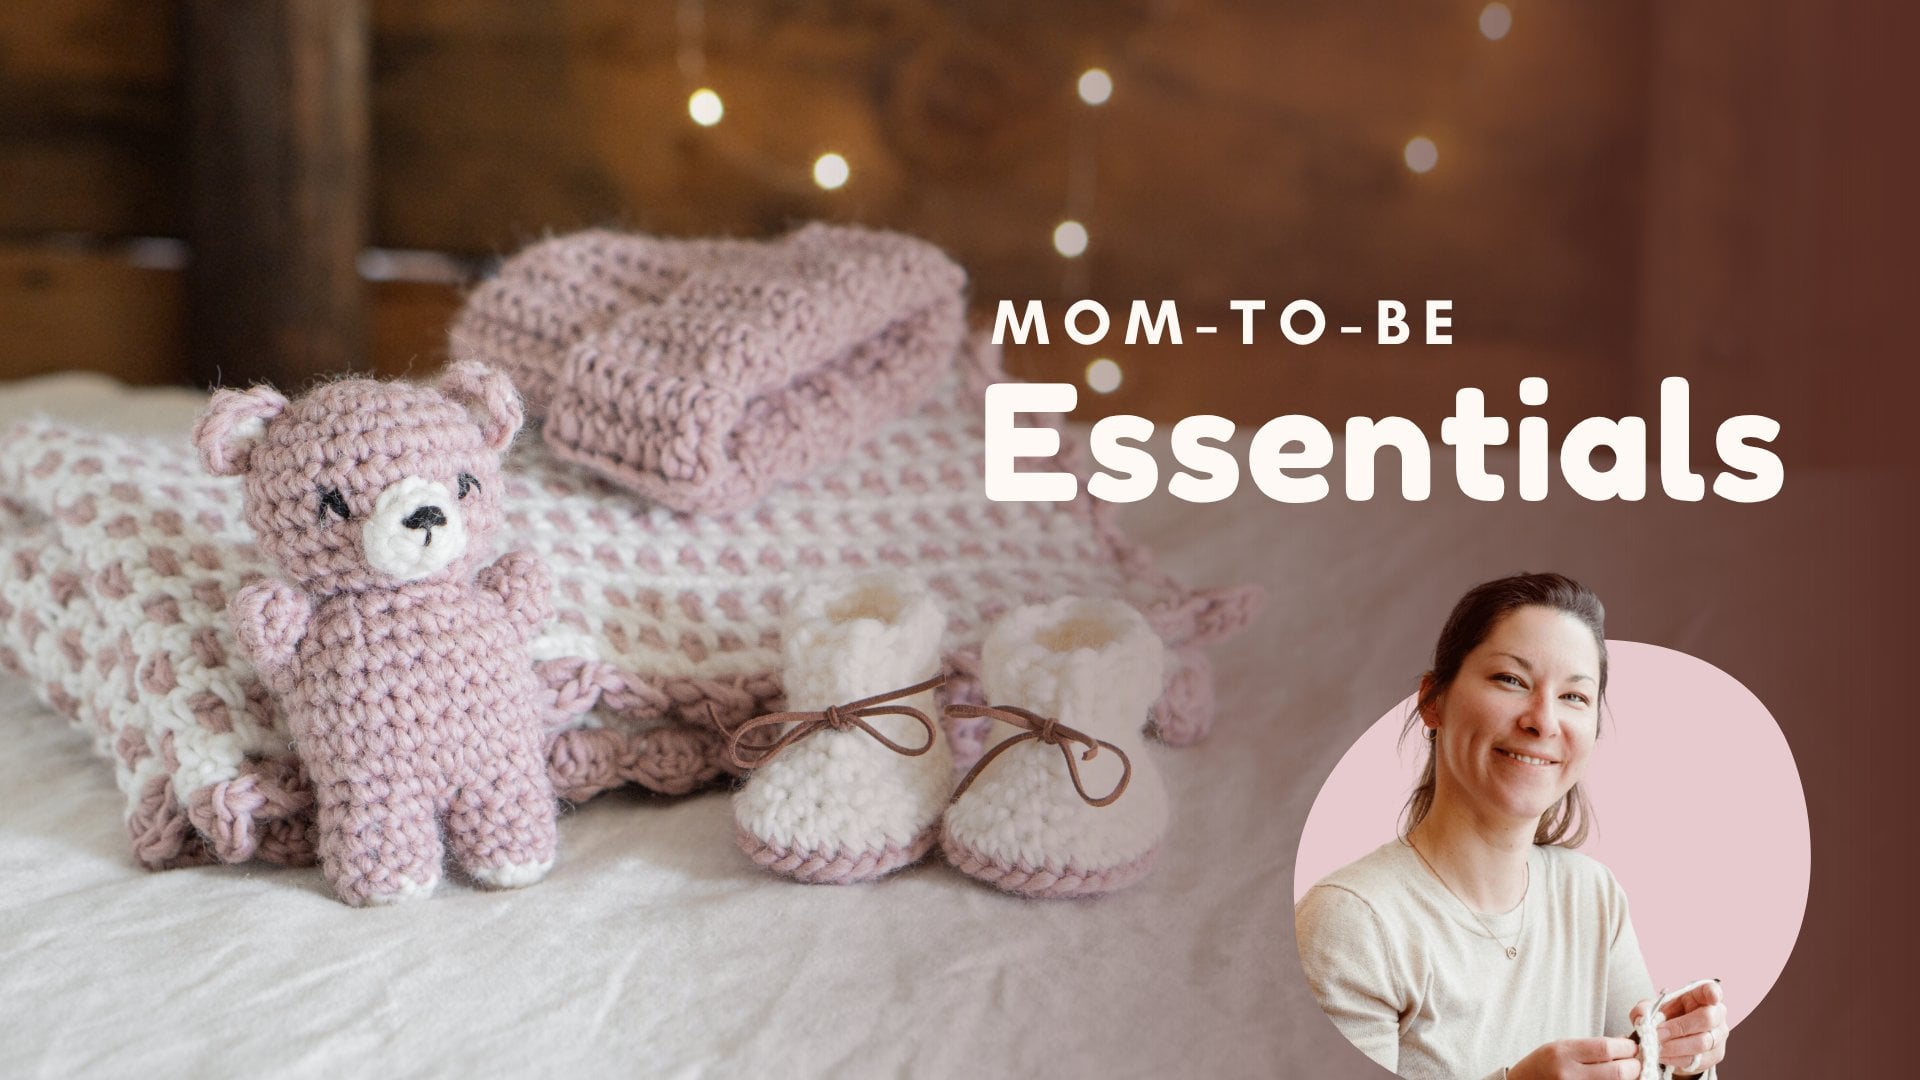
2. Projects Intro: In this course, you'll be
able to make a scarf, a hat, and kittens, from the easiest
one to the complex one. The same stitch
pattern will be using all three accessories to let you practice and integrate
new techniques easily. I can't wait to
see your projects. Don't forget to share them with me in the project gallery below. Let's now start with the
materials and techniques.
3. Materials & Techniques: Welcome to the tutorial for
the cold season essentials. To crochet the entire set, you will need 650 grams
of super bulky yarn. I used line brand tick and
Quick in the color fishermen, which can easily be found in all craft stores and on the web. I needed four scans
of one 70 grams each. You will also need an
eight millimeter hook, scissors, a yarni dog, a stitch marker, and
a measuring tape. Here is how much you will need for each of
the accessories. And, of course, you can
choose the color you like. Here are the stitches and terms that I will
use in the patterns. We will make chain
stitches, single crochet, half double crochet, decreases in half double
crochet and slip stitch. I put in the right corner a little reminder where the back and the front
loops are located. Let's start by
making our swatch. That will allow you
to know if the yarn you have chosen and
your tension are ideal. At the same time, we will
practice the main stitch. Make a starting chain
of eight chains. And you will do a
half double crochet in the third chain from your hook and continue by making a half double crochet
in the next five chains. Try to keep the
tension very airy, very loose because we want
our accessories to be as stretchy as possible to
adapt to several sizes. You should have six half
double crochet made. You will now chain two, turn to continue with row two, and we will make our
half double crochet between each of the
half double crochet from the previous row. So you enter the space
between each of one. You don't go into both loops, but you really encompass all the strength to make your half double
crochet into the space. You can use the fingers
of your left hand to guide your hook to go between
the half double crochet. And the last one will be made in the space between the
stitch and the two chains. So what you just did will be the main stitch used
throughout the pattern. We'll continue with row three. You're going to chain two,
turn and do the same thing. A half double crochet in
each of the following spaces between each half double
crochet of the previous row. It should look like this. Continue by making
three more rows. You can pause the video, we'll meet at the
end of row six. When you finish your six rows, you can measure the little
square that you get. It should be about 4 " or
ten centimeter on each side. If you get to a centimeter or
so different, don't worry. It's so stretchy
that it will adjust. If you have a big difference
with my measurements, here's what you could change. I've written the
solutions here from least complicated to
the most complicated. If your gauge is smaller, you can try to loosen the tension so that
it is less tight. You can also choose
to use a larger hook, like a nine millimeter,
for example. Another solution would be to
choose a yarn more similar to the one I used if
you took another one. And finally, if you
are very comfortable, you could adjust the pattern by adding a few stitches
and a few rows. This way of doing is not ideal
because it risks wasting your time since there will be many trials to arrive
at the same result. And if your gauge is too big, the solutions are the same. You could tighten
your tension a little more or use a smaller hook
like a seven millimeter. You could also change the
yarn if it is too bulky and adjust the pattern by decreasing the number of stitches
and the number of rows. In any case, you will repeat the sample until you get
the right measurements. Now, let's start with the scarf.
4. The Scarf: We'll start with the scarf, which will allow you to
master the basic stitch. You are going to make a
starting chain of 100 chains. I'll let you concentrate
on counting. If you lose the count
and do a little more or a little
less, don't worry. It won't make a big difference. When you have completed
your long chain, we will start by making a half double crochet in the
third chain from the hook. And you continue to make a half double crochet in
each of the next chains. At the end, we will not turn the project on itself
to continue row two, but we will continue
to crochet in rounds. We will make our first
half double crochet between the two chains that we skipped at the beginning and the first half
double crochet. You can do as I do on
the screen so that your row one does
not twist on itself. You will continue to
crochet like this. You will make a half double
crochet in the chain to space that we skipped at
the beginning right here. You can put your
marker on the stitch. And you will continue to make a half double crochet in each of the following spaces between each of the stitches of row one. Just a little reminder, you do not enter
into both loops, but really in the space between the two half
double crochet, you encompass all the strengths. I'll let you continue. We need at the end of the round. After you have made your
last half double crochet, you will make the first one
of round three in this space. It looks like you're
making it nowhere, but we will tidy
everything up at the end. You place your marker
back on this one. You continue to make
your half double crochet between all the
following stitches. You will do the same
thing until round ten. You will work in a spiral, so you will not need to think. You just insert your
hook into each of the spaces to make your
half double crochet. And don't forget to
put the marker back on the first half double
crochet of each round. And if you forget, it's okay. I'll show you how to
count them at the end. When you think you
finish round ten, we'll count them together. You have the first one
that's right here. The second one, the
third, the four, five, six, seven,
eight, nine, and ten. And for a nice finish, you make a slip stitch in the next stitch by taking
both loops this time. And that's it. You have
finished your scarf. You can cut the thread by
leaving a good length, secure it by pulling
on the loop. And I'm going to show you in fast motion how to
weave in the ends. We're going to start
at the beginning to close the opening of row one. And don't forget that
you have to weave in the ends on the wrong
side of the scarf, the less attractive one. I'm going to show you how to
weave in the ending thread. For the most beautiful
finish possible, turn the scarf right side out. You will insert the needle into both loops of the next stitch, and then you will
insert the needle into the back loop of the slip
stitch that you made. This will create a fast stitch
and a very even finish. You can then weave this thread in as usual on the wrong side. And there you have it. Your neck will now be nice and warm. It will be long enough for
you to wrap it around twice. Now, let's move on to the head.
5. The Beanie: We're going to start
the hat by making a sort of elastic
band at the forehead. I'll show you how to do it. You will make a starting
chain of seven chains. Then make a single crochet
in the second chain from the hook and a single crochet
in the next five chains. You will have a total of
six stitches in row one. From row two, you will
always do the same thing. That is chain one, you turn, and you're going to make
a single crochet in the back loop only of
the next six stitches. Be careful not to go
into the same stitch, but rather the next
stitch, which is this one. Use a marker if you have trouble seeing what
the next stitch is. And you enter the
back loop only, the loop that is
furthest from you. And you will end up in the turning chain
that is right here. The fact of making
our stitches in the back loop will create
elasticity in our bend. Row three, you do
the same thing. Chain one, turn,
and you will make a single crochet
in the back loop of the next six stitches. And your last single crochet will be in the turning chain. You continue like
this until row 36. You can pause the video. We'll meet up at the end to
count our rows together. Each little bump
that you see that the rows make are
made up of two rows. So in reality, you should
have 18 little bumps. The beginning thread
should be at the bottom left and the end one
at the top right. We will continue to crochet our hat on the side
of this strip. Each row will correspond
in a way to a stitch. You will chain to, rotate the project to work on the side, and you're going to make
a half double crochet in the next four stitches in the next four rows of the strip. It looks complicated, but you just go into the
strands that you see. There's not really a chance
of making a mistake. Good After you have made your four half
double crochet, we will make two half
double crochet together, one decrease in the
next two stitches. Here is how to do
it. You yarn over, you enter the next stitch, yarn over, pass
through the stitch. You yarn over again. You enter the next stitch. Yarn over, pass
through the stitch. Yarn over and pull through the five loops that
are on your hook. You just have transformed
two stitches into one. This will make the heat
smaller at the head, and you will repeat a
half double crochet in the next four stitches, followed by two half
double crochet together, a decrease, all along the strip. You will do what is in the parenthesis six times in total. You will have 30 stitches, 30 half double crochet
at the end of row one. I'll show you here how to do the two half double crochet
together one more time. I'll let you
continue. We'll meet up at the end of the row. The last ditch of row
one will be a decrease. So you will make two half double crochet together to finish. It should look like this.
And like the scarf, we will start crocheting
in the round. You can fold a hat like this on itself and
continue crocheting between the two chains at the beginning of row one and the first half double crochet. You will make your first
half double crochet in the chain two space. You can put your marker
on this one and continue by making a half double crochet between the next 29 stitches. We meet at the end of the round. As with the scarf,
you will start the first half double crochet of the third round in
this space here, which looks a little empty. Reposition your marker on
this half double crochet and continue to make
half double crochet in each of the following spaces, working in a spiral. So once again, you won't
need to concentrate. You will make nine
rounds in total, which will consist of 30
half double crochet each. When you have
completed round nine, we're going to make sure we have the right number of rounds. The first one is right
here, just above the strip. You have the second, the third, four, five, six, seven,
eight, and nine. We're now ready to close our ni. You're going to do
half the all crochet together 15 times. So 15 decreases. Always entering
between the stitches. I'll let you continue. We'll meet at the end.
And for a nice finish, you will make a slip stitch in the next stitch by
entering into both loops. That's it. You can
cut the thread, secure it, and we're going to be ready to
close the top of the hut. Put the end thread into your yarn needle
and you're going to enter both loops
of the next ditch, from the outside to the inside, and come out through the next one from the inside
to the outside. You do it like this all around. You could also do it like
this to make it faster. At the end, pull hard on the thread to close
the round well. Take this one inside and you can weave in the end in the hat. Mm once the thread
is well secured, cut the excess and we will now sew the beginning
of the hat together. If you starting thread is
long enough, you can use it. Otherwise, you can
simply cut another one. Still on the wrong
side of the hat, you can join the corresponding
stitches of the first and the last row of the strip with
the with stitch technique. It consists of going
around the stitches. You will always go from one stitch to the
other in the same way. There is no exact science
as long as it is visually beautiful and with the
threading to secure it. And that's it. You
finish your Bini. You can turn it over on the right side and
wear it proudly. All that's left is to
keep your hands warm.
6. The Mittens: You are now ready to
crochet the last project of the cold season
essentials, the mittens. The concept will be very
similar to the hat. We will start by making an elastic band that will
come around your wrist. We will start by making a
starting chain of six chains. A single crochet in the
second chain from hook. And continue with single crochet
in the next four chains. Let's start the second rope. You will chain one, turn, and you will make a
single crochet in the back loops only of
the next five stitches. The last single crochet
of the row will always be in the turning
chain of the previous row. And you will do the same
thing up to row 14. Be careful to actually go into the next site when starting the row and not in
the same stitch. I'll let you continue. We'll meet at the end of Row 14. Each little bump you see
is made up of two rows. So you should have seven
of these little bumps. The beginning yarn should be on the bottom left and the
end yarn on the top right. We will continue working
on the side of the strip. Make two chains, and you will
do a half double crochet in each of the next 14 stitches in each of the 14 rows
of the elastic bend. And the last one will be in the turning chain
of the first group. As with the hat, we will
continue to crochet in rounds. So you can fold the
midden over itself, and we're going to
continue crocheting, starting the first
half double crochet of round two in the chain to space, which is right here. And you're going to
continue by making a half double crochet between each of the
following stitches. We meet at the end of the round. When you're done, the first
half double crochet of the third round will be
in the space right here. We'll come and close
everything at the end, and you can place your
marker on this stitch. Continue by making a
half double crochet between the next five stitches. You will then make
three increases, so two half double crochet between the next three stitches. And you continue by making a half double crochet between
the next five stitches. The next round, we will come to form the opening
of the thumb. So you can start by doing a half double crochet between
the next eight stitches. You're going to skip
three stitches, three spaces, and you're going to continue between
the next stitches. It should look like this so far. Round five through nine, you'll do a half double crochet between the next 14 stitches. When you get to
the thumb opening, you can simply make
a half doble crochet in this one and continue. We meet at the end
of Round nine. We will count together
the number of rounds. Here we have the first, the second, the third, four, five, six, seven,
eight, and nine. Round ten, we're going to start to decrease the
top of the mitten. You're going to make
a half double crochet between the next two stitches. Followed by a decrease. So two have double
crochet together. You yarn over, enter into
next stitch, yarn over, pass through the stitch, yarn over, going
into next stitch. Yarn over, pass
through the stitch. And finally, yarn over and pull through all the loops
that are on your hook. And you continue with
half double crochet between the next five stitches. Another decrease of
half double crochet together in the
next two stitches. And you will make a
half double crochet between the next three stitches. For the last round,
you will make two half double crochet together six times, so six decreases. And you finish with a slip
stitch in the next stitch. Pull the hook, cut the
yarn, and secure it. Close the end of the mitten
with your yarn needle. Enter the front loops of each of the following
stitches in this way. At the end, pull on the thread
and enter your needle in the middle of the
round to be able to secure the thread
inside the mitten. When you're satisfied,
you can cut the thread. We will move on to the
construction of the thumb. And throw your hook
in the lower corner right here and join the yarn. Chain two, and
you're going to make a half double crochet between the seven stitches
around the opening. Reach the top corner, choose one of the two
spaces where you could go. I chose the second one,
which is right here. You will continue
with round two by making a half the bow
crochet in the chain to space and a half doble crochet between
the next six stitches. Round three will be the same. You will make a
half double crochet between the seven neck stitches. If you have small
hands like mine, you can step after round three. But if you usually
wear medium or large, you can add an additional
identical round, a half double crochet
between each stitch. The last round will be to
close the thumb opening. You will make two
half double crochet together three times, always between the stitches. And you will make
a slip stitch in the next stitch by
entering into both loops. And that's it, cut the yarn, secure it, and close the end. Do the same closing technique as for the top of the mitten. You enter the front loops of each of the
following stitches. And you will secure the
yarn inside the mitten. You can also secure the yarn at the
beginning of the tongue. And it is not necessary to do the same thing as me as long as the thread does not
come out and you feel enough resistance when you
pass it between the strands. We will now sew the lower
part of the elastic bend. If the thread at the beginning is long enough, you can use it. Otherwise, cut another one. You will sew it the whip stitch technique which
consists of wrapping the thread around
the stitches of the first and last row
of the elastic bend. And secure this thread. Well done, you have
finished your method. To crochet the second one, you can either be watch
this video or follow the writing pattern that is
provided in the documents. The instructions are the
same for both hands. You are now ready to face
the cold season with style. M
7. Final Words: I hope you loved making your
case accessories with me, and I can't wait to
see your creations. You can share them with me in the project gallery below
or in my social networks. See you soon in my next
crochet class au revoir.
 Emilie Bolduc, Crochetmilie - Modern Crochet