Transcripts
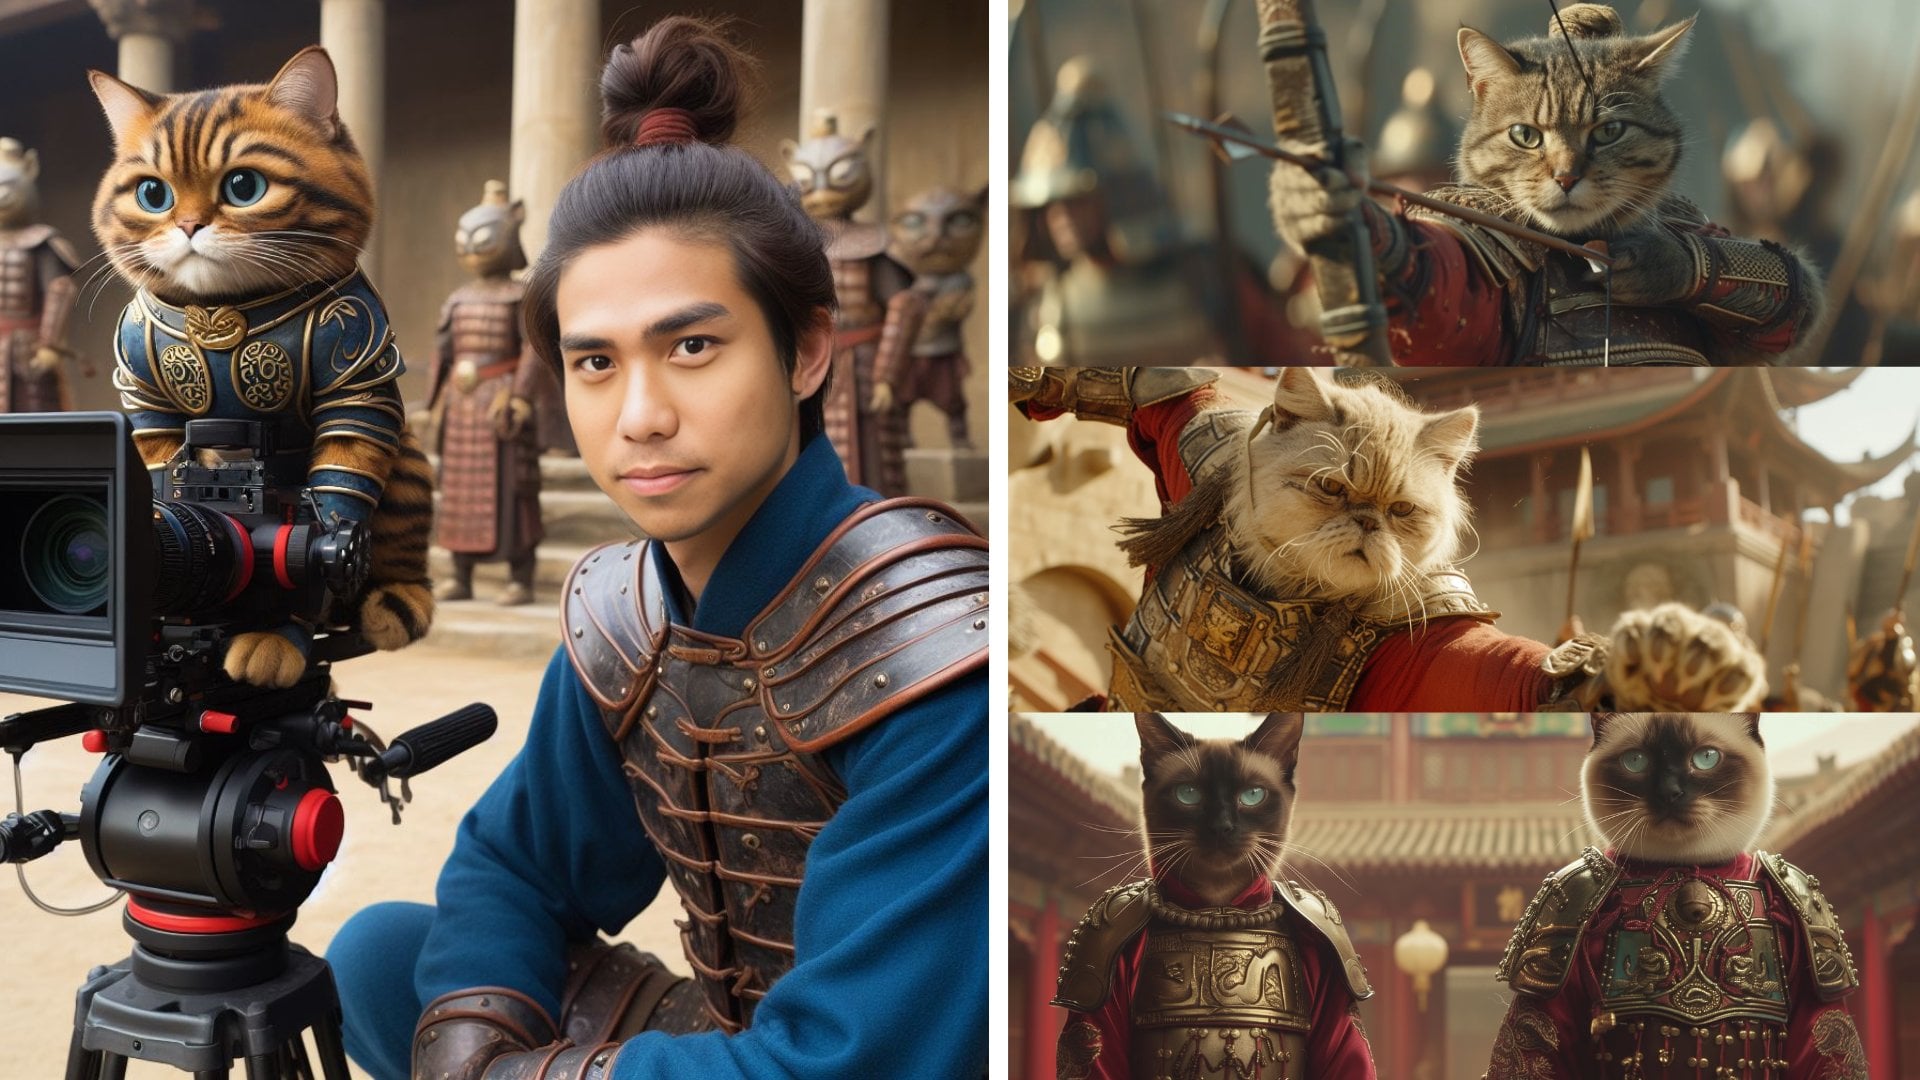
1. Intro Trailer : In this class, we will
learn how to use AI as a creative and supercharge
your content creation process by building your own custom
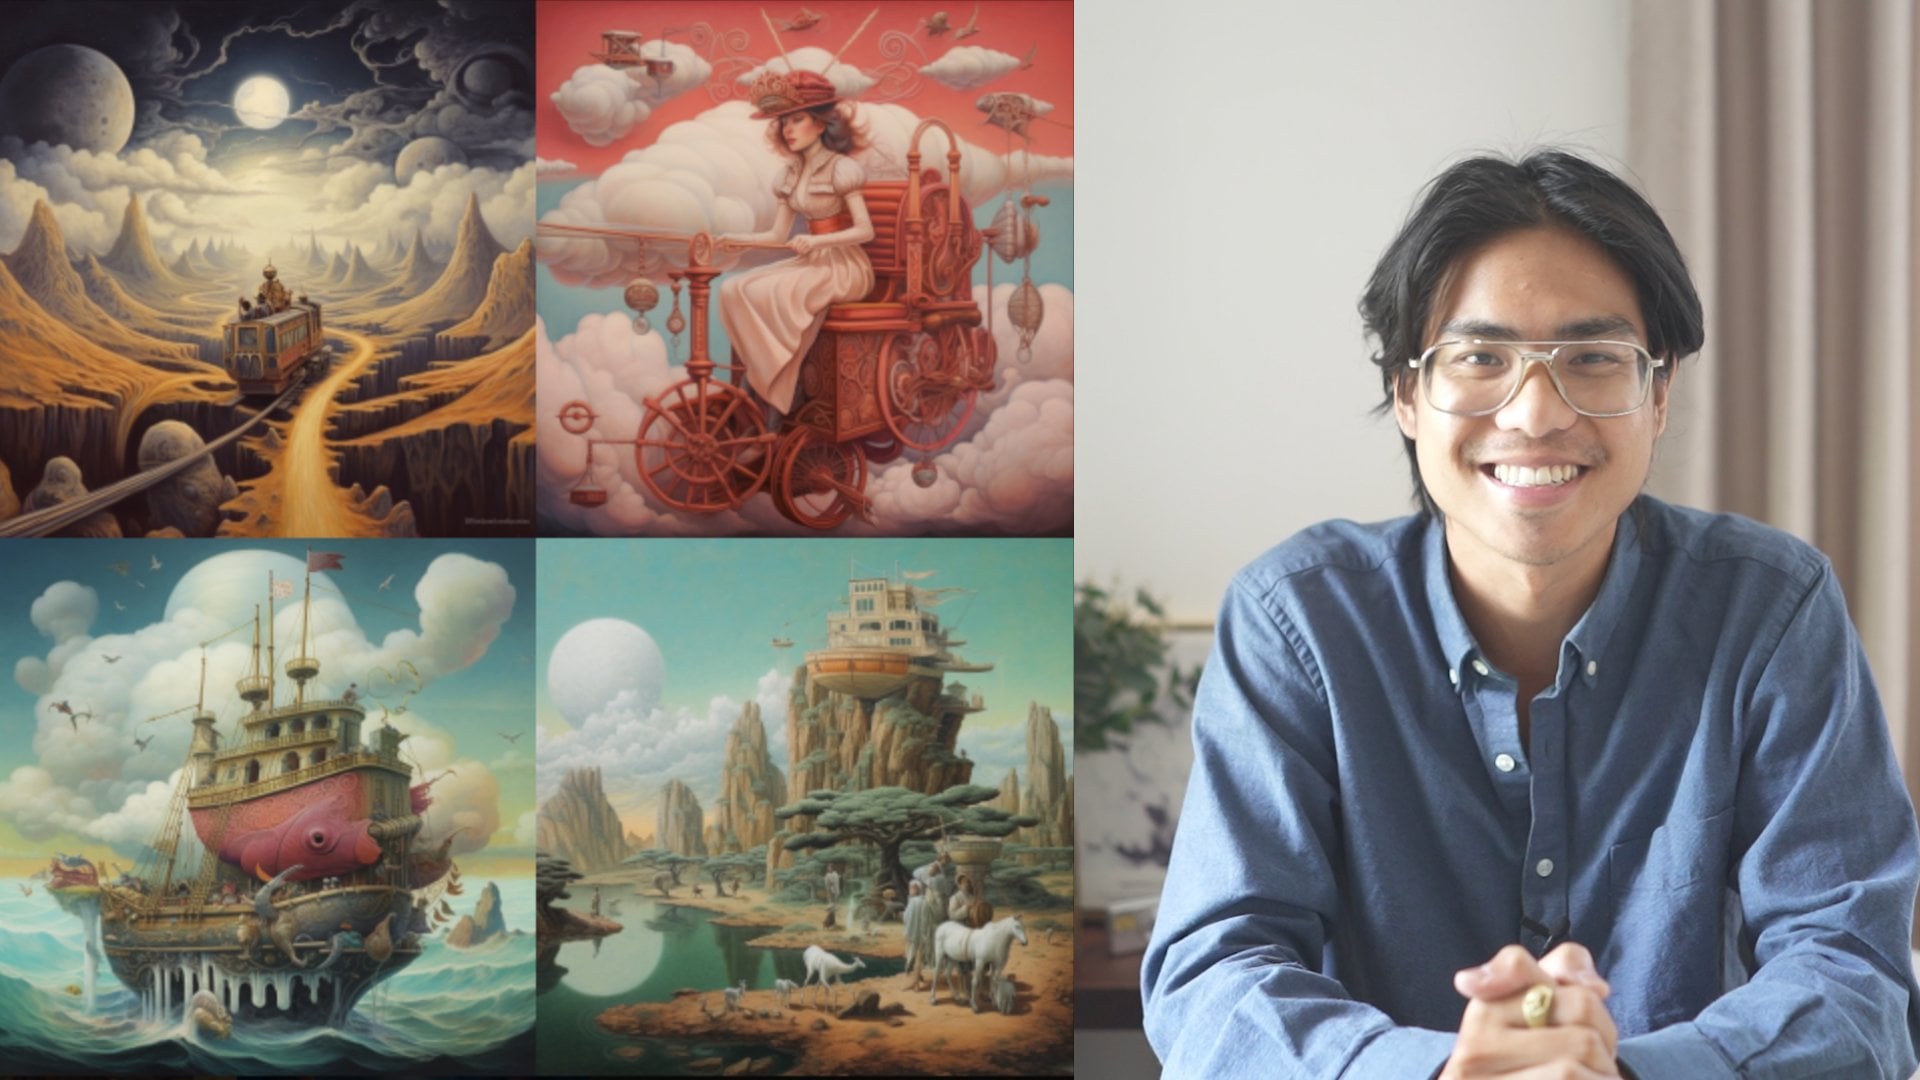
AI. No coding needed. Hi, I'm Arnold. I'm a
marketing director educator, and over the last year
I've been focused on using AI and
creative applications. And in the last decade, I've been involved in all
aspects of content creation, from working with agencies and all the way to local businesses. We will begin this
course by unpacking your unique content
creation process. Then I'll guide you in creating your own custom AI
model on Chat GBT, which will be tailor
made for you. And this AI won't just
understand your process, it will help amplify
what you already do as someone who wants to empower aspiring
content creators. My mission with this class
is to show you an easy to follow system to use AI when working in a
professional setting. Throughout the class we will cover understanding AI's role in modern marketing and
content creation techniques for integrating AI into
workflows using Chat Chi, BT, hands on experience in
creating real world content, using AI like Dali, and best practices for AI driven content creation
in a no code environment. Now whether you're a
seasoned content creator or just starting to explore
your creative side, this course will open doors
to new possibilities. By the end of this class,
you'll finish with a deeper understanding
of your own creativity, as well as a custom AI
content creation machine. And for our class project, we'll be simulating a
client agency experience. So that you can have real
world hands on practice. Anyways, if you're ready
to implement AI into your content creation
process, let's get started.
2. Project Video: Welcome to the project section. Now this is going to be an
exciting project because you are going to be acting as somebody that's
working with a client. And today's client has just
reached out and said they need something that has to do
with image creation and AI. We're going to build the system and then generate some images. So let's jump into the
e mail that the client sent us and we're going to go
and look at their briefing. Okay, here is the
brief that we got from the agency.
For this project. We will be tasked with
producing content for a video client specializing
in narrative videos. Your role will involve
developing a plan or system for generating supporting images to complement the content creator
we are collaborating with. Now regarding that
content creator, they primarily create
narration style videos, and they require
complimentary images to support their videos. Their preference leans towards
realistic style images, and the images should be in
one by one square format. So feel free to reach
out if you need any more information or
assistance with the project. And there's an attached
project brief. So let's take a look at that. Okay, here's the
project brief that they said to us. This
is more in depth. So we're going to go and
look at what it is here. There's the overview from the
e mail that we just read. And then this is the materials that we need
to create content for. All these scripts, have
photos that need to be made. Our job is to make these photos. Up next we're going
to start making and brainstorming how to make these photos to
deliver to our client.
3. Finding the Key Prompt: In this section
we're going to learn about finding your key prompt. This is the foundation, the basis that you're going to base your generations off of. Okay, so we're going to start
by generating the image. We're going to base
our future images on. So let's start off by
asking Chat GBT to generate an image
of Julius Caesar. Since we're trying to get
like a portrait of somebody, let's have it in a portrait
in hyper realistic quality. Now we want it to be as
realistic as possible. My goal here is really just to have an image be generated. And if we like that image, we're going to ask chat GBT to break down that image so
that we can recreate it. So right now this
is the fun step, you get to test out a
couple different types of images that are
generated and then we'll see where we
can go from there. Okay, so I like this, I like the hyper realistic
look on this. Let's change it up. Let's
try something else too. I'm going to use the term
photorealistic this time. Now what you really
want to do is try a couple different words. See which one you like and
then build off of that. Okay, so this one
is photorealistic. Photorealistic doesn't
look as realistic to me. I actually don't like
that as much as this. Let's try one more thing, this time we're
asking to generate an eight K resolution
portrait of Julius Caesar. Let's see what it comes
up with because it says eight K resolution is beyond
its current capabilities. It will generate something
close, which is fine for me. We just want to see
what it generates. And it came up with this kind of three D looking one that
I don't like so much. So out of these three, my favorite was the hyper
realistic portrait. So we're going to use this one. We're going to save it then. I want to have it a
Caesar reference, and then I'm going
to go down here and upload this and ask
it for the propt. So I mentioned that this was generated on Ali with chat GBT, which is what we're using here. And can you please give me the exact prop to
replicate this style? Okay, so once it gave us the prompt, it
showed up as this. But I want to go a bit further. Since we're not just trying to recreate this specific image, we want to be able to recreate this style of image with
different subjects. So I'm going to
ask it to give me a prompt that lets me
change the subject, in this case Julius Caesar, while keeping the
aspects of this image. And I specifically told it to
take note of color palette, the lion dows and the
hyper realistic quality. It did give me a
prompt that was more general and this one was recreating it,
but with the night. But I do want to
change the subject, so I ask it to write me a prompt that lets me change
the subject of this render. Now, after a few times, we've already asked it
to give us the prompt. And it's given us a bit of a runaround and some
weird examples. But if we look at these prompts, we could also take
away that there are elements like natural light
and these color palettes. Rich earth tones, subtle blues, and this atmosphere, which is also apparent in this as well. Deep rich tones, soft lighting. We could use those
in our prompt, but I do want to give us a prompt that lets us
change the subject easily. So that way it's just
very easy alpha box. But if you're getting frustrated and it keeps coming
up with a runaround, then you can use some of those words
that we just looked at. And then that would
be the prompt that you have when you want to
recreate the style of image. But after the third
time that we asked, it gave us something like this. And actually really like this. So I asked write me an outline
of a prompt and a half subject as the subject for me to replace into whichever
subject I'd like. And then it came up with, sure, here's an outline
for a prop where you can insert any
subject you prefer. And then we hear it saying, create a hyperrealistic
portrait of blank subject. The image should capture the intricate details
showcasing subjects, unique features with a
high level of realism. The color scheme should
be rich and deep with a balanced mix of shadows and highlights to give
depth and dimension. The background should
be understated, yet elegant with
textures that complement subjects without
drawing attention away. The overall mood is one of sophistication
and timelessness, reminiscent of
classical painting. Now, I love this so much
so we're going to copy this and this will be the
prompt that we're going to use. So let's test it out
and we're going to use here another
historical figure. We'll have gangs. They generated
us an image of gangs K. Now let's try Cleopatra then for this one
we're going to add Cleopatra in a palace. We'll have it as an
Egyptian palace. It generated an image of
Cleopatra in a palace sideways. But this image looks good, although we don't
want it sideways. So we're going to change
this up a little bit. We need a square. Let's change this subject
to be King Arthur. I changed this one to include a square image
in the beginning, a square, hyperlistic portrait of King Arthur pulling
sword from stone. And then we have the rest. So let's generate this
and see what comes out, because we do want a square. Okay, so it generated
me this image, which is pretty good. But it looks like the
sword is a bit small. And I don't like
this so much, so I'm going to re roll this and then see another
image that it generates. Okay, so we have
two here and they both look like these
swords are pretty small. Let's see if we can
change this up and make it look like a big sword. Now of course, this
is just extra. We already have our
key prompt down. I'm just showing you how else we can generate
some images. And so for this one I'm asking to make the sword bigger
and have him used more effort to pull the
sword out as if it's like a massive sword
stuck in the stone. Because the story
goes, King Arthur is the person who pulled the
sword out from the stone, signifying that he is the rightful king.
That's the story. So this one's cut and close, but it's not quite exactly
him pulling out the sword. So let's re roll this and we got another
very interesting image. And finally, with a
couple revisions, we have one that
looks pretty decent. Here you can see the
revisions that I did, some of them don't look
as good as the others, but finally we have
one that is usable, so we would keep this. Now, going back to the main part of this
lesson is the prop. And we have this prop that
we're going to use here. This is our key prop. So keep this in mind,
we're going to save this. Okay, so I just
pasted it in my notes so it's easy to access and save. Next we're going to go into the custom GPT menu
and add this to it. Okay, up next is
going to be exciting. We're gonna jump in and
start creating things.
4. Creating the Product: So in this section, we're
going to create what would be delivered to a client.
Let's get started. Okay, now we will refer to our project brief so that we
can make some deliverables. Now we'll scroll down on the project brief and we'll look at the material section here
which gives us three scripts. So these scripts are
scripts that we're going to be reading
off by the client like they're going to read
it for a video and we're going to choose one of
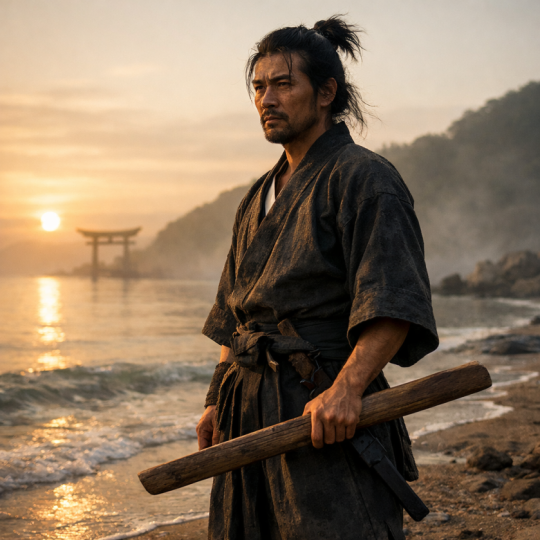
them to create images for. This one's about Socrates, this one's about Confucius, this one's about Musashi. So I'm going to choose
this one about Confucius. And here we have
individual lines. So the creator here
is most likely going to be reading
each of these lines, and per line is going to have a separate image that
describes each line. We're going to look at these
and we're going to find an appropriate image
for each of them. Now in the first one,
it's in ancient China, there lived a wise
philosopher named Confucius. So this one is probably
just shown Confucius. So we'll just keep it at that, we can highlight it just to note the importance or the most
relevant thing in here. The next one was Confucius
was troubled by a problem. Society around him was filled
with chaos and moral decay. Pet lost their way and he yearned to bring
order to the world. So maybe we can do bring
order to the world. And Confucius. Well, Confucius is the subject, so
we could skip that. And then we'll skip
highlighting it. And then the next
one, his solution. He devoted his life to teaching and spreading
his philosophy. Confucianism, so we can have him teaching and
spreading his philosophy. Let's highlight that one.
And then the one after that, Confucius believed in the power of education and
self improvement. He taught his students
the importance of cultivating virtues
like respect, honesty and compassion so we can have him maybe
teaching a student. So we'll highlight that
now. The next one. He opened a school where he inspired countless
young minds to become better individuals and responsible members of society. So we can say school is
something that's important here. So we'll highlight school. But then his teachings offered a path to harmonious living. Families grew stronger,
communities became more peaceful, and leaders embraced
ethical governance. So maybe we can highlight
harmonious living as the key word to highlight
in here or to showcase. And then finally,
Confucius wisdom became the foundation of a lasting
moral and ethical framework, influencing generations to come. His solutions help transform a troubled society into one
guided by virtue and respect. So maybe here we can just
have Confucius wisdom. Or Confucius again, just a photo of him to end the whole scene. And here we have basically
what we need to keep in mind as we're
generating our images. So let's hop on over to Chai Pet or Dali and
generate our images. Okay, so we're back in our, all right, so we're back in our image generator
that we made. And let's take the
first word that we're generating,
which is Confucius. And it really could
be as simple as that. But of course, as you're
creating for a client, you want to be a
bit more creative. You can have Confucius
in a studio. Confucius studying Confucius. Teaching Confucius
doing anything really. Here's our photo of Confucius. Now I don't like this so much. I think the background
is a bit empty. So let's have Confucius
at the royal palace. This way there would be
something in the background. And making it more dynamic. Okay, so this one's nicer. This is Confucius
in a royal palace. But let's make it a
portrait this way, He's the center of attention. Okay, now we have
a portrait of him which works for the
first checkpoint here. Next we're going to have him
bring order to the world. And let's see what the image generator has
in mind for this. Otherwise, we need to get creative and think of
something ourselves. Okay, I like this, but I also do like this element
of hyper realistic. So I'm going to add, let's
make it hyper realistic. Okay, I like this one. This kind of seems like the
whole world is watching him and he looks like
the star of the show. So we'll take this one
and then moving down, teaching and spreading
his philosophy. Even the last one works, but let's just make
another one and do Confucius teaching and
spreading his philosophy. In here we see another style of image of him teaching to
a lot of students again. And I do want it to be a bit
different from the last one, so I'm going to edit it and say, let's make it up close and more intimate between him
and his students. Maybe something that's
like a one on one session. Okay, so we have this one.
It looks really nice. And let's move on
to the next one. He taught his students the importance of
cultivating virtues. I respect honesty
and compassion. So we need another one where
he teaches his students. So we'll do one of
Confucius teaching or maybe a portrait of
Confucius teaching. I will even add portrait, head shot of Confucius teaching. So this is what I hope will
make it a fully focused on shot for a generation of Confucius And have
it focused on him. Okay, this is pretty cool. It's a very interesting
style of work. Next we'll do one where
Confucius opens up a school, which is this one where
he opened up a school that inspired
countless young minds. And here it is, he looks
like a hero, a superhero. And everyone else is a small side character as he
is the main character here. This is really cool. I
like this generation. Next we'll do the
harmonious living one. And I'll do it as
Confucius teaching harmonious living
in a small group. So we don't want a
massive audience again, we just want to
small little group. Here is a fun one
of him teaching to a small little group about
how to do harmonious living. And then finally, we have
this last line here. Confucius's wisdom
becomes a foundation of lasting moral and
ethical framework, inspiring influencing
generations that come. This solution helped transform a troubled society into one
guided by virtue and respect. So if you're feeling a little creative and want
to be experimental, you could copy this
whole sentence and see what the AI
generates for us. So I'm going to
paste this in here, and I want to see what
this comes up with. And maybe it might come up with something
that is really cool, that we couldn't have
thought of on our own, or we could have, but we did it. So as you see, it's generating a long answer which is
not really what we want. This is a reflection
of what we said. So we'll pause that
and then I'll rewrite, generate an image of, and then I'll have it
generate an image of this, which was the sentence
that we copied over. If you noticed, I
did have a bit of a space on influencing
that was spelled wrong. But for the most part,
you don't have to worry about that because
chat GBT is smart enough to know and tell
the difference between two different words or one word that was just typed
a little wrong. And so we have this
image which is also very interesting because it's
just an out there concept. And if you don't like this,
you could always press Re roll here and see
what you get again. And with their re roll, we have this shrine looking
thing with Confucius. But we do want the man himself. So I'll re roll it one last
time and see what we get. And I actually really like
this one out of all three, which I think they're
all really good. I really like this one
because it seems like it transcends many different
layers of illustration. So I would use this one
for the last image. And so now we have images for every piece of the story here. So when we send the
product to the client, they'll have somebody
that just sticks this into the video as
it gets edited.
5. Creating Custom GPT (AI): In this section we're going
to learn about how to create a system and go in and create a custom GPT
for your needs. And we're going to use the
prop that we used before, the key prompt we have. And we're going to create
the system for us to generate continuous
images with that prop. Right now we're going to go onto the open AI chat GBT interface. And the way that custom GPs are accessed is through
the explorer function. Here you press that for
the normal chat GBT. When you go on the page, it'll
look something like this. On the left side, there's an ex, you could press Explorer
to have access to this, to create a custom GBT. But the interface might change depending on
when you watch this. But essentially you
need to create a GPT. So click on that
and then you'll be taken to this editor interface. Now let me explain a bit about this editor
interface for you. On the left is the chat model where
you can talk to in case you want to make any
changes that you know you might speak to it and then it'll make that change for you. This is really helpful because you don't need to do any coding. You'll just have to
talk to GPT here. And then on the right
is where you can test your GPT model. And then right here on
configure is where you will configure all the configurations and things that you need to do. So I'm going to run you through how we're going to implement that last prop structure that we have. So let's
run through this. On the name part, I'm going to have image generation and
then for description, this doesn't matter,
it could be anything. Generate images for our client in realistic style
for the instructions. As you can see here, it says, what does this GBT do? How does it behave? And
what should it avoid doing? Essentially, these are
instructions for you to give the GPT so
that it can follow exactly what you want to have done and made in this GBT model. So we're going to paste
our prompt in here, which is create a hyperrealistic
portrait of subject. And the image should capture
the intricate details, showcasing subjects, unique features with a
high level of realism. The color scheme should
be rich and deep with a balanced mix of shadows and highlights to
give deaf and dimension. The background should be
understated yet elegant with textures that complement subject without drawing attention away. The overall mood is one
of sophistication and timelessness or reminiscent
of a classical painting. And so for
conversation starters, it's really just guidelines
for you to start this or for whoever
accesses your GBT to start. So it doesn't have
to be filled out. You could even just have
something simple like, who are you generating today? And this is going to
prompt it to ask you, who are you going
to generate today? Or you could be like generate
a historical figure. So you have this,
you can send it, and it'll generate a
historical figure. So we can test this out. So we just tested it out, generated a historical figure and it generated
us, this person. We don't know who he or she is. So yeah, it's just
a good example. But we could also test out here Alexander the Great
on a horse in Persia. And here's this
beautiful photo of Alexander the Great
on a horse in Persia. He looks pretty epic. But
one thing that came to mind, I remembered, is that we
need to make square images. So we're going to go back
into instructions and we're, or at least we're going to add, create a square hyperalstic
portrait of subject. And then as you're
doing this, you're going to see that
this gets updated. Or at least you need to save
it before you run it again. So I'm going to save
up here, confirm. And then after I confirm it
took me out of the page, so I got to get back into it. I think in the future they'll
change this interface a little bit but after
we are back in here, we'll see that create a square
had beralistic portrait of subject is updated and we
can create something here. So let's do Alexander
the Great again. And we'll have them
sitting at a dinner table. And here we have this
awesome photo of Alexander the Great
sitting at a dinner table. So we like what this custom
GBT has been creating. Let's finish it off and say this is what we're going
to use for our client. Now I like this image, let's save this
image and then have it as the photo for this. So now when we are going
to our custom GBT's, we'll see that this
is the image for our client image
generation custom GBT. So I'm going to update it
and save now as an extra. I'm going to go back
to this create part. For example, if I didn't
want it to be square again, I want this to be maybe a
vertical video, nine by 16. I want to ask it to
change the image to that. And then I'm going to say
something like, hey chat, can you make the images in nine by 60 in
format from now on? And it'll be a little
more specific and say four vertical videos and
then as you see here, it's updating the GPT. Okay, so if you
go and configure, you'll see that it's changed. Create a portrait in where
we had squared before. Now it's changed to nine
by 16 vertical format. Everything else is the same. So essentially the
changes that you need can be done on the
create part as well. But personally, I like having as much manual control as I can. And sometimes if you use the
part here to make changes, it might make too many changes on your original instructions, that becomes a totally
different custom GBT. So to be safe, if you're making big changes on the chat, save
the instructions. If you're already like
what your prompt is doing or what the
instructions is doing, save the instructions. Because if you change it with the chat and then it becomes something completely different. You can include the
previous instructions along with the new
changes that it has made. Now there are also
these parts as well. Capabilities such
as web browsing, Dolly image generation,
and code interpreter. For this specific project, we're really only working
with the image creation. So dolly image generation is the only thing that
should be checked off. Web browsing, if somehow
we want it to web browse, but you actually
don't need it in here and we aren't going to
run any code or anything, so we don't really need
it in here either. In the case of knowledge, knowledge is where
you're able to upload some files in here
for it to reference later. Now this could be information on certain characters
or information on how you want the art to look. It really is information on anything and the
usage of it is if you are prompting using words as it connects to this
large language model, it's going to be able to access the data that you have on
this uploaded files part. And also actions is
connecting API's. And this is more so if
somebody is creating programs or something that needs a more technical
touch on it. But since we are focusing on
the creative aspect only, we really only need to look at this, the instructions part. And if you really do
need to get specific, then we can do some
uploaded files to give it a better knowledge
of what we're referring to. But since we like
everything else already, we're going to update
and save this. And with that, you
have the knowledge to create your own custom GBT. Up next, we're going
to have some finishing remarks and end the class.
6. Conclusion: Congratulations on
finishing the course. Now, this course has been a total journey of what to expect as you're building
something for your client. And to recap, we learned about how to understand
the client's needs, how to break that down into
creating a workable prompt, a formula for you to build, what you need to
deliver for them. And then finally, how
to plug that into open AI's LOM so that you can systemize
your whole process. Thanks a lot for participating. I'm excited to see what you put down in the project
section below. And if you can help me out, leave me a review about what you liked about this class so I can continue improving on what
we are learning about. So thanks again and I'll
see you in the next class.
 Arnold Trinh, Multi-Disciplinary Creative