Transcripts
1. Introduction: Do you struggle to capture the essence of what
you want to draw? Are you unsure how to start your sketches
from a blank page? Do you have difficulty simplifying a subject
to its essential form? Do you feel overwhelmed by all the different shapes and moving parts of a
complex subject? Then this class is
perfect for you. Hi, I'm Julia. I'm an
illustrator and field sketcher. Welcome to this focused
mini class on how to capture the essence of
your subject with shapes. In this course, you'll
learn how to simplify complex subjects
into basic shapes using just a few
confidence strokes. By focusing on those
foundational shapes, you'll be able to capture the overall feel of what
you're drawing without getting bogged down in details at this early stage
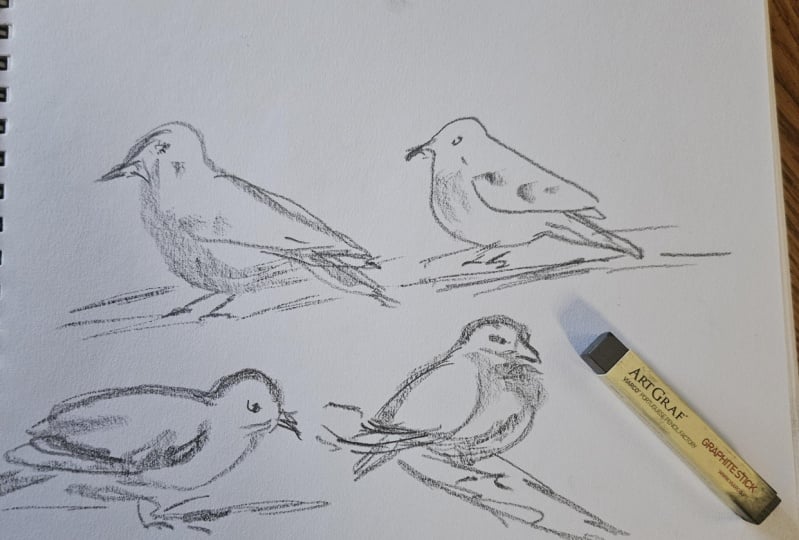
of your sketch. Our tools will be simple. I recommend a graphite
or pastel stick, a drawing tool with
a really broad edge, and some simple drawing
paper, and that's it. Through these exercises, you'll see how much
you can achieve with just a few big bold
strokes and minimal equipment. By the end, you'll have
learned a fun technique that will let you create bold
and expressive sketches. That's not only
great for warm ups, but for building these
basic observational skills that you need for drawing. I hope you'll join
me in this class and let's dive right in.
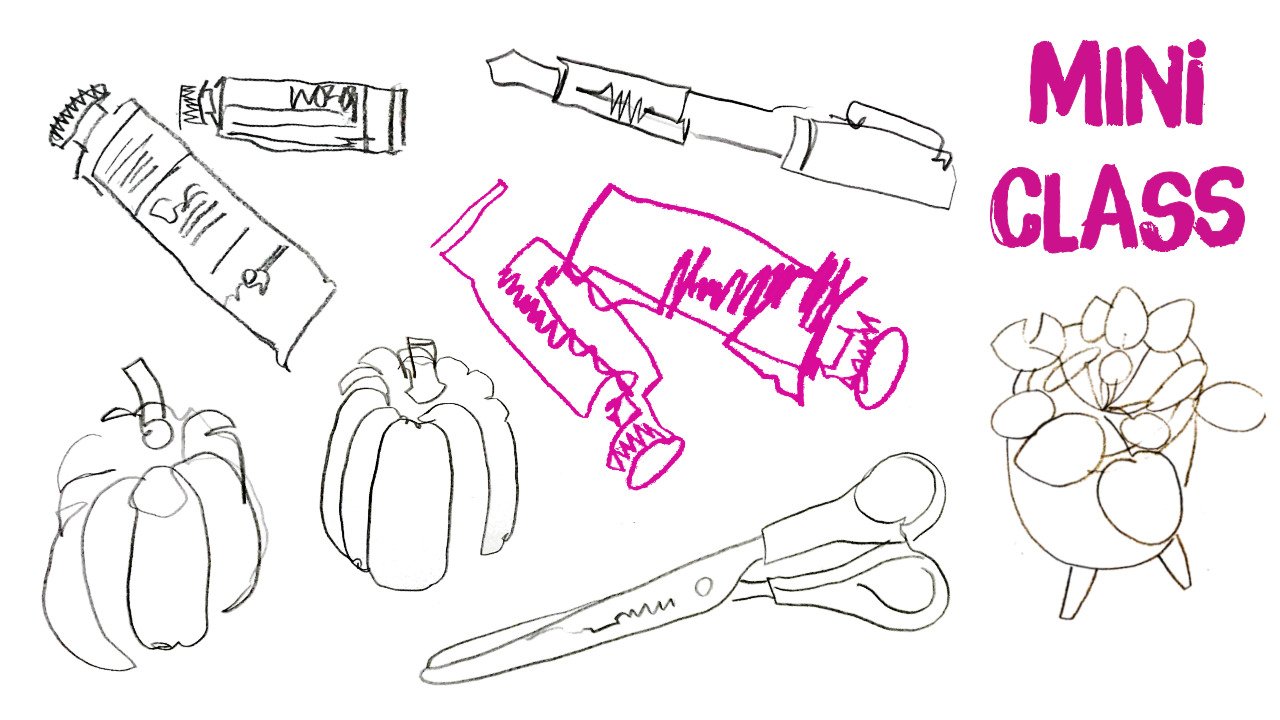
2. Examples: In this first lesson, I want to show you some examples of what this technique
can look like when you work with
a broader tool like this or even like this, you know, these kind of big
chunky graphite sticks, and the kind of
sketches we'll be creating and what you can
expect from this class. So we'll look at how to capture the essence of
different subjects by focusing on these
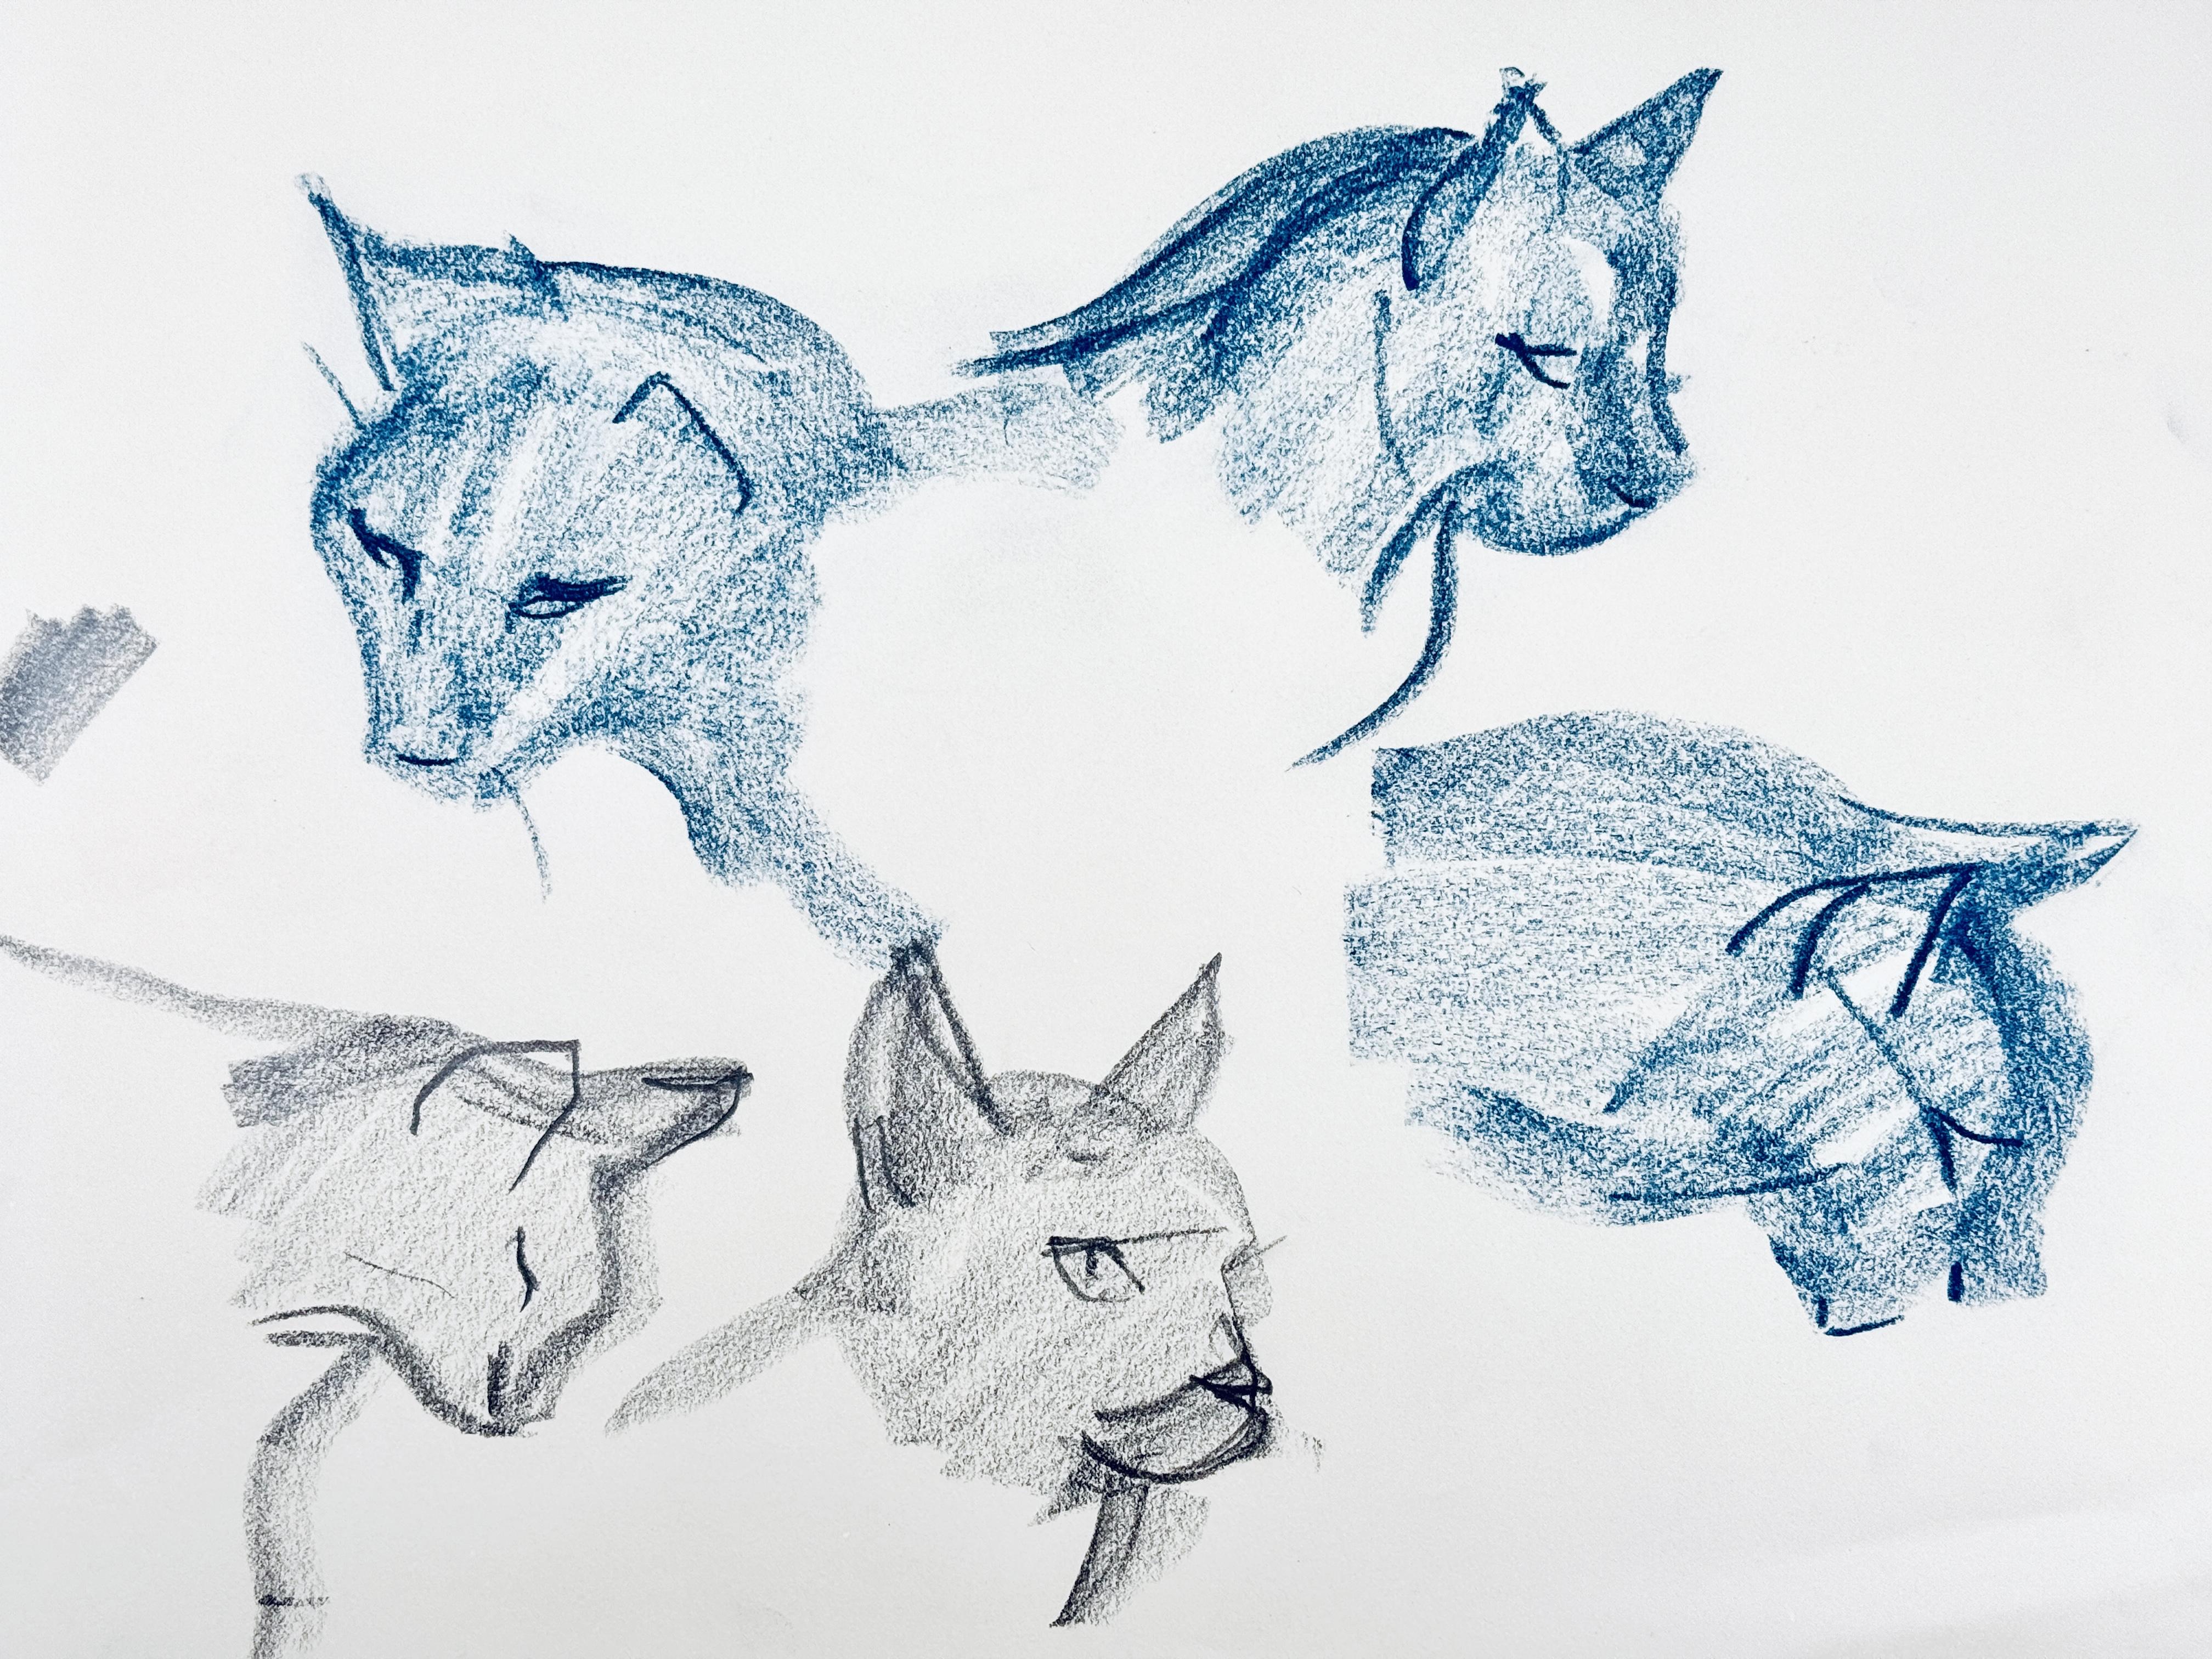
big bold shapes instead of small details. Let's start with
these cat sketches. So for this sketch, I used a big graphite
stick like this, and I used big shapes
to suggest the body, and then just a few lines
and indications for the tail and the
limbs and the ears. And the emphasis here
is on the movement and the roundness of the body
on the overall proportions, capturing the character of this cat in a few strokes
without any further detail. You can see this also here, the line emphasizes the movement and those sort of
floating forms. I'll show you just a few more. So that you can get a feel for what this
technique is about. It's about big shapes. Then maybe going in, you know, with the edge of this tool to
do a few lines to redefine. But overall, you want to keep
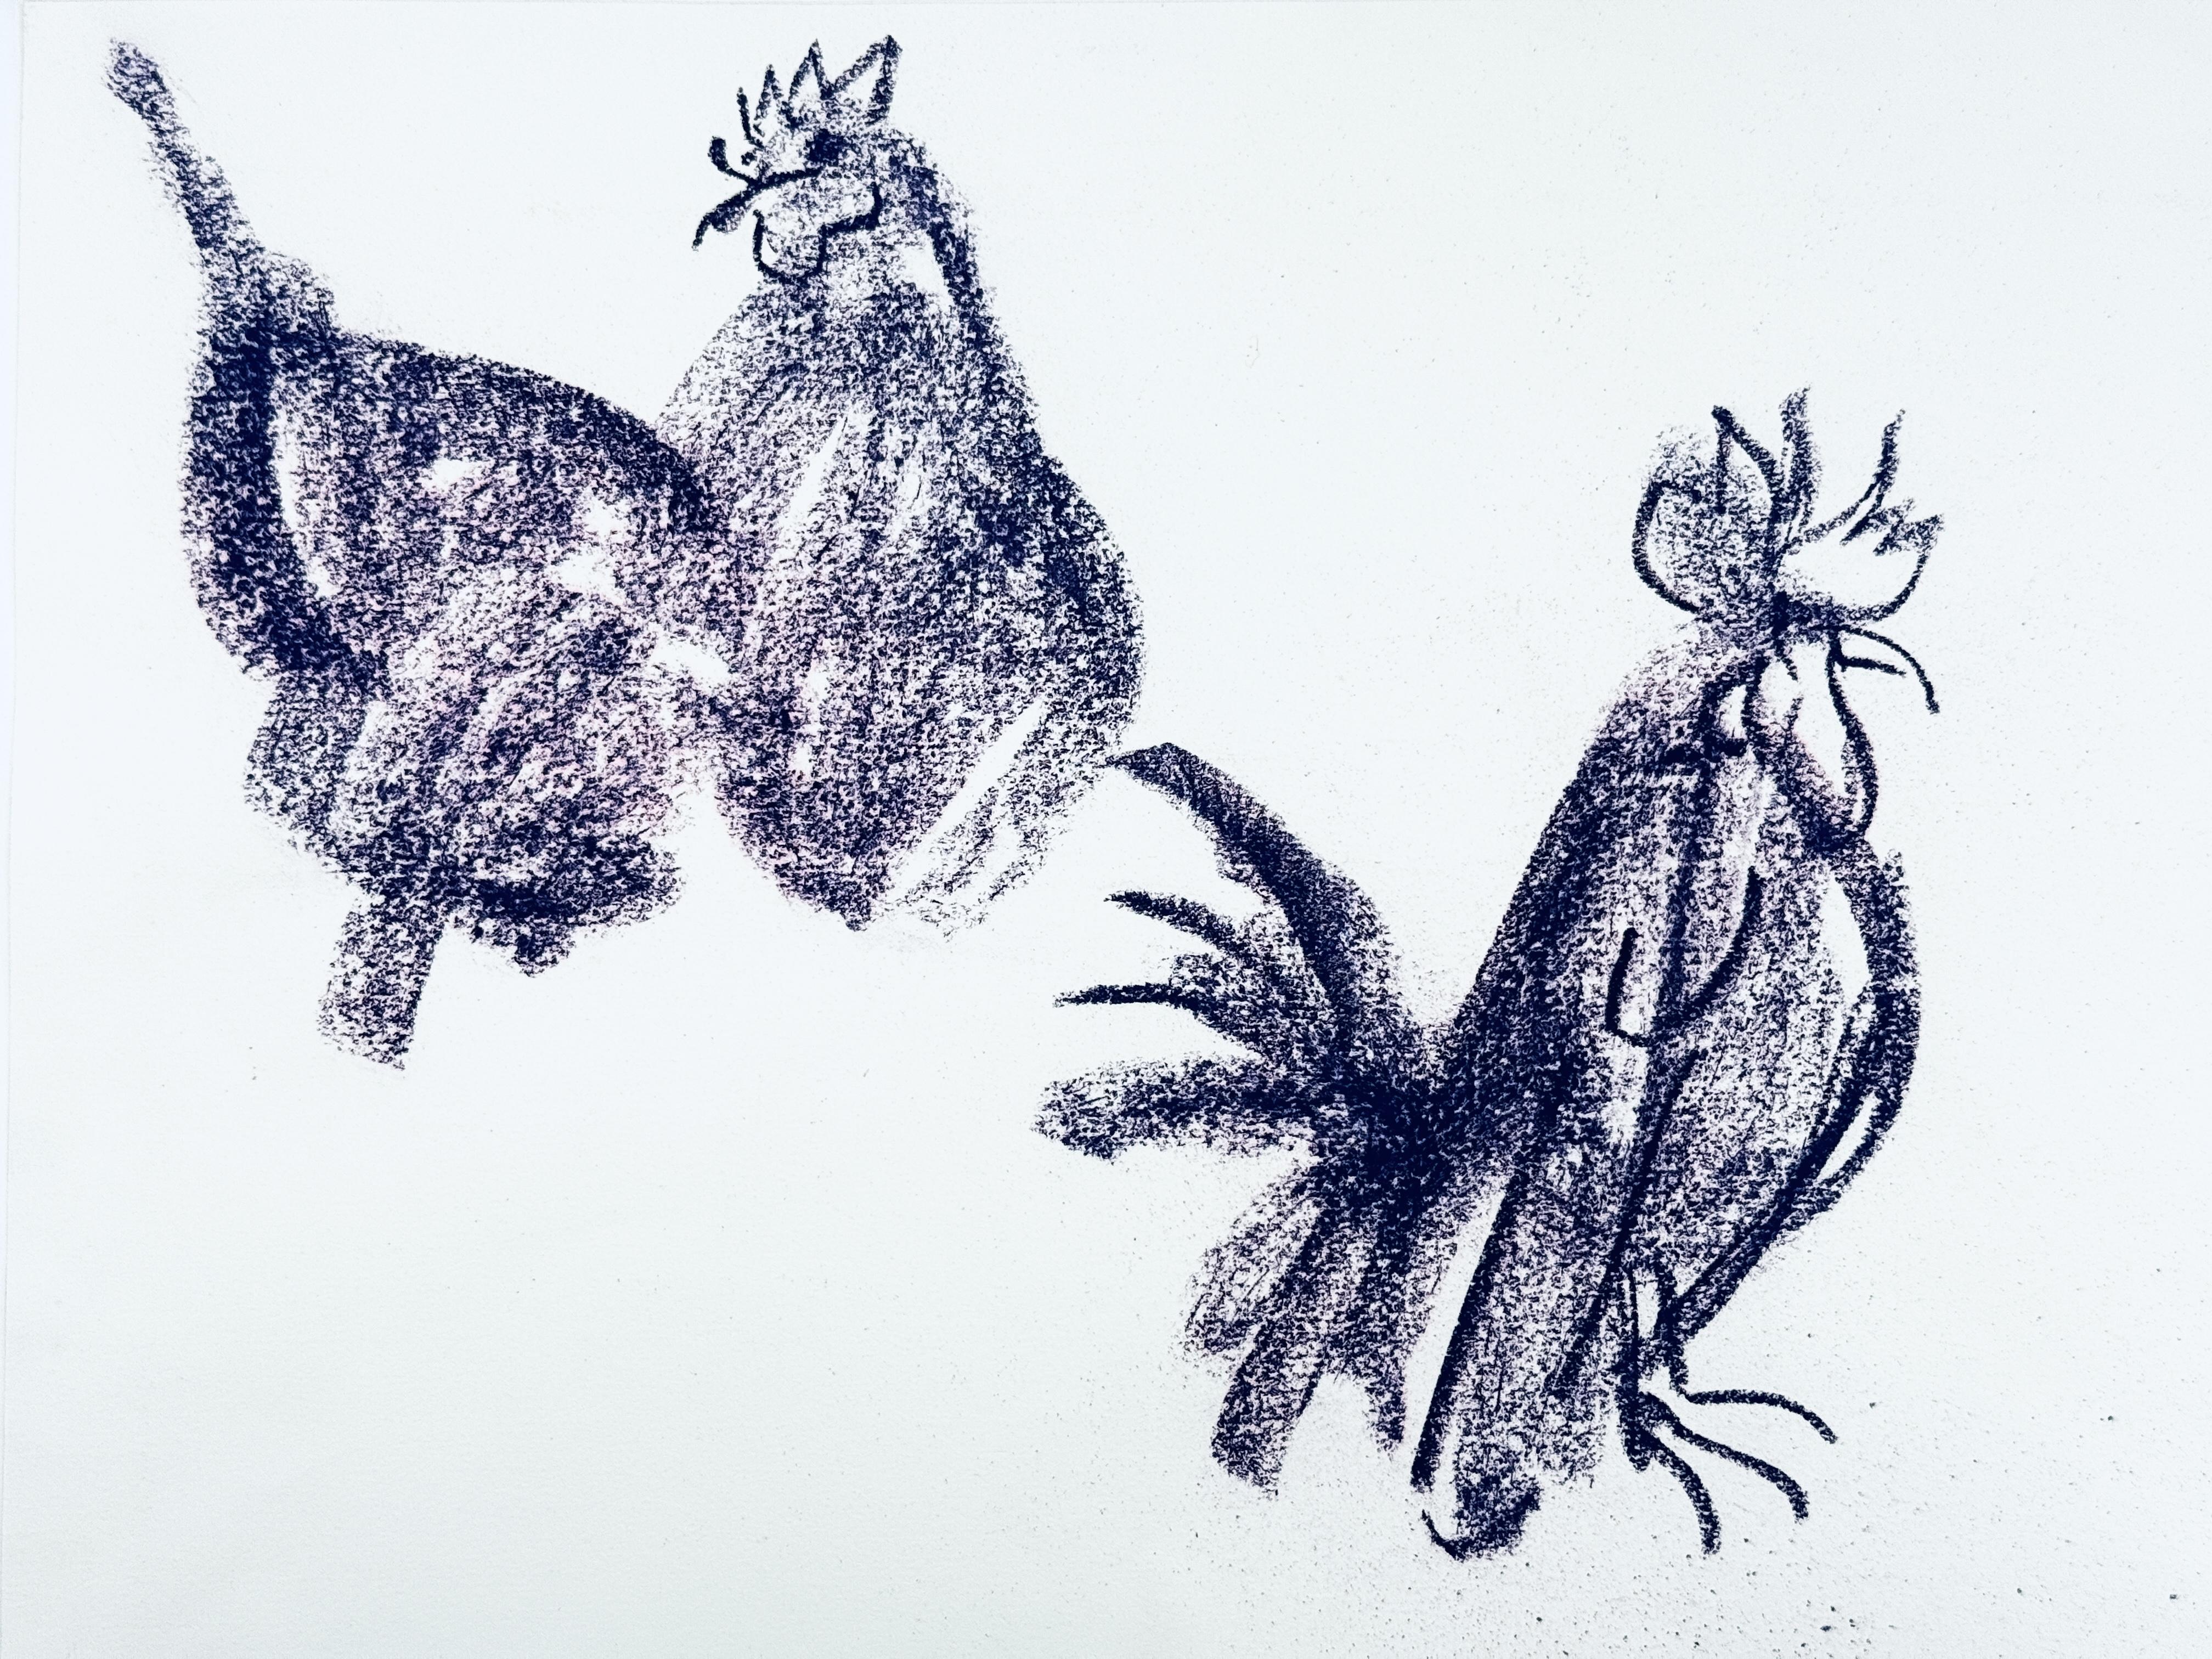
it really loose and rough. So again, for these chickens, I use these big shapes. I start with loose forms and
curve my hand around this. I keep the shapes mainly
broad and really undefined. And this way, the
sketches feel light. It captures the animal's shape. And there are no
precise outlines or any details or feathers
or anything like that. That's not what we
want to focus on here. And this is a really great
technique to learn about, you know, how animals move, how they stand, how
their stance is. Here are mere cats. For this one, I focused on this upright posture,
these little angles. It's almost like chiseling. I start with this rough form of the head and then
drag this form down. And yeah, with just
these few strokes, you can see the gesture and the personality of the mere cat without any need for detail
in the face or the fur. And pelicans Pelicans are fun. So, focus on the really
distinct features of this bird, this large beak,
the rounded body, these weird shapes they
make, and more birds. This is a hern and flight. And in another pose in another
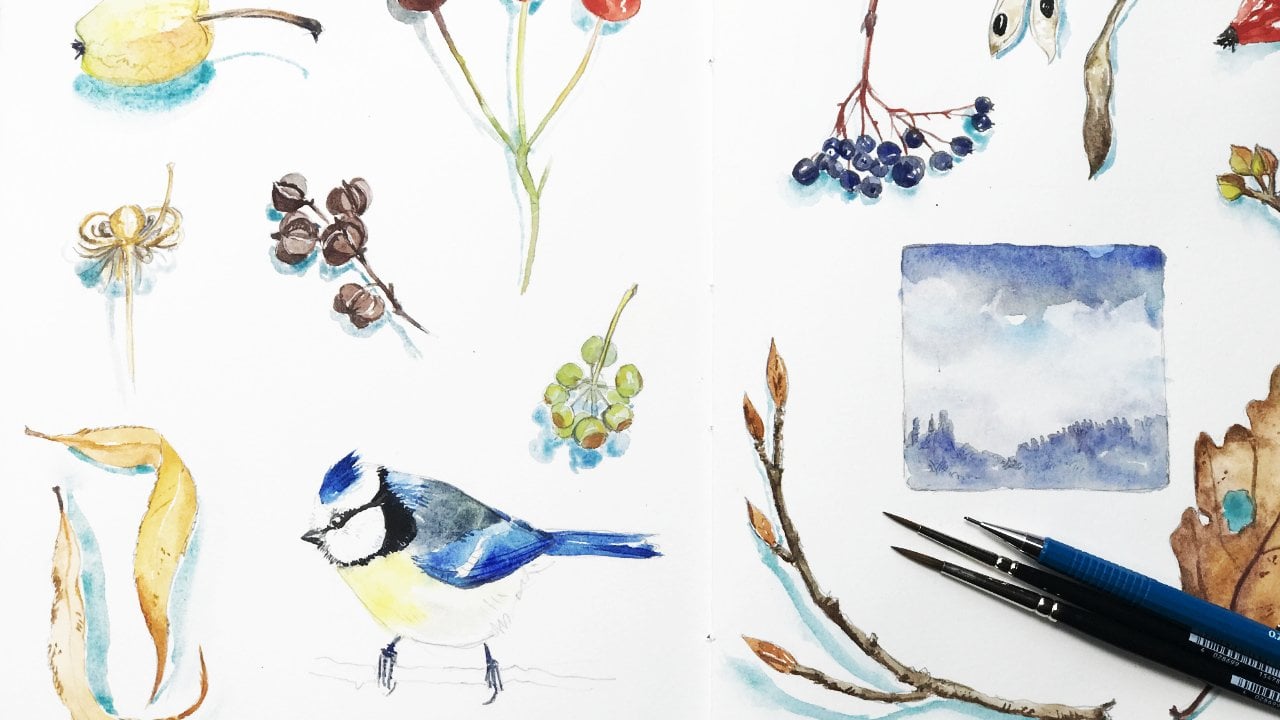
pose, more birds here. You can also use this
to explore the shapes of flowers or foliage that
you might want to draw. So even the subjects
that feel a little bit more complex that have lots
of small moving parts, might be fun to use this
technique to figure out the differences between the
shapes and the background. These examples show
you how you can use these big shapes to capture the essence of
different subjects. So you want to retain
an economy of line. You don't want to overwork this. Capture what you can see
with very few strokes, and this way, you'll
create a sense of flow and energy
in your drawing. So keep this kind
of simplicity in mind when you do these
kind of sketches.
3. Tools + Warm Ups: Now let's get comfortable with our tools and do
a little warm up. So I use simple sketching
paper, simple drawing paper. This is rather thin. It has a little bit of tooth. The brand doesn't matter at all. You could also use
something like this. This is a layout pad. The paper is rather smooth. So, you know, just try out what you have and see
what you like the best. It's not really about
achieving any effect. It's more about the ability to create those
loose bold strokes. You could also use printer
paper or something like that. Now about those graphite
sticks that I've shown you, you will need a tool for this exercise that
makes a broader line, a broad stroke like this or maybe even
something like this. There are different
products on the market. I've tried a few of them. I have to say I prefer the
tools that work with graphite. Now also these tools
that are sort of similar to charcoal
that have color, it doesn't really matter, but I find I just prefer the tools that work like graphite because you can easily
smudge your hands. You can also use
something like this. This is a box of soft pastels. They are already in this very
interesting short shape, so they make really
nice broad strokes. Again, I don't really
like the mess they make, but it's a possibility. Um, if you don't have
any of these and maybe have markers or a brush, that's
another possibility. You see this also makes
nice broad strokes. So just use a broad
tool for this. And so a broad tool
like this lets us create these
big bold strokes. It can fill in shapes, and this encourages
looseness and helps us to avoid getting
caught up in details. And you can still add details. You know, sometimes
you might want to add a line or small detail. And this is also possible by turning the tool on the side. So let's try out a few
of these techniques. Hold your pestle or your
drawing stick rather lightly. Don't try to hold it like a traditional like you
would a traditional pen, but rather like this. It's a bit easier to
draw with it like this and try not to grip it too tightly and start making these large sweeping
marks on your page. You can forward and backward,
doesn't really matter. And just use the broad
side of your tool. Um, try to use your whole arm. This exercise really
works best when you're standing and can move around with your hand
and with your arm. So twist your hand
while you draw. Try out how many different
angles you can get in here. So go all in with your
body or at least try to. This is a bit weird
in the beginning. It takes some getting used to. Try to get comfortable
with this and embrace these big
expressive movements. I'll show you with this
slightly broader stick here. So it also makes these
beautiful marks. And at this stage, it doesn't
have to look like anything. So just try out what you
can get on the paper. Try also maybe different
pressure levels. Notice how light and
heavy pressure can change the line quality and don't want to do
something like this. So you don't want to do
these small movements, make big swooping movements and see how fast you can fill
the paper with this. So big confidence strokes. And then you can also
try and use the edge of your stick to create these more these thin lines
or these accents. I can also show you with this. So you have this broad shape and then you can do these
smaller accented lines. So overall, this approach will help us to see the
big picture first. Always think about
those big movements, big strokes, big
shapes, general shapes. Don't give yourself a
chance to fiddle around with those tiny details
with fur or feathers. Don't even think about this. So really try and explore this looseness and we're
going to draw some animals in the next step where
we will start observing and simplifying
those real shapes.
4. Simplifying Shapes: Now that we've warmed up,
let's draw something real. Let's dive into observing and simplifying the
shapes that we see. And so in this lesson, I've already switched to my
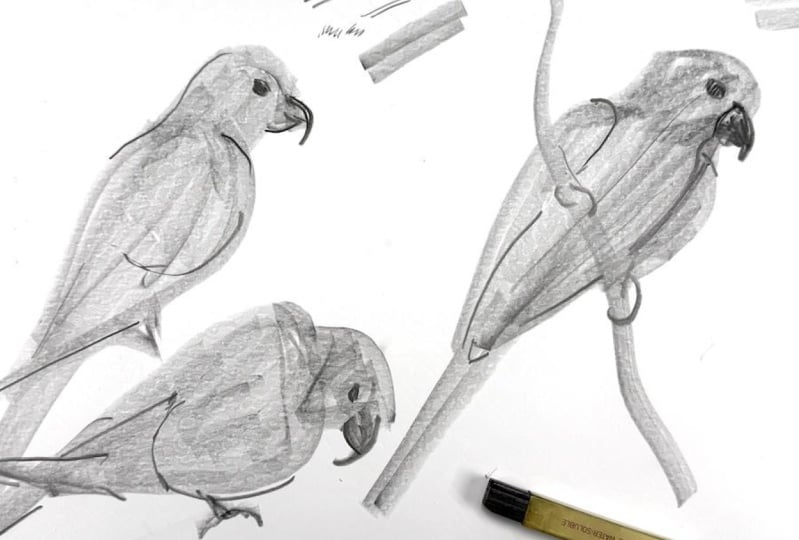
bigger drawing pad here. And yeah, I have some photos of parakeets
here that I want to draw. And I'll start by looking for the really large
shapes in my subject, and I try to break this down. Now, I have this
nice graphite stick here that I really
like to work with. And yeah, so I'm
starting with the body. And just trying to get in
this oval type of shape, and I'm filling
it in immediately because I don't want this to remind me of any kind of
line drawing or any kind of, you know, I don't want to get
bogged down with details. I'm trying to feel my way
around the form here. So here's the head and
we also have the beak. For this, I will need to turn the angle of this
graphite stick just a little bit so that I can get
this more exact shape here. Yeah, I will leave the eye out. It's more like a detail. I will also not
add any feathers, but I will add the
second bird that's sitting right below
the first one. So again, I'm aiming for
these very big shapes first. So the entire body
of this little bird adding in the claw with a slightly turned
graphite stick here. And now as for the head, I'm trying to see where the out whether the
shape is turned. And again, slightly turned
shape here for the beak, Okay. So this process is not about
getting everything exact. This is impossible with
a brotu like this. It's more about
the general feel, the proportions of the shapes, how they relate to each other, the overall stance that
you can see on the bird. So you're not aiming for an exact replica of what you
see. Let's do another one. Start with the wing here. It's growing into a head. I again, immediately
filling the form. I'm not worrying too much about any directions or texture at this point because
it's really not important for these
kind of sketches. Okay, and we have the little beak
here coming out of the shape and also the foot. So there's a stick. He's sitting on a stick. I'm just going to sketch this in and indicate the little feet. Okay, I think we're finished. This doesn't look too bad. Overall, this shouldn't take
more than one or 2 minutes. Don't worry if this
is not perfect, if it looks a bit wonky, if the proportions
don't match entirely. No, this is about capturing
the essence of the subject, about training your observation. I find it's almost a little bit like blind contour drawing, which I also have a class about. But other than blind
contour drawing, it's focusing on the big shapes
instead of on thin lines. So As with any new technique, this will get easier
with practice, with confidence when you have figured out how to
handle your tools. But I would really like
you to try this out. In the next step, we're
going to add some details, some definition to
our rough shapes. So yeah, let's see
how this works.
5. Adding Accents: Now that we have our
basic shapes down, let's add a bit of detail,
a touch, not too much. You can add a few
thin lines to add details and accents
like maybe the eyes. Try to go easy on these. Don't make this a
line drawing or any kind of finished drawing. The overall shape
and the character of these drawings are the
most important aspect. So I will try to add
just a little bit of definition here maybe where
the feathers come around. The eye is certainly
the most important. And I don't want
to overwork this. I find it's best not to hold it like a
pencil in this stage, but still to hold
it like you were before when you were
making the broad strokes because holding it like a
real pencil where you can get really detailed just invites you to start fussing
around with it too much. All we want to do here is maybe explain a few of those
overlapping shapes here. So this might look
something like this. Again, don't overwork anything. Redefine the eye here a
bit more, and, you know, I might even fill in the beak. So do just enough to define
what's already there. Notice there is the wing
is coming around here. So I want this to
be have an outline. And here we have the
edge of the body, and then the wing is
coming around here. There you want to add
those small lines. And, of course, the eye is
always the most important. And what I'd like
you to remember when you're doing these kind of sketches is unity
first, variety second. So make sure that your main
shape is in place before adding these smaller details and don't add too many of them. So I added maybe three or four
different shapes overall. This is supposed to
be a loose sketch. Don't try to make it
a finished drawing. That's not what it is. And again, we'll
use something that can be described as
economy of line. Be very intentional what
you put onto the paper. Just capture the essence. With a minimal
number of strokes, and that goes for
the large shapes as well as for these outlines. Just use enough strokes to
define what you're drawing and keep that simplicity in mind when you do
your own sketches.
6. Putting Everything Together: Okay, let's do another one. I have switched to a different graphite sticks that overall works
in the same way. And, um, I'm going to sketch this pelican because it's just it has such weird,
interesting shapes. So starting with the
shape of the neck here, and this turns into the body, I'm filling in the
body, and right away, I notice that the
shape is slightly off. It feels too round. So what I do is I redefine this
shape with a thin line. So I'm angling my
stick a little bit just to give myself
this visual cue. Okay, let's do the beak. It has this sort of slight
bulge where the head is. And again, you can immediately work with those slightly
redefining lines here. You don't want to create an outline for your
entire sketch, just in the areas where
you think you might maybe need a detail or
something has to be redefined, but don't spend too
much time on this. Now, for the wing,
that sort of he holds it like he's maybe drying it or something.
I have no idea. These are such weird birds. Um, so it comes down like this. And then we also see a
little bit of the feet. So I'm going to
indicate this here. Okay, feel this is a pretty
good likeness of this bird. These interesting ridges around the eyes that I'm
going to add in and then maybe even a little
bit more definition in this area here. Yeah,
I'm happy with this. Let's do another one.
Maybe focusing on the face because I think that doesn't really
do it justice, but let's see how
far we can get. So This time, I'll
start with the beak. I'm afraid I already
have messed it up, but, you know, it is what it is. Okay. The head looks slightly angled or slightly boxy to me. Oftentimes, when you think
you have a round shape, then it's not really
that round at all. So, yeah, I think I'm happy
with how this has turned out. So the beak probably needs
to be a bit larger. Okay. And again, I'm angling my tool so that I can
get in the details here. And, you know, it's
the edge of the paper, but if I had the room, I would probably even add some of the shapes that
come out here. So the wings and the
rest of the body, it's always nice to have this sort of portrait
style for things. So, yeah, I'm pretty
happy with these. You've noticed
that I've added in those thin lines while I was in the process of
my overall sketch. So that's actually a nice integrated way to
go about these. You don't have to I broke
it up earlier in two steps. That is mainly
because I wanted to have two different lessons
that show you this stuff. But you can definitely go in, start with a shape,
and then, you know, quickly turn your drawing tool
and just add a little bit of a redefining
outline and yeah, add the stuff as you
see it and as it comes.
7. Drawing Complex Shapes (Iris): Let's try sketching a flower. I've chosen an iris
to try this out, and I have this interesting
drawing tool here. This is actually I think it's a water soluble
graphite block. You can see it's already given off some paint on my fingers. So this is a slightly
more tidy option, but if you have something
like this lying around, maybe give it a try. Let's see how it will do. So irises are notoriously
complex flowers, and what I want to do so you see this gives a nice
fat line here is simply try and follow the shape of those different
petals with my stick. So I'm trying to get in
those bold shapes first, and it's already breaking off. So let's switch to the
smaller block here. And then we have those
tips of the petals, and I'm just going to place one really purposeful line here. So I'm trying to follow
those shapes, um, and it's sort of
split in the middle, and we have those petals
that are turning downward. And as you can see, I'm trying again to go from big
to small shapes, and I'm following those
shapes with my drawing to adding just a little bit of definition and contrast
where I think it would help, and certainly doesn't
need to be perfect. It's always great to do these exercises while
you're standing. So that's actually very
helpful sometimes to take a step back and see where you are in
your drawing now. Let's add the stem here. Doesn't need to be a lot. Just indicate this stem. And I think just like that, we have a very nice rendition
of this iris shape, maybe make it a little
bit bigger on one side, and you can see it's really
this is water soluble. So this is giving up
a lot of paint here. And let's just try another one. So starting with the petal
that's in the front, and I'm drawing in
this solid shape. And right from the beginning, I want to show some of
the outlines of this. And then we have one petal that's slightly
more in the back, so I'll try to apply
less pressure and they're sort of sticking out behind from this front
petal like some ears. And then we have
this beautiful area where the petals attach to the stem don't need to
add a lot of detail to this. And then these petals that are pointing towards the bottom, I just want to draw them
in in this big swoop. So really cover those shapes. Real think about the
flow and the energy. That these petals have. And if you're seeing that you're losing a little
bit of definition, then definitely go
in with the edge of your drawing tool
and just redefine it in a few different
areas just like this. We have one little petal
sticking out here from behind. So I'm also carving this in, and then we have one
area here that I can also see so this would be my approach for slightly more complex subjects
with more moving parts. And as we saw, you can add in contrast and accent with the edge
of the drawing tool. And yeah, just starting
with those big shapes, those big movements,
following the shape, and then adding in
contrast and accents.
8. Share Your Shapes: Now that you've explored capturing the essence
of your subject with these big loose shapes and added a bit of detail
with linework, let's put it all
together in a project. For your class project, I'd encourage you
to do five to ten of these sketches in
quick succession, aiming for just one to
2 minutes per sketch and look for objects around
you or work from photos. I would suggest choosing
subjects that don't have too many small
intricate parts so that you can make full
use of this technique. And focus on these big strokes, avoid tight lines
and fiddling around. And remember, we're aiming to capture the feel of the
subject, not the details. Capture the essence.
Don't worry about perfecting your lines
or proportions. Just try to get into the flow of observation
and mark making, and treat this as a warm up, not as a finished drawing. So please share your sketches with us in the class
project gallery. I'd love to see what
you come up with. I hope you had fun
with these exercises, and I hope these
techniques can become a valuable part of your drawing practice or
your warm up routine. If you enjoyed
these exercises and want to dive deeper into
developing your drawing skills, I have a longer class called
sketching Fundamentals, where we cover more essential
drawing techniques. It's perfect for anyone
looking to build their foundational drawing
skills from the start. With this class, you can
learn how to draw anything. Thank you so much for
joining me in this class, and I'll see you
again soon. Bye.
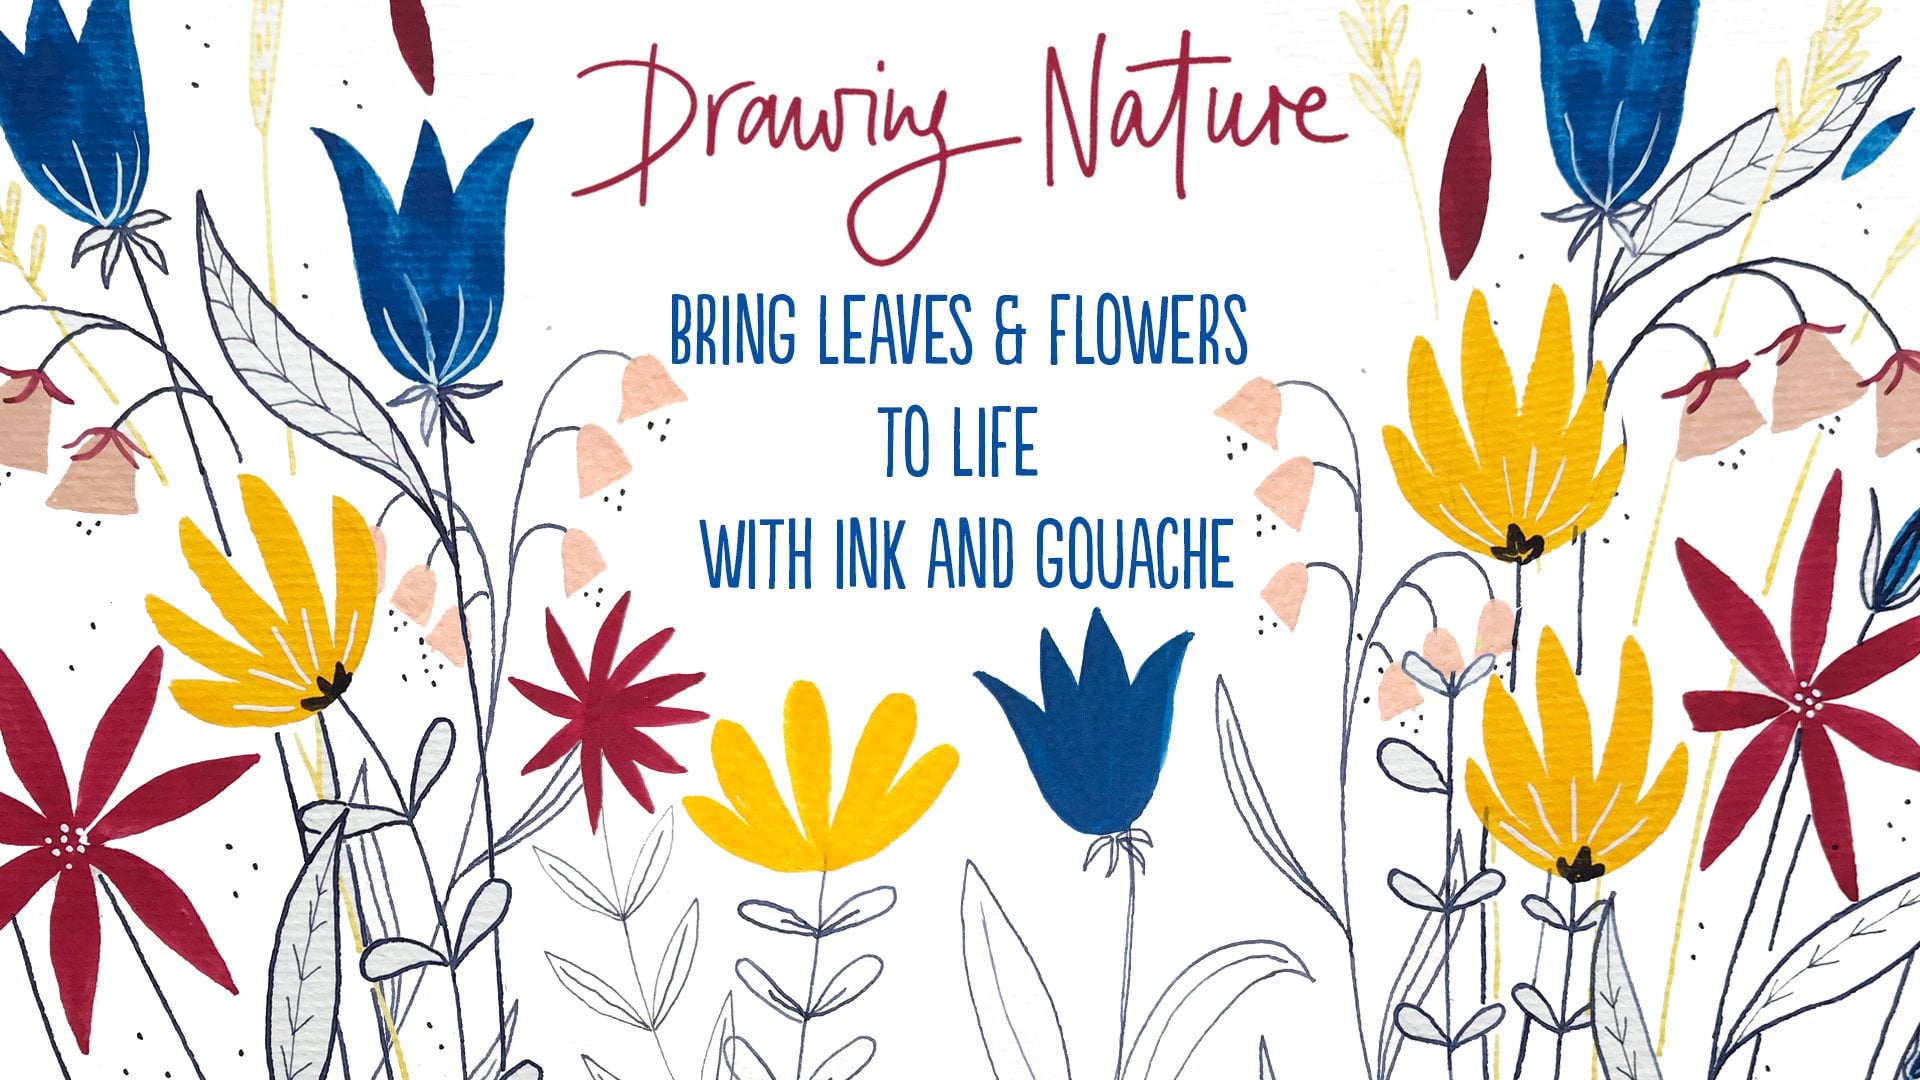
 Julia Bausenhardt, Nature Sketching & Illustration