Transcripts
1. Introduction!: Welcome to the mesmerizing
was of acrylic paintings. In this online tutorial, we will embark on a
creative journey to capture the all inspiring beauty of a cliff seascape using acrylics. Get ready to unleash
your artistic skills and immerse yourself in the
enchanting coastal atmosphere. The cliffs escape
is a scene that becomes us with its
dramatic cliffs, crashing waves, and the
breathtaking blend of colors. Throughout this
tutorial, we will explore various techniques
and step-by-step instructions to bring these
captivating landscape to life on your Canvas. Join me as we delve into
the world of cliffs and sees learning how to portray
the ruggedness of the rocks, the movement of the waves, and the interplay of
light and shadow. Let your imagination
soar as we captured the essence of this
extraordinary natural wonder. So grab your brushes,
prepare your palette, and let's dive into this clip seascape,
acrylic painting tutorial
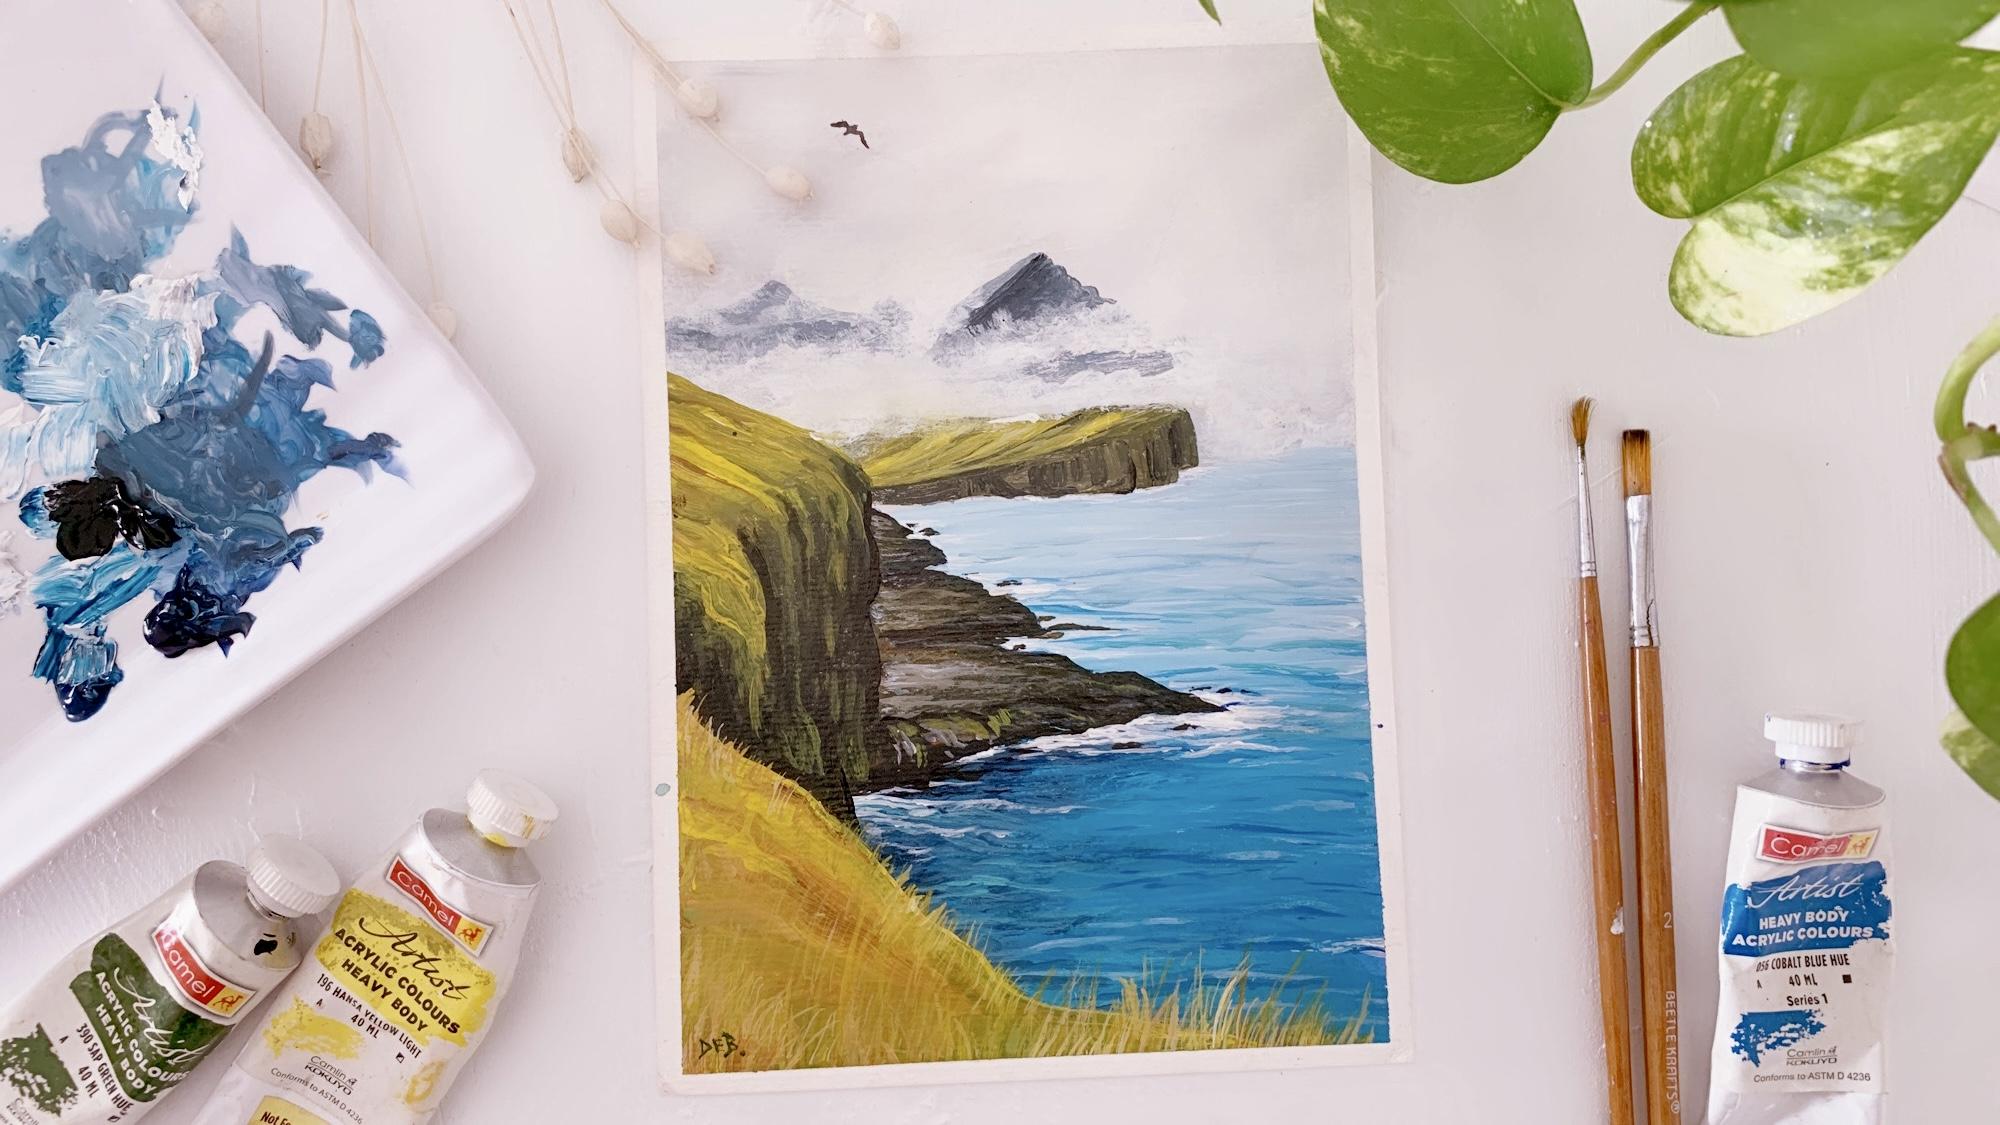
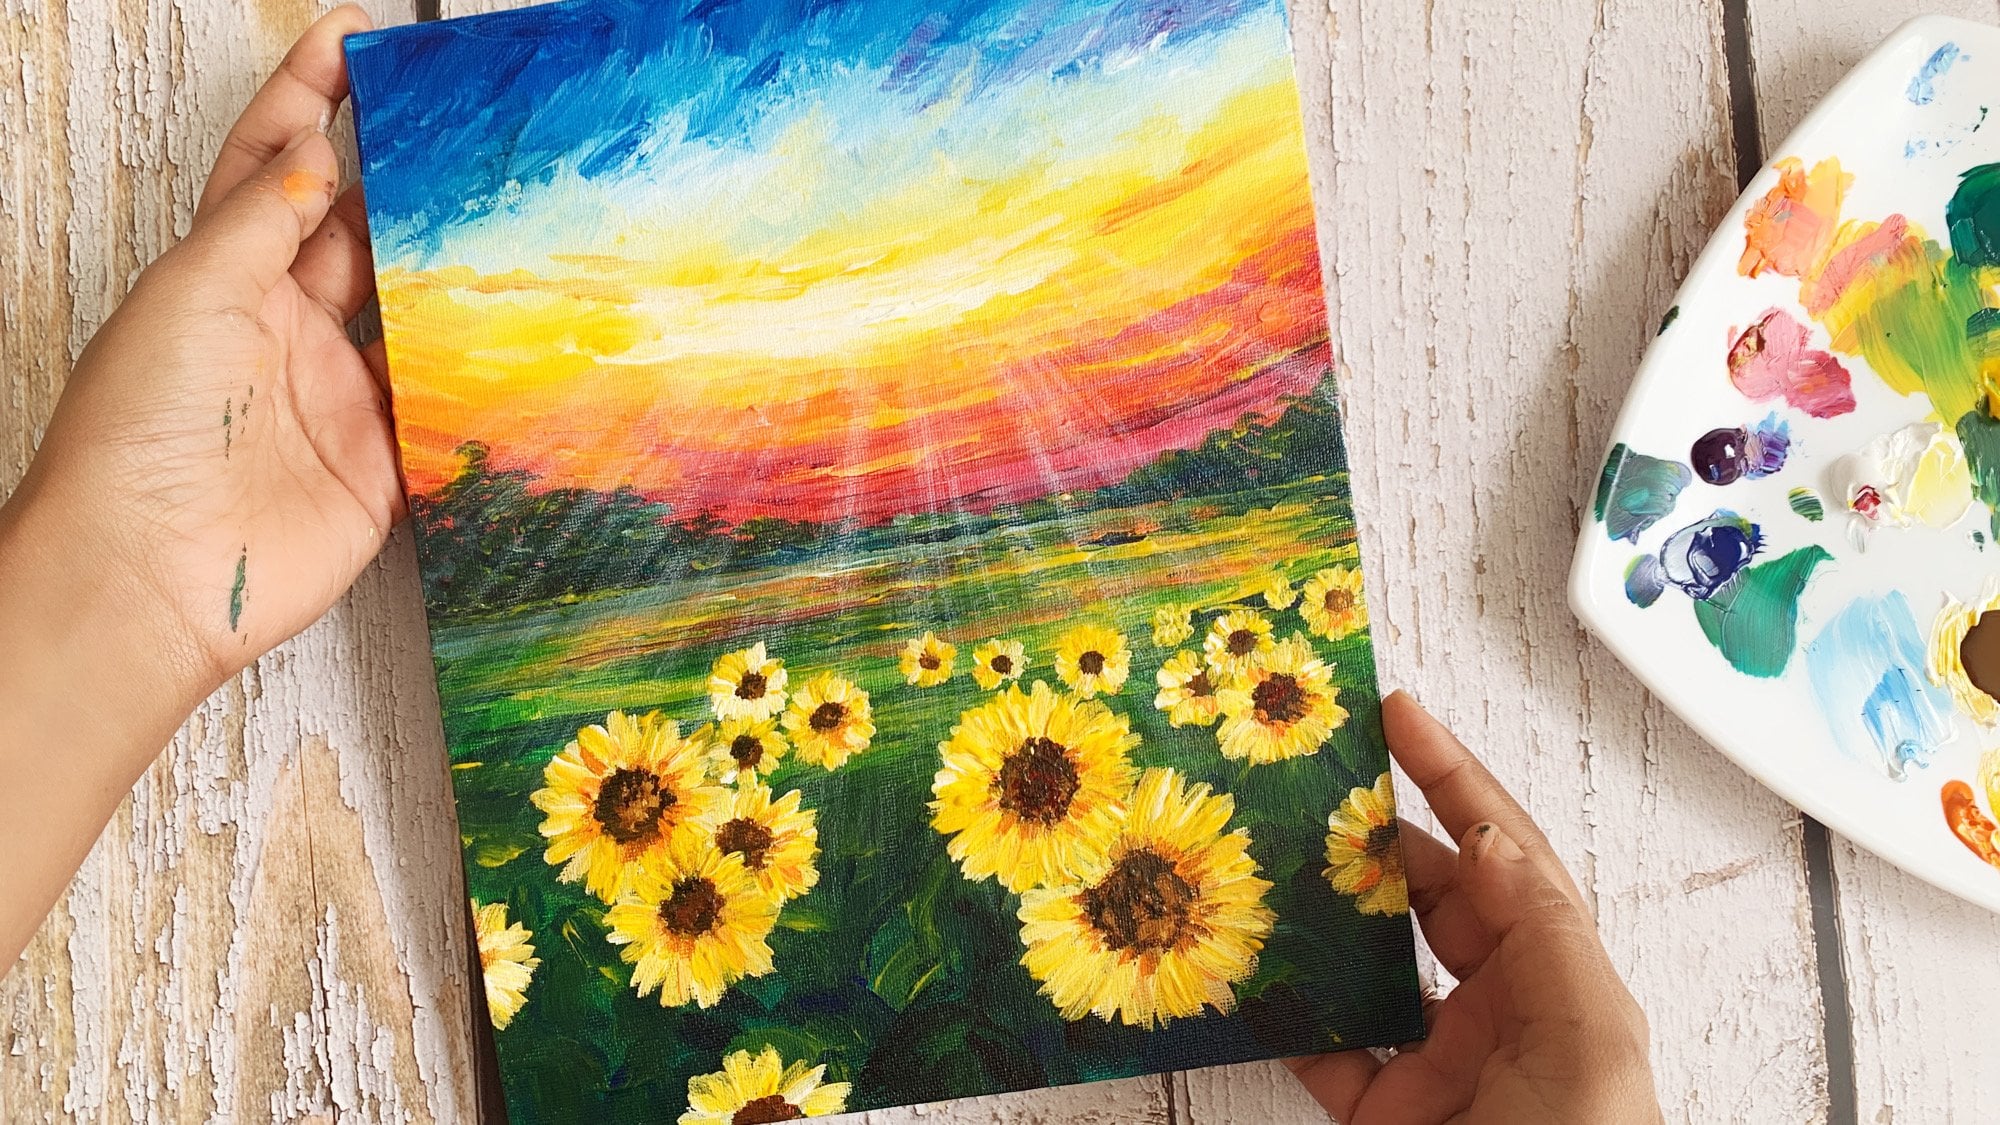
2. Inspiration for the painting: Hello and welcome to this class. I am so excited to teach you this beautiful leaf paintings. So this is a landscape
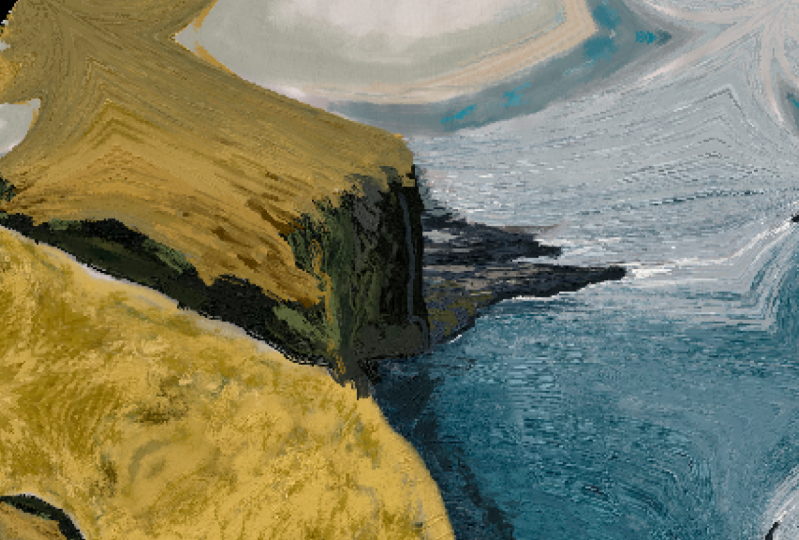
of Scotland. That's why I call it an
Scotland clip landscape. In the next clip, watch the video that inspired me
to create this painting, and I have taken one of the
screenshots from this video.
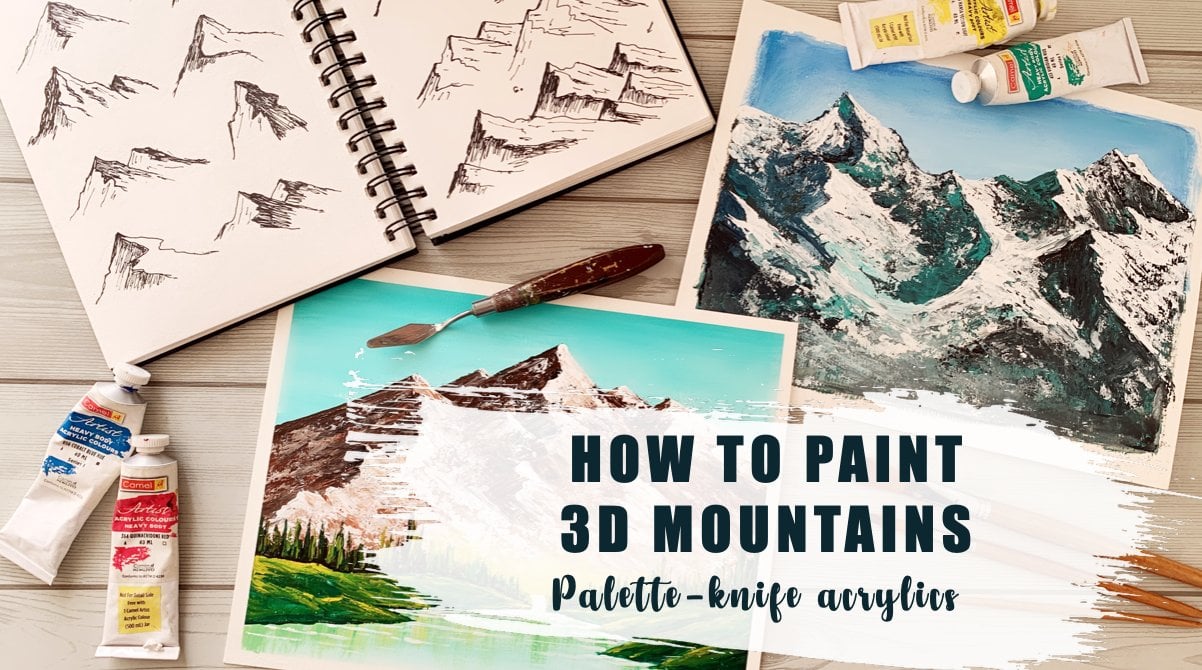
3. Step 1 - Sky: The colors I have used in this painting are
white, sap green, yellow, Prussian blue,
teal blue, black, and brown, and a
little bit of orange. Alright, so let's start. I'm starting off with a
flat brush and using white. For this guy. I'm going to
use just like in black and create little bit
of gray and use only as green for
the background. Well, creating gray, always remember to take
absolutely tiny bit of black unless otherwise you will end up creating
really dark gray. And we don't want very dark
color for the background. It's very light, so I've taken absolutely tiny bit of
black to create the gray. And gradually as I'm progressing upward
towards the canvas, I'm using more of white to reduce the color intensity of the grief from dark to light. Okay, Now I'm almost done
with the flat brush work, but I'm not going to wash
it and I'm going to keep it on the side because these little bit more
sky to be done and I don't want to wash it and get a lot of water in the brush. So I'm going to do it very soon. So I'm just keeping it decide. Now for doing the mountains. I am using my small brush and
I'm mixing Prussian blue, black and little bit of white to create a color,
a beautiful color. But I'm not going to add a very dark color
in the background. And I'm going to use a
lot of white to tone it down because the
mountains are in. So the most distant
one is going to be the very lightest shade. And then Ge'ez, gradually, as we keep coming forward, the color is going to increase. So I'm starting with
the lightest shade and then this color that
I mixed on the plate, I'm going to gradually
start taking it to increase the
intensity of the color. Now I'm using the same flat
brush that I kept aside. And this using this mix
that I just created. So it has a tinge of blue in it. So I'm using that to
create the background so that I can create
the foreground, mountains or the
clips in front of it. So I always liked doing
the background for us and then place the
objects in front of it.
4. Step 2 - Cliff: Now using the small
brush and creating the cliff using only black and white and it's
not very dark. I've kept it lights so
that with a dark black, I can create the textures. The vertical texture's
off the cliff. Now after creating
the black portion of that leaf with the same
brush without washing it, I picked up a little
bit of chrome yellow. Why? Because if you have
done the color study, you would know that chrome, yellow and black mixed together creates a beautiful
olive green color, which is the green color that I'm going to
use on that list. So it's actually good
that I don't have to wash my brush and pick
up a different color. So just by picking up
yellow on top of my brush, I'm just creating a
beautiful green color.
5. Step 3 - Clouds: Now I picked up a
different brush which is absolutely dry, and I'm using Absolutely
little bit of white to create little bit of clouds in front of the mountains
that we created. So it's basically the clouds floating in front
of the mountains. So make sure that you
don't have too much of paint if you are
using the acrylic, is going to be
really easy for you because then it will
not have water in it. So it will help you create
dry textures of the clouds. Really easy. This is one of my
favorite steps of creating with a dry brush
strokes, creating clouds. So have fun with this
process once you can, once you understand
how much paint you need to pick
up on your brush, you will see that you know
how beautiful textures are getting on your canvas. When I'm painting on
top of the mountain, just be a little careful
and make sure that you're not going to match inside and covering up the entire mountain. Just go a little
bit on the sides to create this cloud. Textures.
6. Step 4 - Ocean: Hi, so now all the
Cloud textures are done and I'm switching
back to my flat brush, which I haven't watched yet. But if you want,
you can watch it. There is no mandate that you
have to do cannot wash it. The reason I didn't
watch it because it's almost the same family
color that I'm using. So I already had the
paint in my brush, so I'm taking the
advantage of that and just picked up a little
bit of teal blue with it. To create the watercolor. I'm taking out a little
bit of dark green to create like the
paler blue color. But so if you have yellow, blue, you don't have to do this
by taking out green. You can just use Tableau, which is a little greenish blue. So all I want to do is
the bottom of the ocean. I want to create a
greenish blue texture because I love this color. And we still do. It's not possible
because Tableau is a lighter version of that and I want to create
a darker version. Also at this step, I am not focused on creating
a beautiful ocean and chest focused on covering up the entire space of the ocean. Almost the entire blending of the ocean has been
done from white, lighter blue to dark
blue at the bottom. And now with the white using the same flat brush,
I'm using the, you know, the peanut or
age of the flat brush and creating some white
lines of waves. If you want. Alternately, you can
use a round brush. Also align a liner brush
also to do this step. The reason I'm using
the plaid brushes because I already have
the blue colors in it and all the shades are already beautifully
created the colors. So I don't have to work too
hard in creating the color. So the same blue brush, I'm just picking a little bit of white to create the white waves. So the trick of doing the
waves is on the lighter color, use darker color and on
the darker color use lighter color and no don't
make them to contrast. So that is why you will see that on the
darker color also, I have used little bit
of dark and light mix. And now while I'm painting on the lighter area of the ocean, I'm using little bit of
darker shade of blue, not the absolute duction. Okay, so alternating
these colors just by mixing a little
bit more blue or white, you can vary the shades of the blues and
create beautiful ways
7. Step 5 - Waves: Now I'm just outlining
the land part. The reason I'm doing
this is so that I can paint the dark waves towards
the corner of the land. And the reason I want to do this first before
doing the land. So that little bit of color
that gets inside the land can be painted over and it's
going to look nice. So I don't have to
redo the West Fund. That's a marking
out the land area. And now I'm going to do the
dark leaves near this corner. And even a little bit
color gets on the land. When I paint the land, it
will be taken care of. Also this part I'm
doing with us, round brush and then
the flat brush, but this can be done with
a flat brush as well. So whatever you
feel comfortable, if you feel you can
do it better with a flat brush with a team
site, you can do that. But all I'm doing is instead of creating absolutely
horizontal lines and just making some wave lines
and going all over it. So I'm starting off
with a dark color. So I've laid out the dark, darkest color of the blue
here in this corner. And then on top of it, I'm
using little bit of white, shading it down and using lighter color to
create the waves. Just go a little bit to
and fro to create some of these wave lines with
multiple blues that you have. But I will not be doing the absolute white colored
waves at this point of time. I will be creating only all
the lighter shades of waves. Because after doing
land at the very end, I'm going to create the white
waves crashing on the land. So at this point, if I'm
doing a little bit too much, but you don't have to do all the final lines
if you don't want to. But just by using
multiple shades of blues, you can create beautiful
textures of waves on the sea
8. Step 6 - Cliff Land: Okay, so the C is
done and now I'm starting to paint
the land for that. I'm using black and brown mix, which is almost like dark brown. And the line was
already created before. So I'm just going over
the line and creating the blocking out the land shape. Sure, I'm using
little bit of white. So the white is basically being mixed with
black and white, black and brown and
creating a lighter color to create the edge of the cliff. And it's also helping me create a lot of
textures in the cliffs. So one thing makes you are, is not to have too much paint. Always use dry brush because dry brush gives you
amazing textures. And for painting the leaf, we need a lot of
textures to be created. So the more dry your brushes in the first step when
we're blocking of the area, use good amount of
paint to block it off, but on top of it, when
you're painting with a lighter shade like
what I'm doing now. Very less paint so that you can create
beautiful textures. Oh Now without washing the brush, I picked up a little
bit of yellow. Why? Because I already
had dark colors in my brush and my
mixing it with yellow, It's going to create
that beautiful Olympian that we did in the before, in the land behind it. So exactly for the
same reason I did not wash my brush and
picked up yellow directly because I
like mixing colors in my brush and without
cleaning it off, if I mix up with
different colors. Of course, keeping the
color theory in mind, you cannot make
these cool colors and warm colors together, then it just becomes ugly. With the color theory in mind, if you would just pick
up the right colors, it helps you creating
beautiful shades of colors. I'd say helps you, helps in your painting. I'm just using little bit of black to create
all the different, you know, the edges of the
leaves are going down. So the bedroom was has to be a little lighter
than black so that when you add paint
with absolutely dark black, it is visible. Now again with
those same yellow, I am creating the
very front land, the biggest land of
this, of this painting. I'm creating that with, again with white and black, yellow and black to create
the beautiful green shade. Now to create a beautiful
shade of color, I picked a little bit
of brown along with this Add to create the land. Not just green, but a
mix of green and brown. So up to painting
this front lens, It's like whatever touch ups in want to do in the
far distant land. Or you want to
create some texture. So behind the black lines
you can add little bit of yellow lightest color to make the texture is
much more visible. So even like you can see
in the distant land, I'm adding little bit
of lighter shades. So just go over it once again, if you want to add
some lighter shade or some darker shades to
create a beautiful textures
9. Step 7 - White waves: Now I am switching to
my absolutely liner, thinnest brush that I have to create all the
beautiful waves. So all I'm going to do now
is go across by the land. So the land is already done. So that border between
the land and the water. And I'm going to create
a lot of white waves. These lines will be
created along with the wavelengths that
I created before. So in going, in
those same lines, I'm going to create all
these beautiful white lines. Who
10. Step 8 - Grass & Final touch ups: Hi, So although waves are done, and now the final piece which is remaining
is the front land. So I'm just going to go over it, add a little bit more
of yellow and create some grasses that are
absolutely closest to us, like, you know, from the
place we are standing. So create some glasses
in the foreground, popping out from the
bottom of the canvas. So all you're going to do is just create some
vertical strokes. Don't make them vertical, just make them slanting
in either direction. And just go slowly. Make sure that you're
mixing the colors when I'm mixing a little bit of yellow and brown together. So this is good
little lady process. So just keep going over, over it multiple times
and you're going to create really beautiful graphs. So tell me how is it going? Are you enjoying creating all these beautiful textures
that this painting demands? Let me know how it is going. If you're enjoying it, if you're able to create it, or if you have any questions posted in the discussion below. Who
 Debasree Dey, Acrylic Artist & Educator