Transcripts
1. Intro and Project: hi and today we're going to be learning how to create our own YouTube channel. Art with Canada dot com YouTube channel Are is that graphic that's at the top of every YouTube channel? And if you have your own channel, it's an important piece of creating a channel that entices people to subscribe to your channel. So when this training, you're going to learn how to use Canada dot com's free templates and graphics to create your very own channel art and make sure that it's as enticing as possible and makes people want to subscribe to your channel. As always, you're going to be following along and designing your own channel art through out this training. So by the end of the training, you'll have your own channel art, and we wanted to share it with us and the rest of the students. In the course of that, we can see it give you some praise and feedback if you need any thanks so much and let's dive right into creating our own YouTube channel. Art
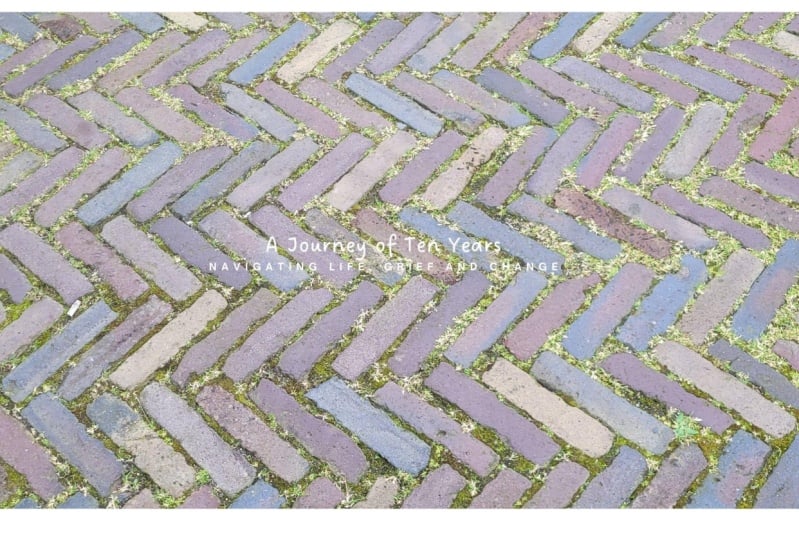
2. Examples of YouTube Cover Art: we're going to be creating our own YouTube channel Cover image Channel art right in Canada dot com. Before we do that, let's look at some other channel art that I like to get some inspiration. So starting with Mike and Lauren, they have a personal finance D I Y channel. Here is their cover image, and one thing you'll notice with cover images is that they change sizes depending on how big the screen is. So sometimes the edges get cut off. Sometimes the bottom or the top gets a little bit smaller, so you have to be aware of that when you're creating your cover image. Another thing is that a lot of people are watching YouTube on their TVs in the channel. Art appears larger on the TV than it does here. Right now, we just see this thin strip that is our channel art. But on a TV when you're watching YouTube with Chromecast or Apple TV, then it actually appears as a full image. We'll talk more about that when we dive into Canada dot com. What I like about their channel are is that is very simple. It's got just them two and then some text in the text that has their schedule for the videos that they post. And this is really nice for people who come to your channel. You they automatically see the schedule of when you post videos and that encourages them to subscribe to your channel. People will subscribe to your channel if they know and feel like you're going to be posting regularly having it up here in your channel. Art is one way to do that. Let's check out another one. The Bucket List family. This is a world traveling couple and family. He actually was the creator of a great an app. Actually, any made millions of dollars out of college, and now they just travel the world pretty awesome. They have their branding up here, the bucket list family. And then again, they have new videos every Sunday. So they are trying to get people toe subscribe, and people will see that they have new videos every Sunday. Nice, clean image so similar to this one. Clean background, clean background and just the family. This next one dude, Perfect dude. Perfect. It's a really funny channel. These guys do all sorts of tricks and ah all kinds of fun stuff. They did a lot of work. I'm sure they had someone professionally edit this graphic of them really, really cool. Graphic of them standing here again. Nice clean image. Not too much going on their logo right here. That's all they have. They don't have a specific schedule. And even though they are very consistent with their videos, they might not go on a weekly schedule or a daily schedule. It might be every few days here and there. So if you're not going to stick to a schedule, don't put your schedule up here and fail to fulfill that schedule. Great big story. This is very simple, Justin image, but it explains a lot about what it is. Nice and clean. This guy right here with the camera. This is a channel that does basically just short documentaries around the world about all kinds of cool topics, and it provides that feeling, so if you want to just do an image, that's fine. But make sure that a explains what your channel is all about. Casey Neistat. He is probably the most successful blogger on YouTube right now. Every video of his literally gets millions of views. And so here you have nice, clean image edited. Got his name right here, written in Sharpie, which is has to do with what he does in a lot of his videos. He writes a lot of stuff on a white board, um, or on a piece of paper with sharpies. So that kind of ties in what's going on with his channel and then just him right here with a camera explaining what he does. And lastly, this is my video school online channel. So I have my logo right here, a top. I've got me. I've got a nice, clean background and I just didn't have a nice image of myself, right? With a nice negative space background where I could have tech. So I added this background to this photo of me that I was I've just saw this in my bedroom , actually, I think with the white door and edited out the white background You see here, though, that I have learned skills, new videos weekly, so it's an explanation of what this channel is all about. It also tells on that I post new videos weekly so that entices people to subscribe But I am not one of the people that has a video come out every Monday. And while I would like to do that, I just and not all that good of a schedule yet. But this still gives them the idea that I do post videos regularly. So moving on to creating our own graphic. The main thing I think I'm going to keep is the logo or the text of our brands. I'm creating a YouTube channel art for into the green. This brand that I'm starting with my buddy John, and I'm just going to find a nice image cannot similar to this. That explains what into the green is all about. I've shot some photos over the past weekend when I was camping, and I think a couple of those might work, so we'll play around with it when we dive into Canada next
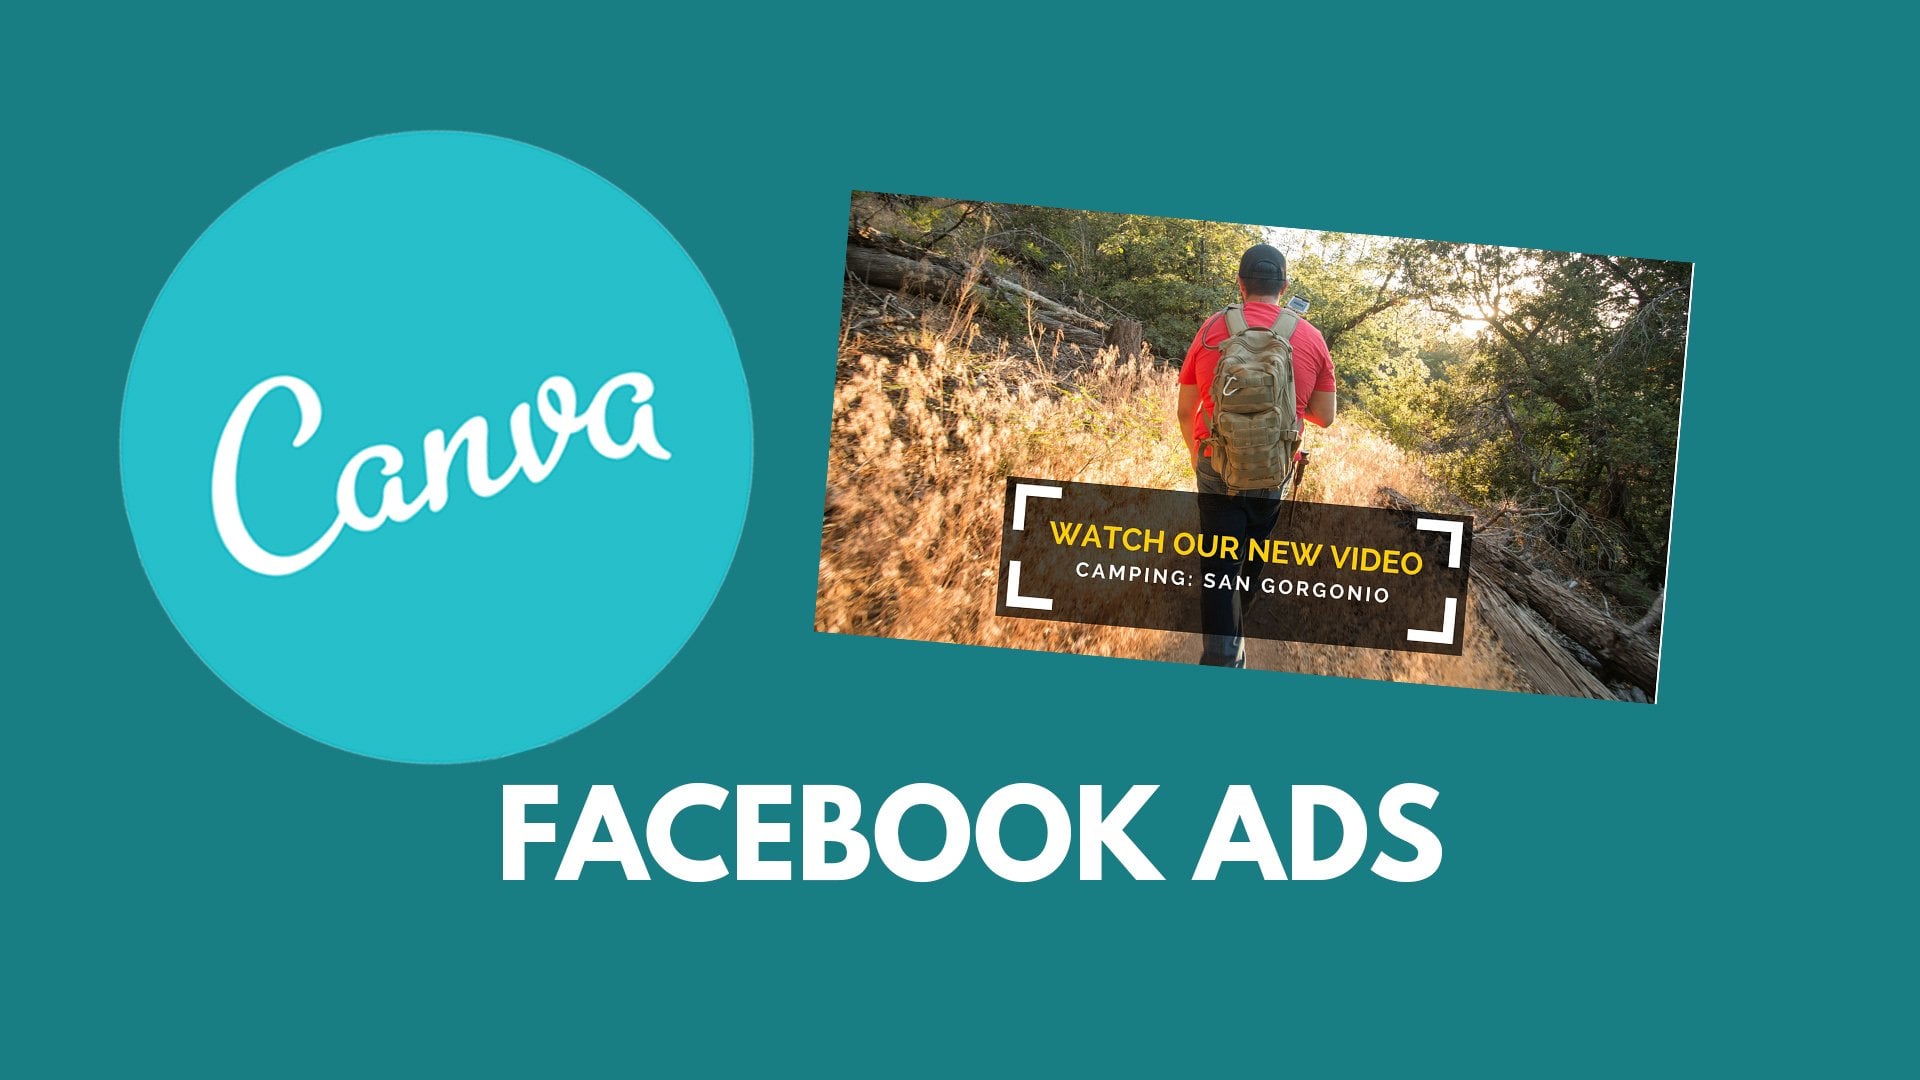
3. Design a YouTube Channel Art in Canva: We're in Canada now, and we're going to open up the YouTube channel art graphic templates. So just click that plus button over on the right side. Then we're going to go down to social media and email headers and YouTube channel art. So click that YouTube channel art. What you'll notice, and what I was talking about in the last video is that these obviously aren't the size of the channel art graphic that you see on YouTube. The YouTube graphic is a very thin line that appears. It's like a thin band. That's right about here. And a lot of these graphics, actually, what I've noticed on Canada, they don't fit properly. So this one, this text and these graphics right here won't even appear in on your YouTube channel if you use this graphic so you gotta find one or customize one where the text is relatively small , right in the middle. Something like this, something like this would probably work well, too. Let me find one that I want to work with. I like this one a lot because it has this band where I can have some text that pops out from the background. A bit something like this. While looks good, it's not going to work on your channel because the text will just be cut off on the top and bottom. And that's something that can Va hasn't really figure it out. They don't have a template that works really perfectly for your YouTube channel, so you just got to be aware of it. Something like this is kind of cool, but only this band is going to show on the YouTube channel and that these images are probably going to be cut off or you might be able to see just a little bit of them, and that might look awkward. It'll look great when people are viewing your channel on their TVs, but not on line on a desktop or a mobile device. So I think I'm going to play with this one and see what I can come up with. So first thing, like always, I like to change the image in the background, so I'm going to go to my up loads. I have a few options. I'm going to try. I like this image. I use it before and another graphic for my Facebook, Um ad. I believe for videos. So that would be kind of cool to tie inthe e photo from the ad that I create and put it as my cover so that when someone clicks on the ad, they see the same type of imagery and the branding. But it might look weird because you got my buddy John who's walking. You will only see his backpack and you won't see the whole image. So I want something maybe a little bit more obscure abstract I. I like this photo of the trees, but it's also a little bit too abstract and doesn't have to do with into the green are branding as much as what this image does now. This template already has a filter on us. I'm going to get rid of that filter. So with the photos selected, I'm just going to click, filter and then click normal. And then I'm going to zoom out just a little bit and double click so I can add it the size of this. So I'm just going to make this a little bit bigger, something like that, so that you see these branches there they are creating a border around the center of the graphic. If it was smaller like so then this left side is more heavy with branches, and I don't want it to feel unbalanced. I want the border to be about equal sides sizes on each site, so I hope that makes sense. But see how this bit of branches is about this much, and then this bit of branches is this much. If it was moved over, this side would have a lot more branches, and I want it to be more balanced. So when you're happy, just click the plus button. Now I'm going to add text. Then it just be say, into the green. I'm going to change the font to the same font that I use for another project, which was the YouTube ad or the Facebook ad, and I use railway. And when you're creating a brand, you typically always want to use the same fonts. Choose two or three or one really, and just use that same font for everything. So I was using railway, but it was a little bit more spaced out, so I'm going to click this down arrow, going to center it. Then I'm also going to choose text basing and increase the text, spacing to something like 1 50 Then I'm going to drag this and move it to the center of the project, and you can see that it's perfectly centered when I have this purple line going up and down . It's a little bit hard to see for you, but there you have it. And then because this is into the green, I'm going to change the color of this bar. I'm gonna click the bark like the color. I'm going to choose more of a custom green that's a little bit darker, maybe a little bit more gray. Something like that. More like an earthy green than a bright, vibrant green. Something like that looks good. I'm gonna have to get out of this so I can see it more clearly. I really like that a lot. Now. We don't know when we're going to be posting videos, how often, But I do want to have a little bit more explanation of what this channel is about for people when they visit. And I think this Texas actually going to be a little bit too big, so I'm going to make this a little bit smaller and then I'm just going toe. Make this bar a little bit smaller. So it matches thesis eyes of the into the green text change that I made. So I'm just going to add another text later, layer just by pressing tea on my keyboard toe. Add a text later later, and I'm just going to go for now, say, follow our adventures into the great outdoors. I don't know if that is going to be our slogan or not. We're still coming up with it. I'm going to change the font to railway, make sure that it's white as well. So I'm matching the font from above so railway and making it a little bit smaller, even though it appears pretty small right here, it's going to look good on our YouTube channel. What I'm gonna do is have it off to the right just a little bit. I'll see what this looks like. Maybe not too far. I don't want it just actually centered my look best. So let's just center it for now. It doesn't stand out from the background too much, though. What I'm going to do is add a little black bar, a little color bar so that it stands out. So just under elements, shapes. I'm just going to bring this square in here. I'm going to move it back behind this text, gonna zoom in and just make it match the size of this text that we just added. So it should be centered as well. And I can use my keyboard. Actually, the up and down arrows to make sure that is lined align perfectly with the green bar. I don't want overlapping at all, so you can see if I move it down right there. There's space between I don't want there to be space between wanted to be perfectly aligned . And then I'm also going to drop the opacity or the transparency. Something like 65 looks pretty good with the YouTube channel Art on Canada. What I advise you to do is download it and upload it to your YouTube channel to see if it fits perfectly before finalizing it. Or maybe you get lucky. But I'm going to do that right now.
4. Export Your YouTube Cover Art Graphic: to download, Just click the download button image for Web J. Peg. I like using J pegs over P and G's because the foul size is small, but the quality is still really high. Perfect for uploading to online. If you're printing it, you would want to use a PNG file. But if you're just uploading online, do that J. P G J Peg file. So here we have our channel. That is just starting. We haven't started adding videos to it. You'll see a the Channel art that I tried before. It was one of those templates with a grid of four photos. But you can see here that the photos don't show up because they get cut off, basically. So that's why I wanted to make sure that I test out my channel art before I am completely done with it. So when you're in your YouTube channel page, just click this little edit button right here on the top, right of the Channel art box. Then I'm going to choose a photo from my files, and you can see here that I've tried out a few different options so far. It's going to upload that file. You can see here. The recommended file size was 25 60. I think that's exactly what Camba has created for us here. You can preview what is going to look like on a desktop mobile or TV so you can see the full images, what appears on a TV, which looks amazing. And it also looks pretty good on a desktop Utkan click Adjust crop if you want, Zoom in or not, but I would just try to create it without having to crop at all. That's why we created the graphic in camera, because it's the full quality of the full size and you shouldn't have to crop it at all. Then click Select. It's going to save it, and I like it. The only thing that I would change is moved into the green text and everything up a little bit, but that's an easy fix, but I think it looks pretty good. It's exactly the vibe and the feeling that I want to give to people. Maybe someday, if we become more a part of our brand, we would want to include an image of us. But I think this image right now it just gives that vibe of getting out into nature. So I'm really happy with it. I'm just gonna go back and edit this. So next time when you're checking out the into the green YouTube channel, you'll be able to see it. And with this tax up, moved up a little bit and see what adventures were going on. Thanks so much for watching. If you have any questions, let us know otherwise we'll see you in another video.
5. Assignment & Wrap Up: it's time to take action With this training, we want you to now create your own YouTube channel art. Use the tools and the techniques on camera that are available to you, and then get some inspiration from other channels that you like using things like potentially having a schedule, a text based schedule on your channel art or just a nice image or graphics or something that really represent your channel and make someone enjoy themselves when they're on your channel page and want to subscribe to your channel. Once you've done that, take a screenshot of your own YouTube channel or just the artwork and send it to us posted to the course so that I can check it out and the rest of the students can give you some thumbs up or feedback. If you have any questions, please let me know if there's other projects you would want me to teach you in Canada. Let me know. And if there's any ways that I can improve this training, let me know about that as well. Thanks so much and have a great day
 Phil Ebiner, Video | Photo | Design