Botanical Sketching: Draw a Sunflower with Alcohol Markers | Olga Sh | Skillshare

Playback Speed


1.0x


  • 0.5x
  • 0.75x
  • 1x (Normal)
  • 1.25x
  • 1.5x
  • 1.75x
  • 2x

Botanical Sketching: Draw a Sunflower with Alcohol Markers

teacher avatar Olga Sh, Sketch Illustrator | Master Coach ICI

Watch this class and thousands more

Get unlimited access to every class
Taught by industry leaders & working professionals
Topics include illustration, design, photography, and more

Watch this class and thousands more

Get unlimited access to every class
Taught by industry leaders & working professionals
Topics include illustration, design, photography, and more

Lessons in This Class

    • 1.

      Trailer

      1:40

    • 2.

      Class Project 2

      1:31

    • 3.

      Pencil Sketch

      5:38

    • 4.

      Coloring

      23:34

    • 5.

      Final Touches

      6:51

    • 6.

      Conclusion

      1:11

  • --
  • Beginner level
  • Intermediate level
  • Advanced level
  • All levels

Community Generated

The level is determined by a majority opinion of students who have reviewed this class. The teacher's recommendation is shown until at least 5 student responses are collected.

77

Students

3

Projects

About This Class

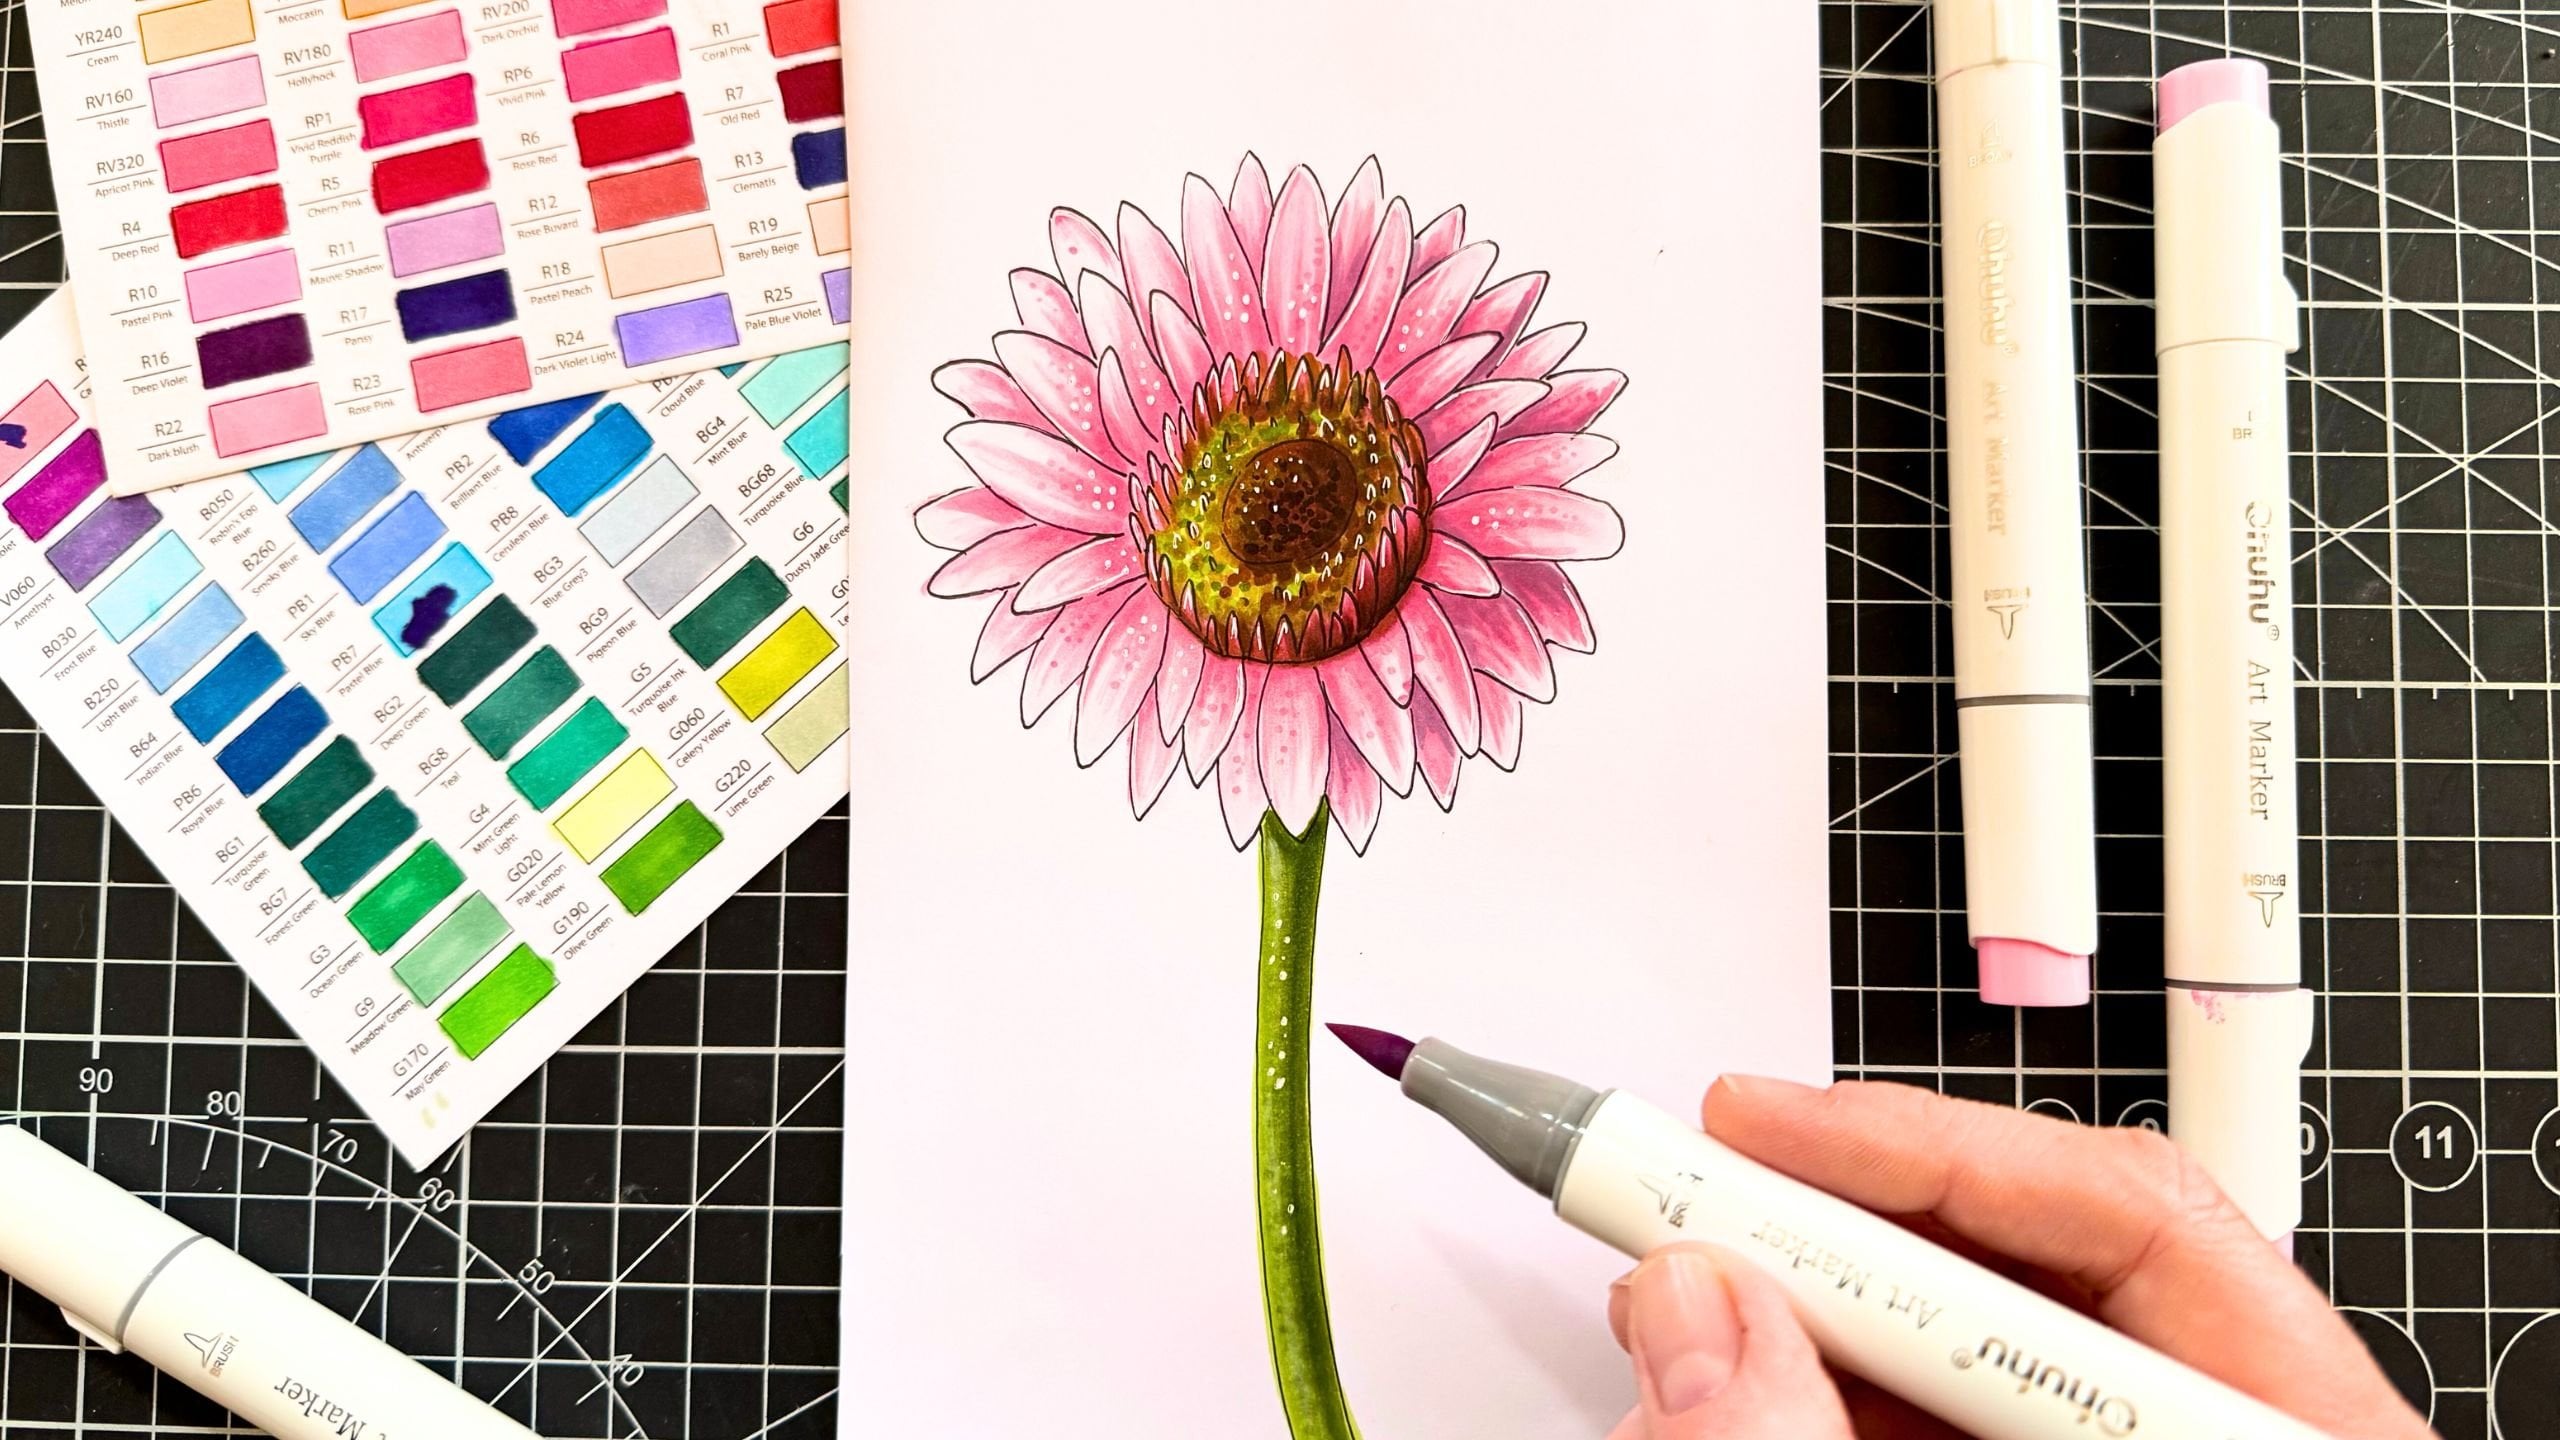
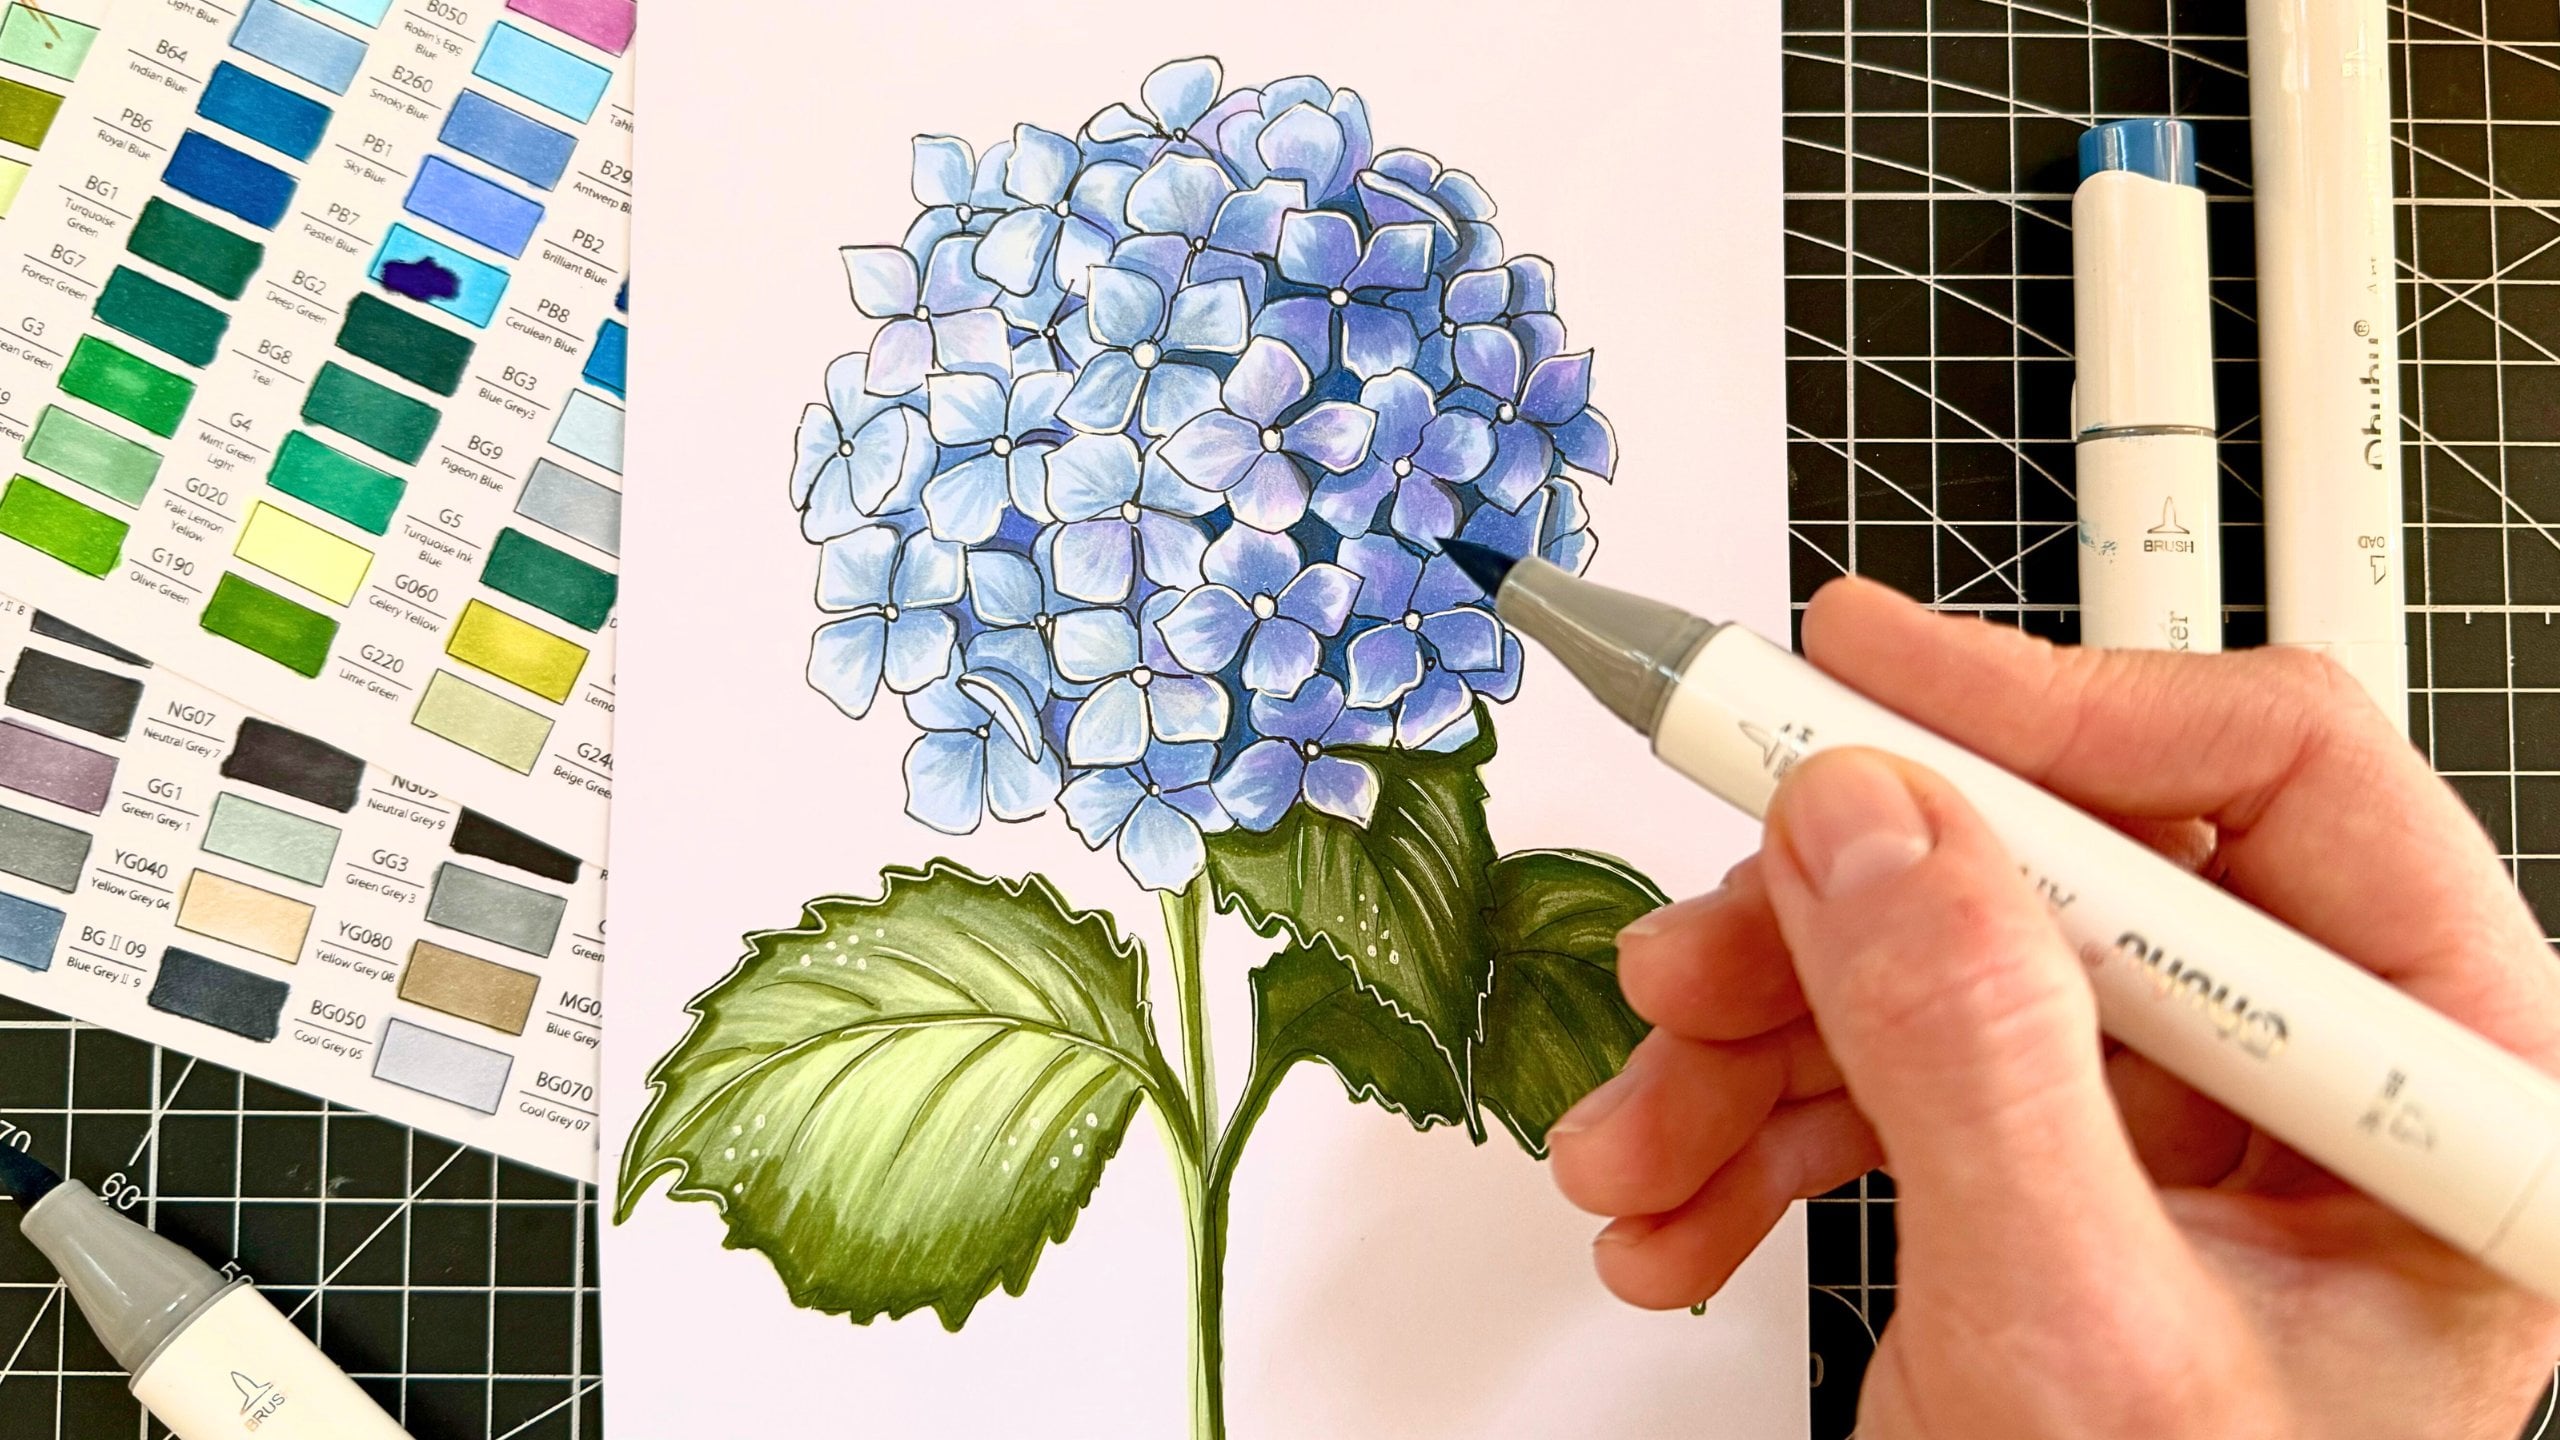
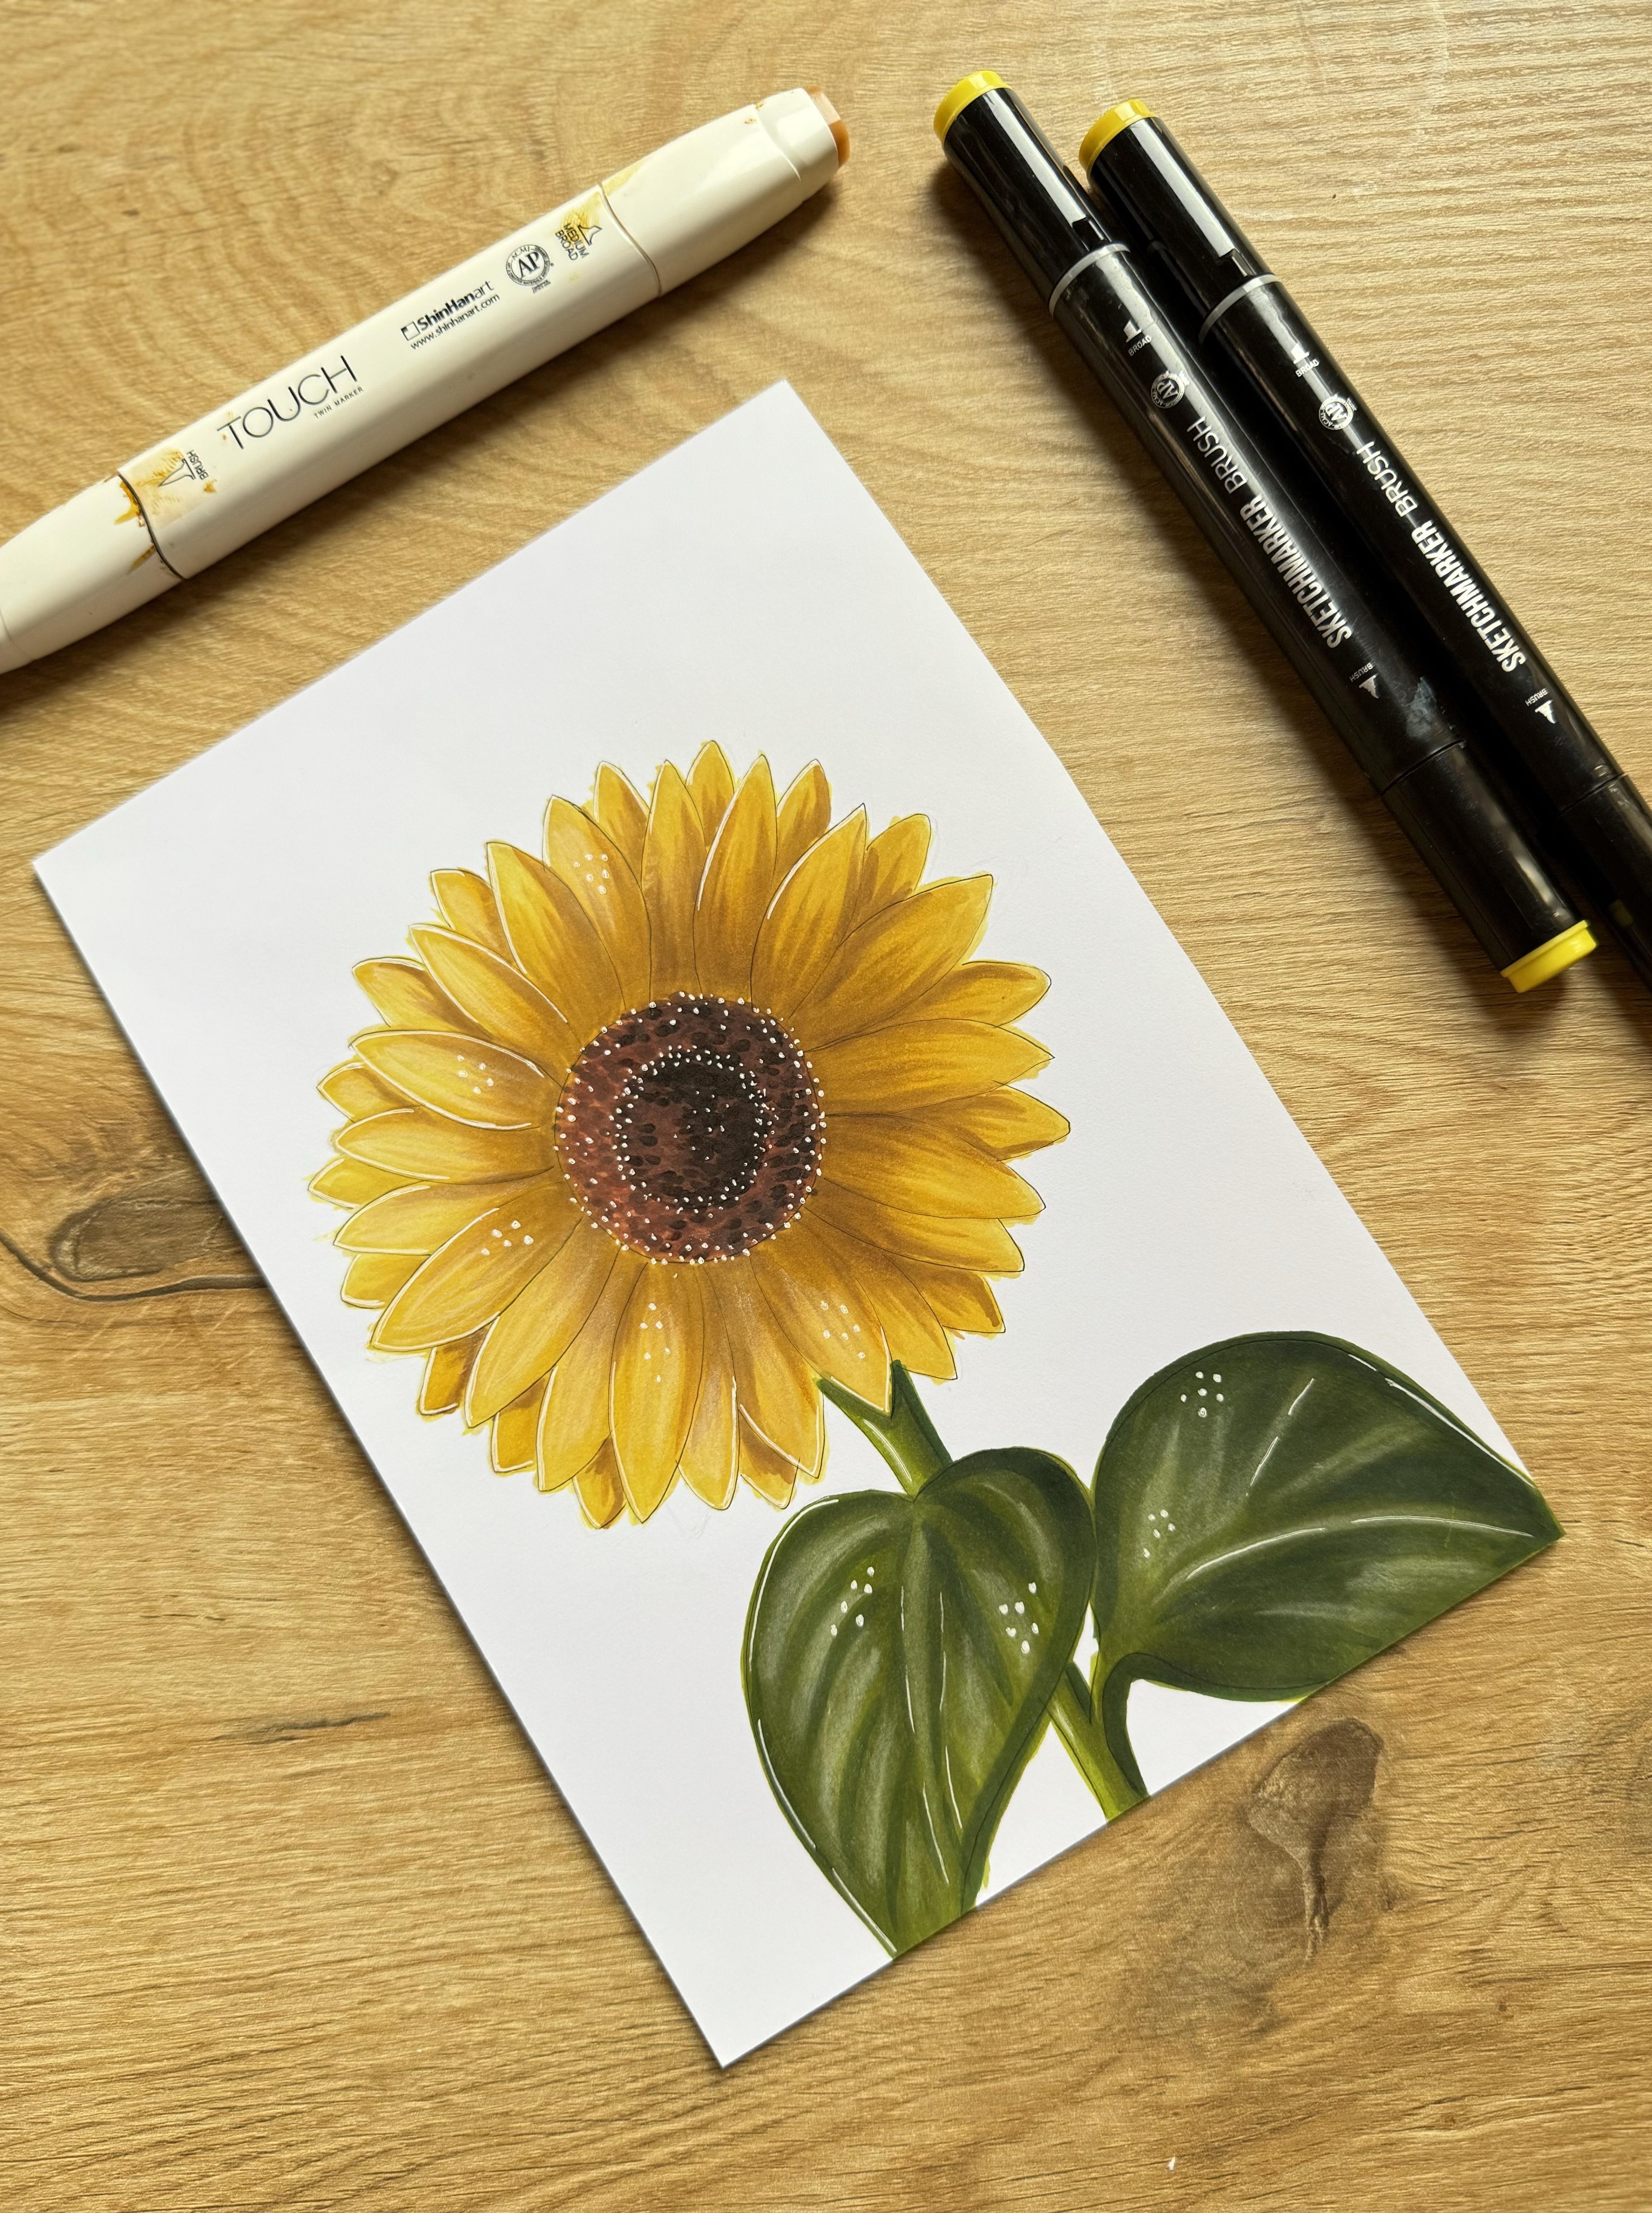
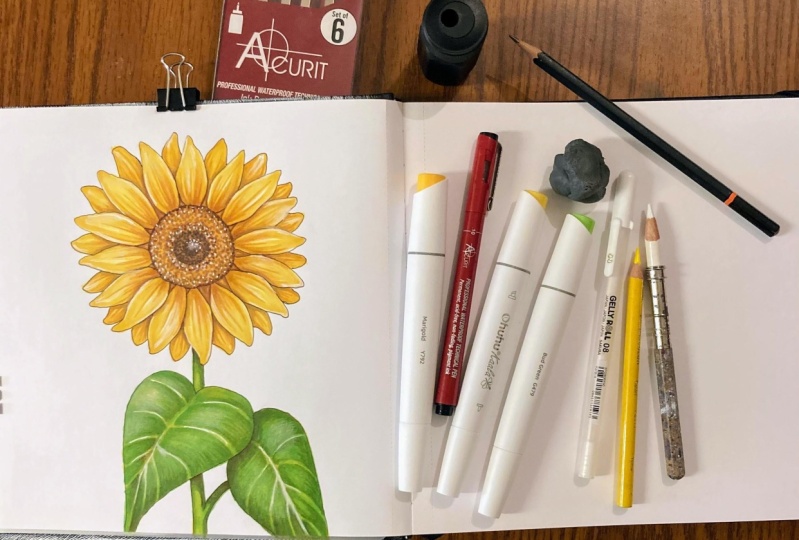
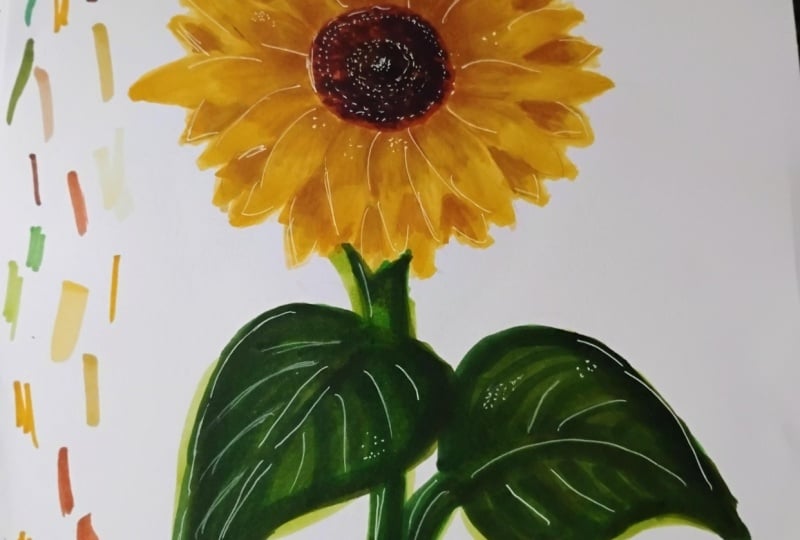
Learn how to draw a realistic sunflower sketch with markers.

In this class you will draw step-by-step an amazing sunflower sketch. We will come through the whole process: from sketching the basic shapes to adding small details.

By the end of this class you'll have:

  • A stunning, frame-worthy sunflower sketch
  • Skills you can apply to other floral illustrations
  • A newfound confidence in your artistic abilities

In just one hour, you'll transform from a beginner to a confident sunflower sketcher.

Here's what you'll learn:

  • how to work with references properly
  • the secret to sketching perfect sunflower shapes
  • how to transfer an image from a reference to a paper
  • what are the steps of the color elaboration of the drawing and mastering warm yellows, rich browns, and lush greens
  • pro techniques for creating depth and texture
  • the art of adding that 'wow' factor with highlights and details

This class is perfect for you if you want to master or improve your marker skills, pick up some cool tips for flower illustration, try something new, or just have a good time.

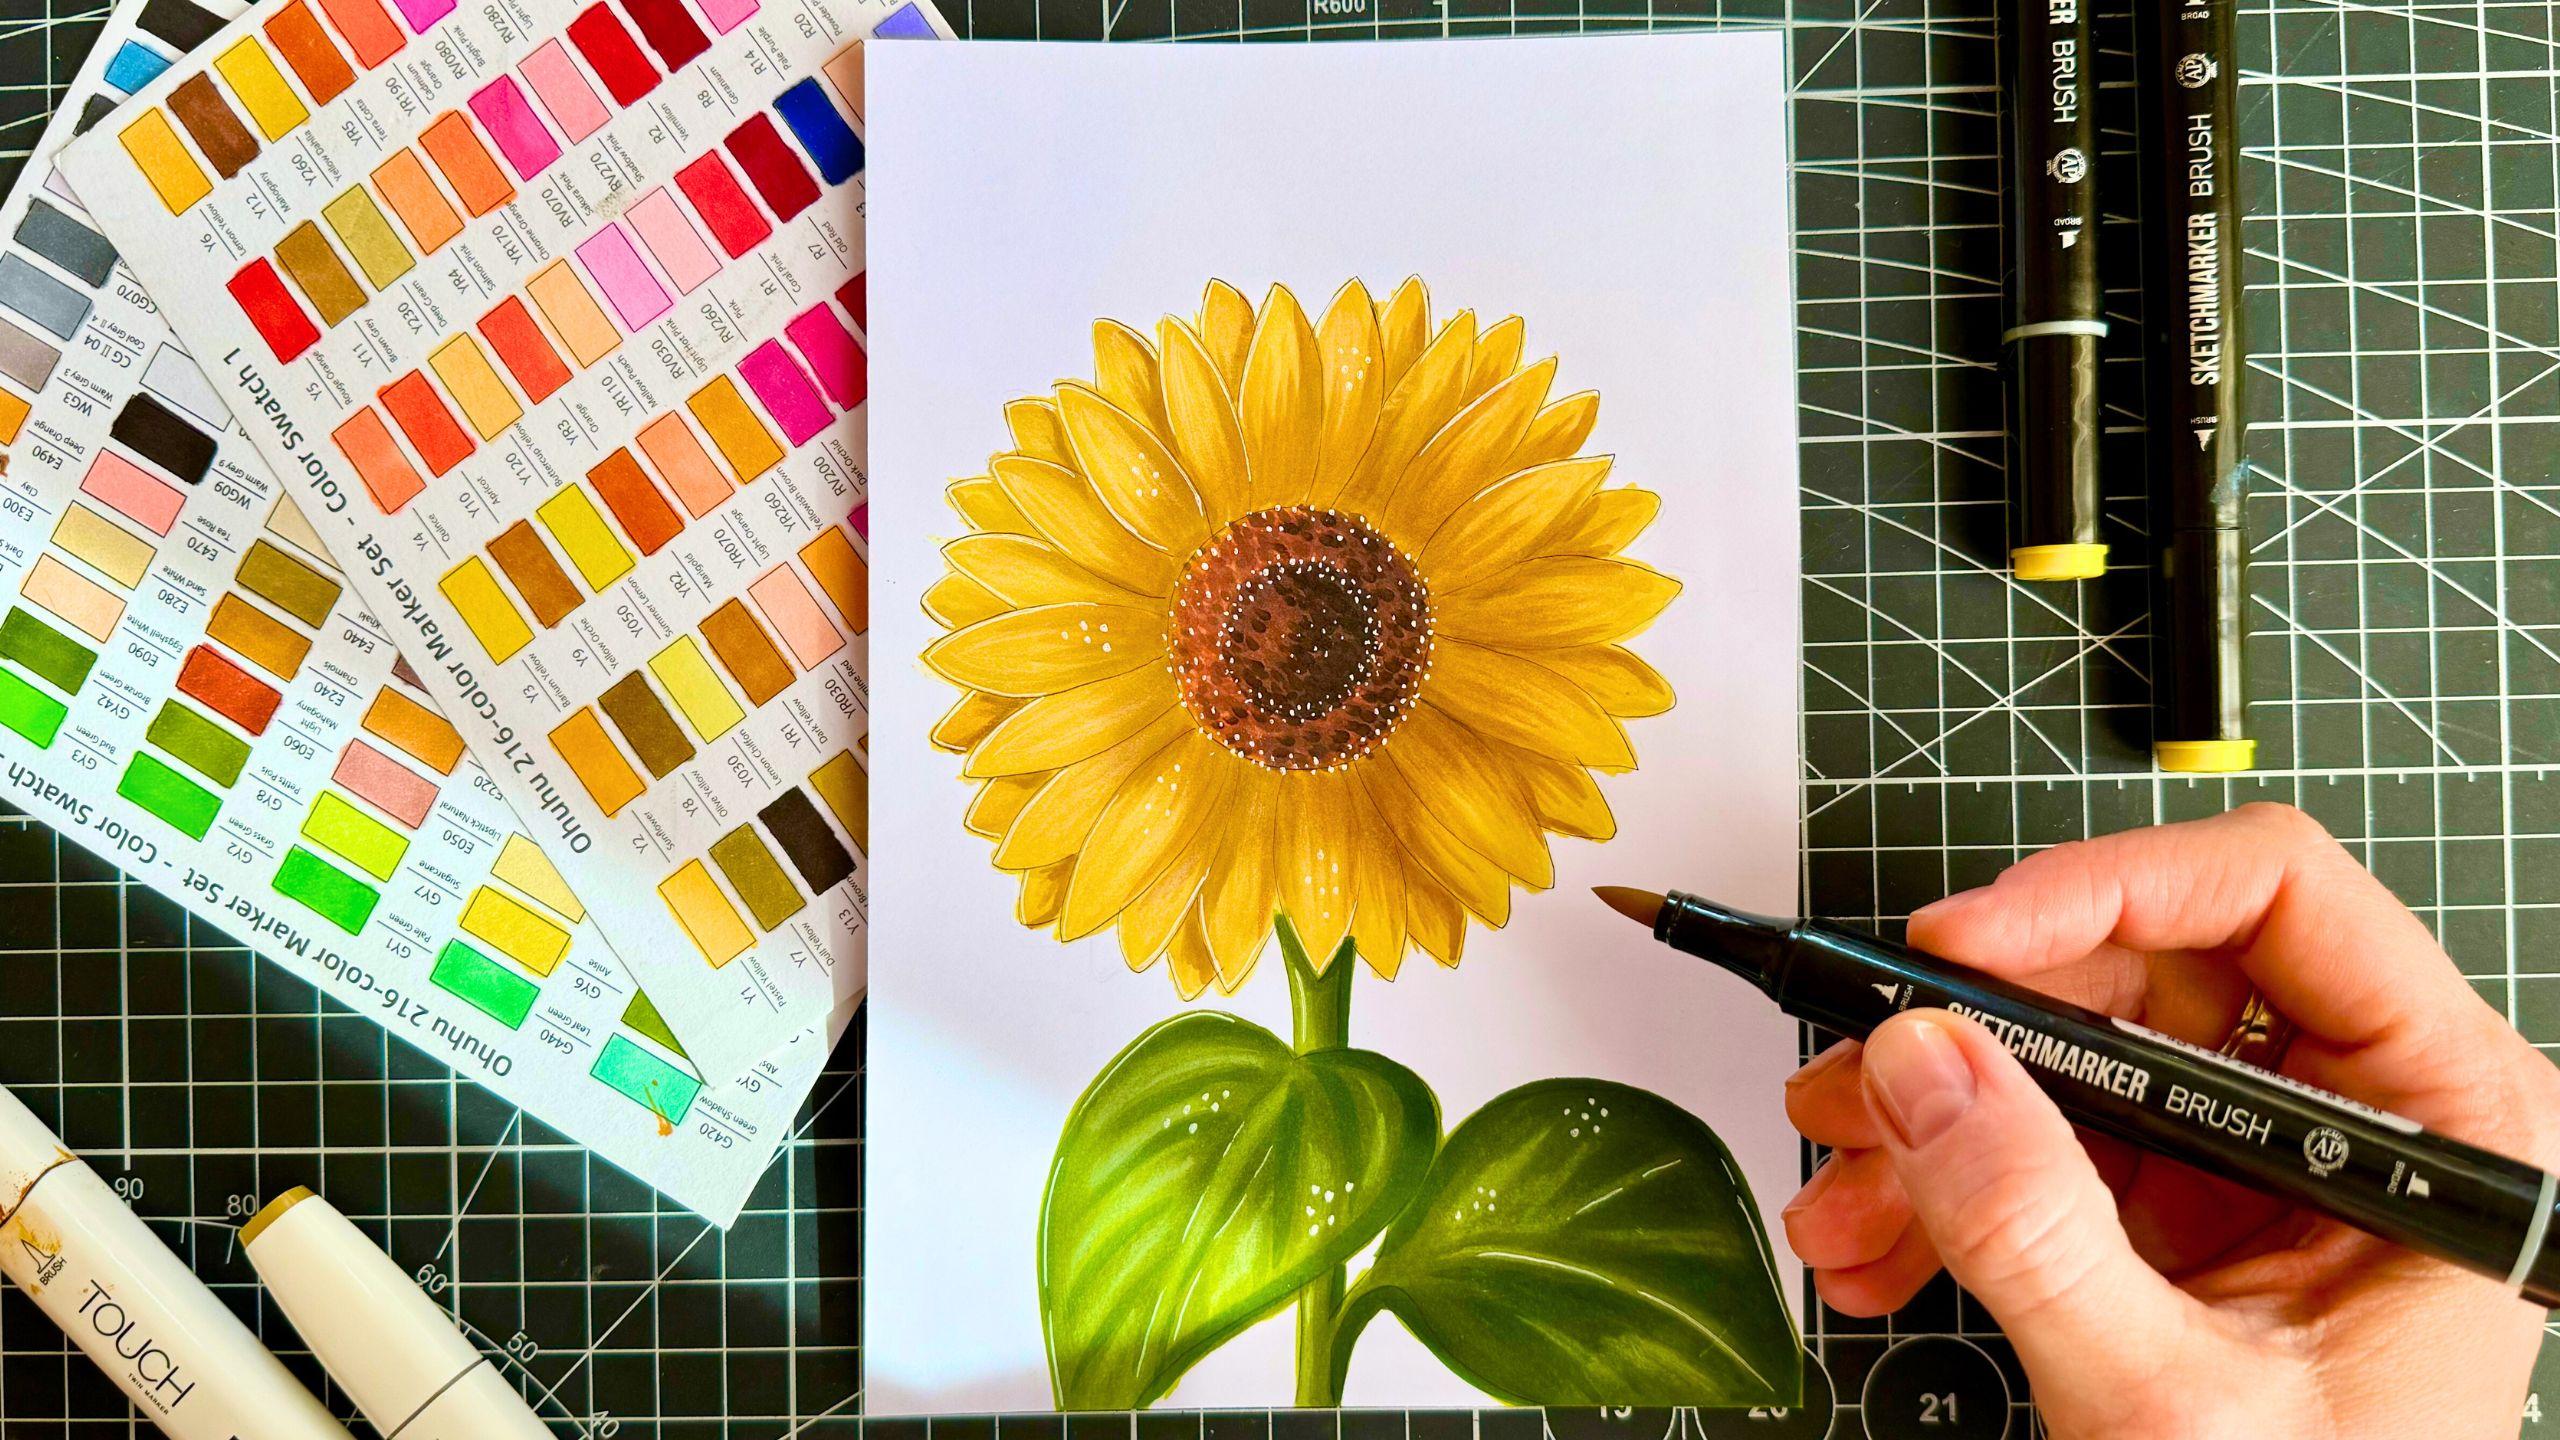
I will use alcohol-based markers. And you can use your favorite tools, like watercolors or colored pencils, and you are free to mix them. It’s always fun, and you can achieve great results.

And if you aren't a premium member here, on Skillshare, I prepared 15 free-enrolment links for you.

I appreciate your positive reviews and feedback, and I am always here to help you)

So, grab your markers or any materials you have on hand, and let your creativity bloom!

Enroll now, and let’s create something amazing together!

You can check out my other Skillshare classes on drawing with markers here:

Sketching Basics: Drawing Shapes with Light & Shadow

Sketching Basics: Drawing Textures with Markers

Sketching With Markers: Draw a Sweet Cupcake

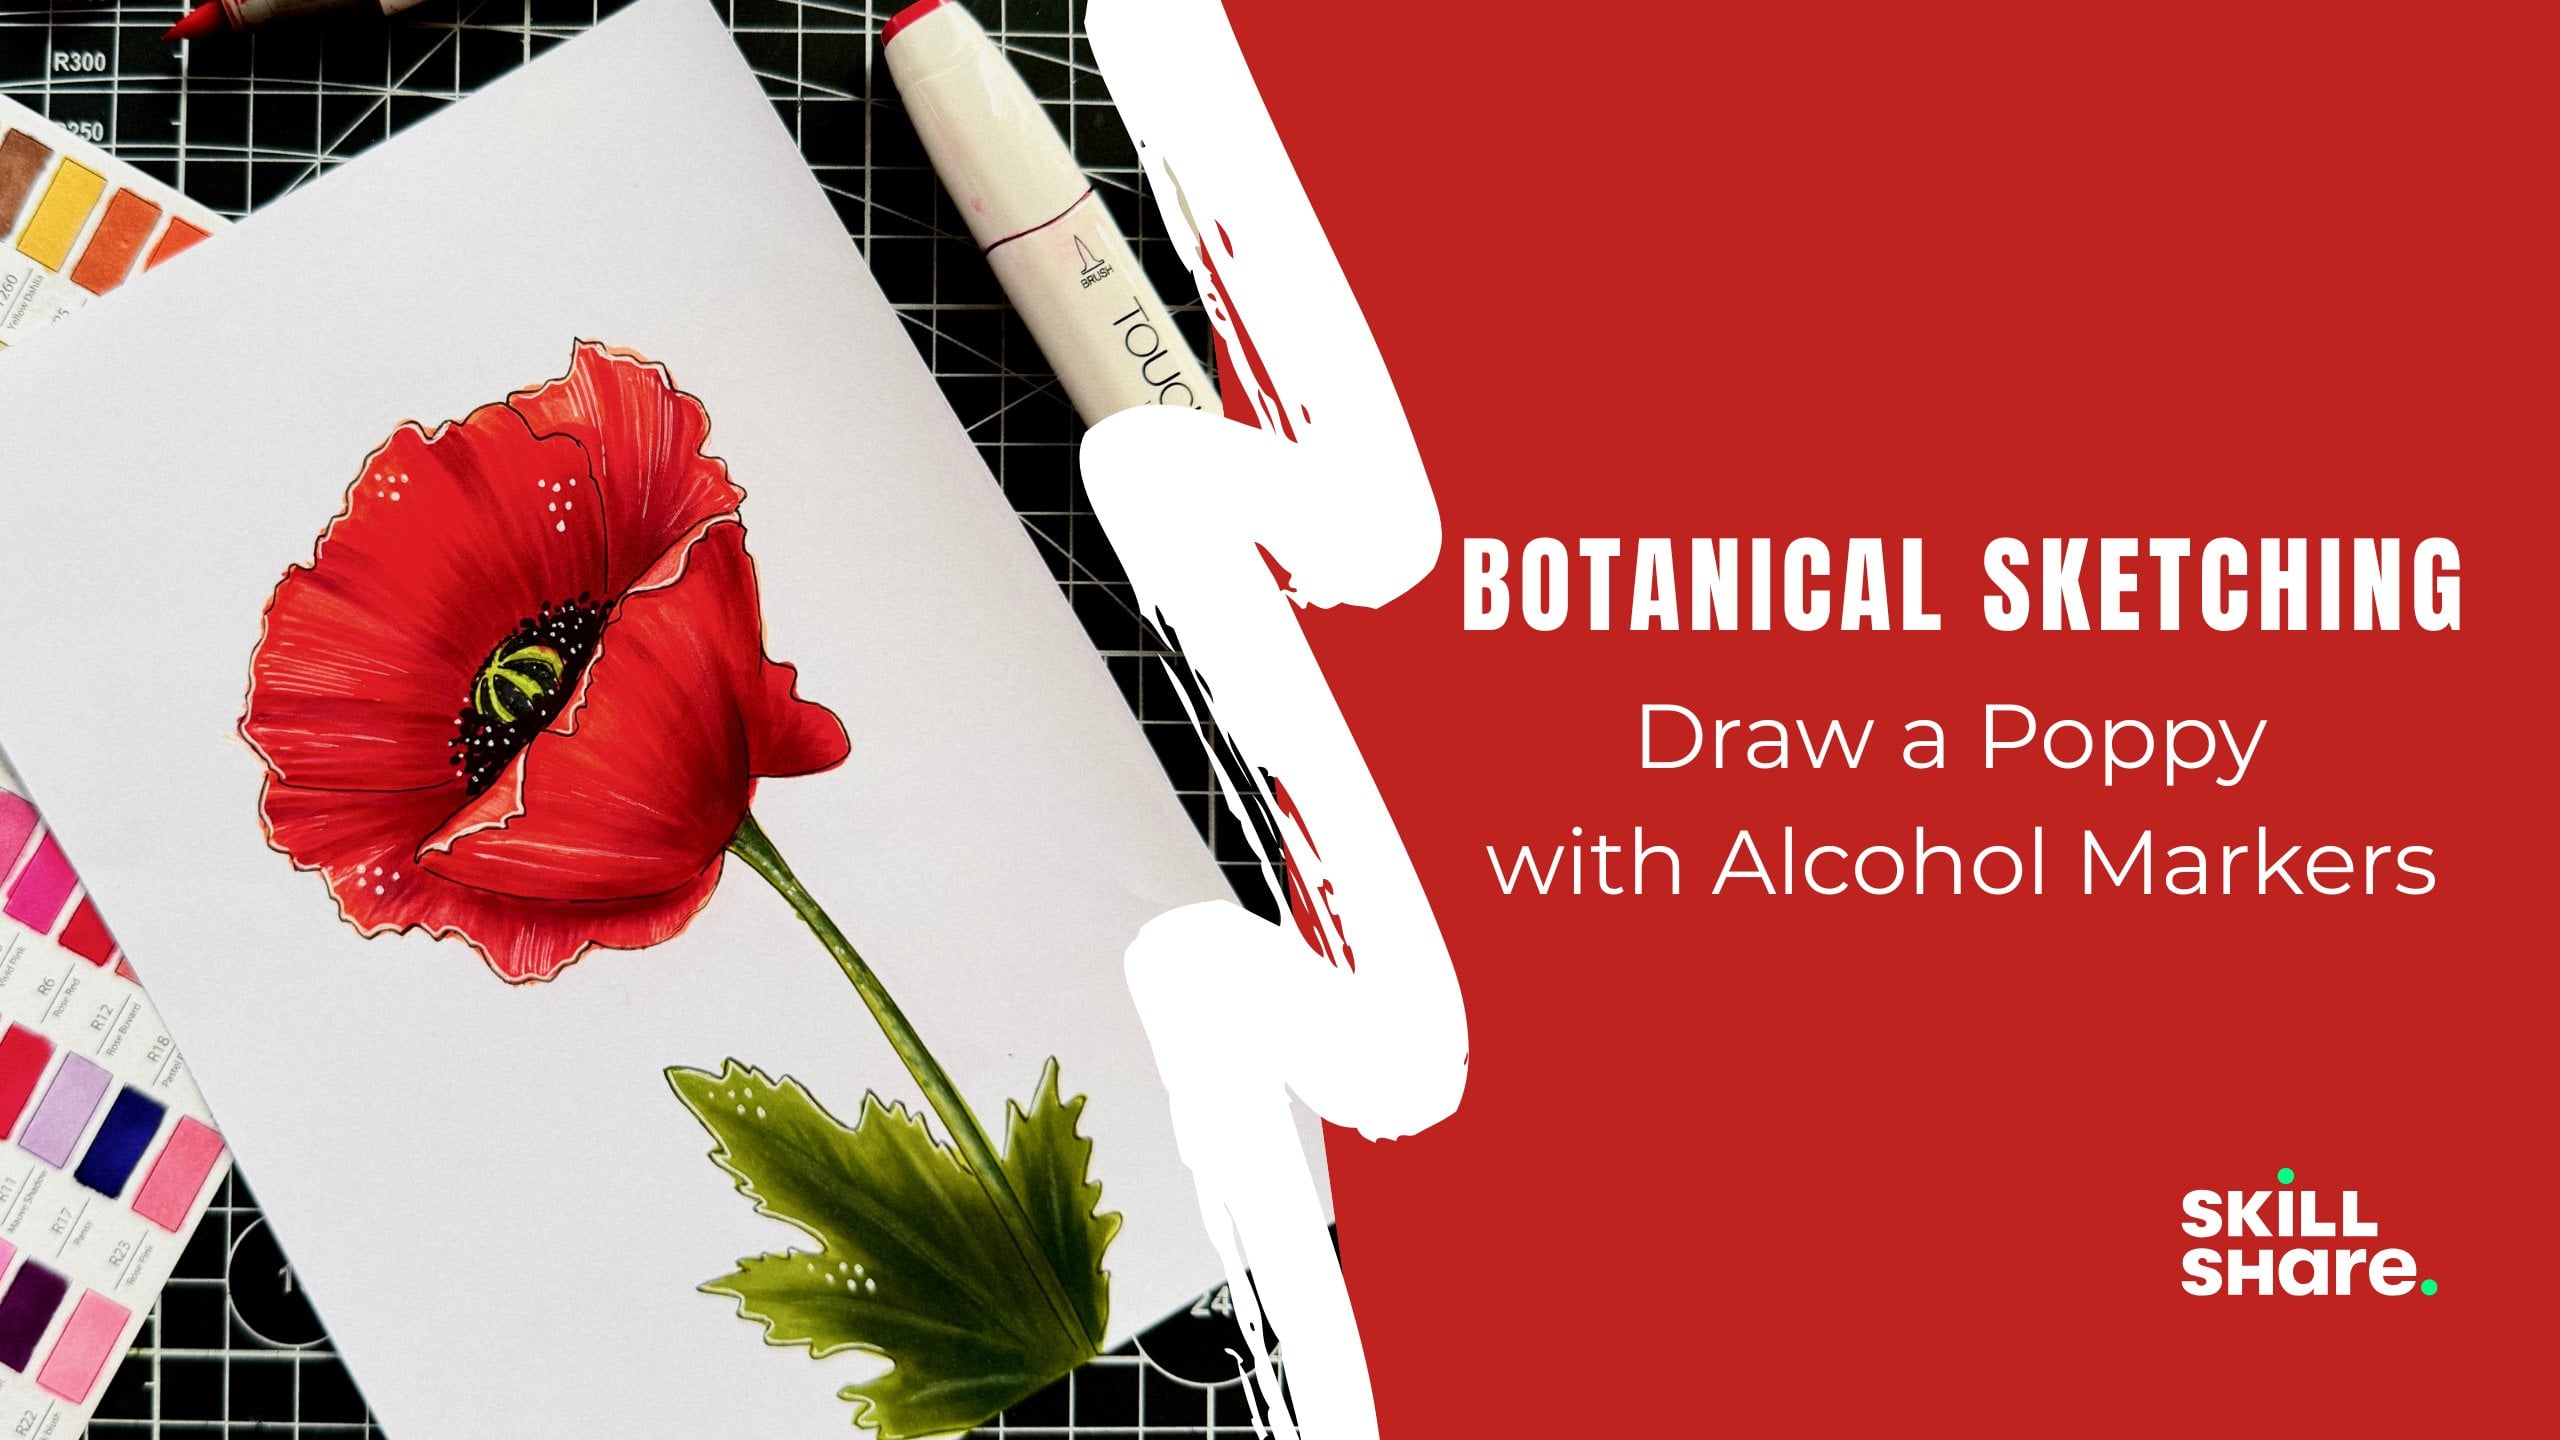
Sketching With Markers: Draw a Piece of Cake

Sketching With Markers: Draw a Croissant

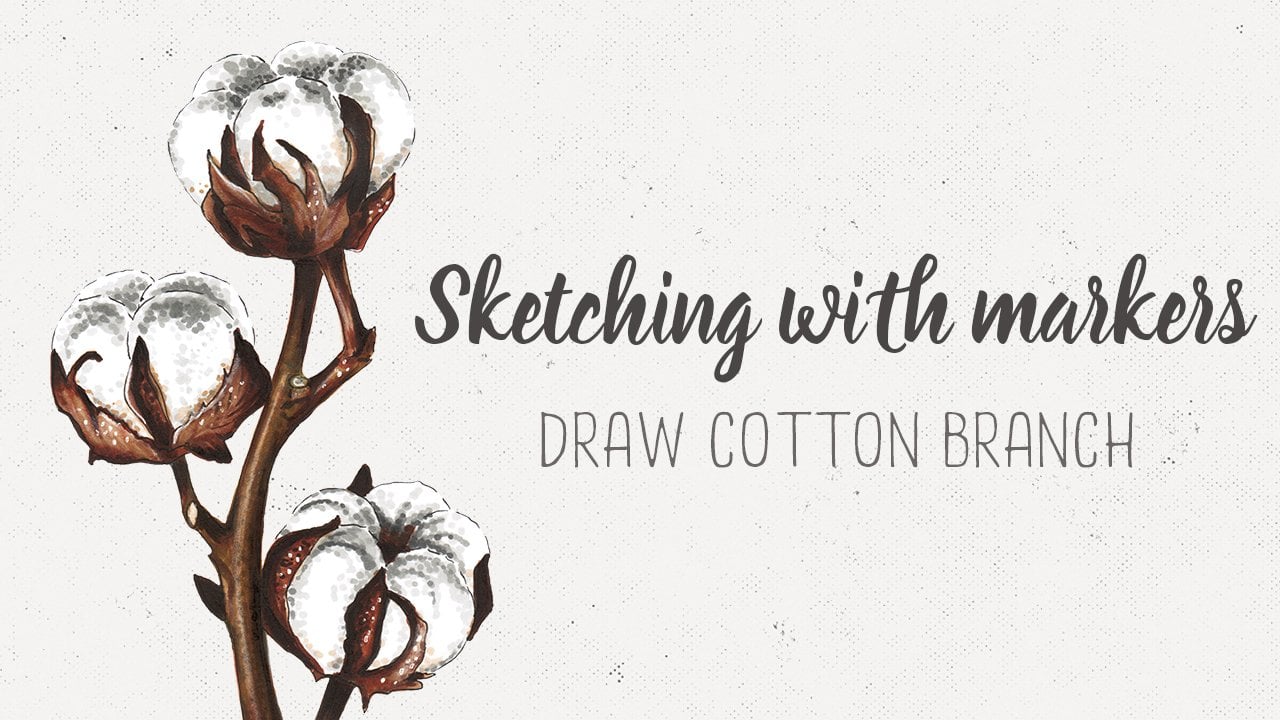
Sketching With Markers: Draw a Cotton Branch

Sketching with Markers: a Winter Composition

You can also follow me on:

Instagram

Pinterest

Meet Your Teacher

Teacher Profile Image

Olga Sh

Sketch Illustrator | Master Coach ICI

Teacher

Hi, I'm Olga, a sketch illustrator, Certified Master Coach ICI, and educator with over 9 years of experience here on Skillshare. Having inspired thousands of students worldwide, my mission is to bridge the gap between technical skill and creative confidence.

What We Create Together

My favorite tools are alcohol-based markers. I love their vibrant flow and the way they bring subjects to life. In my classes, I break down complex illustrations into simple, approachable, and fun steps. Whether you are a complete beginner or looking to refine your style, I'll show you how to create art you're truly proud of.

The Mindset Behind the Art

What sets my teaching apart is my background as a Certified Master Coach ICI. I don't just teach you how to hold a marker: I help y... See full profile

Level: All Levels

Class Ratings

Expectations Met?
    Exceeded!
  • 0%
  • Yes
  • 0%
  • Somewhat
  • 0%
  • Not really
  • 0%

Why Join Skillshare?

Take award-winning Skillshare Original Classes

Each class has short lessons, hands-on projects

Your membership supports Skillshare teachers

Learn From Anywhere

Take classes on the go with the Skillshare app. Stream or download to watch on the plane, the subway, or wherever you learn best.

Transcripts

1. Trailer: Have you ever guessed at sunflower and wished you could capture its beauty on paper. So now you can unlock the vibrant world of botanical illustration with my new skill share class, drawing a sunflower with markers. By the end of this class, you will have a stunning frame worse sunflower sketch? Skills you can apply to other floral illustration. You found confidence in your artistic abilities. In just 1 hour, you will transform from a beginner to a confident sunflower sketch. Here is what you will learn, how to work with references properly, and the secret to sketching perfect sunflower shapes, how to transfer an image from a reference to a paper. What are the steps of the color elaboration of the drawing and mastering warm yellows, witch browns, and lush greens? Re techniques for creating depths and texture, the art of wedding the O factor with highlights and details. So whether you're em baring sketcher or just looking for a new creative outlet, these classes for you. Now, pre your experiencing it. Just creen your enthusiasm. Imagine that joy of creating your own sunflower masterpiece, ready to brighten y wall, greeting card, or even unis to gram account. Don't let this opportunity slip away. Join now and let your creativity. You sunflower, Joni, that's here. 2. Class Project 2: So Let's bring a slice of sunshine to life with our class project, your very own Sunflower masterpiece. Ready to watch your artistic skills bloom. So grab your markers and let's get started. You can use the hand picked references I've prepared for you in the project and resources section. They perfect for capturing the quintessential sunflower charm. But don't stop there. Feel inspired by sunflower in your garden. Snap a phota. Found a string sunflower image on pinterest. Go for it. The beautiful art is making it your own. Here is the exciting part. Once you've finished your sunflower sketch, it's time to let it shine. Share your creation in the project and resources section and watch as our Garden of art works grows. Every petal, every seed, every stroke tells a unique story, and I can't wait to see yours. Remember, whether you're a season sketcher or this is your first time putting pencil or to a paper, your sunflower is going to be amazing. And you know why? Because it's uniquely yours. Are you ready to add your bloom to our bocet of creativity? It's time to draw. 3. Pencil Sketch: All right, let's start drawing our sunflower. I've chosen this reference image to show you the basic structure of a sunflower. What is the main components of a sunflower? A large circle, a smaller circle and an even smaller one in the center. I have another reference here that's quite similar just on a darker background which shows the details nicely. I will mainly use this first reference. But of course, I won't be copying it exactly. Let's begin by sketching this large circle. Okay, something like this. Inside it, we will sketch another smaller circle, and we can add xs just for our convenience. And let's set this tiny circle in the center. Remember, I'm pressing harder on the pencil just so you can see it better. Of course, you don't need to do this when you're drawing. Now let's catch the stem. Roughly outline a leaf here. Let's add another leaf over here, which extends beyond the edge of our paper. Now I will led a few additional axes. And start drawing the petals along them. Petals have a pretty standard shape, similar to many other flowers. I will draw the row of petals. Then I will move on to the back row. M Again, the ptails can vary in size, some larger, some smaller. This is a living flower, so it can have perfectly identical pails. And we continue drawing all of the peta. So now our pencil sketch is almost. We can erase the top layer of the pencil marks, and then outline our sketch with a thin liner. Finally, we clean up whatever is left of the pencil, and we can start coloring. There we go. Our sketch, and we can move on to adding color. O 4. Coloring: Welcome back. In this part, we start working with color. For my sunflower, I've chosen this combination of warm yellows, browns, and greens. You will find the color pet I'm using in the attachments to this class. I'll be drawing, assuming the light source is coming from the upper left. I start with my lightest shade, y 63, and apply it in strokes, following the shape of Day tails. Something like this. And we will color all the details this way creating the first color underlay. Oh So we've completed the first color layer for the details. Now I will take my brown E 15 and color in this circle. Then I will use a darker brown b93 to color the center. Next, I take a darker yellow, y 42, it's called sunflower and start introducing it into the ptails with downward strokes like this. I apply this color from the top to the bottom of every single tail and add this shade to all the ptails in the same manner. Our sunflower now has more depths and has become more yellow, as you can see. Now I will take yellow y one and start darkening the tails with upward strokes now from the bottom to the edge of the tail. I will do this with all details. Now, for an even darker yellow, y 32, and I will continue deepening the color in the same way with strokes from the center of the flower to the edge of day tail. Mm. Over. Oh. Now I will add again an even darker yellow, 61 to darken the petals even. Again, from the bottom to age. Like this, We will leave the details as the apo now and move on to the center of our flower. Let's start adding brown. I will take my B 103 and start working on the center with these little dots. You may not be able to see very well right now, but I'm just putting little dots with the brush side of my maker. Sir. Now, an even darker brown, B 92, and I will darken the very center of the sunflower with the same doting technique. Then I will use my B three to bland the shades here in the center, and I will do it using dots again. And with the same B A 93, I will darken this part of the center, still working with dots. I will add more dots on the right side because this part is in the shadow. Now I take my B 92 again and add it to the shadowy parts even more. Then back to B 93 to blend the colors. Again, we do it using the same dotting technique. Finally, I take my darkest brown E 49 and add it to the shadowy part of the very center. Again, I'm working with dots because this way I can show the texture of our sunflower center very well. Now let's return to the petals. I will take this cher shade, be a 101 and carefully add it to the petals with strokes. Again, working from the center of the sunflower to the edge of deptil. This helps us separate the petals from each other. I will add more of this shade in the shadows and a bit less in the part that's in light. A Now I will blend the shades in the shadowy part with my medium yellow, two. And again, I'm working here with strokes from the center of our sunflower to the edge of. Oh And in the light part, I will blend the colors with my light yellow, y 41. So now we can move on to the stem and leaves. I will take light green G Y five and completely color the stem and leaves with it. As usual, we apply all the strokes following the shape of our leaf. Oh. Now I take G Y eight and add it to the shadowy parts, which are mostly on the right. Also, I will use it to show the ans on the leaves. Oh. Then I will use an even darker green G Y for two to intensify the shadows. Again, don't forget to put all the strokes according to the shape of our leaves. Oh. And now I'm going to mix a bit with my lightest green G Y. O. Now I will take an even darker green G Y for three and carefully added to the darkest areas. Finally, we can blend it together with our G eight, apply the strokes set following the shape of the aa. Okay. Now we will let the markers dry bit before moving on to adding details with a white pencil and a white pen. See you in the next 5. Final Touches: Welcome back. Our sunflower has dried. So now I will take a white pencil and go over the parts of the petils that are in the light to add even more volume to them. Now, let's go over the leaves and stem with the white pencil. I'm softening the brightness of the white pencil right away with my finger. You can do this finger, with soft or a soft as. It's totally up to you. Also, we can add details with a white gel pen to give our sketch a more illustrative look. We will add dots to the center of our sunflower. There are quite a few of them here. Again, we add most of these dots in the part, which is in the light. There is so so so, so. There is so so. Something like that. I think our sunflower looks nice. And I will also go over the outline of the details in the part with the same white pan. O. Baby, baby. We can also add a bit of white to the leaves and stem. On the leaves, we can add some dots here and there for a more ustrative look. O. Ooh. Now I'm thinking that I want to add some more dots here on the details as well. I like how these little dots look here. And we have it. Our sunflower is complete. 6. Conclusion: Congratulations. You've just completed an amazing journey, and I couldn't be more proud of how far you come. And let's take a moment to appreciate everything you've accomplished. You've mastered the art of sketching a sunflower from basic shapes to intricate details. You've learned how to work with colors like a pro, blending warm yellows and rich brown to bring a flower to life. And you discovered secrets of creating depths and textures, making your flower practically leap off the page. And I can't wait to see what you come up with. Don't forget to share your projects in project and resources sections, and stay connected with our community here on skill share. And if you enjoyed my class, I would appreciate your positive reviews. It helps me as a teacher and other students to find and chose the right classes. Until next time, happy kitchen.