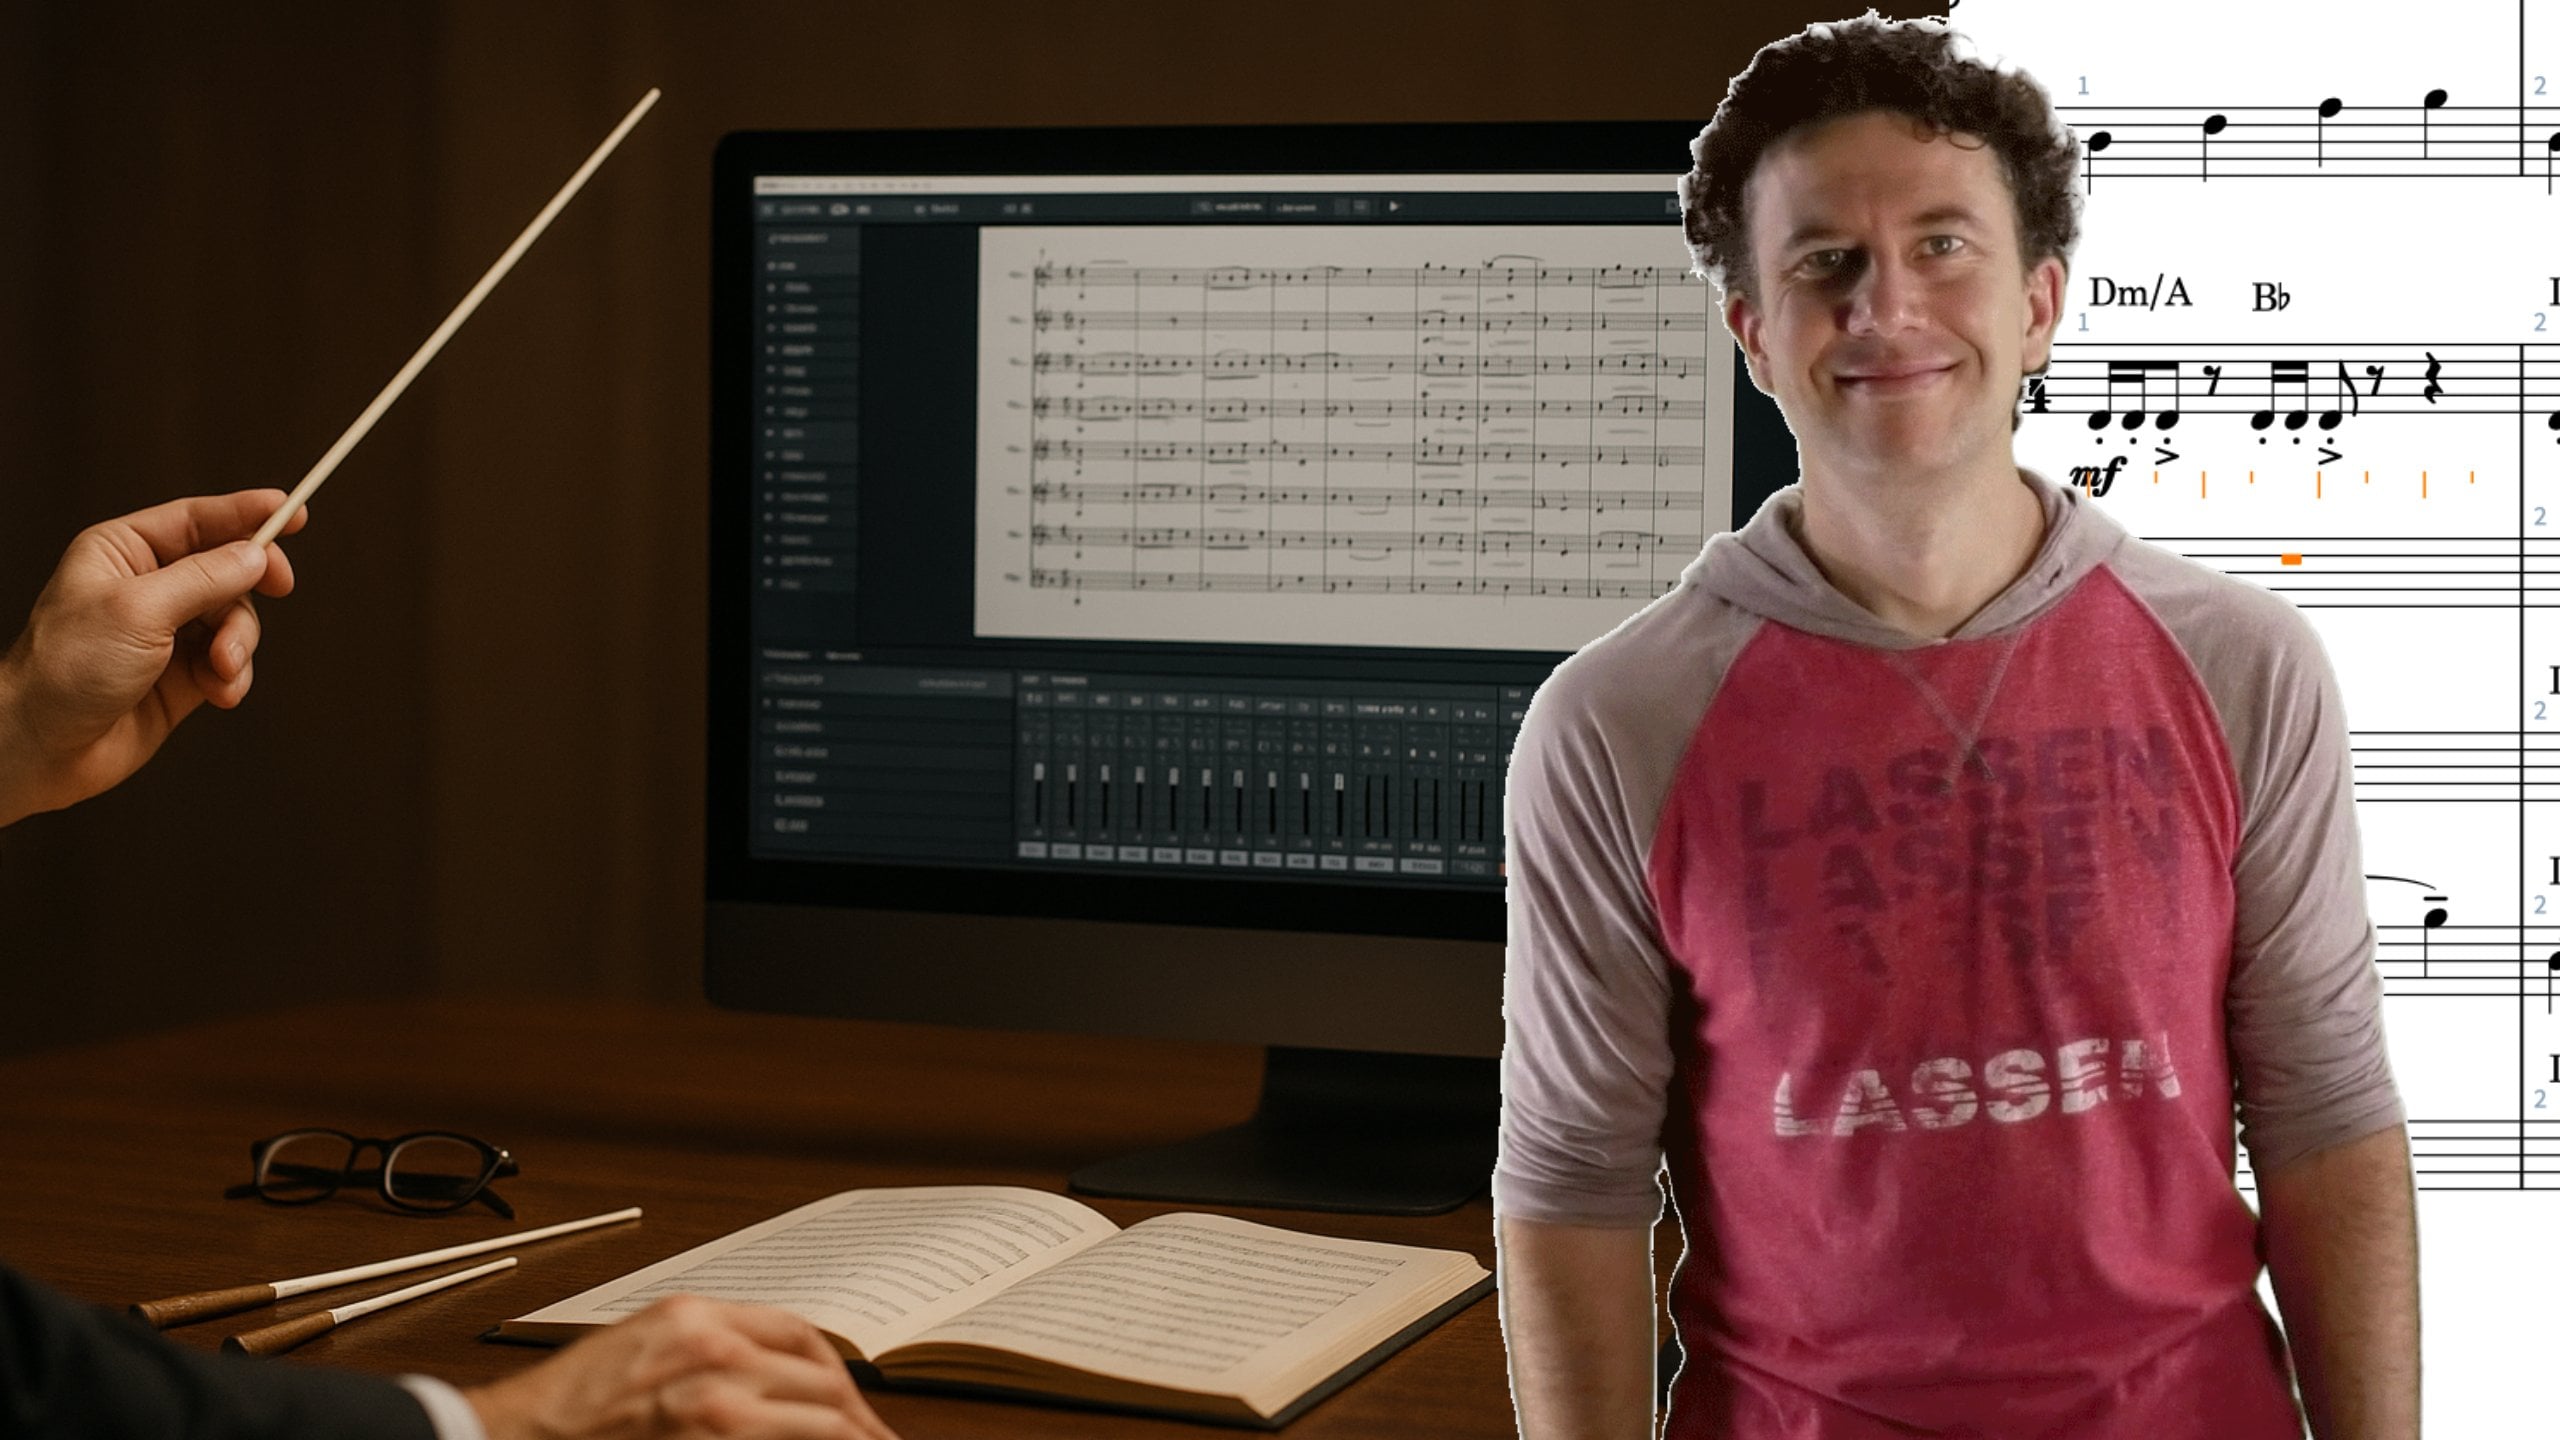
Transcripts
1. Introduction: Welcome to this module
on working with Layered sounds in
expression Maps in Dorico. Now, I've been a producer
of music for over 20 years, working with
orchestral music and sample libraries now
for several years. And in my experience, Dorico provides us with all the tools that you need in order to
produce expressive, realistic mockups from
orchestral sample libraries. But oftentimes it's less intuitive than just plugging in a great library
and hitting play. You need to learn
to layer sounds, you need to learn how to
use midi CC messages. You need to learn how
to think like a player. And in this module, what
we're going to do is cover all of the technical aspects
of how you can do that, how you can take the limitations and strengths of
different instruments and players and make sure it's configured into
your expression map. If you learn how to write these expression maps correctly with layered articulations, you're going to be
able to get more expressive, more
realistic results. You can breathe life
into samples which because of their nature are
relatively two dimensional. They are simply samples
of a moment in time. By layering them together, we can actually get much more
expressive performances, combined with CCs,
CC one, CC 11, we can actually
breathe even more life into the dynamics
of our performance. And so this module is going to be all about
everything you need to know to get from sort of zero to 60 in expression maps using
layered articulations. Thank you so much for
checking out my course, and I look forward to
seeing you in the lessons.
2. Why Use Layered Articulations?: This video, let's
talk about how and why you might want to layer sounds in your
expression maps. This is an important technique for actually achieving realism, which can seem a little
strange at first because you wouldn't normally actually layer live
players like this. However, samples
are very static. So if you have a sharp attack
on a sample, for example, it's always going to apply
when you trigger that sample. And there are sample libraries that are going to have
sharp attack, soft attack. They're going to offer you these different kinds of things, but other libraries don't. And sometimes you may
like the attack on one library and the
sustain on another. And actually, by
putting them together, you can actually achieve more
realism, more expressivity. So it's important to
realize that even though this is a more complicated and sort of seemingly
artificial approach. It actually can impart a lot more realism
to your mock ups. Now, another aspect
of this is just shaping that attack
and that release. So having some control over how sharp the attack
is, what's it like? Is it soft? Is it slow? What kind of release is there? Is there a tonal quality? Is there vibrato in the release, things like that that, again, can add expressivity
to your mockups. And the final thing is to consider working
with Syth, if you, for example, put a Syth pluck layered underneath a staccato, it does give it more heft. It gives it more sonic weight in a recording in a mock up. And this is fairly commonly practiced in commercial
grade music, even though it's actually
highly unrealistic to have a performer
synchronize Syth plux along with a string player, when we put it into
our mockups and we coordinate it with
our expression maps, it actually can create a
much richer experience. I'm going to play
you a simple example here before we continue on. So let me jump over
to my desktop. And this is going to use four
different articulations. We've got legato
implied by the slur, this bold and thin, which are two custom playing on playback techniques
I've created, and then some regular
natural notes. And just listen to this,
and I'm going to explain how this works in the
next several videos. So there is a little bit of variety in how that
is being played back. And we're gonna dive into that using base switches,
add on switches, mutual exclusion groups, and a whole lot of
other features built into Darko in the expression Map engine starting
in the next video.
3. Using Base Switches and Add-Ons: In order for us to
really understand how I layered up those
different samples in the last example
and to really look forward and understand how
to do this on your own, you need to understand
when to use a base switch and when to use an add on switch and what their
fundamental differences are. Now, the biggest
difference is that a base switch is exclusive. In other words,
when a base switch triggers it cuts out all the other base switches
that are currently active. So they replace
each other without the use of mutual
exclusion groups and that sort of thing. They just are exclusive
to other switches. Add ons, on the other hand, can be stacked and layered
on top of each other. So add ons make a lot
of sense for techniques like consortino or sul panticlo, sultasto, things like
this where you may have a base articulation
like legato. But you might want
that legato sultsto or you might want that
legato with vibrato. Vibrato is an excellent example of something you'd want
to use an add on switch for because you may want vibrato in a variety
of techniques. It's sort of an add on. It literally is something
that you add on top. Or consortino is another example with strings where
you're using a mute. You can also do that in brass and having some way
to articulate that to your sound library to get it to play back these
notes with the mute, these notes without the mute. That's what add ons
are really for, okay? So I'm going to dive into this
example a little bit more, show you how set it up
with base switches and add ons now that you understand what base switches
and add ons do. Let's take a look at the
expression map for this, and just keep in mind,
we're fundamentally looking at Legato and this
bold and thin. I've set bold and
thin up as addons. So if we go down to expression Maps and we look at this here, we'll find that under Legato, we're going to channel one,
and we have CC or sorry, C zero is the key switch, okay? Now, when we go to bold, we're actually cutting
to a different channel. And here I'm triggering two
key switches simultaneously. I'm using C zero
and C sharp zero. And what that's going to do
is it's going to trigger the original legato on
a different channel, as well as a staccato. So there's going to
be this layering of samples with a legato sample, which doesn't have a
terribly strong attack. And then staccato, which
inherently has a strong attack. So it's essentially going to be a more bold version of legato. Without me actually marking
the note as staccato, I can just note it as bold. Then thin, what this does is it goes to yet
another channel, and this sends out two
key switches, again, same key switches,
but they're not redundant because they're
all on different channels. But here, what we're
triggering is a legato patch, and also, I believe it is
a sul ponticello patch. And we can see that right
here in our sign player. So this is Orchestral
tools sign player. We're working with the
Bertolino orchestra, and you can see that I've got channel one here
doing just a legato. Channel two is two
different patches, staccato and the same
sustains legato. And then on Channel three, we've got the same
old sustains legato, but this time with
a sul ponticello, and that's adding sort
of a thin sound to it. And when I play
this back, you can actually watch the faders. On this mixer, light, you're going to see when it
starts off with just legato, we're going to see signal
in the first mixer. Then we're going to see them in the next two for the
staccato and sustain mixed. And then finally
the last two for the soul punt and
the legato mixed. So let me go ahead. I'm going
to move this over here, and then I'll jump in here. I'll play this, and
I'll just zoom in for you so you can see what's
going on over here. Again, you're going
to see this light up, then these two light up, and
then these two light up. Now, on the final
notes of this passage, there's more to discuss
about why these are continuing to trigger
the thin legato. We're going to talk
about that, although it's quite we're not quite
ready to get there yet, but that has to do with
mutual exclusion groups and also the way we set up
our playback techniques. So I hope that helps explain how our expression map is
starting to come together. We are using add on switches
combined with base switches, and we're leveraging the fact
that add ons can be stacked while base switches are
exclusive, mutually exclusive. Let's move forward
into the next lesson.
4. Fixing Playback with Exclusion Groups: Let's talk about mutual
exclusion groups. This is a special area within
the expression Map editor, where we can actually
determine that certain triggers or certain
key switches or sorry, playback techniques are going to immediately
replace other ones. Now, we've talked about
how base switches are already mutually exclusive. But we can actually use
mutual exclusion groups in more creative ways, as well. And that's
what this is all about. So we're going to address
two things in this video. First of all, we're going to talk about how you
can actually use a keyboard command to control exactly where
playback techniques play, even when they're attribute
or duration based. Then we're also going
to talk about how you can set up mutual
exclusion groups to solve a problem which unbeknownst to us currently exists
in this project. So let's zoom into the project and take a look at
what's going on. What we see here is that
the first note is legato. I'm looking at the
active technique in this little popover. Then we have Legato plus bold. Then we have Legato plus
bold plus thin, right? And that seems to carry on for the rest of the
second measure as well. So in our score, we see bold over the
first eighth note, and we see thin over the half note at the
end of measure one. But we don't see
any indications of bold or thin on measure two, yet those notes certainly appear to be legato
plus bold plus thin. So there's a couple of ways
that we can solve this. One of the ways that we
can solve this is to select an articulation
like this. I'm going to hold down
Option and Shift. If you're on Windows, that
would be Alt and Shift. And I'm going to use
the right arrow. And you see there's
a little control that comes up that allows me to specify the range that this articulation
will apply to. And what we'll see now does now that the bold and thin
are not including these, even though they are created as duration based
playback techniques, we now see that this is just legato as the
active technique. And just to be very clear, if we go into
playback techniques and we look up bold and thin, we can see that they're
marked as direction, which should mean that
once we instantiate them, they then continue on forever. And that's true until I use this key command and
I create that range. The same is true for thin. Let's see where
thin is down here. I have to scroll down, I guess, quite a long
way to get to it. Bold and thin are both playback techniques that I
just created their custom. So this one's set as
direction as well. So you can actually use that keyboard command in
order to control this. But there's another
thing that you can do, and that's using
exclusion groups. So if we go to our
Expression Map, and we come down here to
mutual exclusion groups, and we go ahead and
we say that natural, I'm going to go ahead and uncheck automatic so that
I can manage these myself. I'm going to go ahead and
I'm going to say that bold and thin are not going
to happen together, okay? So I'm going to just
call this texture, but we could call it
whatever we want. And I'm going to add bold. And I'm going to add thin. And what this means is that
bold and thin are not going to be permitted to work
together at the same time. So even if I get rid
of my little control there that we're
using option and shift to decide what
the range of these are, we'll still see now that
this is agato and bold, and this is legato and thin. This used to be legato and
bold and thin because bold was set up as a duration
based articulation. Now that we have a
mutual exclusion group, legato bold, legato thin, we don't actually have
to go in and manage it. All we need to do is set up that mutual exclusion
group saying that under no circumstances
do we want bold and thin to apply
to the same thing. So as soon as bold applies, thins not allowed
to apply to that. Or vice versa within,
it excludes bold. So using mutual
exclusion groups can really be an effective way to
work with your add ons and these complicated
layering designs in order to get reliable,
consistent results. If you have any questions on this lesson or others, remember, always you can post in the
Q&A or message me directly. I'm happy to help. And we're going to move forward now
into the next lesson.
5. Control Articulations with MIDI CC: Now we're getting into some
relatively advanced topics here using midi CCs in
order to manage our layers. One of the reasons we may want to do this is that we found something more subtle
than just on or off. In our previous examples, we were adding staccato to the legato to add
a stronger attack, and it's something that's
really just an on or off thing. Here, what we're
looking at is actually blending two samples together. We're going to be
blending a tremolo and then also a legato. So we want to have some way to sort of allow that
tremolo to ebb and flow into our main audio return. But have control over it, and the best way to
have control over time in MIDI is with midi CCs. Now, there are three
typical midi CCs that we probably want to keep
reserve for other things. CC one is typically
for dynamics. CC 11 is typically
for expression. It's sort of a secondary volume. And CC seven is M in volume. This is what you see on
a Mi fader, for example, you generally want to leave those prescribed
for those roles, CC one, CC 11, and CC seven. What I'm doing here
in this example is actually working with CC three, which is in the Orchestral tools library frequently ascribed to different sorts of add ons
or parameters that go on top of the basic articulations. But it's also one of the CCs that generally in most libraries you could afford to use without getting
unexpected results. So why would we want to do this? Again, for realism.
It seems strange, but actually by layering and going in and
being hyper sort of controlling over
exactly the timbre and quality of our texture, we actually can create
music that is richer and is more true to form of whatever our creative vision is, and
you're going to hear that. Now, there are two
ways that we could draw in this CC data. We could draw it
with a pencil tool, I'm gonna show you
how to do that. And you could also ride it in what's called riding
it in with faders. Now, I do have
faders setup here, but I don't have a fader
setup for CC three. Using faders or even knobs generally can be a
bit more expressive, as it connects our
hands with our ears, and we're listening and we're performing that sort
of subtle change. Drawing can be a
bit more arbitrary, even though we have
control over the mouse, and even if we're doing
something more advanced, like a Wakem tablet or
something like that, it still winds up being
the case that faders, and second to that, knobs can actually be the most
expressive way to do this. But let's take a look
at what's going on. So this time we're
using contact, and in contact, I've got two instances of
strativar Cello. The first is set
to the virtuoso. That's just sort
of basically sort of like a legato with a
bit of brato at the end. And down here, I've also got abode tremolo loaded up, and
they're just switched on. I'm not using key
switches at all, but what I am using
is the volume here. So this volume right here has actually been
assigned to CC three. While this up here,
I believe this does not have any assignment at all, so that's fine. We
don't need that. So the fact that our tremolo Stradivari Cello
is going to have its volume controlled with
CC three is really all we need in order to achieve
what we want to achieve. Now, when we come down here, we've got two notes in a cello. And if we zoom in down
here to our key editor, we can see there are two notes, and we've got a CC
three curve here. So if you don't know
how to get there, what you want to do is
you come down here, you click on add Editor. And then you can go
to either CC three. A CC that has data written
into it will appear here. If you need to find
it from scratch, you can click on Add automation and go and find it up
here. Click on it. And any automation
that's already been written to it will
exist right there. That's how you load up CC three. If you want, you can draw in the shape with your
pencil tool like so. You could also use
the line tool. If you wanted something
very precise like this, you can have
something like that. Okay. Oops. That's
not what I want. Like so. And what we're
going to see is as this CC three value increments up and goes down
and then increments up again, we're going to see
that reflected over here in our volume. So let's go ahead
and bring this over. I'm going to play this
back and you're going to see this volume
knob here change, and you're also going to hear the tremolo
fade in and out. Let me go ahead and make
sure that. Here we are. Sorry, it's not
playing back for me, so I have to select
that window and then zoom in over here.
It's a little clunky. Oh. Oh. Let's watch that again. Again, you're watching
this volume fader here. And hopefully you can hear how the tremolo is actually
being faded and blended in. And this approach,
like I said earlier, it's not such an on
off approach, right? It's much more mild,
much easier to control, can actually decide exactly how much of a layer
you want in there. This is great with
synths, as well. A common technique
for really amping up sinth or string parts
and brass parts. I actually have a string
synth patch or a brass patch. This works with drums, as well. But for for what
we're doing here, just using a single
acoustic cello, it's still really helpful
to be able to see and control exactly what that arch
of the blend is over time. All right. So if you have
any questions about this, post in the Q&A, and otherwise, we're going to move forward
into the next lesson.
6. Build a Layered Expression Map: In this lesson, I
want to give you some guidance when it
comes time for you to plan out your multi
layered expression map because there are some caveats. Some of them we've talked
about, others we haven't, and it's important to
make sure you have a very clear idea of how to prepare for a successful multi layered expression
map in Darko. The first thing to remember is base switches are exclusive, add ons are not, so
we can stack add ons. And using the key command I showed you in an earlier lesson, you're able to actually control exact range even for duration
based playback techniques. The next thing to
consider is that unless you actually have it registered
as a playback technique, you won't be able to add
it to your expression map. So what I recommend is making a basic spreadsheet like the
one that I have up here. I make a list of the playback techniques that I intend to use, the key switches
that I would need, the channels it may run on, CCs that I may be
using to blend them. By starting with a documentation of exactly what's going on, what I'm trying to achieve
and having a reference, you're going to have
a lot more success. You're going to have a
lot a lot less back and forth and a lot less
confusion. Alright? So know what the
playback techniques are that you're
going to need and make sure you also load them in, set them up as custom playback
techniques if needed. Now, with layering techniques, think of them in
terms of time based, like what we did
with layering in the CC three domain where we were actually blending over time the tremolo with legato. Versus the alternative,
which is some kind of on off switch, like staccato plus, maybe layering a
marcado attack with a staccato attack
to get even more punch forte piano or Sforzando along with another
type of articulation. So think of them as being
sort of short attack versus long release and sort of organize your thinking around those two sort of themes, right? The next thing to consider, and this is heading into more creative territory is that using synths to support orchestral
instruments can be a very, very effective way to add a
lot of depth and a lot of power and a lot of harmonic
density to your pieces. If you are using this layered approach that we're discussing in this module, then you'll be able to have those synth strings or synth brass sitting
sort of in weight, and you can write in CCs or use your own playback
techniques to make them suddenly apply and really
bring your music to life. I love doing that in Darko
because I still have one staff that represents
my musical idea, I still see my motifs
and so on and so forth. But just by adding a
playback technique or creating some
automation in a CC, suddenly, it becomes alive. It's got this harmonic
depth to it that only synthesizers
can really impart. Now, another thing and the
last thing I'm going to bring up on this is about
layering libraries. This is a very common really
almost requirement of modern orchestral
music production in the recorded domain is
layering multiple libraries, layer CSS with Berlin
strings, right, with VSL layering strings
from different libraries together is a generally
accepted approach to get richer, fatter sounds. It's the same principle as layering synths with
brass or strings, and it applies to brass. It applies to woodwinds. If we layer libraries, different libraries that were recorded in different rooms, maybe with different
reverb tales together, we do get a richer sound. And when it comes
time to layer if you're doing it with either
one of the approaches, whether it's a short
decay or sorry, a short attack type
style like we did earlier with the
staccato example or an overtime longer
release type approach that we did with the CC three controlling the tremolo blend. Whichever way you go,
just remember that adding libraries
to other libraries is a sort of de facto way. It's totally accepted and
often gets great results. So give it a try. Have some fun with this. See what
you can layer. Try Syths and strings, try multiple libraries,
and so on and so forth. If you have questions,
then please post in the Q&A or
message me directly, and I'll follow up
with you, okay? Now we're going to move
forward into the next lesson.
7. Mapping Your Preferred Dynamic Range: Now, we're getting to some
really exciting stuff here because we're going to
be talking about dynamics, and this is one of
the ways that Darko saves more time than
practically any other feature. When we actually put
dynamics into our score, Darko can automatically shape that sound to achieve
more realism. And I wanted to talk about this mainly because it does
pertain to something we had talked about a
couple of lessons ago when I said CC one, CC 11, and CC seven are really
pretty much designed for pre determined
purposes in MIDI, CC one for dynamics
or modulation, dynamics in the case of
orchestral libraries, CC 11 is sort of a
secondary volume, and CC seven is a main volume. And I want to show
you, first of all, how those are configured and also show you the
impact of them because I think it has a lot to do
with understanding how and when you want to do layering
in your compositions. Technically, this
is automatically layering different
velocity layers. So for those of you who don't know what a
velocity layer is, very brief the sample
libraries sample a cellist or a violin
player playing at different strengths
with their bow. And we call those
velocity layers, and the higher the
velocity, the midi note, we get a louder and louder
velocity layer playback. So there's many velocity layers actually in a single patch. And the thing is that when you draw the bow across the strings of
a string instrument, you don't just get louder. You also get a different timbre. You actually get something
a little brighter, a little more resonant. So that's why we want to control CC 11 for just strict
volume, loudness, amplitude, and CC one for actual dynamics where it includes that
tambrl information. And I personally like
to sculpt CC one and CC 11 in order to
get the most realism. And I want to show
you how that set up, how it's actually automating
those layers for you. And then you can understand how to use it to your advantage. So let's hop in here
to the project. And what I've done is I've added some dynamics here to
our existing example. We've got a piano
going up to Mesuforte. This bar two is just
mezzopiano and then we have another hairpin from Mezzopiano
up to Forte. Alright. And if we come down here into
the key editor and we open the dynamics lanes one of
the standard options here, we're going to see that there's a point in our dynamics lane. These orange points
indicate places in my score where I've actually
written in a dynamic, and you can also see the
text label for them. So when we have this hairpin coming from piano
up to Mesoforte, you can see it's actually
created a ramp for us. Now, this dynamics
information here is not actually doing
anything for us yet. But it will in just a moment. So just to be very clear,
if you look down here, I've got CC one and CC 11 open, they're completely
empty. There's nothing. Now, I could draw in
there if I wanted to, but I'm not going
to do that here because I'm trying to
show you something else. If we go into the expression
map for our violin, okay, we're going to
go into Demo violin. And I'm going to choose legato. And over here where it
says volume dynamic, node velocity right now is what we're actually, defaulting to. And what you can actually
see if we open up, this is kind of a sidebar, but helpful to know the
reason these velocities down here are different levels, different velocities, has to do with the dynamics
that I put in. So you can see down here,
it starts on piano. It's a quieter velocity, ramps up a little
bit to Msaforte, go drops down to Mapiano, climbs up again,
so on, so forth. There are other things
that influence this curve, but since our
expression map right now is applying
dynamics to velocity, it's automatically changing
those velocities for us. And we want them to actually be controlling CC 11 and CC one. So we're going to go back
into our Expression map here, and I've got it opened up. I'm going to select legato. I'm going to come over here
and I'm going to change my volume dynamic to CC one, and I'm going to also enable a secondary dynamic
for CC 11, okay? And I'm going to do
that for all of these. Let's see. Actually, I think I wanted to be in demo layers. So let's go ahead and do that. Here, By doing this for the
different articulations, we're going to now see
this gray line show up in CC one and CC 11 lanes. And this is Dorko
basically mimicking what it originally did in
the velocity curve. It's now doing it with
CC one and CC 11. This is almost like I'm riding
that fader with my hands. I'm riding the CC
one and CC 11 fader. It's a real thrill to get so much more realism out
of your sample libraries. If you have a pro library, it's going to be
supporting CC one and CC 11 for precisely
this purpose. And you're going to notice
you're going to hear a noticeable difference that when you notate your dynamics, you're going to get this
much more realistic, much more nuanced performance back from the sample library. Alright? Now, you
hope you understand that gray line that's in
the CC one and CC 11 lanes, that's being created
automatically. If I wanted to, I can
go in and change it. You'll notice that if for some reason I wanted to do that, it'll let me change
it, and it actually highlights the part
that I wrote in blue. If I wanted to go
and get rid of that, I could just go ahead and select everything I'd
drawn, hit Delete. Whoops. Go ahead and
select that hit Delete, and it goes back to
the original line, which is being extrapolated
from the dynamics lane. All right. So I hope that explains exactly how
dynamics can and should work in your score
translated into these velocity layers
that are probably built into your high
end sample libraries. And let's move forward
into the next lesson.
8. Testing Your Map in a Musical Phrase: As you're writing
your expression maps, you want to be
thinking mindfully about what an actual
human player does. How long do they have
to hold their breath? What kinds of articulations and expression are
they capable of given their physical
limitations and also the limitations and
strengths of their instrument. Thinking like a player will
help you start thinking about what layers you
want to implement into your expression map. Then once you have that set up, you want to just
use a spreadsheet very similar to the
one I've used here, which is just a way to
jot down your ideas, the different
playback techniques you think you're going to need, what those layers actually
look like, what channels, what CCs, and so
on and so forth. Get all of the numbers and the specifics
down in front of you so that when it gets
to actually building the expression map in the
expression map editor window, you don't have to be
constantly flipping back and forth between different
contexts to get that, right? So when you are troubleshooting, how these spreadsheets work or these expression maps
actually is what I meant to say, there are a couple of
tools to be aware of. If we head into the
expression maps and I bring up my screen here, one of my favorites is to bring up this little audition
button down here. So if we are in legato, And we hit this little
audition play button, it plays a little
an interval for us. You don't get to
choose what it plays. It's just telling us that
it is triggering correctly. So that's going somewhere
and it's playing correctly. It's funny because in this case, it doesn't actually
have a channel. It's probably just inheriting one from a previous example. But if we were to go
in here, for example, and we were to go into the play mode and
we went to violin and we switched from the
demo violin to demo layers, now that it's connected, we can actually attempt to
use that audition feature. Audition feature
sometimes grade out if it's not actually connected
to a physical instrument. So I can hear the
legato on Channel one, C zero is the key switch, and we can be sure
that it's working. Beyond that, the best advice I can give you for
troubleshooting and making your expression maps successful is to
think like a player. Think about what the
players trying to do, how would a player play this line and then create
your spreadsheet based on the playback techniques
that that players going to need in order to get
your vision across, right, get that
library to play it. Now, one thing I just want to do actually before we
wrap up is listen to this example with
the full expression. There's a lot more life.
There's a lot more bounce, especially where I'm
using this bold and thin. If we don't have that
and we use, say, just a very basic expression map here that lacks all that, we're just going to get
this kind of flowing blur of legato or
natural sustained notes. It just doesn't sound
very good at all. And what I wanted
to point out right there is that this
is the same library. This is a high end
string library. This is a fully professional
string library. Having the library
does not immediately mean that your pieces are going to sound great
coming out of Darko. You have to think about how you're setting up your dynamics, how you're using that
CC one and CC 11? Are there other CCs or other controls built into your library that
you're not using? How do you get
them to respond to your score using playback
and playing techniques? Configured in your
expression map. What's an add on?
What's a base switch? All these things are crucial
to really troubleshooting to the point where you've got an expression map that's doing what you're
hoping for, right? It's satisfying what you want to get expressively
out of your music. If you have questions, if you have troubleshooting
problems, always remember you
can post in the Q&A, and I always read that
on a daily basis, and get back to
people right away. And let's move forward
into the next lesson.
9. Tips and Project Guidance: Congratulations on working
through this module. I think you've learned a
lot about layering and hopefully also CCs and the different mechanisms
that are available, including base switches and
add ons that can help you write the expression
map that's going to achieve your expressive goals. In this lesson,
final lesson here, I wanted to do two
things give you some more troubleshooting
guidance in terms of how to go about making sure that you are recording your MIDI
in the best possible way. Using the expression
map actually in your performance in your
notation the best way. And then also to outline what a project is for this module. Okay? So first thing to think
about is using phrasing. We talked in the last lesson about thinking like a player. Using faders, using
knobs to actually control CC swells can
be a very expressive, humanistic way to get that
data into your system, and I highly recommend using it. Definitely make sure you're
using CC one and CC 11. But if there are other
CCs that your libraries use or other techniques
for velocity switching, optimizing envelopes, I know
that the sign player by Orchestral Tools includes
the option of actually turning on and off
different velocity layers or even round Robins. All of these things are
worth educating yourself about so that you can use them to get the most
expressive result. As we saw in the last example, just having a high end
library isn't enough. You need to also know
how it works and be able to leverage and create an expression map to function. So that brings us
to our project. The project here is create a layered based expression map. Start with something
very simple like the examples I've
used in this module. A simple line on violin
or trumpet or flute, try to think about some short
attack style articulations, like I had the
bold articulation, which I created, which is a combination of
legato and staccato. You could have a sort of
staccato plus that bonds marcado articulations with
staccato or spicado and marcado to get even more
of a punchy tight sound. Maybe mixing tremolo
with harmonics, maybe mixing portamento
sky's the limit in terms of what you layer, what instrument you go for. But set up a spreadsheet, write out some of the playback techniques you'd like
to use in your line, identify what the key switches, the channels, the CC values, and types that you're
going to be using. Get that documented first. Come into your Expression Maps. Remember to create the
expression map and you can use the audition button to try to troubleshoot as
you're building it, making sure the right
sounds are being triggered. Depending on the sample
library that you're using, whether you're using
contact or VSL, you may find that some of
the workflow is a little bit unique from the
examples I've given. I tried to cover both
sign player and contact, so people would have an
opportunity to use those. Those are two very popular
sample library players. But from here, the next step is to finish that
expression map, make sure you've got a
couple of layers in there. You're using add
ons. You're using base switch and then
post your results. Tell me what you've
learned and share some music that you've produced using that
Expression Map. If you have questions
along the line, please reach out to me. You can post in the Q&A, and, of course, I will
get right back to you. Thank you so much
for joining me in this module and best of
luck with your productions.
 Will Edwards, Artist. Creative Problem Solver. Musician