Transcripts
1. Welcome: Do you have a passion for creating a captivating mandalas? Another side to make your design process
quicker and more precise. If you are a fan of
affinity designer and eager to unlock
its full potential, this is the person play for you. Hi. For those of
you who don't know, I am Alda, I am an engineer, designer and a self
taught illustrator. I am the founder of
playful and whimsical. My vision is to help Jovan Boring was a asun
whimsy to your home. My style is colorful,
imaginative, whimsical. And I mix hand drawing with Betar illustration to
create unique images. If you want to see
more my print, check out my shop or my
web page links below. This is the fifth
class I teach in Skillshare and my second
class about Mandala creation. All of them are about
affinity designer. You can tell I really
like affinity designer. I think that the
option of working with vector and pixel graphics that affinity gives you is
very powerful and quick. We are going to
use it to the max. In this class, I understand the importance
of learning while doing. During this class,
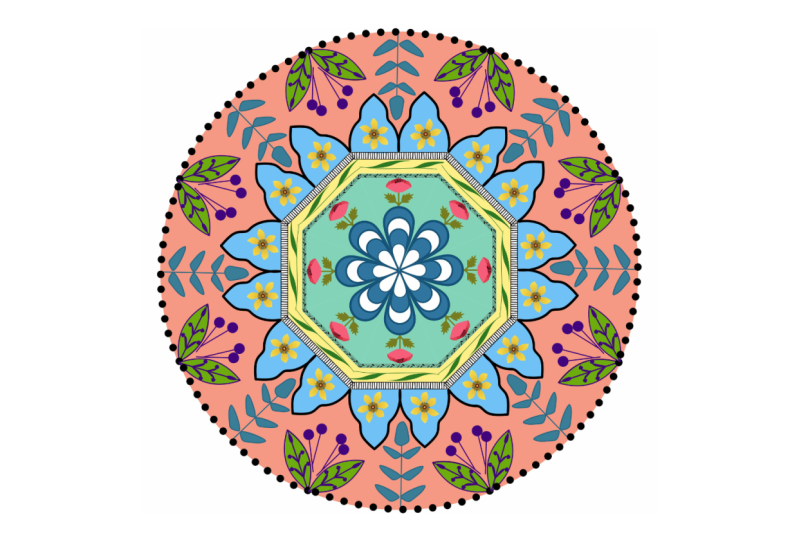
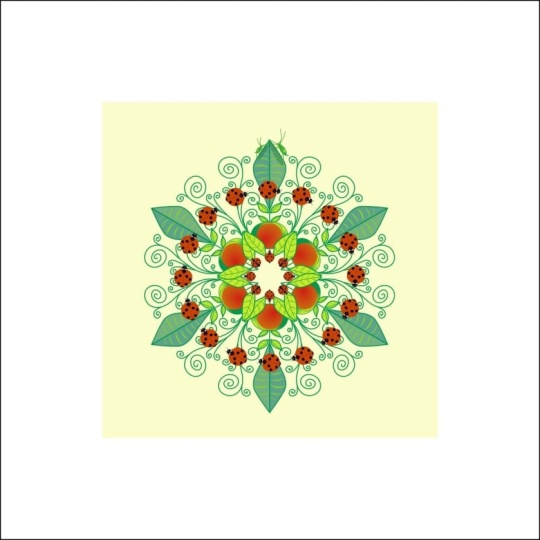
we will create a mandala like this one. For that, we will use some of my favorite tools of affinity, designer symbols, pencil,
pen and brush tools. And of course, shapes, these tools want masters. And you will, don't worry. We'll give you the power to
design an immense variety of custom mandalas very quickly and we are going
to use templates. This class is beginner friendly, but a bit of knowledge of affinity designer
will be helpful. I really encourage you to take my first class
about mandalas first. You will love it. Mandela prints are a great gift I'm
so proud to make. So, give it a go and I will
see you in the next video.
2. Project: The predit for this class is
obviously to make a mandala. You don't have to do this one, but you have to do one mandala using the techniques
I'm going to teach you. You can use the resources
I've included for this class. The link is done below the
password for the class. For the link is
this one. This one. That's it. Do a Mandala. Share it with the class and the credit is done. Let's start.
3. Let's make a piece of cake: Let's do a wedge. In this class, we will learn how to
craft beautiful mandalas. Starting with a simple just
versatile symbol, the wedge. As you know from my
previous mandala class, symbols are like
magic tools that can transform the way
we create mandalas. They not only
simplify the process, but also add an extra
layer of fun with symbols. Changing your design,
experimenting with patterns or altering
your masterpiece is as easy as the
flick of a wound. In this case, we are
going to be a bit of a twist used in different
shapes and containers. We're going to create
like a template, in this case is a wedge, also known as a piece of cake. Let's go. As always, we are going to make sure that we are in the
designer persona. We are going to
use the two Pi for this Mandela because we want a center and
symmetrical pie. We're going to click and use the control and sift
of the same time. Here we want a star angle
of zero, angle of 45. Because we want eight pieces, it's 360/8 and that's 45. We have this little I piece
and we are going to click on it and go to Layers
and compare to Curve. We can also do doing click Control and Return
at the same time. That allows us to use
las, any other curve. We can change colors, we can move it here. What we're doing is
always move the origin to the verts of this little piece. We can rotate around the center, because we wanted absolutely vertical, that's the formula. And we want to
rotate 75.5 degrees. We have this wedge that
is absolutely vertical. Now that we have that, we just go to
symbols and create. If you have a lot of
symbols, don't worry. The new one is going
to be at the bottom. There it is. Now because
you've done my first cast, what we're going to
do, we are going to click and drag that symbol. Because we want to create
the first circle again, we want to move that
origin to the bird. Now we rotate and duplicate. Rotate and duplicate. Just rotate 45 degrees
each rotation. Now I want a bigger mandala. I want a bigger wedge. It doesn't make sense. Make the symbol bigger. I have to make the curve that is inside the symbol bigger. Here it is. We have a template to create our
mandala based on a pi. Well, there you
have it, a piece. Okay. Was it? Guess what? This little tricks up
a wall of possibility, letting us create an
infinite variety of mandalas just sing of interior
in our net gas. We are diving deeper into
the creative tool box by mastering the art of using the paint tool right
inside in our trusty way. See you in the next.
4. It's like a pen but better: Welcome to this class
where we will be diving headfirst into the wall of
the sign using the Pin tool. You will be familiar with this tool from my
previous class, but we are going to go a bit
deeper with this nifty tool. The Pin tool is your go
to for crushing precess, curves close and straight lines. Think of it as a
compass combined. Bomsteroids's quicker is more efficient and inspect
with creative potential. It's perfect for the
sending mandalas Easier than ruler encompass. What are we waiting
for? Let's get started. We are going to start
with the pain tool. The pain tool allows you to do precise curves and shapes
and even straight lines. There is the pain tool. We're going to choose
it and we're going to draw inside the wedge. What you have to do
is just click and track to manipulate the curve. And you can take with
the colors, whatever. And what I do encourage here is that you play with this
shape. You can see here. You can move the nod,
the nodes, sorry. You can move the nodes
and duplicate and rotate. You don't have to do exactly the same
mandala that I'm doing. You can just move it and
try new things here. The trick is to create the curve and now
move the handles. And move the nose to get
to the set you like. Once you have finished
with the pen tool, you can also use
the pencil tool. The pencil tool, similar
to hand drawing, you can just freehand something and then you
still have the nose, and you still have
the handles to play around until you create
the shape that you like. Congratulations, you just level up your Mandela making skills. I hope you have a
blast exploring the Pin tool. This is important. You have to keep
practicing creative time, you see new, safe, new curve, this is
very important. The more you use the Pin tool, the easier we get in a moment. Something will like
clicking your brain. In the next class, we are
going to be exploring the brush tool. See you in the.
5. Brushing away: In this class, we will
use the brush tool. The brush tool works
very similar to a brush or a pen
in the real world, but it gives us more control with the lines that
we can change, shape that we can change. It is a great tool for
Digital Mandela making. It is very similar to the
traditional techniques, but with a advantages. Let's stop now. We're going to use
the tool, After that, we're going to get back to
the person pixel persona. The brush tool gives
you a lot of freedom. You can do whatever
you do with a pencil. The difference is because we are in a pixel layer that
we are creating here. Once you draw with it, you cannot modify
what you have done. But what you can do is to just delete if you don't like
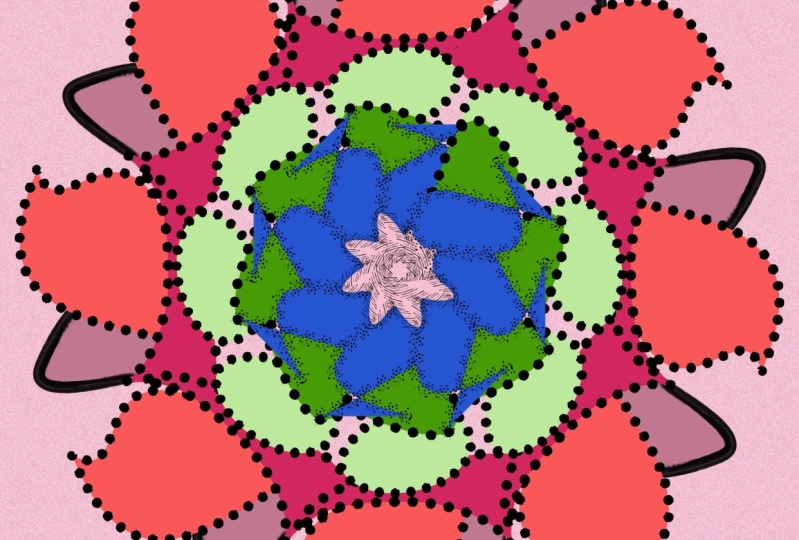
something. Let's try. I'm just moving a bay, we, I'm using a basic pencil here, fancy brush of any kind. I'm just doing this.
Little dots that are a bit of a flower inside. Again, if you don't
like something like I didn't like that
you just deleted, that's the only thing
you have to do. That's it. That's the only thing I wanted to do with
the brush, this time. Again, using the brush, you can use the little touch. You can do things that is
not or even impossible to do with the pen or
with the pencil. With this case, we decided a new dimension to
your techniques. As always, what I recommend, you can't broke anything. You can always go back. Do a control set and try again. Keep exploring, keep
drawing, keep trying things. In the next class we
are going to explore, The shape is going to be great. See you in the next video.
6. Shapes, shapes and shapes: In this class we are work to
delve into the shape tool. These tools allow us to
effort craft geometrics and special sates that otherwise may be challenging
to draw a hand. It will allow us to
elevate your mandala. Making game with this
tool in your arsenal, you'll discover universe of creativity and precision
in your designs. Making your mandalas truly exceptional and very fun to do. Let's go. It's better if I show you now we are going
to use the shape tool. For that, we have to be
sure that we are on the designer persona and
use the tier shape. We can use any other one. Just as always, I encourage you to play and try new things. What you have to do is just draw the symbol and draw the shape. Make sure that it is inside
the symbol as always. And then you can scale it, rotate it, move it,
change the width. And this is important. You can move that layer up and down until you
have the desired effect. And many of you now I will, will be wondering if you can
have this wonderful shape, why to use the pen tool to create a curve like
in the first class. Well, the thing in
affinity designer you always have several ways to
do things when I want to do. Here you show you several ways you can find
the one you like, the one that inspire the
most with the shapes. Playing with shapes, you will be able to create
surprising effects. Like I did here, I started
with a tier shape, I ended with the heart shape, circles that I really like. That's it. We decided. Another incredible tool
to your Mandela making. As always, keep experimenting
with different shapes. I let your creativity
round wide. What happened if you use cloud
inside of your template, inside of your wedge? What if you modify that cler? Several, keep playing in the next class is
a bit different. What we are going to do is get
every technique we talk in the previous classes and
we're going to combine, use all them together
to get to a new metal. I see you in the next class.
7. Mix everything together: In this class, we are taking
everything we've learned so far and combining it
into a finish mandala. At least black and white mandala will blend the power of the
pen tool with his precision, the artistic touch
of the brush tool, and the precision of the shape
tool to create a mandala. Let's stop talking.
Let's dive into this. In this class, we
are going to use all the techniques we
have learned together. This is an accelerated
class where I will show you very quickly
how I designed this mandala. But also, and this is
the important part, a few tricks that you can use. In this case, what
I'm doing is using the selection tool to
select these dots. I can copy they're
going to be the same. Repetition is very
important on design. They're going to be the same. And I can move
them, rotate them, escalate them as any
other piece of design. As you can see, now we
have this perfect line of dots now where I did just
copy the shapes that we look, that we did the previous class and just play with
it, move it around. Now I'm going to use the designer persona,
create new shapes. That's it, you havens
the full range of techniques and hopefully
you have a very personal, very beautiful
mangrella right now. We have color of course now. But you have a coloring page, you can print it and have
fun coloring with your pen. But I do encourage you
to watch the S glass. We will learn how to color it digitally. You
will be pleased. You will use some new
techniques as well, so you know what I
see you in the glass.
8. Add a touch of colour: To add vibrant colors to the mandalogy of cast the in the techniques
from this class, we'll need to follow
some special steps. It's not just about using the flat field tool
from the pixel persona. There are a few nifty tricks
of your sleeve that I want you to master
is not difficult. Just a few tricks is a quick
and straightforward process. Let's dive right in and unlock the secrets to beautifully
color mandala coloring. This mandalas is very quick, but you have to be
aware of a couple of tricks and problems
that you can find here. As you can see, if
you use the zoom, you see that some of
the colors are wrong. To fix this, sometimes it
takes a bit of try an error. What you have to do is move the handles of the shapes that you like to cover
the colors you want. Even like in this ate, create a new shape to
have the correct color. It's not difficult, it
just takes sometimes just a bit of time and you
have to be aware of that. Another problem
that you can find, as you see there, is that it
is a bit of a wider space. Just play with the shapes, play from the handles, move the nodes and the ledgers. That's it. Choose
the colors you like. For every shape, the
problems will be solved. And you will see
that this is one of the quickest ways to
coloring mandala. That was fun, wasn't it? Now you've learned
the techniques needed to add beautiful
colors to any mandala. I've added some color
palettes for you to start, but let your imagination run and go wild with
colors techniques. Have fun. In the next class, I will show you some
alternative shapes to use for your symbols to
create not only mandalas, but kind of radio
sync is really fun. And I'll see you
in the next class.
9. Let's do something different: Up until this point, we're working with
wages piece of cake as a simple design. But there is an exciting twist. By changing just
the inner design of the wedge or the sabor, your symbols, you can give birth to a completely
different mandala, a different design. In this, I'm going to show
you different options to us, a bit of exploration, a bit of creativity, a lot of experimentation. Let's have fun, and
let's do it here. What you can see the mandala we've made in this class Here, you can see that everything is inside the piece of
case, inside the weight. What happens when you change
what's inside that wedge? As you can see
with the examples, you will have totally
different designs, very different designs. Just changing your design and your colors
inside of the wedge. It is interesting, isn't it? But what happens when you not only change the
interior of the shape, but what happens is
to change the shape? You will have a totally
different design. It doesn't have to
even be a mandala. You will have the
circular designs. The first one is
based on a heart. This one, as you can see, is bad in a rhomboid shape. You can, this is like
a Christmas car. But you can have any kind of design with different colors. You can even go a bit crazy and have something
a bit more abstract. Like this is just two tear drops and they look a
bit like a flower. It is exactly the same. You just have one symbol
and you just rotated. And just changing the shape or changing the
inside of the shape, you will have an infinite
number of designs.
10. Thanks!: You made it comrades. Through this class,
I hope you've gained a comprehensive skill set for Mandala Design With
affinity designer, we began mastering the
bases with the pen tool and understanding the
power of the symbols. This is very important stand
the core of everything. Then we dive in the grush
tool pit to our creations. In the following class, we
harness the precision of the shape tools which open new dimensions
in our design in it. Then we combine these
techniques to form what I hope is a very personal
and beautiful mandala. Don't forget to lock
your projects to the project gallery
of the class page. Stand below, we can
all take a look. I love seeing my students row. I always answer if
you have your class, I will really, really appreciate
that you leave a review. It will help me and
it helps others find this class while you're here. Why not take my class
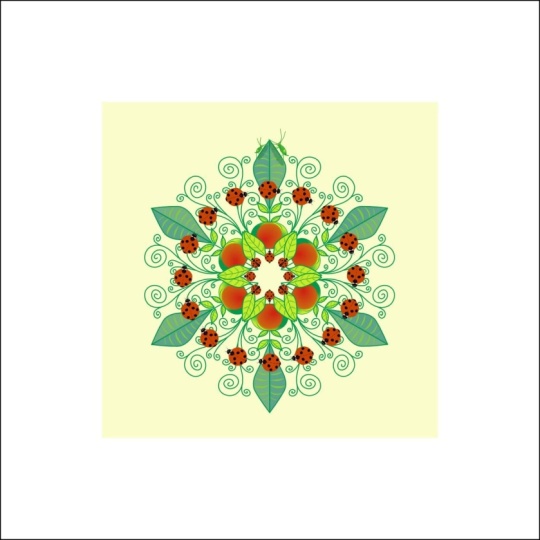
about pattern design? You can create a great pattern with your mandal, like this one. I use it wrapping paper fabrics. The options are. Finally, follow my
profile profile for my adventures to come. I'm preparing a class
that is super far. Thanks again and I see
you the next time.
 Aldara B. Dios, Playful & Whimsical