Transcripts
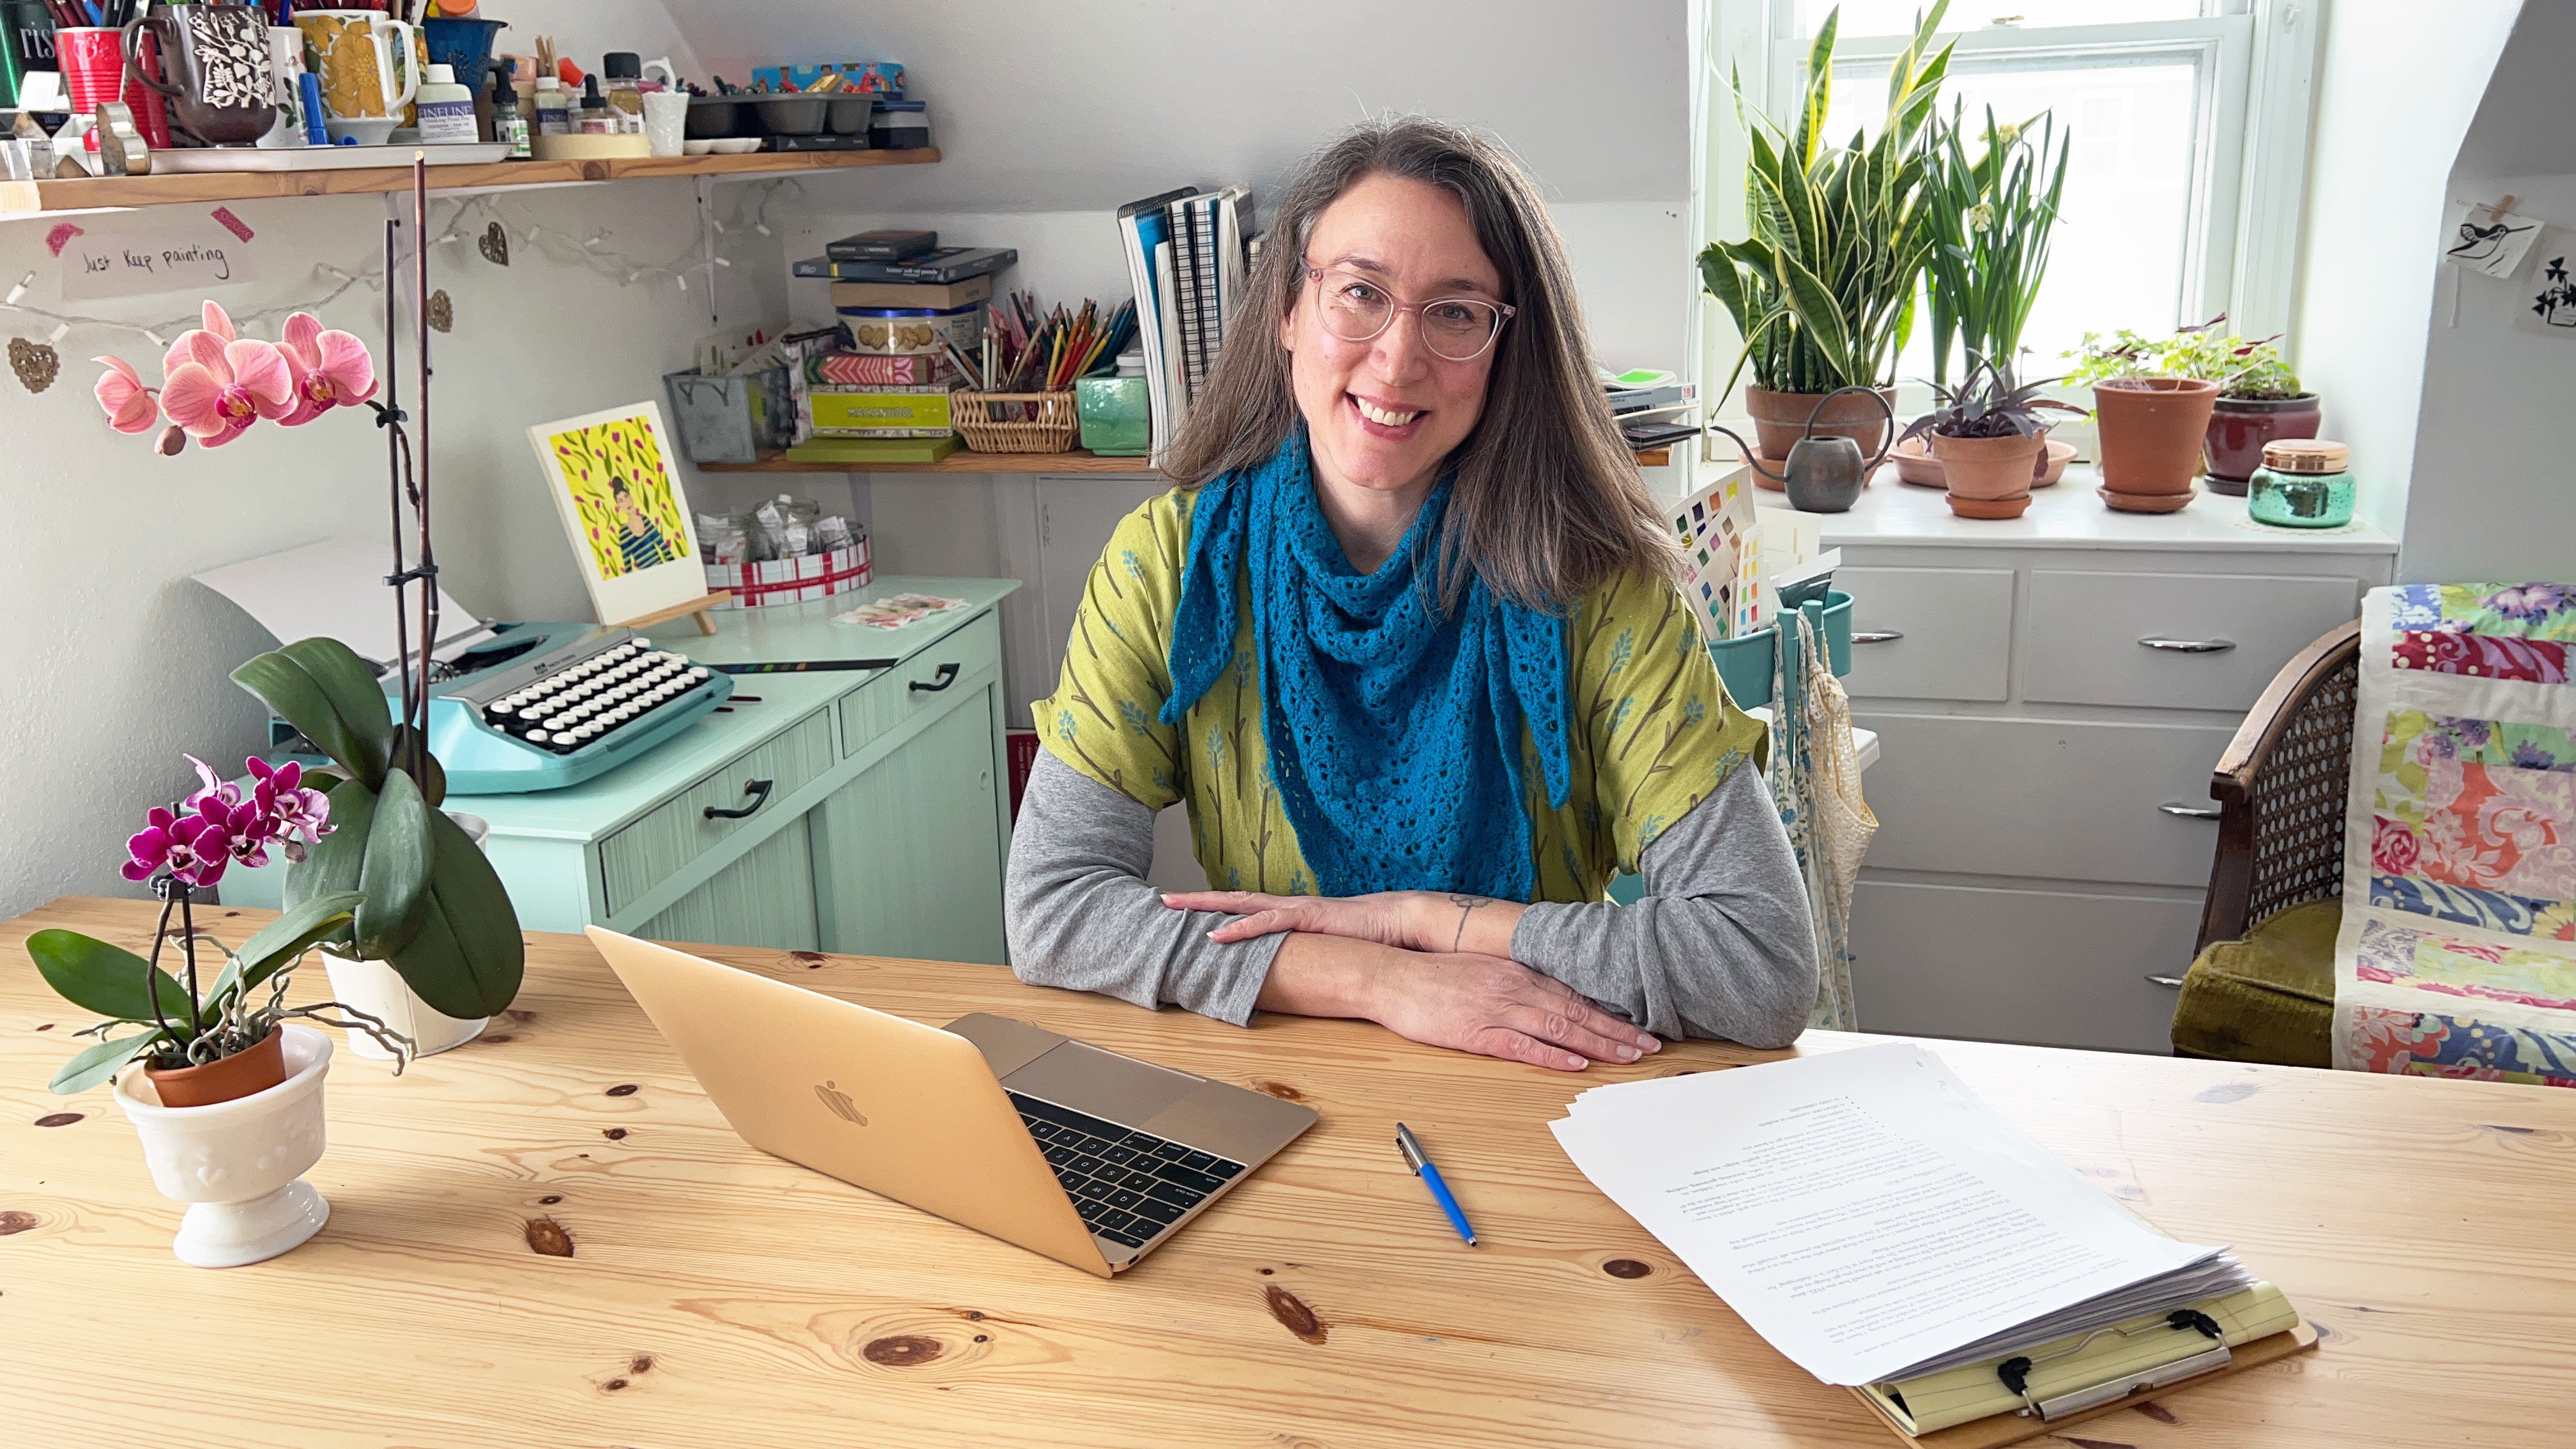
1. Introduction: Are you an artist ready to take your art to the next level? Have you been thinking that you should have a website but you have no idea where to begin? In this class, I'll help you get there. Hi, I'm Anne Butera. I'm the artist behind the website and blog, My Giant Strawberry. Having a website has opened so many doors for me as an artist and my experiences as a self-taught web designer and artist have fueled my passion for sharing what I've learned over the years with students like you. In this class, we'll talk about all the necessary pages you need for an artist website and we'll discuss additional pages and features that you may want to have for yours. We'll talk about website builders and website hosts and how to choose one that's right for you. Then you'll get busy planning a website that is unique and that reflect who you truly are as an artist. If you're ready to begin planning your own website, I'll see you in the next lesson.
2. How the Class Works: Before I get started diving into all the content of this class, I just want to say a few words about how this class works. I've created a handout for you that you can download and print out. When you're in the class, if you click on "Projects" and "Resources", this is where you will find the handout and you can take notes throughout the class. There's also a detailed planning guide that includes a timeline that you can create for designing your site. Then at the very back, there are some resources to help you on your own for your continued learning. I also want to encourage you to share any comments or questions in the discussion. Because I know that we can all learn from one another. In the community section is where we can have our discussions. I hope to see you there. Let's dive in and I'll see you in the next lesson.
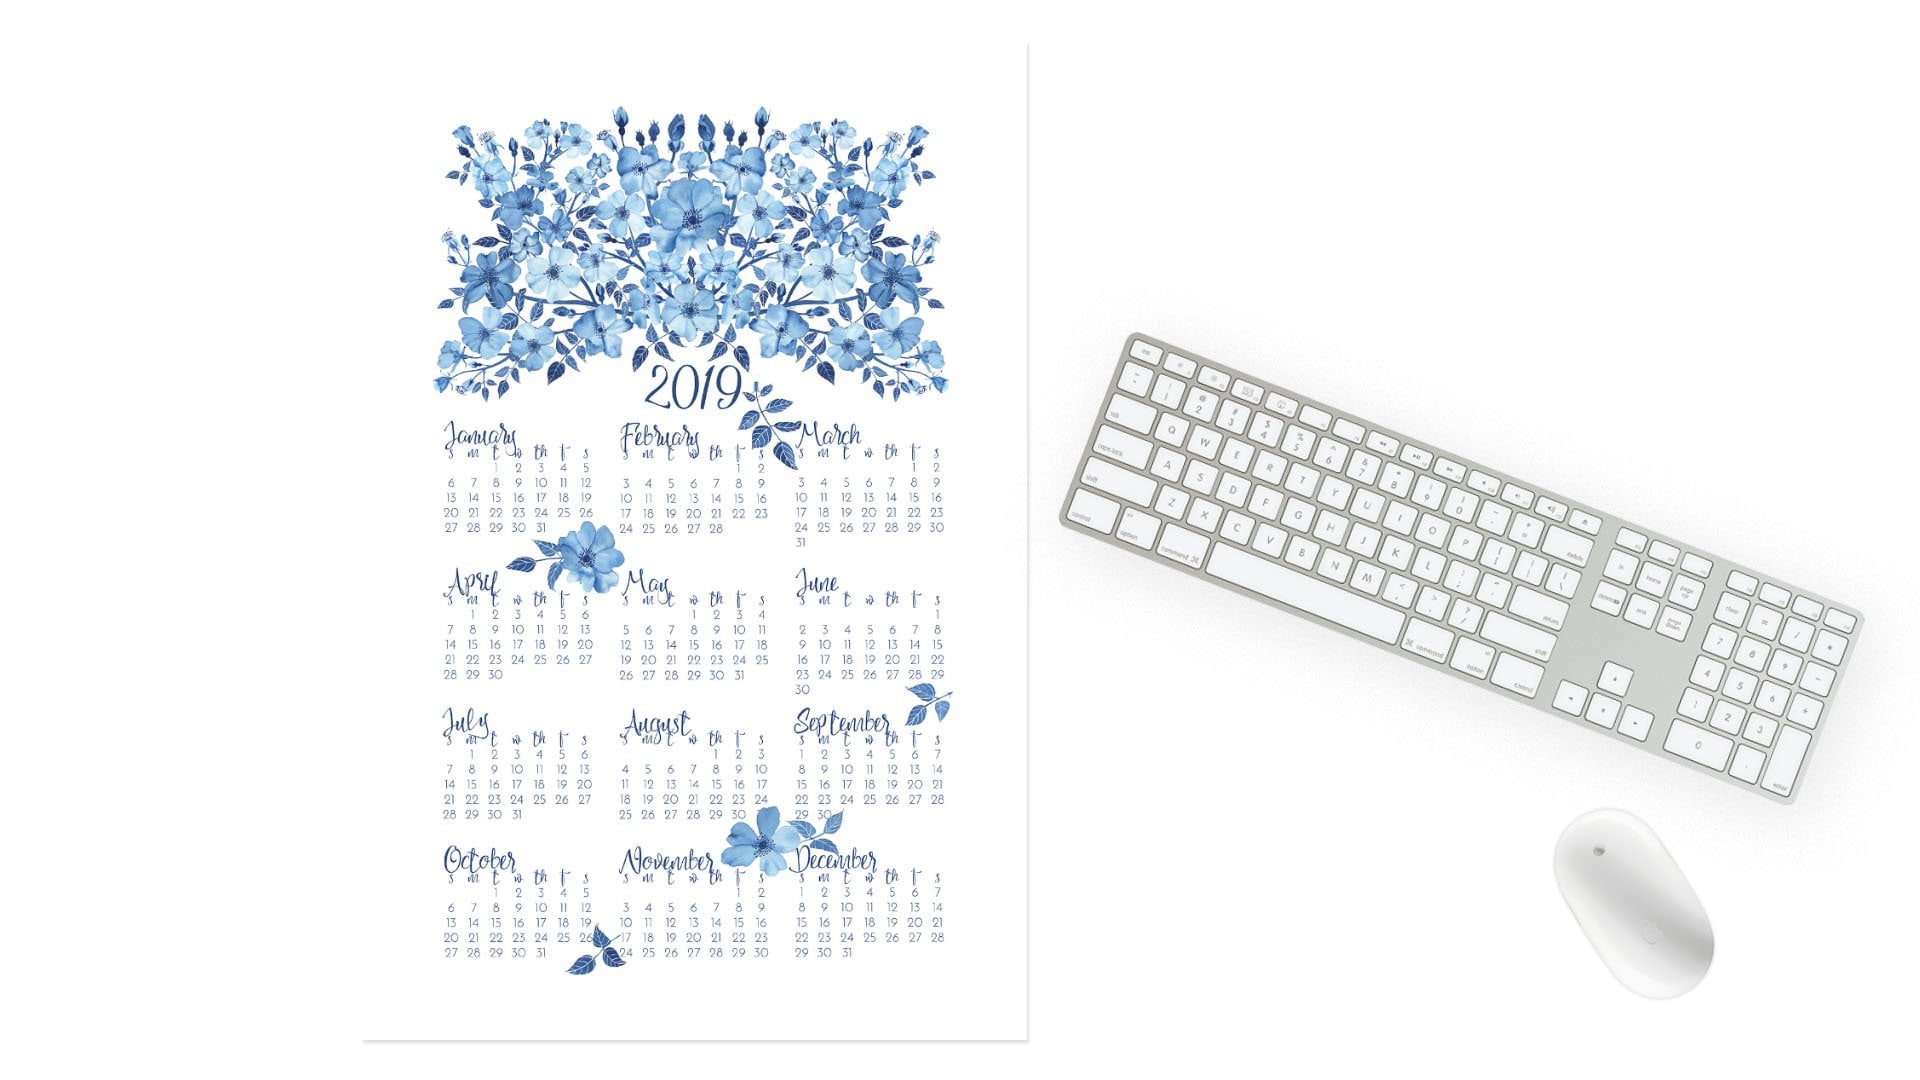
3. Why Do You Need a Website?: So you want to create a website for your art and form a plan about how to do that, and I'm so excited to help you with that. Before we get into creating a plan for your website, I just want to tell you a little bit about my story and what wonderful opportunities I've had over the years, thanks to having a website. So I sell my art on my website, but also, having a website has allowed me to submit my art and writing to publishing companies. I've been published in magazines, I was published in a book, Britannica, published by Uppercase Publishing, and I was also in an International Calendar, that's the flow page a day calendar for 2019. I've been able to submit my work to shows and have it exhibited across the country. I've been approached by companies to create commissioned pieces of art for them. I was approached by Skillshare, and that's how I began teaching here online. I was approached by Karen Abend, who runs Sketchbook Revival, and I was able to be a teacher for their online event. Cottages and Bungalows Magazine approached me and my 2019 calendar was featured in that magazine earlier this year. I really think that these wonderful opportunities would never have been possible without my own website. One reminder, done is better than perfect. So get something up there, get your art in front of more people, doesn't have to be perfect, my website isn't perfect, I'm constantly tinkering with it and changing things, but at least, it's there, and with it there, you'll find that you have more opportunities than if you didn't have a website. So you might be thinking, okay, so I need a website, but maybe you don't know entirely why. A website is a home base for your art business. It's a place where you can shine and your art can shine. It legitimizes your art as a business. So you look a lot more professional if you have your own website than if you don't. It's 100 percent in your control. So you don't have to worry about algorithms or people having to pay to see your content. You own that URL, and because you own that URL, you get to determine the content. Your website can look however you want it to look, it can include whatever you want it to include. Your content is available to anyone who knows the address, not just a certain group of people on a certain social media platform. So a Facebook, Instagram, Pinterest, whatever, if they disappear or change the algorithm or start charging, your business will be fine. This is also true if you sell on other sites like Etsy, Society6, Amazon Handmade, if they close or if they change and you don't have a website, you'll be in trouble and you may be scrambling. But if they close and you do have a website, you'll be okay. Having a website will allow you to display your art. It will act as a gallery for what you do. You can sell your art on your websites. Certainly, you don't have to if that's not in your goals or your priorities, but it is a possibility and with so many different options now for online shops, it's pretty easy to do too. You can blog. Again, this is not a necessity, but having a blog on your website is just another way to connect with your customers. Your website gives your customers a way to contact you. So if they stumble upon your site, they look at what you do, they look at your art and they want to get in touch with you because maybe they want to collaborate or have you create a piece for them. Your website should have a way for your customers to get in touch with you because that's the whole point, isn't it? Also along those lines, collecting your customer emails. So people, maybe even if they aren't yet customers, collecting those emails of potential customers allows you to continue the conversation. So maybe they've stumbled upon your site and they like what they see. If you sign them up for your newsletter, then you'll be able to remind them why they loved you in the first place when you send out your newsletter to them. This is really the bottom line for your website. You want to show who you are and what you're all about and a website that does this, this helps set you apart from other artists. It shows your heart and soul and the personality of not only the art, but also, of you and why you create your art in the first place and that's really what makes someone become your customer. Not only do they love the way your art looks, but they have a connection with you and your art makes them feel something and that comes from your story. We'll talk a little later about how to make that happen. So what other purposes might a website fulfill? What other kinds of things can it do for you? So if you can think of some other ideas where you might have a website or what other purposes your website might fulfill, I hope you'll share them in the class discussion, and I'd love to join you in the conversation there. In the next lesson, we'll talk about the parts you'll want in your website. I'll see you there.
4. Parts of a Website: Now, you know why you need a website. Let's start planning out the website that you want to create. There are some parts of the website that I think are necessary, and then there are other parts that you can add later or you don't need to include at all. First of all, you're going need your URL, which is your address on the web. It's not a part of your website the way the other pages are, but it's really important to have. You're going to need a homepage of some sort. When people type in your address, that's where they arrive. You'll need an About page that tells who you are or what your business is, and that is a great way to show that personality that we talked about earlier. You're gong to want a portfolio, some sort of gallery of what you do, what you create. You're going to also want to have a way for your customers to contact you, which we talked about before. Additional pages you may want to have include a shop, a blog, information about your services, whether it's licensing, whether you do commissions, whether you teach classes, if you sell things wholesale, whatever services you provide in addition to what you make. Your calendar of events, not everyone has events in-person, shows or classes, or workshops or exhibits. But if you do, you want to include that so people know where you are and what you're doing. If you don't have a shop or if you do have a shop on your site and you also sell elsewhere, it's good to link to those other places so people know where and how they can get a hold of your art. Customer reviews. It's a really nice touch. Some websites do this automatically. Others, you'll have to add manually. A client list is great if you have some big clients and you want to show off a little bit, so people will have another reason to want to work with you. Having a frequently asked questions page is helpful to direct people to if you get the same questions over and over again. Also policies. It's great to have a policies. If you have a shop and you are shipping things out, showing people how long that'll take, what the process is if you accept returns, a newsletter sign-up. Now, I'm calling this in an additional page and maybe it's not going to be a page, but maybe you have a pop up. But I think it's important to get people's emails. We talked about that already. Send out a newsletter. I know that's a little scary part and maybe you don't want to implement it right away. But I think it's really important. I also want you to think, what else you might want to include on your website? If you have other ideas, definitely, share them in our discussions section. In the next lesson, we're going to dig in deep to the different types of pages you'll want on your website. But before that, I want you to work on a little bit of homework. Don't worry. It'll be fun. A good first step in planning out your site is to make a list of websites you really like and maybe a list of those you really don't like. Start by looking around the internet and websites of other artists or businesses that you admire. Then consider what it is about those sites that appeals to you or what doesn't appeal to you. Is it the design, the imagery, the navigation, the colors? Is it something else? What can you learn from what appeals to you and incorporate in your site? Conversely, what can you learn from the sites you don't like to help you design your site? Think about that. One thing that I know, I've seen in some artists websites, there's no place to contact them. But there's lots of other things that make a site either hard to navigate or confusing. Spend time thinking about this and begin creating a list of your own must haves, but don't go overboard. You want to keep it simple. When you discover some websites that you really love, I hope you'll share them with us. Get started on your homework, and then I'll see you in the next lesson.
5. What to Include in the Main Parts: All right. Let's talk about your URL. Have you thought about what you want your web address to be? You can use your name or your business name if you have one. You need to make sure that the name you want to use isn't already taken. If you have a really common name, this might be a little tricky. But you can put studio at the end of it, do some searching around on Google. You can do domain name search, use that as your search terms and you'll find different websites that allow you to search, to see what's taken and what's not. You may want to think about purchasing variations on that name. Let's say there's something that's easily misspelled or there are multiple ways to spell something. Think about how people might be searching or what people might type in where you might want.com and.net in case people get confused. You'll need to renew your URL, your domain name, annually. You may be able to purchase it from where you're hosting your website, or you might purchase it elsewhere. Now, let's talk about your homepage. Do you know what you want to include on it? I think it's good to have simplified basic information, who you are and what you do. This should be clear when someone comes to your homepage, you should have photos of you and or of your work. Then link to some other sections maybe your about page, your shop. Include your newest work here and any special announcements. If you have a new show, a new publication, a new class. I think it's good to have a newsletter sign-up form here and or some other called action. What is it that you want your customer to do when they land on your site? I think this page should change regularly. You want new information here, you want your website to look fresh. I try and change mine once a month, have a piece of art that seasonally appropriate since I'm a botanical painter, I have something that's either blooming at that time of year or something I'm working on. You don't need to have a link to this in your navigation. I think people are used to clicking on a logo or if you have your name as your logo at the top of your page, people are used to clicking there to get back to home. You don't have to have a link that says home. That saves the space on the top of your page for other more important navigation links. While we're talking about links, I'd like to say a word about outside links. You probably want to limit links from your website to other sites because your goal should be to have your customers stick around and not get distracted elsewhere, especially in social media. Don't put your Instagram and Pinterest and Facebook links front and center on your site because that'll draw people away from you. If you do need or want to include links away from your site, be sure to set them up to open in a new tab. That way people won't get lost away from you, and you're still there. Now, what should you include on your about page? This one can be a little bit tricky because many of us don't like talking about ourselves, but it's really important because this is the way we connect with our customers. You're going to want to include your story so who you are, how you got where you are, maybe a bit about your education, your experiences, your background, include a photo or multiple photos of you and photos of your work. Then here is a little twist in how you think about what you're going to say. Why should your customer, or would your customer care about your story, about who you are, about what you do? Think, what benefit does your story have to what you offer and why are your offerings of benefit to your customer? For me, I include information about the fact that I am self-taught, in part because I'm also a teacher, and I want to encourage my students who may also be self-taught. That's something I'm really passionate about. I'm encouraging others to follow their own dreams and so I put a word about that in my about page. Then you'll want your about page to lead into a call to action. What do you want your customer to do next? After they read your story, after they see who you are, do you want them to sign up for your newsletter? Do you want them to check out one of your classes? Do you want them to go to your shop? Think about what it is that you want your customer to do and ask them to do it. This page generally won't change very frequently because your story isn't going to change frequently. Perhaps if you get new photos of yourself, maybe once a year you'll want to change your photos or you'll want to tweak your wording if your focus changes slightly but generally this page is not something you're going to be changing up all the time. Now let's talk about your portfolio. Sometimes it's a little difficult to decide what to put in your portfolio. You're going to want to have photos or scans of your work but don't include every single piece you've ever done. That's just too much, too overwhelming. You're going to want to limit maybe 15-30 pieces. Include your favorite and your best work. If you need to divide it into sections, maybe you have pieces of varying subject matter or medium. If you are an oil painter, you have one section of oil paintings and then you also do watercolors, so you have another section for watercolors. The pieces you include here should clearly represent your style and the breadth of your work. They should also portray the work you want to be doing. For example, if you used to paint pet portraits, but you don't want to do them any more, do not include them in your portfolio because inevitably then people will contact you saying, hey, can you paint a picture of my dog? If you don't want to get that business, don't encourage it. You may include some links in your portfolio to where they can see more of your work. Maybe in your shop or another page of your website. For me, I have a link. My portfolio includes my watercolor paintings, but I have a link to where they can see my fabric design. My fabric designs aren't in my main portfolio, but I link to where they can see it. Then it's also good to have a place where they can contact you from your portfolio page. Now, as long as we're talking about having people contact you, let's talk about how to make it easy for them to contact you. I think it's a good rule of thumb to have a separate contact page on your site with a form so people can fill it out and contact you. On that page include your written email and if appropriate, a phone number and address. If you have a phone that you're answering for your business, include that. If you have a studio where people can come and see you keep that address or if you're a shop, brick-and-mortar shop, have that address. If you don't want to answer the phone, if you don't have a physical place for people to come, by all means don't put that on your site. Then also, it's good to include a link and either your header or your footer with an email icon. On my website, I have a contact page right here. They can fill it in with a message. I have my email here, but also at the bottom of my page in my footer, I have this little email icon. People can click on that and then it opens a new email in their email program. If they have mail on a Mac or if they have Outlook at home, whatever it is, and they can contact me that way. You want this to be very easy for people to find. Don't hide it, because no one wants to search around for this information. I've been to websites where I can't find anywhere to contact them. No email link, no contact page with a form for me to fill out. There's no way for your customers to get in touch with you if you do that. That's all for the main necessary parts of your website. In the next lesson, we'll talk about some of the other pages that you might want to have. I'll see you there.
6. Additional Pages and Parts: We're going to dive into some additional pages and features that you may want for your site. I'm hoping now that you've done a little bit of homework and you've done some thinking about what pages, what features you really want to have on your site. The shop, if you want one, calendar of events, list of where to purchase, reviews, client list, you do not need me to tell you what to include in these sections of your website or if you want or need them, that I think is pretty self evident. What you put in your shop is going to be obvious. What you put on your calendar, I think should be pretty clear. You'll be keeping a list for yourself right now of what you'll include and if you'll want or need these pieces of information on your site. Your calendar, where to purchase your client list they may end up on your homepage or as lengthen your footer. Reviews might go in your shop pages or you might want to sprinkle them around your site. Let's take a look at my website again. Here's my homepage. I have some information here, here's a newsletter sign up, we'll talk about that in a little bit but here's a review of my newsletter. Here's a couple more reviews of my art. This is a client list, it's a place where I can show off where I've been featured, my publications and then on my footer, I have this applause section where these are all reviews that people have given me. Then I also have this press section so there's interviews and publications, there's exhibit and then I ask people if they want to be featuring my work. Here is a little form that they can fill out. That's how I do those things on my website. I'm sure you've seen some other examples when you've been doing your homework and you should be forming an idea. You don't need me to go too much in-depth about that. Now let's talk about the newsletter sign up for a moment. I said this is optional, but I think it's pretty important. Think about adding this to each page of your site or to multiple pages of your site. You may also want a separate page for this where you can talk about your newsletter, maybe get links to or examples of your newsletter. On my website, here's a newsletter sign up on my homepage. I have newsletter sign-ups on other pages too, but also down here it says Choose joy and that brings up a page all about my newsletter, about how joy is important to me and what I do. Here's a photo of my free download, here's another newsletter sign-up form. There is a link to take a look at a recent newsletter so people can see what it's all about. Here's a little bit more information, what they'll get to expect from my newsletters, so that's another example. Pop-ups are another option, but I want to warn you beware of making them obnoxious. You don't want, or at least in my opinion, you do not want to have a big pop-up that covers the entire screen the moment someone arrives on your site. For me, when I go somewhere and suddenly all of the text and photos are covered with this big pop-up asking me to sign up, it makes me turn around or at least it's a little bit frustrating. It's personal preference, it's your personality, your style, think about that and how you want to approach this. Here is my website, this is a behind the scenes look. I do my website with Squarespace and this is the back end where I create my pop up, because I do have a pop-up, it's pretty small right over here on the edge of the page. If you're scrolling through my page, this is the homepage again, it's not going to cover up any of my texture photos, it's just here on the edge. I'm showing examples of my site not because I think it's the best ever or anything like that but just because I want you to see some examples and I'm hoping that everyone will share examples in the class discussion so we get to see many different websites and ideas and types of things to do in your website. You may also want to offer an incentive, a thank you gift to people who sign up for your newsletter. It could be a downloadable freebie of some sort, maybe an art print, for me my thank you gift is a set of downloadable joy and gratitude list. People can download it and then print them because celebrating joy and focusing on gratitude are important parts of my art and the message that I am putting forth, so that's why that is my freebie. You may want to have a discount coupon. I would want you to be careful with this because it may cause customers to undervalue your work and expect to have discounts. Maybe you want to offer a free gift with purchase so if people sign up for your newsletter, they'll get a code that they can put in when they purchase something and get a free print or whatever works for you and your business. Think about some other possibilities and consult the resources in my handout, maybe you've seen some other possibilities in your searching and your homework looking for other sites to emulate. Then please share other ideas with your classmates because I know that everyone wants some other great ideas and we can all learn from one another. In the next lesson we'll talk about something that is near and dear to my heart, blogging, I'll see you there.
7. Blogging: We're going to talk about blogs for a minute. Why might you want to blog? You the topic of blogs and what to include in them, how to become a blogger is a huge topic and could easily fill a whole series of classes. We're just going to touch upon a few things. So maybe you think you need to have a blog and you don't really know why or what you would share. Here's some ideas. First of all, you can inform your customers of how to use your product, what goes into what you make, maybe show things in action or on display depending on what sort of art you make. If you're selling online, your customers are not going to be able to interact with your product or with you, like they would be able to if you're selling in a shop or in person at a fair and through your blog you can do that sort of thing. On your blog you can show off your products, so you can share lots of photographs of what you make. It can give a behind the scenes look at what you do. So sharing photos of your studio or you in your studio, you at work, wherever it is that you do, what you do is a great thing to include on your blog. People love seeing inside artists studios, even when they are minimal or messy. Giving that behind the scenes glance helps share more of your personality and it's going to give you and your art a voice. So your art is not just a pretty picture, but it's a person behind the pretty picture or whatever it is that you make. All of this is going to help get your customers excited about your art and that's what you really want to do. You want them to be excited, you want them to fall in love with a piece of your art. Writing your blog is going to establish a proof of your authority, so you know what you're doing and this is sort of a secondhand reason, but blogging is going to regularly provide new content for your site, so your site is not stagnant, you just don't plop something down and never change it. That's another reason why I say you should always be changing your homepage, but if you have a blog, you're going to be regularly adding new content. So let's say you blog even just once a week or even just once a month, it's going to provide new content. Maybe people are providing comments, they're writing comments and you're commenting back, all of that helps add new, fresh content for your website and that helps in your search ranking. So websites that are regularly updated will rank higher than those that are not and may be the bottom line of everything that you're doing with your blog is to make connections. You're going make connections with customers, maybe with collaborators, maybe if you teach, they'll be making connections with students and I think the personal connection is so important, especially when you have an online business, because you're not going to be meeting those people face to face and with all of what you do, the connections that human touch that sets you apart from any other artist because your voice is unique. So that goes back to you, your art and your voice. It's more than just the piece of art. It's a connection that you have with what you create, and there's also a connection that your customer will have with what you create. That's really the beautiful part of creating art and sharing it with the world. So if you want some more ideas for what to blog about, how to blog, the resources in my handout, this last page are the resources, there's some really great sites here that give you ideas for blogging. Some of them even have inexpensive e-books that you can purchase that we'll walk you through more of the blogging process and what to include in your blog but definitely I would go take a look at Aeolidia, this first one, Abby Glassenberg's website, whileshenaps is another great one. The abundant artist has lots of ideas for blogging. Just take a look at all of these and you'll have many ideas that you can write down for. I would suggests keeping a notebook of blogging ideas and then you'll never be at a loss of what to write about. But I want you to remember that blog is not necessary. So don't feel the pressure to add one more thing to this long list of what you need to do. So if you do have the curiosity, if maybe you'd like to start a blog or maybe you already have a blog or you had one in the past, this is really a great way to make connections, to establish your voice and to show the personality behind your work. So one more question for you to share ideas in our discussion is whether you have any favorite blogs, do you read any blogs? Are there people that you follow whose photography and writing really are compelling to you? I would love it if you share your favorites in this discussion because we can all learn something from each other, but we can all learn from bloggers who are doing their thing. Great bloggers will model how to be great bloggers, so I hope we can get a nice list going that we can all take a look at and be inspired by. In the next lesson, we'll talk about a few other pages you may want to have on your site.
8. Creating FAQs and Policies: These next two sections are the least fun parts I would say, of creating your website. But the frequently asked questions and the policies are both important. I know that especially the frequently asked questions may be a little bit baffling when you're first starting out, especially if no one's yet asking you a lot of questions. Having a few things and thinking maybe about what people could ask you is a great way to go about it. Maybe you want to include information about your process, your techniques, your materials, your tools. If the people who may be asking you these questions are people who want to learn how to do what you do, this is helpful for them if you're a teacher and you want to share that with them. Also, for your customers knowing about your materials, maybe you use the highest quality materials available, or maybe you use really eco-friendly materials. That thing is important to tell your customers. Including more in-depth information about your education and about how you got where you are. That's the question people may ask you especially people who are wanting to learn what you do. Tips on how to use, display and/or care for your product. Let's say you created a blog post about creating a gallery wall. That's a great thing to link back to here. If you make jewelry, you may get questions from people on how to clean your product. That's great information to include in our frequently asked questions section. A copyright reminder is nice to include here. You may create a questions such as, can I use your art on my website? I would think most artists would say, not without paying for it. What you do and don't do. For example, whether you create custom pieces, if you can resize items, change their color, whether you sell wholesale, all of that is great to include in a frequently asked questions section. Then think about anything else that your customers have asked you or may ask you anything that might cause confusion. Putting that in your frequently asked question will give you a place to direct people if they do ask you that. Then of course, if someone asks you questions, even if it's not a customer, maybe it's someone asking you a question on Instagram or someone in person asking you a question, keep that in mind and you can add that to that page. Then how about your policies? Maybe you already have some ideas for this, shipping information, if you ship things is great to include here, payment options and the security of those payment options, whether or not you accept returns, information about sales tax, wholesale information if you do wholesale, privacy policy is nice to have here and again, a copyright reminder. For both your frequently asked questions and your policies pages, I would say return to those websites that you admire, the artist websites and see what they include in those sections and see how that could apply to what you do too. Next, we'll finally talk about actually creating your site. See you there.
9. General Suggestions for Creating Your Site: We're going to start talking about creating your website. Before we dive into any of the more technical aspects, I just wanted to give you some general suggestions for your site to keep in mind while you are in this planning phase, and while you're working on your site. First of all, I want you to use the best photographs that you can. Maybe you need to hire a professional photographer if that's necessary, or if your budget allows, if not, maybe taking a class on photography here on Skillshare, there are a lots of photography classes that may be helpful because you want your photographs to be as professional looking as possible, so your website looks as professional looking as possible. Then be consistent in your branding. I know a lot of artists are uncomfortable with the term branding, but what I'm talking about are your images, your fonts, your colors, the language that you use. It should all match and it should all make sense so that if anyone is looking at any part of your website, it makes sense that it goes together. A good example of this is if you are always using a white background in your photographs, and then suddenly here's one with a black background, that's going to be jarring and confusing. Also, your language; I'm talking about the terminology you use, your tone, whether you use slang. All of that portrays your personality through words, and It should all make sense and go together. Then keep it simple. You don't want to overwhelm yourself with your work. You don't want to overwhelm your audience. I've given you a lot of ideas, but keep things simple. What's helpful is to have someone check your website and make sure everything makes sense and nothing is missing. Ask a friend, ask a family member, ask someone may be that you've connected with online; another artist, ask us here in this class, ask your classmates. Throw a link to your website in the discussion or in your class project and have us give you feedback, because I know we'll all be willing to help you. One thing, and this may sound silly to say, but trying out the shopping process, it will help you make sure that it's easy to use, that it makes sense, and that it works. This is embarrassing but a couple years ago, I re-did my website. What I didn't realize, I did not try the shopping process. I did not realize that it did not work. I had a customer contact me and say, "Hey, I want to buy this, but I can't find the shopping cart anywhere." There was just a style tweak in my site that was checked that said hide shopping cart. I'm not even sure why that was an option, but it made it impossible for anyone to check out. Going through the shopping process will make sure you don't make that mistake. Another thing you're going to want to make sure is that your site is mobile friendly. Now this is built into some website host and website builders with Squarespace. It gives you a preview of what things will look like on a phone and a tablet, but it still helps to check in person. If you have a phone and tablet, take a look on them or use an online test. Google Console is one of them. If your site is not mobile friendly, you're going to be penalized in search. Also, taking a look yourself is helpful. Even if a site is technically mobile friendly, things might look a little wonky in the mobile version and being able to see that and being able to change what needs to be changed is really helpful. What you're going to want to do in this planning process and throughout, even after you have a website up, is to think about your goals for your website, for your art business. Use them to determine what to include and what not to include. If you never intend to sell your art on your website, then you're not going to need a shop. You shouldn't feel pressured into putting a shop on your site if that's not part of your goal. Remember again, I'm going to say that done is better than perfect. You can always and you should always find your website as you go, as you change, as you learn more things. But having something up there, even if it's imperfect, is better than not having a site. Take things piece by piece and step by step to avoid overwhelm. Give yourself goals; small, doable parts, so you're not looking at this huge project, but you're just looking at things one part at a time. Here is something that has helped me a million times. Google is your friend. If you're having trouble, if you can't figure out how to do something, Google it and I'm sure you will find the answer. There are so many people out there who are so generous, who will give you tutorials maybe on their blogs or whatever, maybe in forums. If you're trying to figure something out, you will most likely find the answer. One good example of that recently, I wanted to add a sidebar to my blog. The template I was using in Squarespace does not have a sidebar. I was thinking I needed to change my template, which is a whole lot of work, but I googled how to add a sidebar with the template I was using, and I found some hacks. I also found that there's a plugin and this saved me so much time and work that I didn't need to put into my website. Google it and you will most likely find an answer. Then one last thought is to remember that you and your business and your website are unique and that goes along with your goals and it goes along with your personality. Don't feel pressured to do something a certain way just because the experts recommend it. Always do what feels right to you and your business. If you don't agree with something that I've suggested, don't follow that advice. If you don't agree with the advice of one of the resources that I have shared, don't do it. Do what feels right for you and right for your business. Next, we'll talk about some tools, website builders, and web hosts that you might want to choose for your website.
10. Where to Build or Host Your Site: By now I hope you are beginning to formulate a plan and have an idea of what you want to include in your website. Now we're going to begin talking about creating your website. You don't need to know how to code in order to create a website. There are many online platforms where you can build your site with no coding involved. Some of them are free. Some of them you have to pay for. The costs and what you get for those costs vary a lot. One way that you can go ahead and do a little research on your own is to search for a website builder comparison. Then on the top here are some ads, but down below, there are articles. Some of them are really recent. Here's one from four days ago, here's one from five days ago, of course, depending on when you are doing your search, there may be some other dates and new articles coming up. These comparison articles will lay out different websites. What they offer, things like whether there's free, whether they have blogging, whether you can sell things and lays out a nice comparison for you and gives a rating. Of course, every site you'd go to will have slightly different opinion. But by looking at them, you can weigh the different costs and formulate your own opinion. I would urge you to purchase your own domain name, whether you use a paid or a free website builder. Sometimes the domain name is included with your subscription for paid sites. Otherwise, you can hook up your free site with your domain. Doing a quick google search will help you figure out how to do that. It's complicated, but you'll find lots of tutorials online to help you. Here are some free options for building your site. Blogger, I'm going to mention here, it's not really a website builder. It's more for blogging specifically. But if you know you want to blog and you want a really cheap option, that's what I started out with. I had my blog, I had a couple other pages, I had a portfolio page, I had an About page and I also linked my domain, my giantstrawberry.com, to this blogger site. There's so many options for styling things that it's not always obvious that what you're seeing is a blogger. Weebly, Ucraft , Strikingly, XPRS, Wix. Those are some other free sites, WordPress. They also have paid options. There are tons more. If you're looking specifically for something free, Google free websites, and maybe you want to Google free website builder comparison. Again, if you do go with a free option, be sure to purchase your domain name. I would say the average cost is maybe $5 a year, which is a great investment, really cheap investment for your business. Then paid options for your website includes Squarespace. Squarespace is what I use. Shopify, they provide really strong e-commerce. If selling with a very complex shop is something you're looking for, Shopify is probably the best way to go. They are pretty expensive though. Word-press is another one, which from the research I've done and the people I've talked to, WordPress is probably the most difficult of these to use. It's not very user friendly. Wix is another option. You probably saw in the searches that we did Wix was coming up near the top. You can purchase your domain through your host or separately depending on your provider. There are many others, but the above rated the best according to my research. Do your own research as I showed you earlier. Depending on what you're looking for, for your site, you'll be able to find something that fits for you. Then if you have experiences with any of these platforms, I'd love for you to share them with the class because your fellow classmates could benefit from your experience. Every platform that we've talked about works slightly differently. I'm not going to go into the nitty-gritty details of building your site. Maybe if there is enough interest, let me know and I can do another class specifically about Squarespace. But today we're just going to talk in more general terms. But once you've decided on a platform, if you need some help creating your site, google, how to create a website with blank. You'll find tutorials and other resources that can help you use the help menu of whatever platform you have. I know for Squarespace, there are many help articles and there are tutorials for every different template they have. That's a great place to find information as well. Then consult the resources section of my handout for help specifically with Squarespace and Shopify. Some of the websites that I mentioned are experts for Squarespace and one of them is an expert for Shopify. One more thing I just wanted to share with you. Another way you can do some research is to look at some of those websites that you admire of some of the artists that you admire and can learn what website builder they're using. Here I'm using Chrome. In Chrome you go to view and then Developer and then View source. It says right here, this is Square space, so this is my website. Right at the top you can see that it's a Squarespace site. Here's Alicia Paulson's website. If you go here, View Developer, View source, you can see right here, it says Shopify. Her website is built with Shopify. Here's Lisa Congdon's website. Many of you know of Lisa. She's a wonderful artist and so inspiring. Go to her website View, Developer, View source. You can see here it says WordPress. Her website is created with WordPress. The nellandgray is, Leigh Anna Newell, one of my artist friends, her website. If you go up here, you can see that her website is built with Wix. That's a quick way to figure out if there's a website you really love how they created it. On every browser, taking a look at the code will be a little bit different. But you will be able to do it no matter what browser you use. In the next lesson we'll talk about some other sites where you may want to sell your art. See you there.
11. Other Sites to Sell Your Art: Quickly, I just want to touch on some other sites that you can sell your art. Maybe you're starting out with a free website that doesn't have a shop. You can link to some other websites where you sell items and that way you can both sell things and have an online presence with your own website. Also, with some of these places, you may have a shop on your website and a shop elsewhere. Etsy is one of them. Probably you all know about Etsy. Amazon Handmade is another option. Artfully walls, Minted. All of these you can sell art, art prints, and then Spoonflower. You can create fabric, wallpaper, and gift wrap with your designs. If you do any surface pattern design, that's a great place to be. Society6, you can sell products, things like mugs, and curtains, and yoga mats, and all home decor items. Also, they sell art prints. Zazzle, also has products that you can put your designs onto and there are many many more. This just scratches the surface and gives you an idea of some places you may have some shops. If you're selling somewhere other than your own website, I like to look at that as advertising or marketing for your business. It allows you to reach a larger audience than you otherwise would be able to because sites like Amazon Handmade or Etsy or spoonflower get a lot more traffic than your website would. Always link back to your own site from whatever site you're using and make sure that your branding is consistent from site to site. Like we talked about before, the colors you use, the images you use, you probably want to have the same profile picture on every site that you are on. That way everyone is clear, and everyone knows this is you. I know that was quick. But it was just a brief introduction to some other sites where you can sell your art. Once you've got your website created, you're going to want to have people find you. In the next lesson, we'll talk about how to do that. See you there.
12. Getting Found: We're getting pretty close to the end here. I have just a few other things I want to go over, including some tips on getting found. We're just going to touch on it a bit. Search engine optimization, SEO, is a huge topic and I'm not an expert on it, but I'll just sum it up like this. When you're building your website, you want to use appropriate keywords everywhere you can. Think about what your customer might be searching for, the words they might be using when they're looking for something and use that terminology everywhere you can in your site. That includes the alt text for your photos. The alt text, that is the words that your browser would display if for some reason your photo doesn't appear, or if someone is using accessibility software and its reading the website to them, it will read that alt text to replace the photo. Then also use keywords in your heading again throughout your text. Make it make sense, make it conversational, and don't just have some artificial listings of keywords in the body text of your website, that really doesn't make sense and it's off-putting for people who are visiting. Then I talked about making connections, reaching out to others online and offline to be featured. Offline, maybe newspaper, magazines, that sort of thing or if you're teaching an in-person class that can get you out there, reach out at sites that your customers may actually frequent. Make connections that makes sense. If you are an artist who does pet portraits, you probably don't want to contact a site that talks about really high end jewelry because your customer might not be the same customer that is going to that site, but it may be a site about pet care would be a better fit. Another way to reach out online is to mention someone or someone's site in a blog post, if you're doing a blog post, and tell the person about it. Then that way they can share that link with their following and your reach will spread. Then use your URL everywhere. Use it on business cards, in your E-mail signature, on social media, any other sites that you might use, put it everywhere. In terms of social media, Pinterest is a huge driver of traffic to websites. But the results can be a bit unexpected and unplanned. You never know what image might go viral, what pin might become a really popular. Although I would recommend yes, having a Pinterest presence, sometimes it's not the work that you do on Pinterest that gets your traffic, but the work that others are doing pinning your images. Make sure that your images are easily pinnable. Paid advertising is one last thing I will mention. Again, you're going to want to make sure you advertise places where your customers actually will be. I have not had a lot of experience with this and sometimes their results can be disappointing. If you have any other ideas, please be sure to share them in the class discussion. You are always learning, so be patient. I know this is a lot to think about and this is a lot to do, be patient with yourself and look at your website as a learning experience. Look at your website as an art in itself. It took you a long time to master your art, it'll probably take you a while to learn how to craft a website you love, don't rush it. Always be willing to learn more. Sign up for newsletters, join groups or societies, take classes, and remember to take every suggestion with a grain of salt. It's your business and every part of it should feel right to you. Take what works for you and leave the rest, and that goes for my suggestions as well. Don't be afraid to change something, try something new, or go in a different direction. Your website is not written in stone, it is so easy to change. Don't forget to have fun. This really should be a fun experience for you, a creative thing to work on, and if you look at it that way, you will enjoy the process so much more. What else do you want to know? If there are questions that I haven't answered or if there are topics that I haven't covered, please ask about them in the class discussion and I'll be happy to help because I want this class to be helpful for you and I want you to succeed.
13. Planning Your Website: We've covered a lot of information so far, and I hope that you have had your own website in the back of your head during all of these lessons. The next step is for you to begin planning and then implementing your website. I've created a worksheet in the handout to help you plan for your site and then once you've created your plan, I hope you'll get started building your site. Some providers give you a free trial, I know Squarespace does this so you can try it out for awhile, see if it's really what you want to use. While you're building your website, you may want to keep your site private while you're working on it and one way to do this is to require a password for your site. You can Google this or find the help section of your provider to do that or I think some web sites give you the option not to publish the site until you're finished building it. Give yourself time to create each piece of your website, there's no rush. In the handout, in your planning worksheet, there's a timeline so you can give yourself due dates for each section of your website so you don't have to worry about doing it all at once. Break it down into pieces, and it'll feel a lot less overwhelming. Just a word of caution, if you are sitting at your computer for a long period of time working on your web site, be sure to get up and take some breaks along the way. I know that staring at a screen is really hard on your eyes and for me using the mouse that long, really causes stress in my wrist. So get up, do some stretching, maybe have a little dance party, take your dog for a walk, and come back to your website refreshed. Then while you're working on creating your website, and afterwards, I hope you'll read as much as you can about websites, about your web host, take more classes, visit the resources that I've included in the handout so that you are always learning. But always remember that this website should represent you, so don't get too hung up on other people's advice. I'll be back in the last lesson of this class for some final thoughts and a word about your project. See you there.
14. Final Thoughts: Thank you so much for spending time with me during this class. I hope that now you are inspired, energized, and ready to begin building your own site. Remember that I have a plan in the handout that you can use to help design your website and create a timeline for putting it together. I know that this is a really big project. For the project in this class, you do not have to create your website. But if you do end up creating your website and you want to share it with us, that would be wonderful. As always, I've encouraged you throughout this class to share your experiences, your thoughts, and any ideas that you have with the rest of the class. If you have questions feel free to ask them in the discussion or to email me at anne@mygiantstrawberry.com. My virtual door is always open. I wish you the best of luck creating your websites and I do hope that you will share it with me. Thanks again, and I look forward to seeing you in another class.
 Anne Butera, Artist. Instigating creativity and joy.