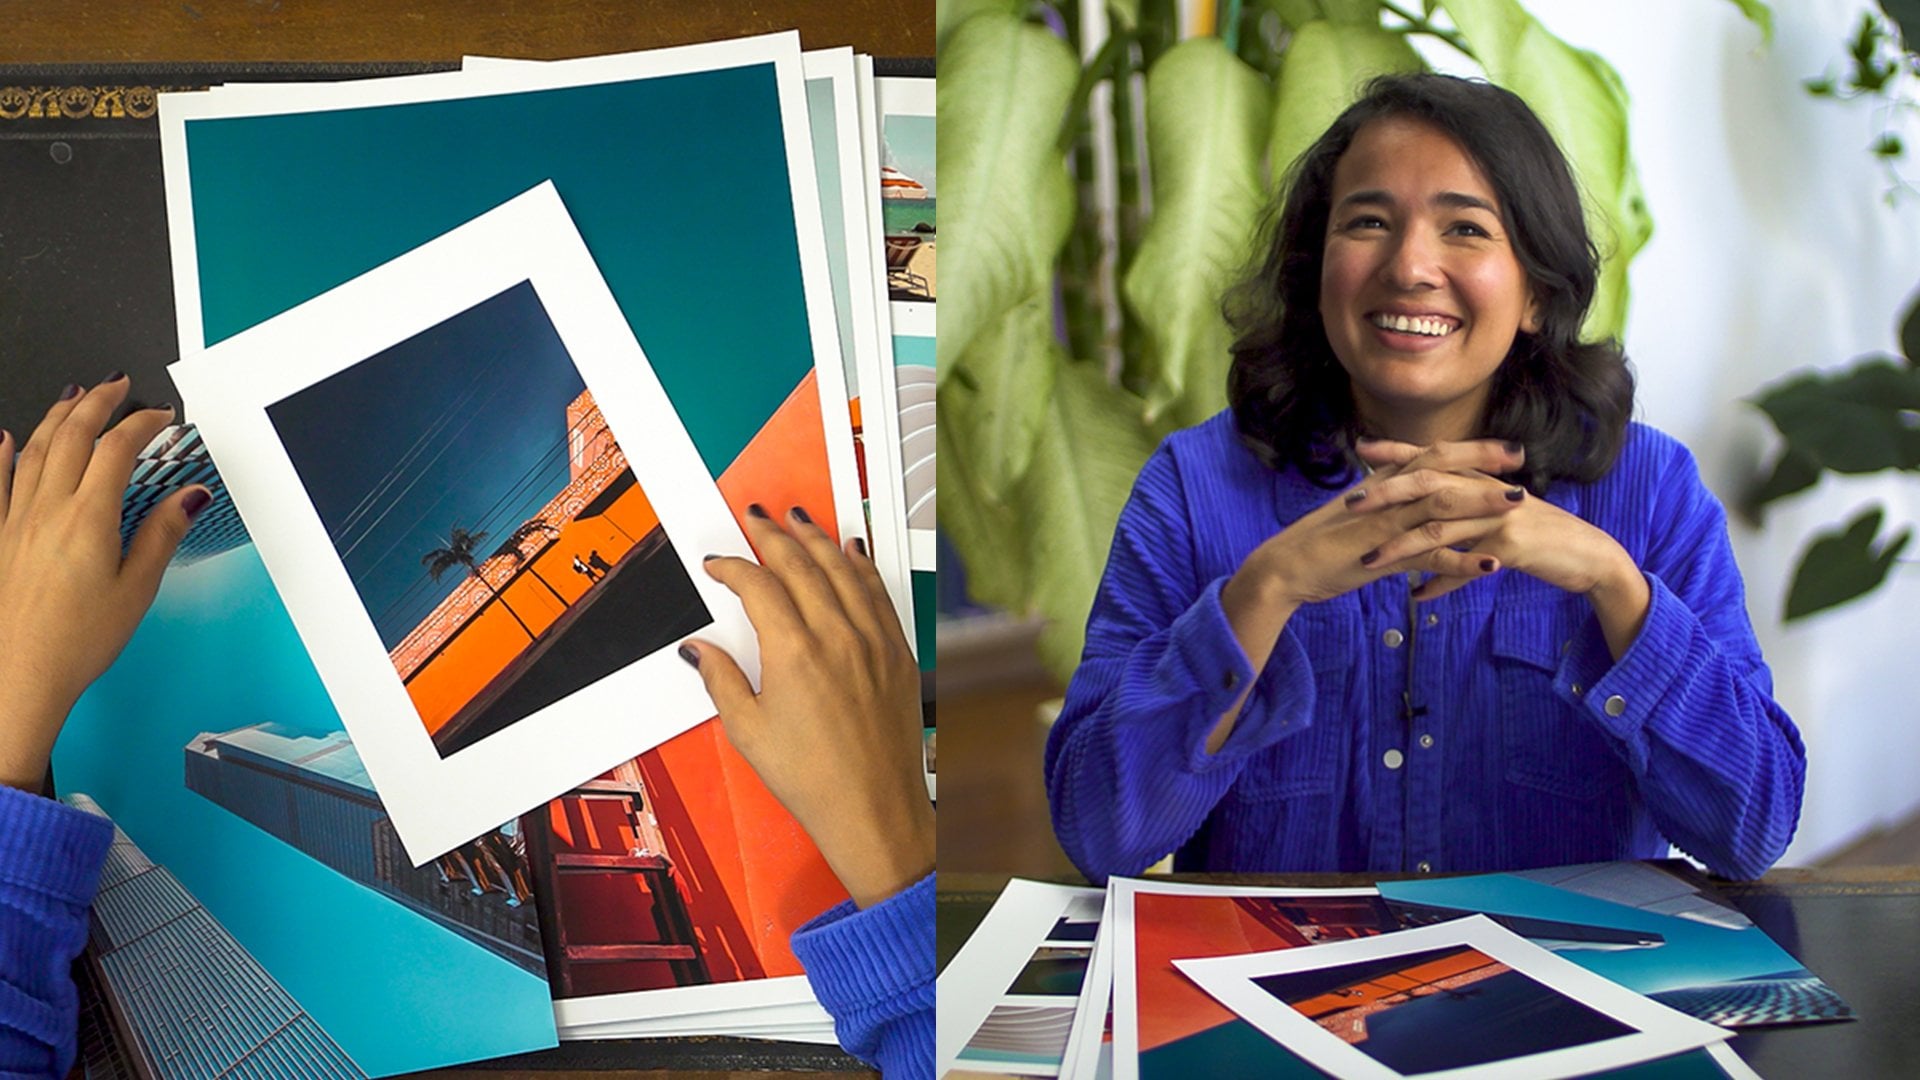
Transcripts
7. Structure of Storytelling: Great, Let's dive in into the
structure of Storytelling. This lesson, we will talk about the importance of the intro, the reward, the outro,
and the conclusion. Now, this structure can
be flipped upside down, it can be rearranged, you can break all the rules. In fact, I encourage you
to break all the rules. And the structure
of storytelling. What I want to explore is a foundation of how
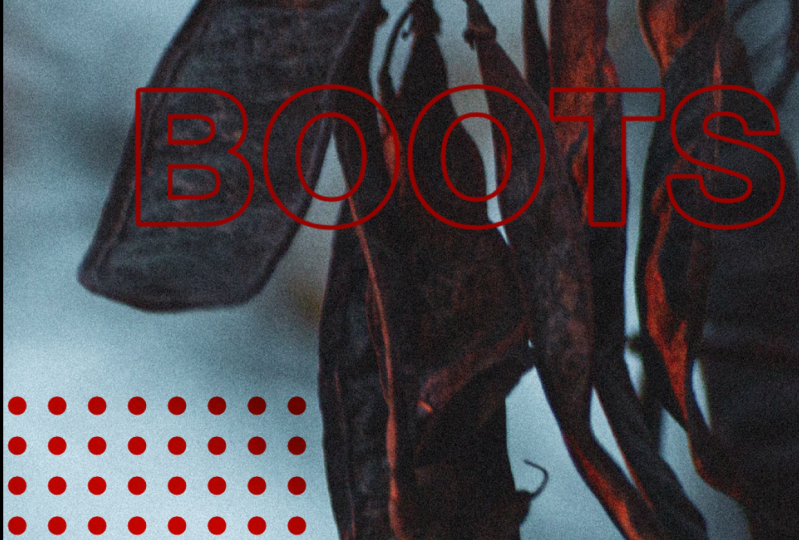
to begin a story. So the cover is going to be
or act as almost a summary or preview or a very
tantalizing trailer. That's gonna get
you to click Next. It's going to get you
eager to see more. Imagine all these really cool covers that
you've always seen. You've seen the cover
of a blockbuster film. And it just has all of these
different elements that help you kinda gain
an understanding of the mood of the movie or the scene that is
going to come next. It's important to
maybe have in mind a few keywords that can help you create a tidal more
than a description, but it's a sentence,
it's a conviction. So try to consider keywords or perhaps a whole
sentence that allows you to describe
this particular set of images that you've collected. And this has helped me
just to get a sense of how I'm going to guide
my viewer into a story. A key elements of
your intro is to showcase why it matters. In the beginning, you're able to really divulge on why
it mattered to you. I think it's a
really special space to really be honest with your audience and allow for a more meaningful
connection through your words or through
your Photography. Don't be afraid to really
relay your emotions, your sensible
emotions about what it felt like to be
there that day. If, for example, you are
showcasing a photo session that is a bit more on
the side of journalism. Maybe you can explain
what it felt like to be on the other side of that lens
experiencing those events. The intro is a special place
to express your story and let your audience know
that there are about to embark on a very
special journey. Okay, So we've gotten to my
favorite part, the reward. The reward section is
where we get to highlight the most important image in
your photographic series. This section is where all
of your hero images shine. And we will be
emphasizing this by creating a Graphic Design
Layout that really highlights our images and really pronounces this reward
point of our storyline. A tip I like to give
you is to reserve all of your best images
for this section. All of your most highlighted
moments for this section, especially if you find
that you can express herself even more about why
this story matters to you. Reserve this for the mid
point of our storyline where your audience can really feel the weight of that reward. This is also the section
in my stories that I like to involve my audience by either asking a
question or maybe leaving a common
section for them to let me know what they think. So far. Though we're free to dress it up and really make this moment feel like a reward
for your audience. Let's talk about the outro. The outro is about collecting
your final thoughts, allowing the audience
to get a perspective on something you maybe learned
throughout your journey. Maybe it's a resolve, something that
gives the audience a sense that you've come
to a new perspective. This is going to get them
to feel also embarked in your ideas and your thought process
within this storyline. We made it to the conclusion
of our story structure. Now this section is much
like the previous one, with a little bit of a twist. This section is also
important to be able to leave a few resources behind. For example, your website or
your most recent project. It is important to have this
part of your story because it allows the viewer to understand that this story
has come to a close. It's also a moment to highlight
the voice of the author. That's you to be able to leave some final statements
and most importantly, forms of connecting further. Key takeaway of this lesson is that this is a
structural foundation. This is going to help us in translating a visual stories and mediums like social media on your portfolios,
on your websites. It's always going to
be available to you whenever you want to look at it to be able to start a story. Great. Now let's get to sketching the visual ideas that were
sparked by this lesson
8. Sketching and Brainstorming: So for me and Graphic
Design and being able to create my own story boarding and being able to draw before I get started on Design
is very important, is a very vital
step in my process. In the very first stages of my Graphic Design Development, I would jump directly into
the computer and I would find myself sort of slowly
pushing the pixels around, hoping that my idea would just somehow manifest
in front of me. But being able to fluidly and quite natively just
use a paper and pen to draw out my ideas is a much
more efficient process to allow myself to
draw and redraw the type of concepts that are
rolling around in my head. When it comes to storyboard, what I want you to think about is the different ways that
we're going to bring in all the elements
together and allow yourself to arrange and
rearrange the pieces. Okay, Now you have your
printed template ready. Find your favorite markers
or maybe a pencil, sharpener those pencils and start drawing all
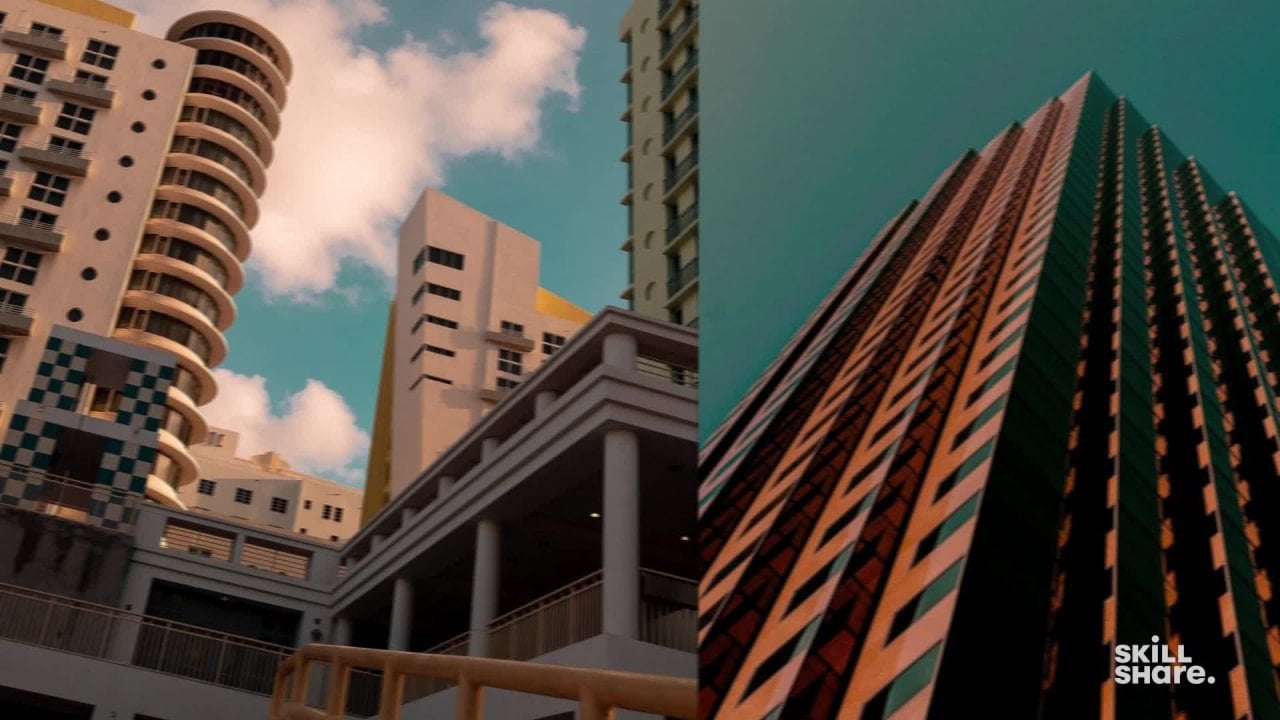
of your elements. So let's get started. Right away. I like to begin with simple shapes, like
circles, rectangles, lines, dots, things like this, are very easy to translate
into the digital space. But also they're
visible everywhere. If you start to pay attention
to your surroundings, you will see that they exist organically and almost
everything we see. Let's do a bit of a
freestyle exercise here to find a pattern
with a simple shape. How about we start with a simple symbol and
do an X or across and to create a pattern out of that already starts to look
really, really interesting. Now this can hold a
degree of symbolism, or it can just be for the
purpose of framing your design. And both are good or
purchase in Graphic Design, Patterns and Graphics
don't have to take on the heavy burden of symbolism and the way
that a logo may have to. But it does help to have
some intention behind it. For me, finding these organic
patterns and shapes in my Photography feels like a nice element that can help unify my Design with
my photo series. For example, if I was
photographing the ocean, I might want to borrow the simple metaphoric version of the ocean and
create a pattern here that looks like waves. Something as simple as lines
can really create an effect. And the goal here is to
just continue to draw. And you can start to begin to feel that you can have
a level of control over your ideas and
your sense of Layout, even when we're
drawing patterns. This exercise can be very
therapeutic and I find myself using it quite often and it starts to get my brain thinking, even when I don't have
a project than mind. It allows my mind too often be self educating in
the space of Design, Graphic Design is
specifically full of abstract elements that have a meaning or a purpose
within a design. Trying out this
exercise should be able to help you get in tune with your Graphic Design
mentality and give you a sense of how to approach
it in the digital space. Later on this exercise, I want to encourage
you to be observant. Consider the patterns, textures, and repetitive elements that
you see in your Photographs. Maybe you see circles, there's lots of clouds. Maybe you can borrow from that shape and translate
it into a simple shape. Use this exercise to
exercise your mind on Graphic Design
Ideas and visuals. Remember, the goal of this
lesson is to gain a level of discernment of the
different pieces that builds a Graphic Design Now that we've
created our Graphics, let's keep them in
mind as we move on to sketching our
layout designs. The first step I would
like to take is to make a shortlist of the things I wanted to put
within my design. Sometimes it's a style, sometimes is something direct, like my Typography, my
Graphics, and my images. At this stage of the process, I like using
placeholder words like sub-headline,
headline, and texts. A big reason why I like sketching before jumping
into a computer is that here I can play with
the positioning hierarchy of all of my elements in a way that it's a little
bit more free form. I'm a visual artist, so I'm going to be using
different colored pens to help me visualize where the
graphics are going to go, the texts and the images. This first Layout, I'm
already attempting a unconventional
approach to my texts, placing it around the frame
the way I would a Graphic. And this next Layout, I'm going to make Typography a more prevalent elements by bouncing the different
characters around my design. Typography characters are also Graphic Elements and you can approach placing them around
your layout in the same way. I'm going to make notations here of where my imagery
is going to go. So that when I look back at
this sketch as a reference, I can remember all of
my different ideas. I'm keeping in mind all
the different Graphics that we just sketched so that I can find a way to include them within this new Layout. I think of those Graphics
as a way to frame my scene. It allows it to be
almost a window into the elements that I
want the viewer to see, in this case, the imagery. So I'm going to be predominantly placing my Graphics
all around the frame. I also find new ways to experiment with the
placing of my images. They don't have
to always take up the entire space and just
be a background image. They could also be placed
with an, a bounding box. They can be repeated to create more intrigue that can be
a little bit more playful. And the sketching
process is letting me explore and experiment. Approach I like to
take is squinting my eyes to see the element
that is more prevalent. Don't be afraid to
leave some elements out of the scene if
it's not helping, the main objective of
highlighting your images. The goal of Layout
Design is to find a balance between all the
different elements you bring into the scene of. Next, let's dive into Photoshop
to create our designs.
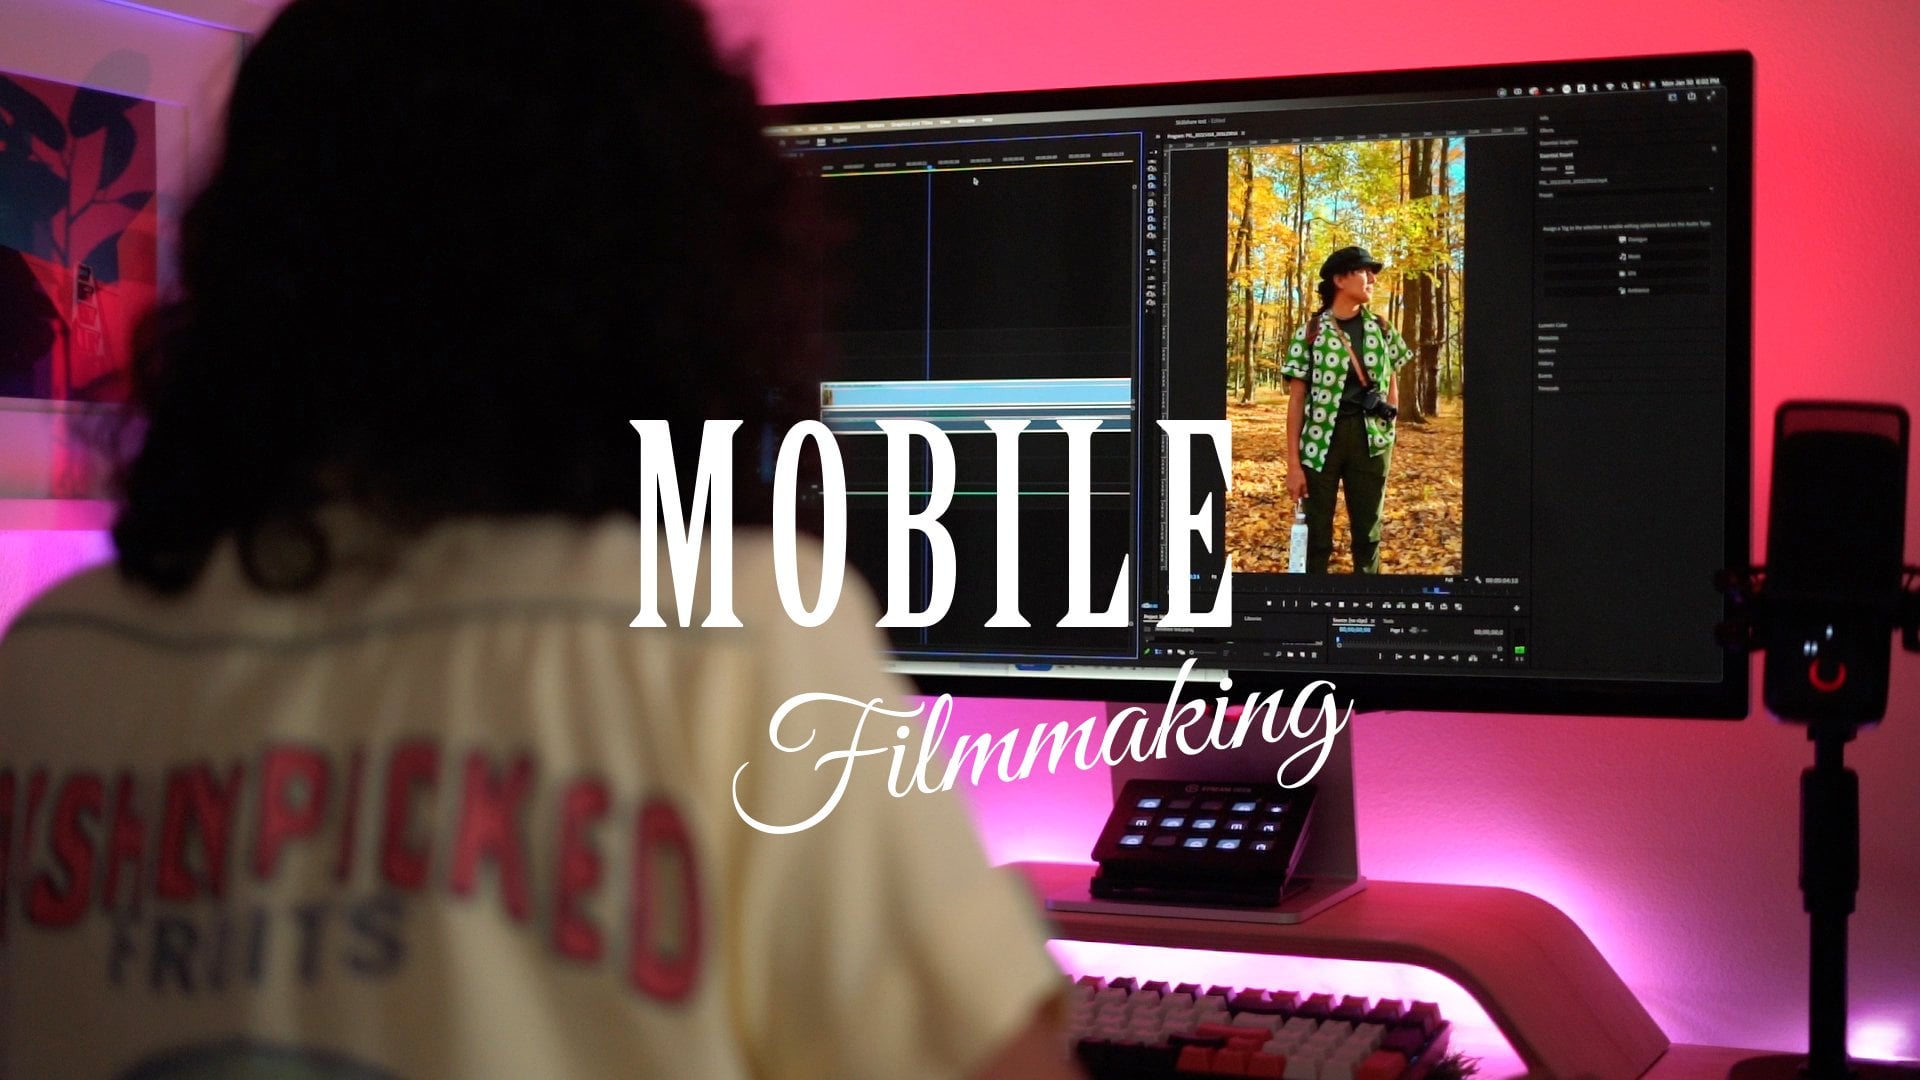
9. Photoshop Workflow : I'm really happy that you've
been at the spar and I'm really excited to get
started in photoshop, where we will be
putting together all of our elements are Typography, Graphic patterns
are Photography, and we will be experimenting
with Layout Design. The goal of this lesson is
to get more acquainted with photoshop and learn how
using Photoshop artboards, we can put together some really
cool experimental layouts that we can later
share on social media. Keep in mind that
up to this point, we've done a lot of work beforehand that's
going to help us and our process and the digital
space we will be using. All of our sketch
references are concepts and ideas that we arrived that during our Photo
selection process. And we will be bringing
all of those elements together to understand how they work together in terms of hierarchy and how they
can become cohesive. In the final presentation. If you're proficient
and Photoshop, this would be a time
to get acquainted with a different Workflow
than perhaps you can begin to
adapt into your own. If you're not that
acquainted with Photoshop. This will be a great
introduction into how Great different
layout designs that can, you can reuse and
repurpose down the road. First, let's take
a gander at what our final project
will look like. And don't feel overwhelmed. This will have a
sense of repetition. We will get familiar with the tools and techniques
in Photoshop. Okay, ready, let's
fire up photoshop
13. Bonus Animation: You Made it to the bonus class. So we're going to jump
back into Photoshop, where we're going to learn how to create frame-by-frame
animation to create a very engaging and cool and traction for
your audience online. Now this part is really
interesting to me because the way that we interact on different platforms really changes the way that we
engage with our audience. In this case, the interaction is a touch-based user interface. So when you click
on your stories, you're able to tap, tap along the way as the story
moves forward. So we're going to use that to
our advantage and consider those options as we create frames by iframes on Photoshop. Okay, now that we know that
we want to engage our viewers through the user interaction
of tapping on the screen. Let's jump into Photoshop
and learn how we can prep our current artwork
to make that magic happen, I saved a new PSD file with a singular artboard in order
to demonstrate this effect. But you can create
this effect also within your current
working file. The first thing I'm going
to do is study my artwork. I can turn off the visibility
to see how that frame to frame effect will come into action with our vision in mind, let's duplicate our artwork. The number of
artboards are going to determine the duration
of your effect. And it's also going to result in the number of
taps on the screen. In each artboard, we're
going to begin to remove the visibility
of each element. Once we're ready, we can export our artboards and upload them into Instagram to
create the effect. This animation effect is
a special way to reveal your images and create a level of interactivity
with your audience. Oh, hi, welcome
to Adobe Express, marketing tool for both creators
and establish designers. Adobe Express has multiple
design templates that give you a kickstart to
your design process. All the lessons we learned
in this class will give you a better understanding on how to approach resources like
these and maintain a strong sensibility for your
own style of Typography, Graphics, and design layout. But we're going to be using the Adobe Express
Animation tools to give our photoshop artwork
a boost in engagement. Because Adobe Express is
part of the Adobe ecosystem, we're able to use it as a
companion tool to photoshop. I am simply going to upload my PSD file with my
selected artboard. And it takes a little
bit of time to collect the assets within my file. Once it's ready, I can see all my independent layers
on the right-hand side, and we're ready to animate, will begin by
selecting our Graphics and reviewing all of
our Animation options. I like how we have three
different options we have in looping and out animations. The N is the way
that our Graphics enter the scene and
out the way they exit. Looping is going to
be in animation. That's going to
happen throughout the duration of our scene. You have more control
over your animation. You can control the
speed and intensity of each animation and
make it your own. At this point, I
welcome you to explore all the different
options that you have available and see which ones are the ones that
work for your design. I really enjoy making
my animations playful, so I'm going to include
a variety within my Graphics and also
within my text. Once you're ready,
you can export as an mp4 at
high-definition ten ADP, and even at four
K. And that's it. We've conquered our bonus and we've created two
effects of animation that will create a boost and
our engagement while sharing our stories
with the World Wide Web