Transcripts
1. 1 Introduction: Hi, My name's Laura and I am a professional face painters balloon Twister and an artist. I am so excited to have the chance to share a new class here on skill share all about balloon twisting. Well, interesting is a really, really fun way to share a new skill. It's something that immediately the first pulling you twist is something you can give to somebody, and it makes kids smile. Something I love about balloon twisting is that the start of costs are only about $15. In this class, you will be able to learn four of the funnest designs in balloon twisting, so go ahead and roll now and let's do it.
2. 2- Your Kit: when you want to start twisting bulletins, Um, it can be really tempting to go straight into blowing them up by mouth. But mouth inflating is extremely hard, so I recommend getting a pump. They come in a couple different kinds. This one is a dual action pump, which means every time you pull and push, you'll be sending air through the nozzle. So this woman's a really great first pump. Another option is one like this. This is just a single action, so when you pull, nothing happens. But then when you push, the air comes out. It's also nice because of peace comes off the back and you can store balloons in here. So you throw some balloons in here and then hide this in your backpack or purse and anywhere you go if you end up in a long line at the grocery store, you could make some kids pretty happy by pulling this out and entertaining. The last one is they make specialty pumps such as this one, which is a pocket pump. This is really nice if you're using any of these smaller balloons that have a really narrow diameter because it only does a little bit of air a two time. It's also a little bit quieter, which can be nice. So those are the pumps. Another thing you want in your kit is a Sharpie marker. This is great for drawing on the balloon. One thing to know, though, is if you're using a Sharpie when the balloon pops that it can smudge off so you can also try a drag race marker to do your lines cause those are permanent. I still like a shirt. The most important part of your kids are going to be your balloons to of the brands that I really like, or the brutality ICS and the quality checks balloons. Typically, you can expect if you're buying something locally, um, here in the United States to spend about 10 cents privilege. So back off 100 run to about $10 you can buy them in single colors or you get a variety pack. If this is your first time with balloons, I go out. Find a quality checks from a party supply store that has 100 assorted colors, and then you're ready to go. So between the first bag of violence and a pump, you're looking to spend about $15 you're ready, you're ready to start
3. 3- Safety: before we get started, I want to cover a little bit of safety there, three things that you need to make sure you take care of. If you give a balloon toe a child that's under to make sure you tell the parents they could joke. Um, also as you're twisting, sometimes they'll be designs where you break off a piece of the balloon or a peaceful pop. If it falls on the ground, just pick it up right then it is not worth someone. Get getting a hold of it. The next thing is that you want to make sure that you have area in front of you in order to do your design work, because sometimes a balloon will pop and a little piece will fly, and it can hurt if it hits you or somebody else. Also, when you're stretching a balloon occasionally, you'll accidental ago, and it stings a little so you don't want to hit that in some kids face. Kids will not respect your your personal space. When you're ballooning, they want to get as close as they can. So just be really comfortable with yourself and just say, Hey, let me have you stand outside my magic circle or whatever you want to say, but make sure you give yourself comfortable working space. When you start with a balloon, you want to go ahead and give it a couple really good stretches that will help it kind of ease up the tension of being a fresh out of the bag balloon.
4. 4- Preparation: no biggest thing to remember when you first balloon is what does my face look like? If you have a really fun interject, let's do this. Look, kids will eat it up and they won't know what your first time if you don't be careful. This is the way you look like as awful people can tell, You're afraid that the balloon's going to pop and then they're afraid the wounds going to pop. So even if you don't quite feel confident yet, you need to practice having that confidence on your face. One really good way to practice is in front of a mere his Blow up a balloon, and every once in a while, look at the mirror instead of the balloon and you'll see what other people are going to see when you're out in public. One of the most common things people ask when you're doing a balloon for them is aren't you afraid it's going to pop? And in this part of the class, I'm gonna show you how you never need to worry about that. So what we're gonna do is you take a ballooning. You just stretch it a few times, and then we're going to inflate it now. Some designs you're only going to partially inflate. And what's going to happen is as you twist the balloon, whatever pressure you're putting on the blue is just going to push that air down to all of this part that is still left to be played. Other times we're going to fully inflatable with a fully inflated bowling. I want to give it a couple of squeezes, and you can feel how much tension is in the balloon. If you let a bunch of that out, you can see my balloon is still fully inflated and then you squeeze it and you can see anywhere I'm squeezing. There is a whole bunch of room in this balloon now to be twisted without popping. Now let's teach you how to tie a bow your first day on the job. You can expect blisters unless you learn how to type properly. So here we go. A lot of people will blow up the balloon, and then they will take this and will do all this like wrapping business, and it really pinches your fingers pretty bad. So what you want to do is you want to pinch the balloon and then let all of this air go. Now you have a very nice loose area. They can easily, softly wrapped around those two years, and then you just tuck. It's a pretty soft blue, so I can split my because apart, help that part in. And there you go. It's like learning to tie your shoes all over again. But once you get that, you can tie 1000 balloons in a day and your fingers won't bother you at all. So practice tying your villains properly and let's move on. As you build your kid, you're going to have more and more balloons, and it's really important that you take good care of them balloons, air sensitive to direct sunlight as well as heat. So one easy way to take care of them is to buy an insulated bag. It has room inside for an ice pack. If you're gonna be in the sun for a long time, and you just have plenty of room for all of your equipment off, it's right in a bag. It also helps keep the kids out of it. Now, if you're going to be walking an event down the line over the ways they make really awesome eight brands and all kinds of things, but you want to make sure that the balloons that are waiting to be used are being protected .
5. 5- Design 1: Sword: So let's blow apart. First booth first design I'm gonna teach you. He's by far the most popular. We're going to fully inflate this balloon, and then we're when you do what's called burping the bullet. So if you feel it right now, it's really tight. We're gonna go ahead and just let out some air and squeeze it again. It's much softer. We have a nice long front twisted double around and tie it, so we have a fully inflated soft balloon. Now, when you twist a balloon, you want toe, always twist in the same direction. If you twist in one direction and then you move down a little and twist the other way, you're going to untwist your 1st 1 so you'll learn the hard way. Probably, but just take it from me. Pick. Do you always trust away from yourself? Are always twist towards so we're going to do once list it's away and then do it twice more . Always twist three times, so one has there. Then we're going to bend this about the size of a pop can, and we're going to take down a twisting away on twist that away. 123 times. This is a ball twist, and this is a loop twist. So here we have those 1st 2 twists. Now we will take the tip of Arbel in. We'll open this and we're just gonna read it like a thread for the eye of a needle and pull it down right here. Now balloons will react to the heating your hands so you just put your hand down the length of the balloon. Give it a nice little tug on that, Straighten out that late and you have yourself a sword. Now the thing l about balloons is the balloon is in the eye of the beholder. You can tell a kid that this is a saber. This is a pirate sword. This is a knight's sword. It can even be a light saber. He just make sure it's the right color for the kid, and they will take off. It's also one of the funnest designs because you can actually play with this one. You can go and you can. And believe me, the kids will start slashing and hitting each other and terrible once you get a little more advanced. If you don't like the look of this, You can go ahead and pinch it right here on the top. I was gonna bend around. Just tuck it under on that not is now. So here you go. Your first balloon. Now your 1st 1 will don't look like this. Okay. What you want to Dio is with each of these designs You want to make it 5 to 10 times and then judge yourself. OK, so don't do your 1st 1 Honestly, I will be happy if your first sword look something like that. Okay, this is your 1st 1 This is your 10th 1 Okay? Don't quit after this. All right? This is how you learn how squeeze and how I feel and everything's good. So 1st 1 down, we've got three left. Let's keep going.
6. 6- Design 2: Dog: it is so funny when you're pulling for a kid, What can you dio and you tell them? Well, I can do this with this with this. And then they're like, Can you do a dog? So we're gonna teach a dog. So here we have a balloon that I have half inflated. We have half of the balloon that's still waiting to have air in it and the other half is ready to go. We're gonna start right here with the front. We're going to just twist 123 twists and we're gonna do this two more times. Make sure you hold on to this end. If you ever let go, it will just untwist all your work. So 123 moved one, 23 And then something. I will bend the balloon because that's easier to me than trying to hold a whole lot in the palm of my hand. My hands are very big. We're gonna bend down 123 Then we're gonna take these two, you see right here. If I tried to twist them together, it's just really clumsy. But if I pull up, do you see that space? It's creating and then I can twist it more easily. Won two free. Now we have a bed, if ever you are twisting and it's feeling really tight. Remember, you have all of this area in your balloon. She just is it now we're not afraid. It's gonna Paul, remember to think of your things and older Squeeze that area now You want a neck on your dock? 123 Okay, so first we've created the head and two years, and now we have a neck. Now, this next part is the exact same part of the ears. That's part of what makes this so popular. We're gonna go 123 Ben. 123 Remember to pull up and just want to. Here we have. If it here's met feet. Now we're under the exact same thing. One more time. We have a body and two feet. 123 123 Want to 4123 So here we go way have done the exact same thing three times. We have a link and two twisted together a link and to the length and two on whatever's left over. If you blow up your balloon more, we'll have a longer to some people. Like a really long body. And you have a wiener dog. Some people like, ah, super long neck. And it's a giraffe, so you can kind of play with distances. Now again, your first dog. This is perfect. But if you want to do this, it's really fun. You take the tail of your dog and you're gonna stretch it really good 23 times. Then you're going to take this part right here. We're gonna twist it on kitsch. Okay, so we're pinching. There's a little bubble here and a lot of it up here. Now, what we're gonna do is we're gonna hold this. I'm not pinching. I'm just holding so that this air had needs to go somewhere. And I'm gonna take my hand pinching the dog and up and there goes way. Have this cute little tail, and this will make your dog into a poodle. OK, that's a little tricky, but you can play that and it's it's a lot of fun. So here is our first animal. You don't
7. 7- Design 3: Monkey: next is I'm gonna show you is a monkey. You'll see that we have a balloon that's inflated 3/4 of the way. So the first twist that we're doing is we're gonna bend it like we did on the sword on you pinched the little nozzle right there, and you're gonna close together. 123 Anytime I start with a twist, I like Teoh right through and in between. I'm trying not to let this go, cause I don't want it to untwist. So then what we're gonna do is we're gonna squeeze it down a little bit because it's feeling hard twist. 123 Now we have this little bubble. We're gonna do this same twist that we did to this. Now, if you just start twisting this one so what? You want to pull it out on on? This is an ear twist. It's super cute. So they would have the face. And one year now we need the top of the head. So your hand a little bubble twist a little bit. Another little ball. Now, this is our second year. So remember he can twist here and hold those together, pull out interest Now we have the face two years on the top of the head. Now this side and this side made to twist together. So 10 shows together. Pull this out all the way up. Now, remember, look happy. This feels really tight when you do it. If you want to inflate it a little less so it could be really do that around. And here we have the face. Okay, Right there. He's adorable already. Okay, so now we're gonna go ahead and we're going to finish this up. So you want a little neck for your monkey? We're gonna spend it for the front thes aren't really legs their arms. I like to do a loop instead of two, like we did on the dog because it looks like it's hugging something. So here's our two legs. It will be a body. And then I like to do the same. Has the dog twist three times. And here we have the front, the front legs, the back legs and head of the monkey and a cute little tail. Now, remember, like on the sword, your hands can change the way it's called. So if you want to squeeze it so that tail all the way damp. And then you could do it into a I'm just give it a nice little squeeze. And it makes that little months tales. Right? Perfect. You have a monkey.
8. 8- Design 4: Teddy Bear: The next thing we're gonna do is attend there, just like the one key we're gonna inflated about 3/4 of the way and you will learn as you do it. Seven and eight times Exactly how much air you like to put in each segment. The first thing we're going to do is we want to create the face. So here we have a long segment Three twists. Theun, we're going to do about halfway that one signature, and then we'll make a series of fight. So that little ball, a big dog, a little ball in a pinball. Okay, so that was a lot going on. Go slow. We'll have one long one, then medium, small, medium, small, medium. Then these two, we'll twist to each other one too. So here we go right here. Okay, Now you'll see the triangle shape of the face. So what you're gonna dio is just like, twist. One year here, three times, one good. Here. So here we have the face. And here's this part. Now, this is a little tricky, but we're gonna bend this like we did with swords. Here's little face of the bear. This is one of my favorites because it's super cute. Little kids love it, and it's harder to untwist. Sometimes you get crazy because the little kids will untwist their monkeys in their dogs. And I'll bring you back some, like, terrible looking thing and say Fix it. But this one's harder to do that with. So what we're doing now is whatever balloon you have left, we need to split it into five. So you can kind of think halfway for the 1st 2 because as you twist, this part will get longer. So think halfway and then think halfway again. So this is about the length of the segment that we're going to be twisting. So we twist to you have three. I'm not twists together now, whatever you have left, you split it into two. Now, remember, this part will get longer, but we want that. So split that right in half and twist that and then kind of measure, you know, get that saying once again. Okay, so there are five pieces now. It doesn't matter. Pick one of these two corners and you just free miss over, Wrap it around a couple times and this becomes your cute little bear take it looks like he's sitting with his feet, his hands on his feet. It's amazing little sitting back now. If you have a little bit extra like I do, it's really cute to just do one last year on Tuck the extra weight on his cute little button tail on that your
9. 9- Adding the Face: really fast. I would like to go ahead and show you how to use your Sharpie, so you're gonna have it ready to go now. The tip of a sharpie is quite sharp. So you don't want to, like, attack it or you will pack. So you kind of use the side a little bit and it's very easy. Draw circles, lots of circles. So too big surface for the eyes. Then you drop to smaller circles inside of those and then you just color in whatever's left . So here we've drawn to big circles with two smaller circles in between and just filled it in. Now you can make this a nice little expressive bear. Looks sad. You can give him some kill eyelashes and Alice and she has cute little eyelashes, a fund mouth. If you off center, it just a little can be really fun. Uh, drawing expressions on balloons is a blast. Let me show you one more. Here's our monkey from earlier. So we can go ahead and just draw Are two circles filling it in and you could do some nice big eyelashes, some eye brows. Now, if you want to do you know the nose you can. If you want to do an open mouth, you can. You can put in some tea. You can put in the bottom lip. You can put in a tongue. You can keep going a ton. But here's something that every balloon artist needs to know less is more. If you start doing all this detail work, not only will it take you a very long time, but ends I'm now looking is cute. So on our puppy, all you really need, you got an I in a couple little marks and it's perfect. Nice little smile, another little I and you have an adorable puppy. Now, if I change your ever doing a balloon for a dad and the kid has to have the dad have a dog that matches, it can be really fun to make an angry dog or really sad dog with the little tear. I wouldn't play that joke on a kid, but have all the fun you want with the adults
10. 10- Project: now Project time wouldn't be skilled share without a project. So what I would like you to dio is that I want you to go out. And I want you to get your first bag balloons. I want you to get a pump and I want you to make 10 bullets and they can be 10 of the same one. They can be three of each. Whichever 10 balloons you want to go? And then I want you to take a crazy picture and post it. I want to see what you guys can come up with. So, having you know, 10 little puppies watching the TV together would be perfect or having you know your best friend. And you know, 10 kids, all with swords attacking each other. It would be perfect. Whatever you can come up with, I want to see your 1st 10 bulletins or your second or 3rd 10 but really posting sad balloons. Onley helps other full of twisters feel confident in their balloons. So don't worry. We're not here to judge. But we are here to help and thank you for joining the class. And for doing this, I would love to see what you think? Go ahead and rate and comment If there are other designs that you really would like to learn, I'd love to teach some intermediate and advanced balloon classes here for you. One last thing when I first started learning how to do balloons, my, um, my project that I was given was I had to do 10 balloons off 10 designs. So 100 balloons and I was 16 in high school, and here I was in my bedroom with 100 balloon animals, and it scared me to death. I quit for a couple of years before I went back to it. So never balloon alone. If you feel like you need to practice, go ahead, do a couple, but then get out there. Go to the park, go to the playground, go to the frozen yogurt shop. Anyone will love to have your practice balloons throughout a tip jar, and you'll make just enough that you'll be ableto buy some more balloons to keep practicing . So never balloon alone because, really, who would have one of these
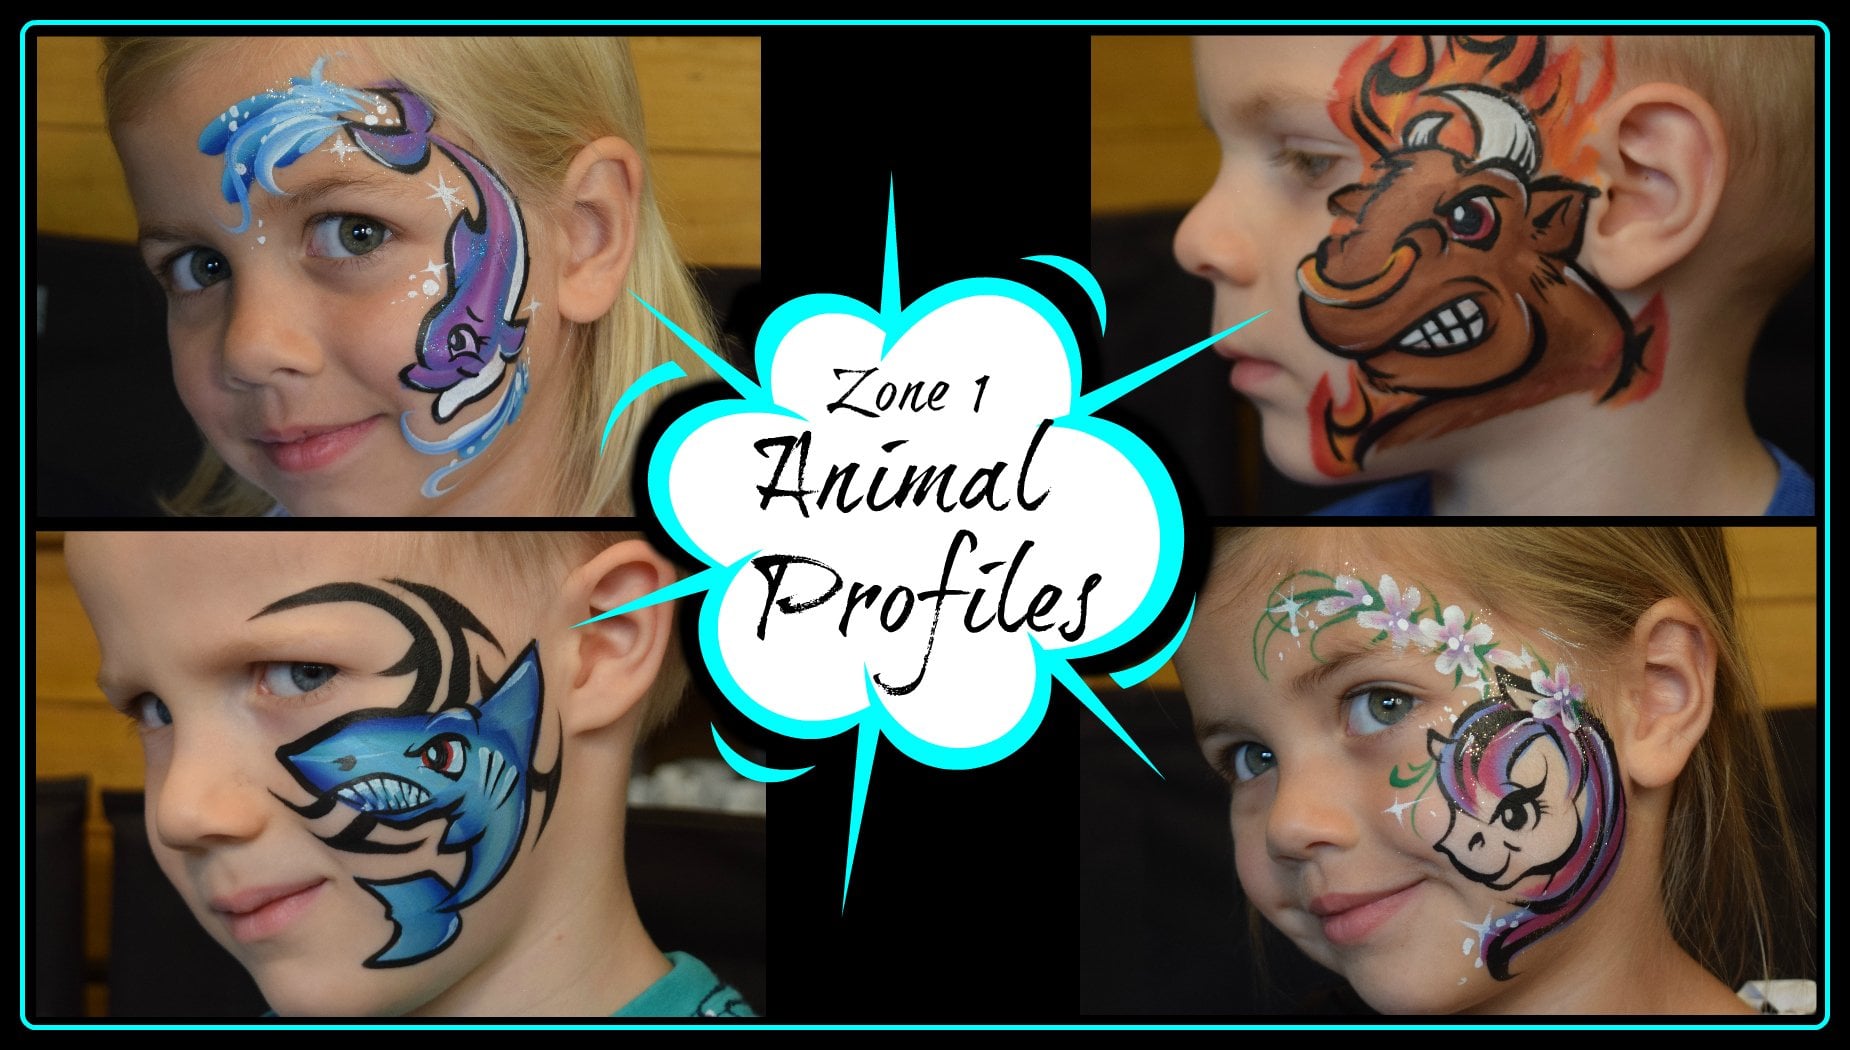
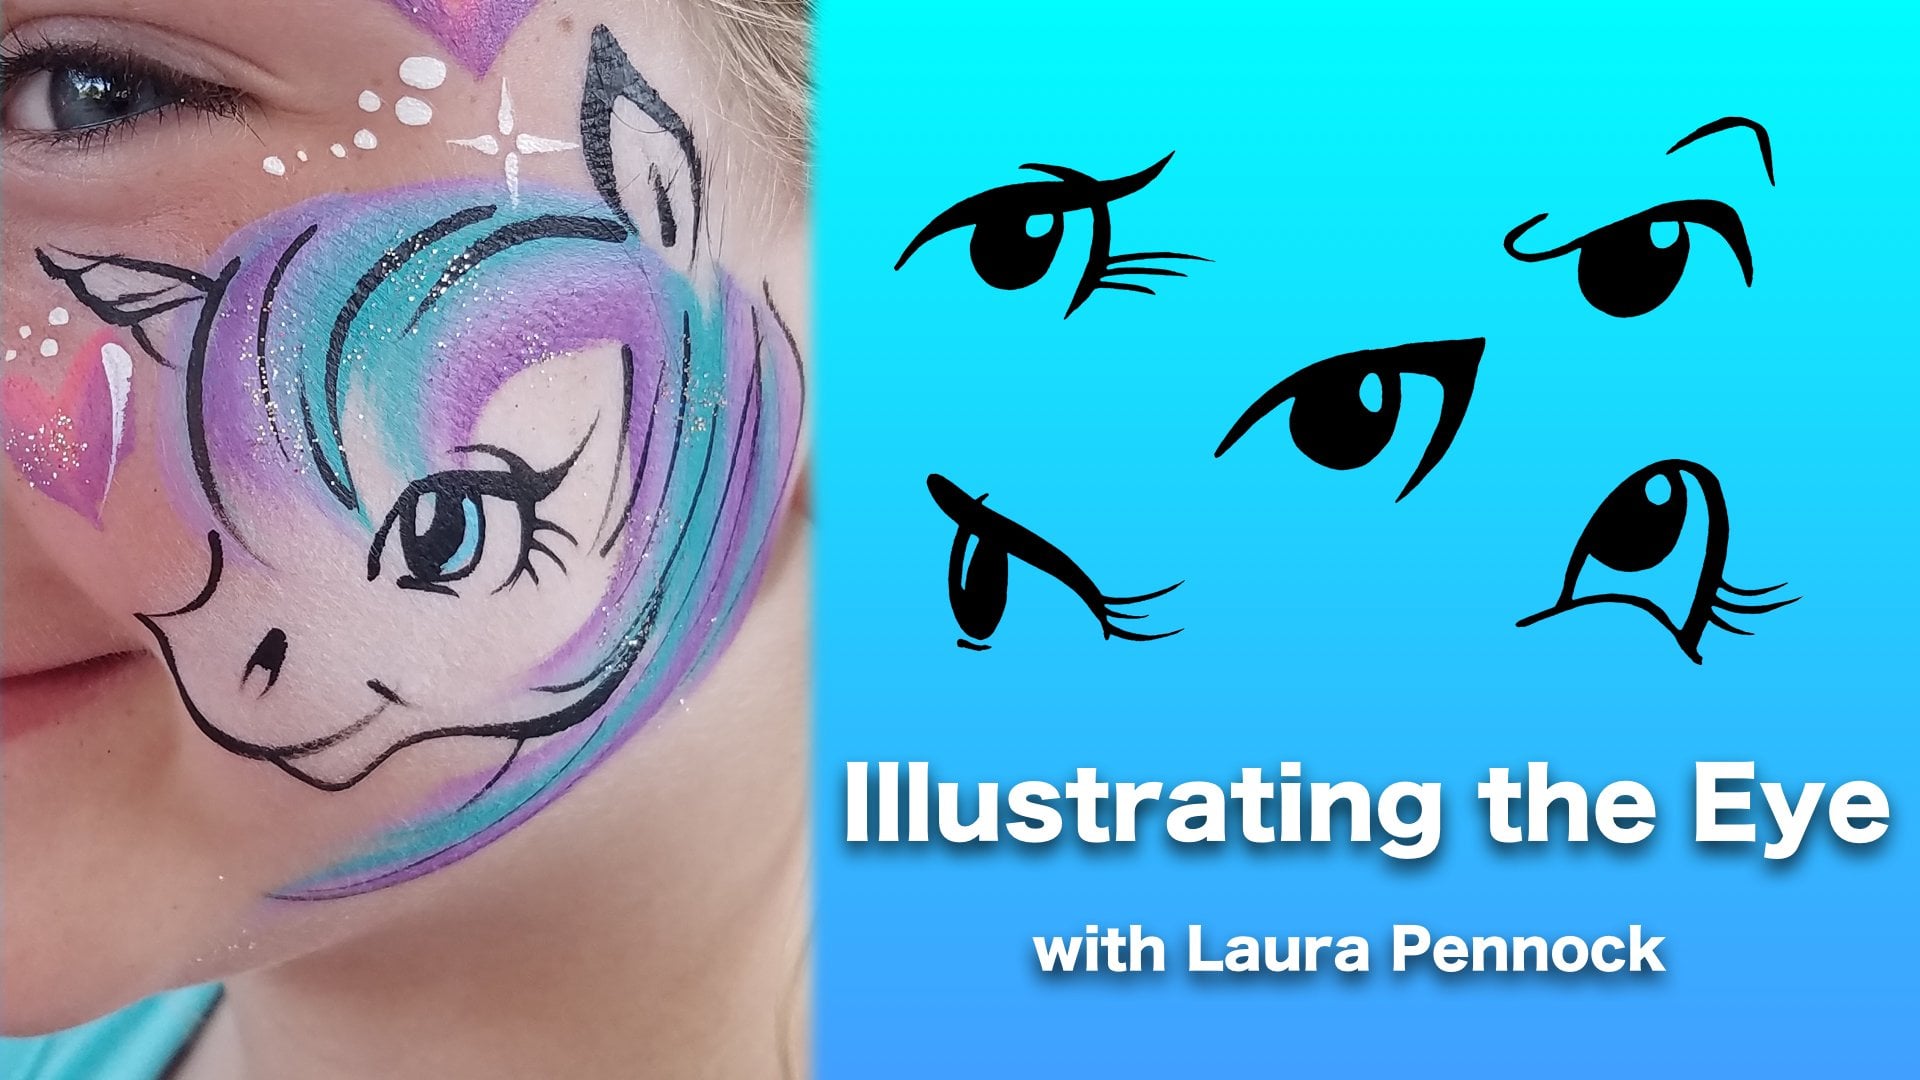
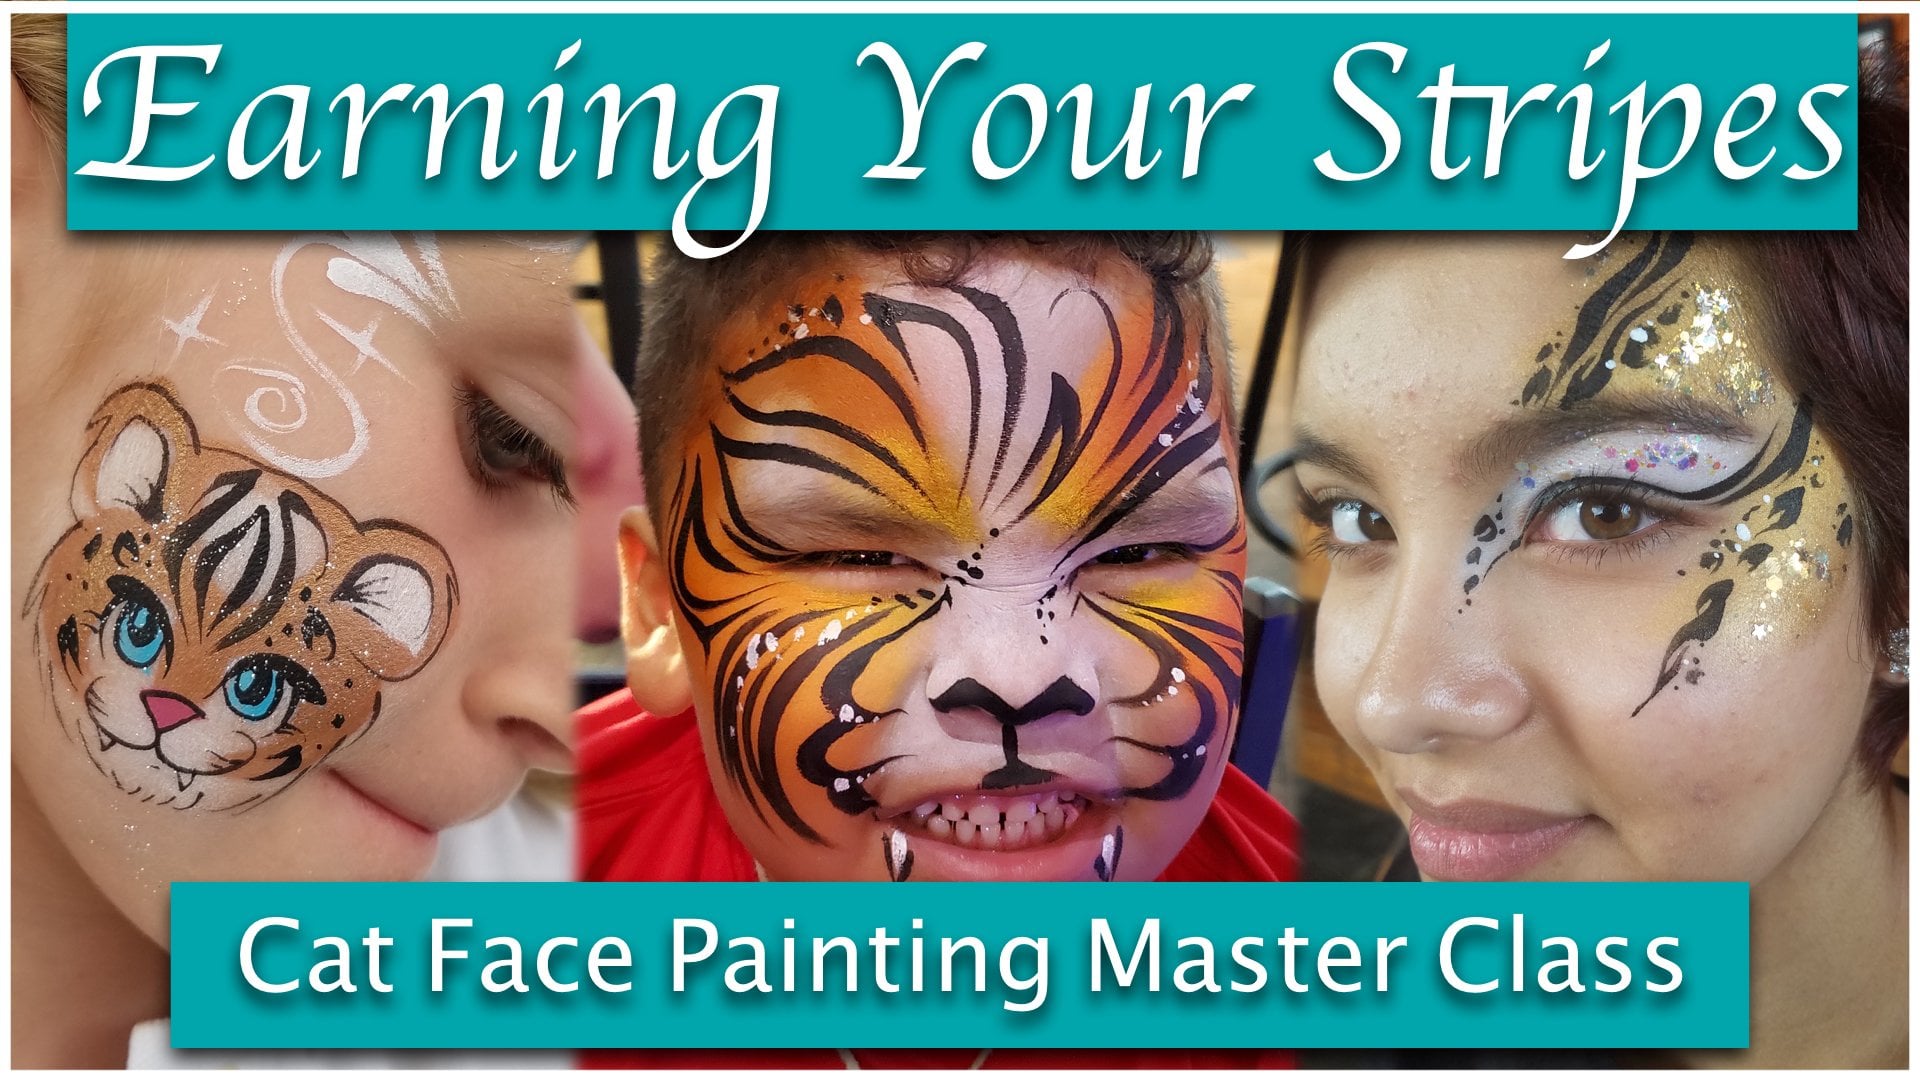
 Laura Pennock, Face Artist & Instructor: FAI