Transcripts
1. Course Introduction: As Mico, my name is Felicia. I'm T animator and DFX artist. More with than ten years
experience in this field. In this course, you will learn how to animate a car in TDS Max. Don't worry. The curriculum is carefully designed
in basic level. It means in minutes, you can create Rocky and create dynamic care
animation in TDS MAC. I will be to have
you in this course. Thanks for joining us.
2. Intro UI UX OF 3Ds max 2025: Hey, what's up this
is cic and welcome to Car raging animation
in TreDS Max. First, I have basic introduction
in TreDS Max for you. Close, welcome screen, and
there you have four viewports. The most important viewport
is perspective view port, and the second is
front, top, and left. Move your mouse
here and press A, the first important harket, to change the one
viewport to maximize. Then create a basic
three D model here, press press for the rotate, press for the scale, and press just middle
mouse button to move the viewport and hold
old key on keyboard, press middle moz button
to orbit your viewport. Scroll Zooming zoom out your viewport and right leg here you have move,
rotate, and scale. If you need to change the
pavot point of the move, go to Pavot point here, select A Pavot point, you can change pavot point here, and go back to modify press
E to rotate from that point. Okay guys, delete
this three D model and create Another
more model like this. Select the first
or second model, there you have move
date and a scale. If you need to
hide, right click, here you can click hide
selection, right lick and height. Select these both model, right lick, freeze,
and right lick freeze. Press control plus A on
keyboard, select all. You can press delay to
delay from viewport. If you zoom and now you
need to set in viewport, press Z, and this select
press Z, press Z. Create small treaty models
and select that one. Press Z. You can focus your
treaty model to screen. Select press Z, and go to
file reset your project. Let's go to next part, how to set your treaty
model for aging.
3. Setup Car Wheels For Animation: Hello guys. Welcome to part two. In this part, I want to
show you how to set up your three D model
for ging animation. Go to file and port if
you have OBJ Tat model. If you have save your file, go to Open resin, select. There, I have a Treat sample. Now I need to set up this model
for the reging animation. First, select the car and move. This all is in one
model in one group. Now I need to divide
in five parts. The four parts you
detach the tires, the wheels, and fifth part, you must detach the body. Go to modifier, and go to select room and
select elements. Select the first tire, this one, and fine detach. Rotate, select
another tire, detach, select behind detach, and
select this one, detach. Okay guys. Now, go
back to selection. Click on element. Take a look. The
first and the second, the third one, and the third. Select all of them. Go to Pivot and click Affect Pivot Point center
to Object. Take a look. A pivot point is set
to center of objects, and click again to turn off. Select the body, move up, select the tires, select
another, and select others. Now, select all by pressing
Control A, right lick scale. Control make little
with small size. Press and press all, chain the viewport,
go to front viewport. Se the car top of
the grate line. Select the first and
change the name. Right wheel, right,
right front wheel. Select another one, name, front wheel, and
select another one. Change back left wheel. Select another one,
B, right wheel. Select the body,
select the tire, change to back, right wheel, select the body, change
the name to body. Guys, the car is
ready for ragging. In next part, how to create a sample high ply
train or mounting. Thanks for watching.
Let's go to next part.
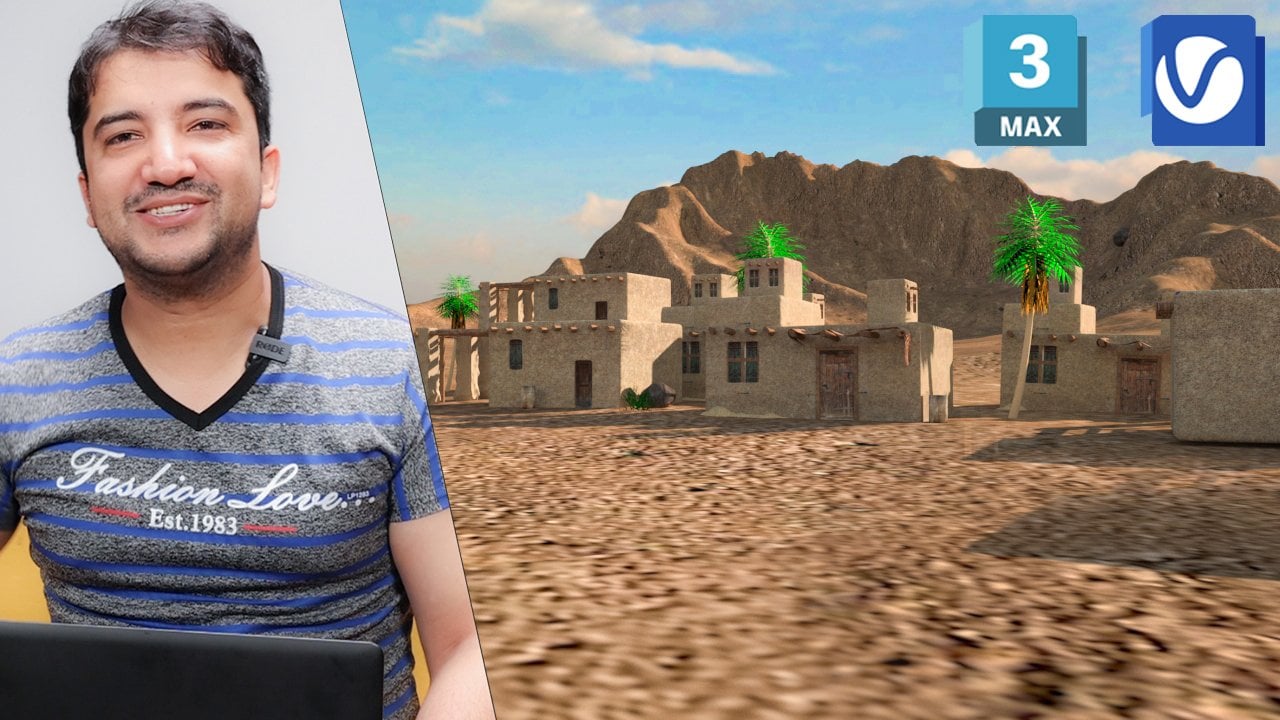
4. Creating Rocks and Terrian For Animation: Hello guys. Welcome
to part three. In this part, I want to
show you how to create a basic high poly
train mountain. Let's start first. Select the car and right
click. Hide selection. Go to select the plan, A W, and go to top view, set the center and
create a basic plan. Go to perspective,
H W, maximize, right click, select the move to and select the plan or nd scape. Change the color first. Lick, Little bit
I need brighter. Select landscape
and go to modifier, go to modifier list. Find the display.
There the display. Click on Mp. Click on Mp, select the mask. Come down and select mask. Go to Marial select
the first one, compact material, and drop the map mask to
second empty material. Change the meter to stains, click, and click on map. Change this one to noise. Find the noise and go back, select second material select, and select smoke fine smoke. L et's edit to create
the high poly trim. Select the landscape plan, go to select the plan
and change to 500. 500 segments and select
change to fractal the smoke, change the size to
140, and go back, go to nice fractal, 140, go to smoke, change iteration
to 20, change the size. Now let's modify
strain, not bad. Let's change the small
size Make more strain. Change small size, like this and make more strain
like this. Take a look. There is a simple
basic Poly trend. Now, I need to
control more details. Go back, go to noise, control the noise from here. And control a little
bit smoke. Take a look. No b. Okay, guys. They created the train ndscape for the car ragging animation. Right click, unhide the car and s hold all to the landscape, press scale down
the size and set. Set car there and move
a little bit down. Select again the landscape, change the quality of Landscape 2700 to 700, not bad. Let's go to next part, how to rake the car
and how to control by keyboard to make
dynamic animation here. Thanks for watching. Let's go to next part.
5. Rigg Your Car And Start Drive : Hello, guys, welcome
to ging part, three D Car animation
in TDS MAX. The most important
to rag your car, you must know about the plugin. When you install the plugging
craft directory stdio and go to here, click ties and click
on Configuration. There is the Plug in
craft Directory stdio. Total buttons, make one more and select craft directory Sedi
plag in, sit there. Click. Now I have craft
directory Studio there. Click here and start directory Studio and click Hold mouse click
here. Take a look. There you have four wheel extra. And there you have
two wheel extra. Click and wait. Take a look. Select four wheel. There you have setting. Hold, click mouse and
select four wheel extra. Click this one, create, and there you have
the car raging model. Move the car the press R, scare down the size and press, sit there and a little bit, move it down there and
move to sit the car body. Good. Now let's link select the rigging tire and there is the aligned to
center of the car. Turn on the z position x and y. And select your car wheel
to link select link. To ging car. Select another one. First, align to your treaty
car wheel and click Okay, select your Treaty car wheel
to laying the ging car. Select g, align to
your treaty car and select sorry select this one. Before linking first align to your treaty car wheel and link the treat car
wheel to ging car. Slate this one, first align to your treaty car wheel
and select link to ging. Now select the body
of the ging car You must link the body your treaty
car model to gg body car. Now select and move
everything is okay. Let's find for the ground. There is the ground g link. The ground to
rigging, how to link. So select link to the icon. Zooming, let's go to setting. Click here to set. So select the car and click on setting. Let's see how to
control there is. Click on stick icon
and the first, the most important, click on keyboard to start
the c by pressing. The back or rivers select S In, there is S. In right direction,
if you turn to right, select A and turn
to left, select D. D. Buster sliding hand brake. If you need to bust,
select shaft shaft. Now safe profile. Close and select all
the rigging parts to hide select and select. Right click, hide these parts. Let's select another
part of the rigging. Right click Hide. Click on record. Wait. Ricard. Press W. Take a look. Turn to left. Turn to right and left. H s for the. Stop and go to reverse and
little bit move right. And stop. Click on stop and
minimize, take a, select these icons, select all these icons
to hide click ide. Now your is ready for animation. Press, select the
press Z, play now. A little bit faster
and play now. Okay, guys, thank
you for watching. This was about how to create
animation in dynamic by C. Thanks for watching.
Have a good time. Good luck all of you.
6. Render Your Animation Into Video : Hello guys, welcome
to Part five. In this part, I want to
show you how to create sky and how to render your project
in the video. Let's start. Take a look. This is our
final project with animated. You can control the speed by clicking on time configuration, and you can select the speed. The first one and click. Okay. When you
play, take a look, two slow, select the
second play, not bad. I need to render my
project start from 200 frame 200 and end of 750. First, Render the first
frame, take a look. This is our first frame. Cancel and select the
single frame close, render, for example,
we have no sky. If you need to add
the sky and go to render select environment, click, select B and there
I have a lot of sky. Element three, select sky maps. If you need to use
HDRI four K quality, you must select
your render engine in VA or Arnold render. If you use your sky line
or basic render engine, you must select your sky in JPA. Double click, select
one of these sky. I need to select this one, pen. Now, render one frame and wait. There is the result. But if
you render your sky project, the render will be
take more time. I have another way
to render faster, right click cla and set
the color to black, and go to render set up, start from 200 and right there, seven and select your
video output size into HD and Save File, select File to desktop, create a new folder. Double click, select
your pharma to RPF, and the name car project. Click on save. Before
start render, take a look. There we have set
up. Click here. Set the channel bits
per channel eight, and turn on the Alpha
channel, and click Okay. Save start your
render, click here. So the ringer is
started and wait. Okay guys, render is finished. Now let's go to AOA After efect. Create a new project. Then let's go to new
composition from page. Click here and go to
desktop, select new folder, select the first frame, and select RPA sequenlick, Okay. Now. There's your video render. Now time to add Sky. Double click here
and let's find sky, double click, double click, double click, here,
here and here. Let's select. The sample sky this
one and click port. Take a look, turn
off JP sequence, turn off and port. S add here. There is your sky. Let's press space. Good. Now you can control the color brightness,
contrast, right click, create a new adjustment
layer and move it up, and go to work space effect. Click on Effects and
braces here, right to s. Converter. Double click here, change to lock the
and hold control. Control let bit
darker and brighter. Now apply curve. Double click Control by curve. Select change to later minus. Let's apply ten
effect double click. Select adjustment layer
and double click make ten percentage into ten. L et's play. Here is your
final video animation. Take the color gradient,
color grading, and let's export from after
effects to into video, go to composition at render. Click here and select
the format to h264, and desktop, select, save, and click on render. Okay Mimie, minimize, let's
go to click on Video. Just add sound effects into Premier Pro.
Thanks for watching. This was about how to
render your video from three D Max to After effects and final P to control and add sound
effects, background music. Have a good time. Good
luck, all of you.
7. Camera Animation, Motion Blur, Mini Render For Test: Hello guys, welcome to most important techniques
during animation project. Sometimes you need to test your animation before rendering. First, control your frames, press control shift
and let lick, set your frame start
from and right lick. Start 2700 frames. Now go to tools, screen capture, create review animation
and click on Create. Wait few seconds or minutes to create your
video animation in fast mode Here is the result. Take a look in HD quality. Note that. Let's go to most
important technique during animation project. You need to add Men Ber on
your animated three D object. Select, hold, di select
the floor or landscape, and right click, go
to object properties. There you can turn on your image Mhion blur
on selected object. Now play here, go
to render setting, select single, and
click on render. You object must be in Men blur. Take a look. Image Munchen Blur pass two. Wait for the
finishing this step. Let's click on render button. Click again, take a look. Now your c in M Blur. Let's render from this time. Let's render. Yes. So Let's render from another frame from this
frame render again. Yes, and wait for the blur. There is the result of
Muscha blur animated object. Let's go to third most
important technique during project animation. If you need to control
the camera like this, like a track Di orbit,
just press control. Your camera is added. Now, I need to animate
my camera from here, stopwatch, move, and move
the camera right there. Now, take a look. The
camera is moving, and animate the camera here. Let's play, take a look. Not bad. Okay, guys, thank you for watching. This was about the top
three important techniques during creating animation short. Thanks for watching.
Have a good. Good Luck, all of you.
 Khalil Sediqi, Yes I'm a Digital Arts Instructor