Transcripts
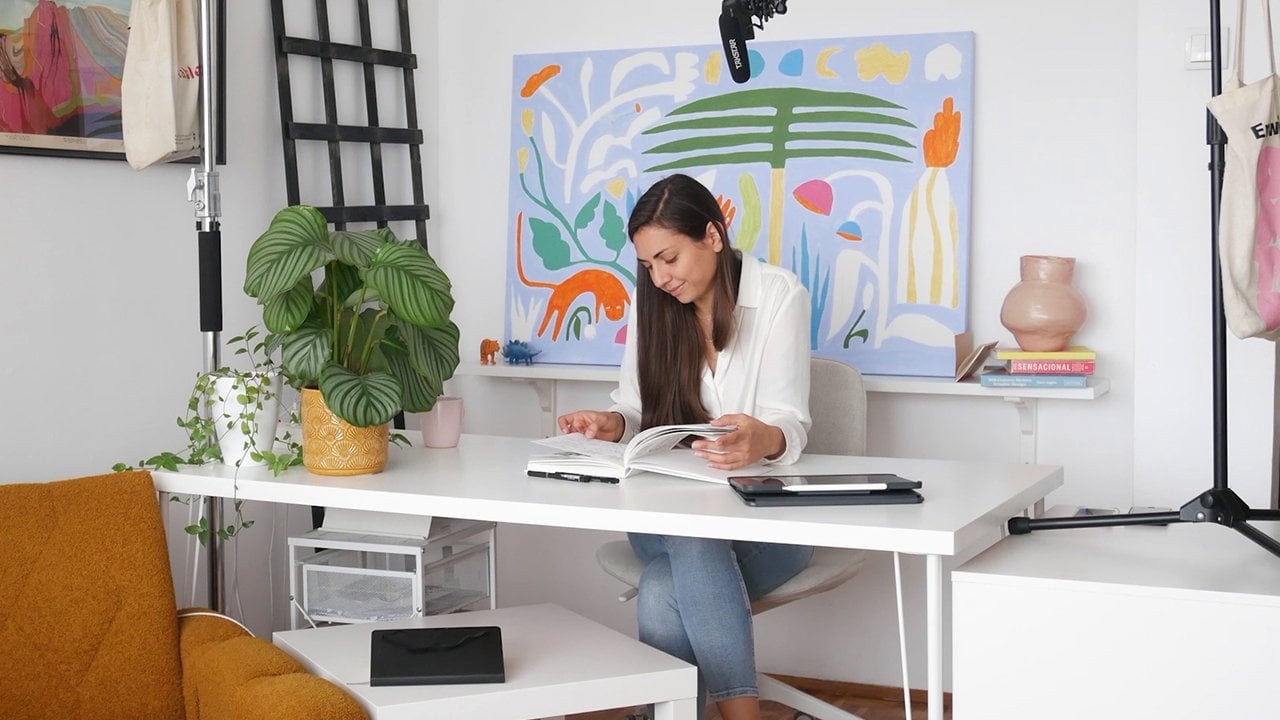
1. Welcome: I'm Nina, also known as DED. I'm an illustrator and a
surface pattern designer. And in this class,
I'll show you how to organize your art
licensing workflow. Welcome. 20% of my
work is commissions, and 80% is licensing. As you can imagine, after six
years of actively creating, offering and licensing
my artwork to different companies for different products
and time periods, it became a bit confusing. My old system was about
to crash at any moment, and I was wasting a lot of time constantly looking
for misplaced files, finding the same
artwork saved under different names and
cross checking licenses. Truth be told it was a mess. So this year, I
completely reorganized my art licensing system and created a workflow
that is sustainable, practical, and most
importantly easy to use. I'm sharing all of that
with you in this class. I'll walk you through
my entire process from folder organization, file naming, saving files, and creating artwork sales
sheets to organizing my licensing portfolio
and client database with tags and filters
using Google sheets. Okay. You're ready.
Let's do this.
2. Project: The project for this class is to organize your art
licensing workflow. And don't worry. I'll
walk you through this entire process
step by step. It might take some time to organize everything,
but once you do, click on your project
and share screenshots of your new system and tell
us what you love about it.
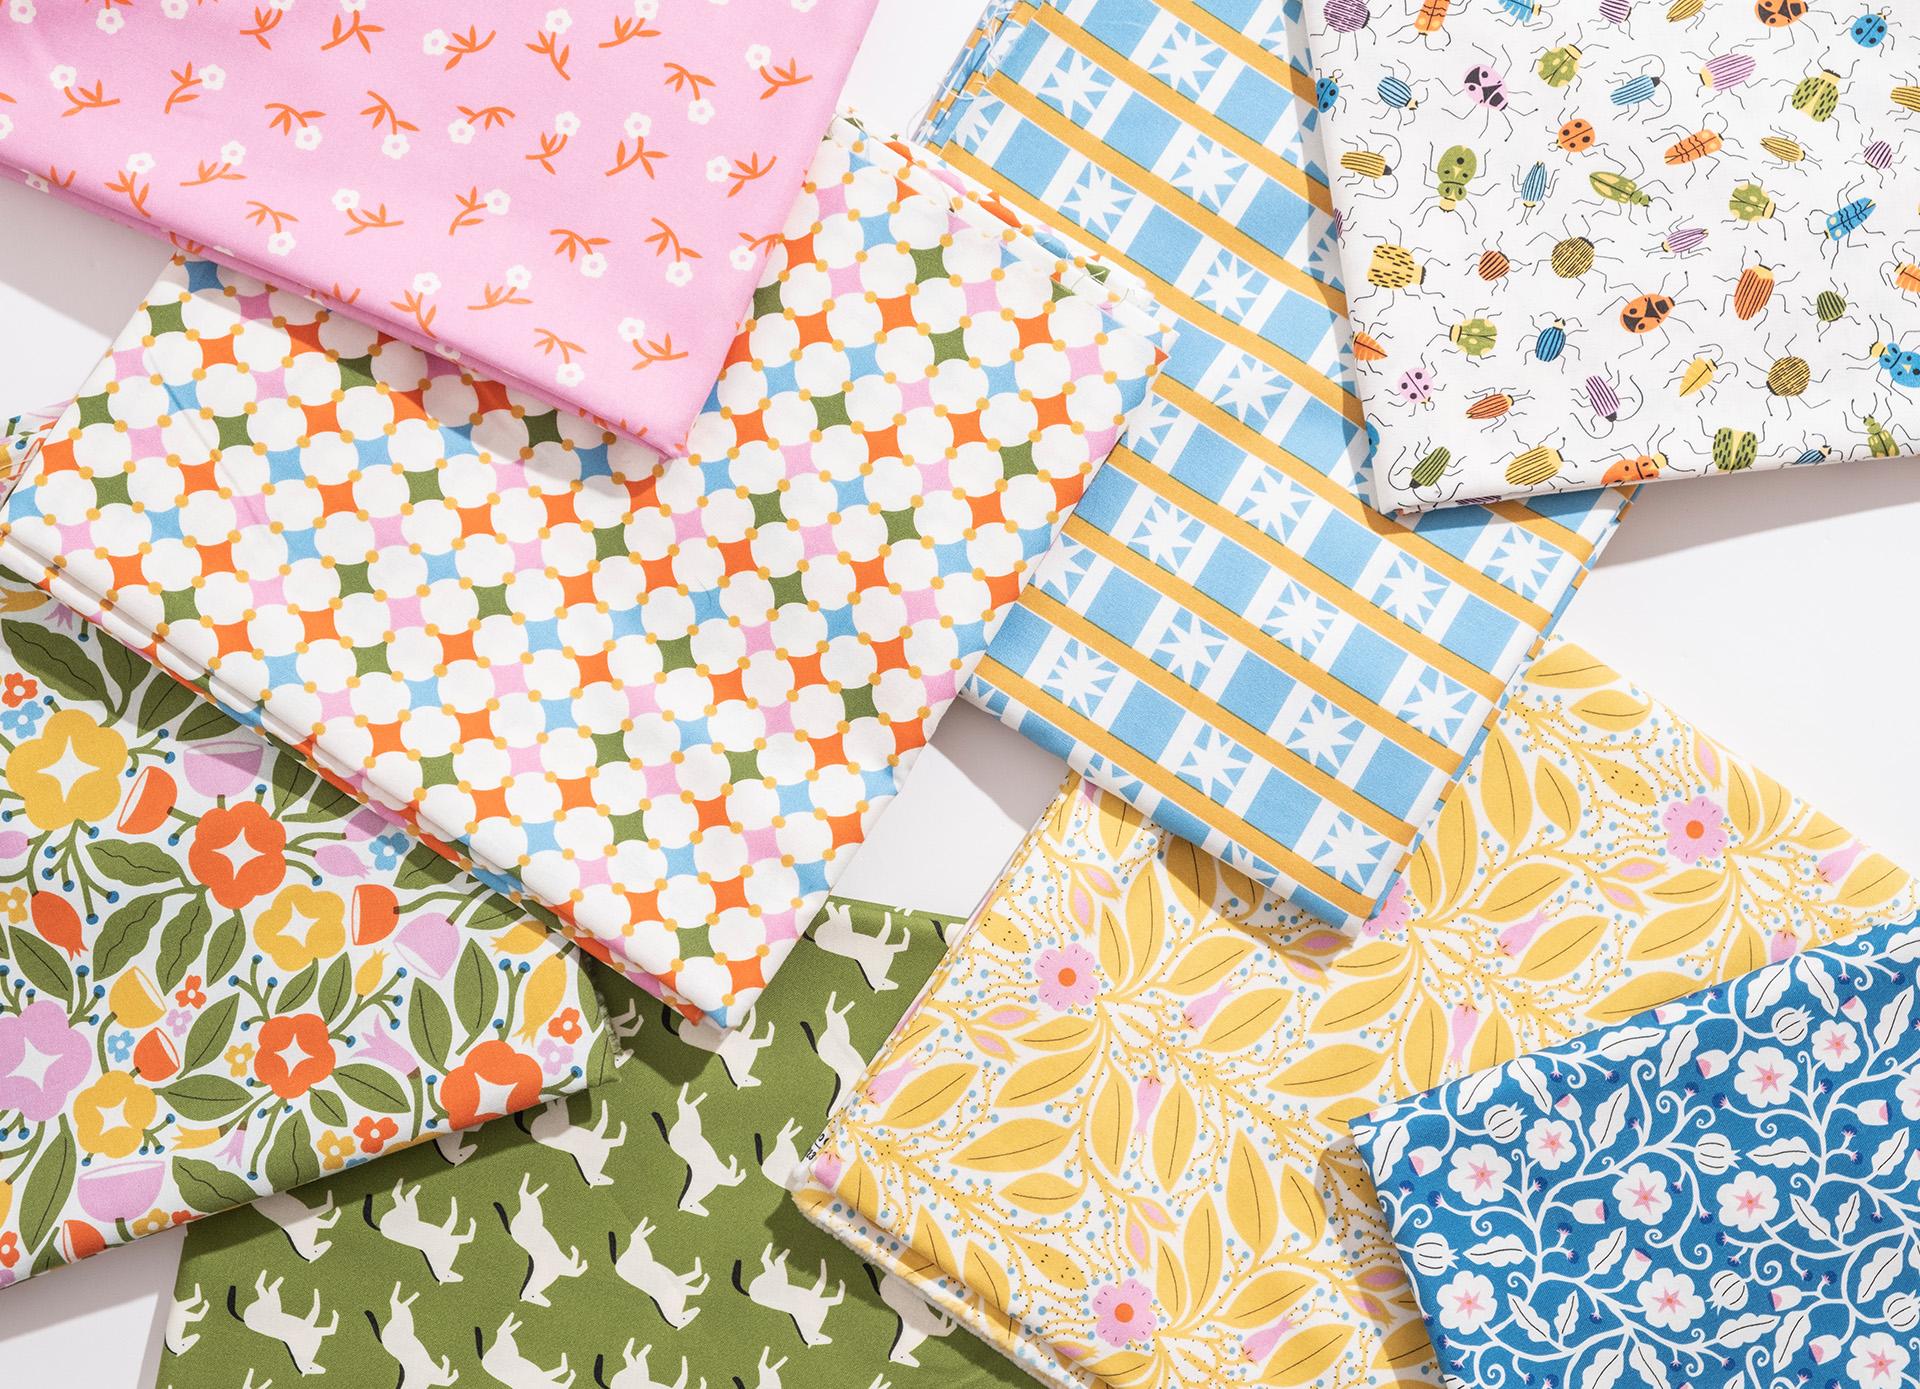
3. Licensing Portfolio: First of all, what is
a licensing portfolio? Why do you need one, and why is it important to
keep it organized. If you're licensing your
artwork or planning to do that, you need a licensing portfolio. Unlike a regular portfolio which showcases just a handful
of your best artwork, a licensing portfolio consists of all the artwork
you're offering. You'll create new artwork, add it to the portfolio, and offer it to clients. Then clients will sip through your available work and choose
what they want to license. As time goes by, your
portfolio files, artwork database, client list, and the number of
licenses will grow. So you'll need a
practical system to keep track of it all
because ultimately, you are running a
small business. Realizing that was the
main mindset shift I had to make for myself. I used to think that
being a bit chaotic and doing things on a whim was
a part of being an artist, and that a system
shouldn't bind me. And then I realized I was just being silly because
I was getting frustrated and losing a lot of time which I could
be spending on actually being an
artist and making art instead of searching
through my various folders, random name files and making new client presentations over and over again because
my sales sheets are in different sizes
and resolutions. Of course, it just takes time
to make these realizations. So if you're at the beginning, don't be harsh yourself. It's a process, and we're all just figuring things
out as we go. But that's why I'm here. I want to help you skip that chaotic and confusing phase and fast forward to having a better idea of how to run your small licensing business
and keep track of it.
4. Folder Organization: Okay, let's start at
the very beginning with the most important part
folder organization. From my experience, if the folders are all
over the place, the entire workflow
will eventually stop working properly and crash. The system I use has
two main folders. One is working progress. This folder is
where I misbehave. It can become an overgrown
jungle and I don't mind. The other folder is portfolio, and that's where I'm very
strict and keep things neat. Inside the working progress, I save files I'm
still working on. Unfinished files, files
I might never finish. I don't worry about the names. I mostly save them as working progress illustration or pattern and then a number. Now, inside the
portfolio folder, I have three different folders, artwork files, artwork
images, and sales sheets. The first one, artwork files is organized by years
and artwork types. When I open 2024 artwork files, you can see that I have 2024 illustration files
and 2024 pattern files. Here I keep editable files, which means PSD or AI files depending on the program
I use for that artwork. Now, let's go back. The second folder
is artwork images. This is where I keep JPEG
images of my artwork. This folder is organized
by years and image groups. So I have illustration, pattern and collection folders. In illustration and
pattern folders, I keep single artwork images. While in the collection folder. I have two or more artworks in one image that
showcases a collection. These JPEG images are step
one for making sales sheets, which is something I'll
explain in detail later. And finally, the third
folder is sales sheets. This folder is not organized
by years or artwork type. When it comes to sales sheets, I like to have everything in one place so I can easily
find what I'm looking for. So here I separate sales
sheet images by size. One is regular for regular size, which is a higher resolution
size for printing. And the other one is smaller. Here, I keep compressed
steel sheets in a smaller resolution. These are the ones I'll
send via e mail to clients, and I also upload them to my password protected
online portfolio. In that way, I'm making sure I'm not sending huge
files to clients, and my website portfolio
is not getting overloaded. Also, don't worry, later, I'll go into detail and explain the entire process of
making sales sheets, the size I'm using,
the resolution, and good image
compression method. And that's it when it comes
to my file organization. It's nothing spectacular
and it doesn't have to be. It's pretty easy and logical, but at the same
time, an incredibly important part of this
entire structure.
5. File Naming: File naming is the second
most important aspect of art licensing organization, and it has caused me the most
problems over the years. When it comes to artwork naming, my brain goes blank. All the unique name
combinations are already taken. I'm never coming up with something original
or interesting. I can't use some
cheesy random names because I feel like that
name has an impact, and it will make my artwork less valuable or interesting,
if you know what I mean. Plus, most of my
work is flowers, which makes it pretty difficult to come up with new
names all the time, while keeping track of
the previous ones I used. So long story short, my solution to this
problem was codes. And all I had to
do was to create my own secret language like
I did in the second grade. Well, not really, but
I did need to create a set of rules for
making the file codes. So here's how my
secret language works. This is the code. DU stands for two letters of
my art name, DOED. The first two numbers four two are for the year in which
the artwork is made. I didn't want the year
to be so obvious, so I decided to
flip the numbers. If the artwork is made in 2024, the code will start with 42. If it's made in 2023, the code will start
with 32 and so on. You get the point. Is it necessary to do
that? Of course not. The only thing I realized is
that I like having a year in the code so I can easily keep track of my
portfolio database. And if you remember, I sort my artwork file and
image folders by years. The next two numbers
are just that numbers. That part of the
code starts with zero one and it goes on
in the numerical order. It doesn't matter whether I made a pattern or illustration, the file will get the
next number available. To make sure I know
which number is next, I just check my
licensing database. That's also something
we'll talk about later. Now, that's the base
structure of the code, but here are some extra rules or exceptions to the main rules. If a file is in a
different color way, each color way will have A, B, C, et cetera,
added to the code. If an illustration
exists as a pattern, I'll use the same code and
add lower L at the end. If a pattern exists
as an illustration, I'll use the same code
and add PT at the end. If two files have different elements that
belong to the same artwork, I'll use the same code and
add one and two at the end. I create a unique code for each piece of
artwork I create. However, when
creating sales sheets to present and offer
my art to clients, I also make collections, and those collections
have different codes. This is a code for collection. Instead of DU, I use
COL for collection, and the number I use
is the number that belongs to that collection's main pattern or illustration. Pretty simple. You can use my example as a base
for your code system. But my biggest advice is to
think about your artwork, your workflow, and what
you need to keep track of. Once you create
that code system, write down the set of
rules you're using, as well as the exceptions, so you can always use
that as a reference. Otherwise, you'll forget. Okay, now is the perfect time to start talking
about sales sheets.
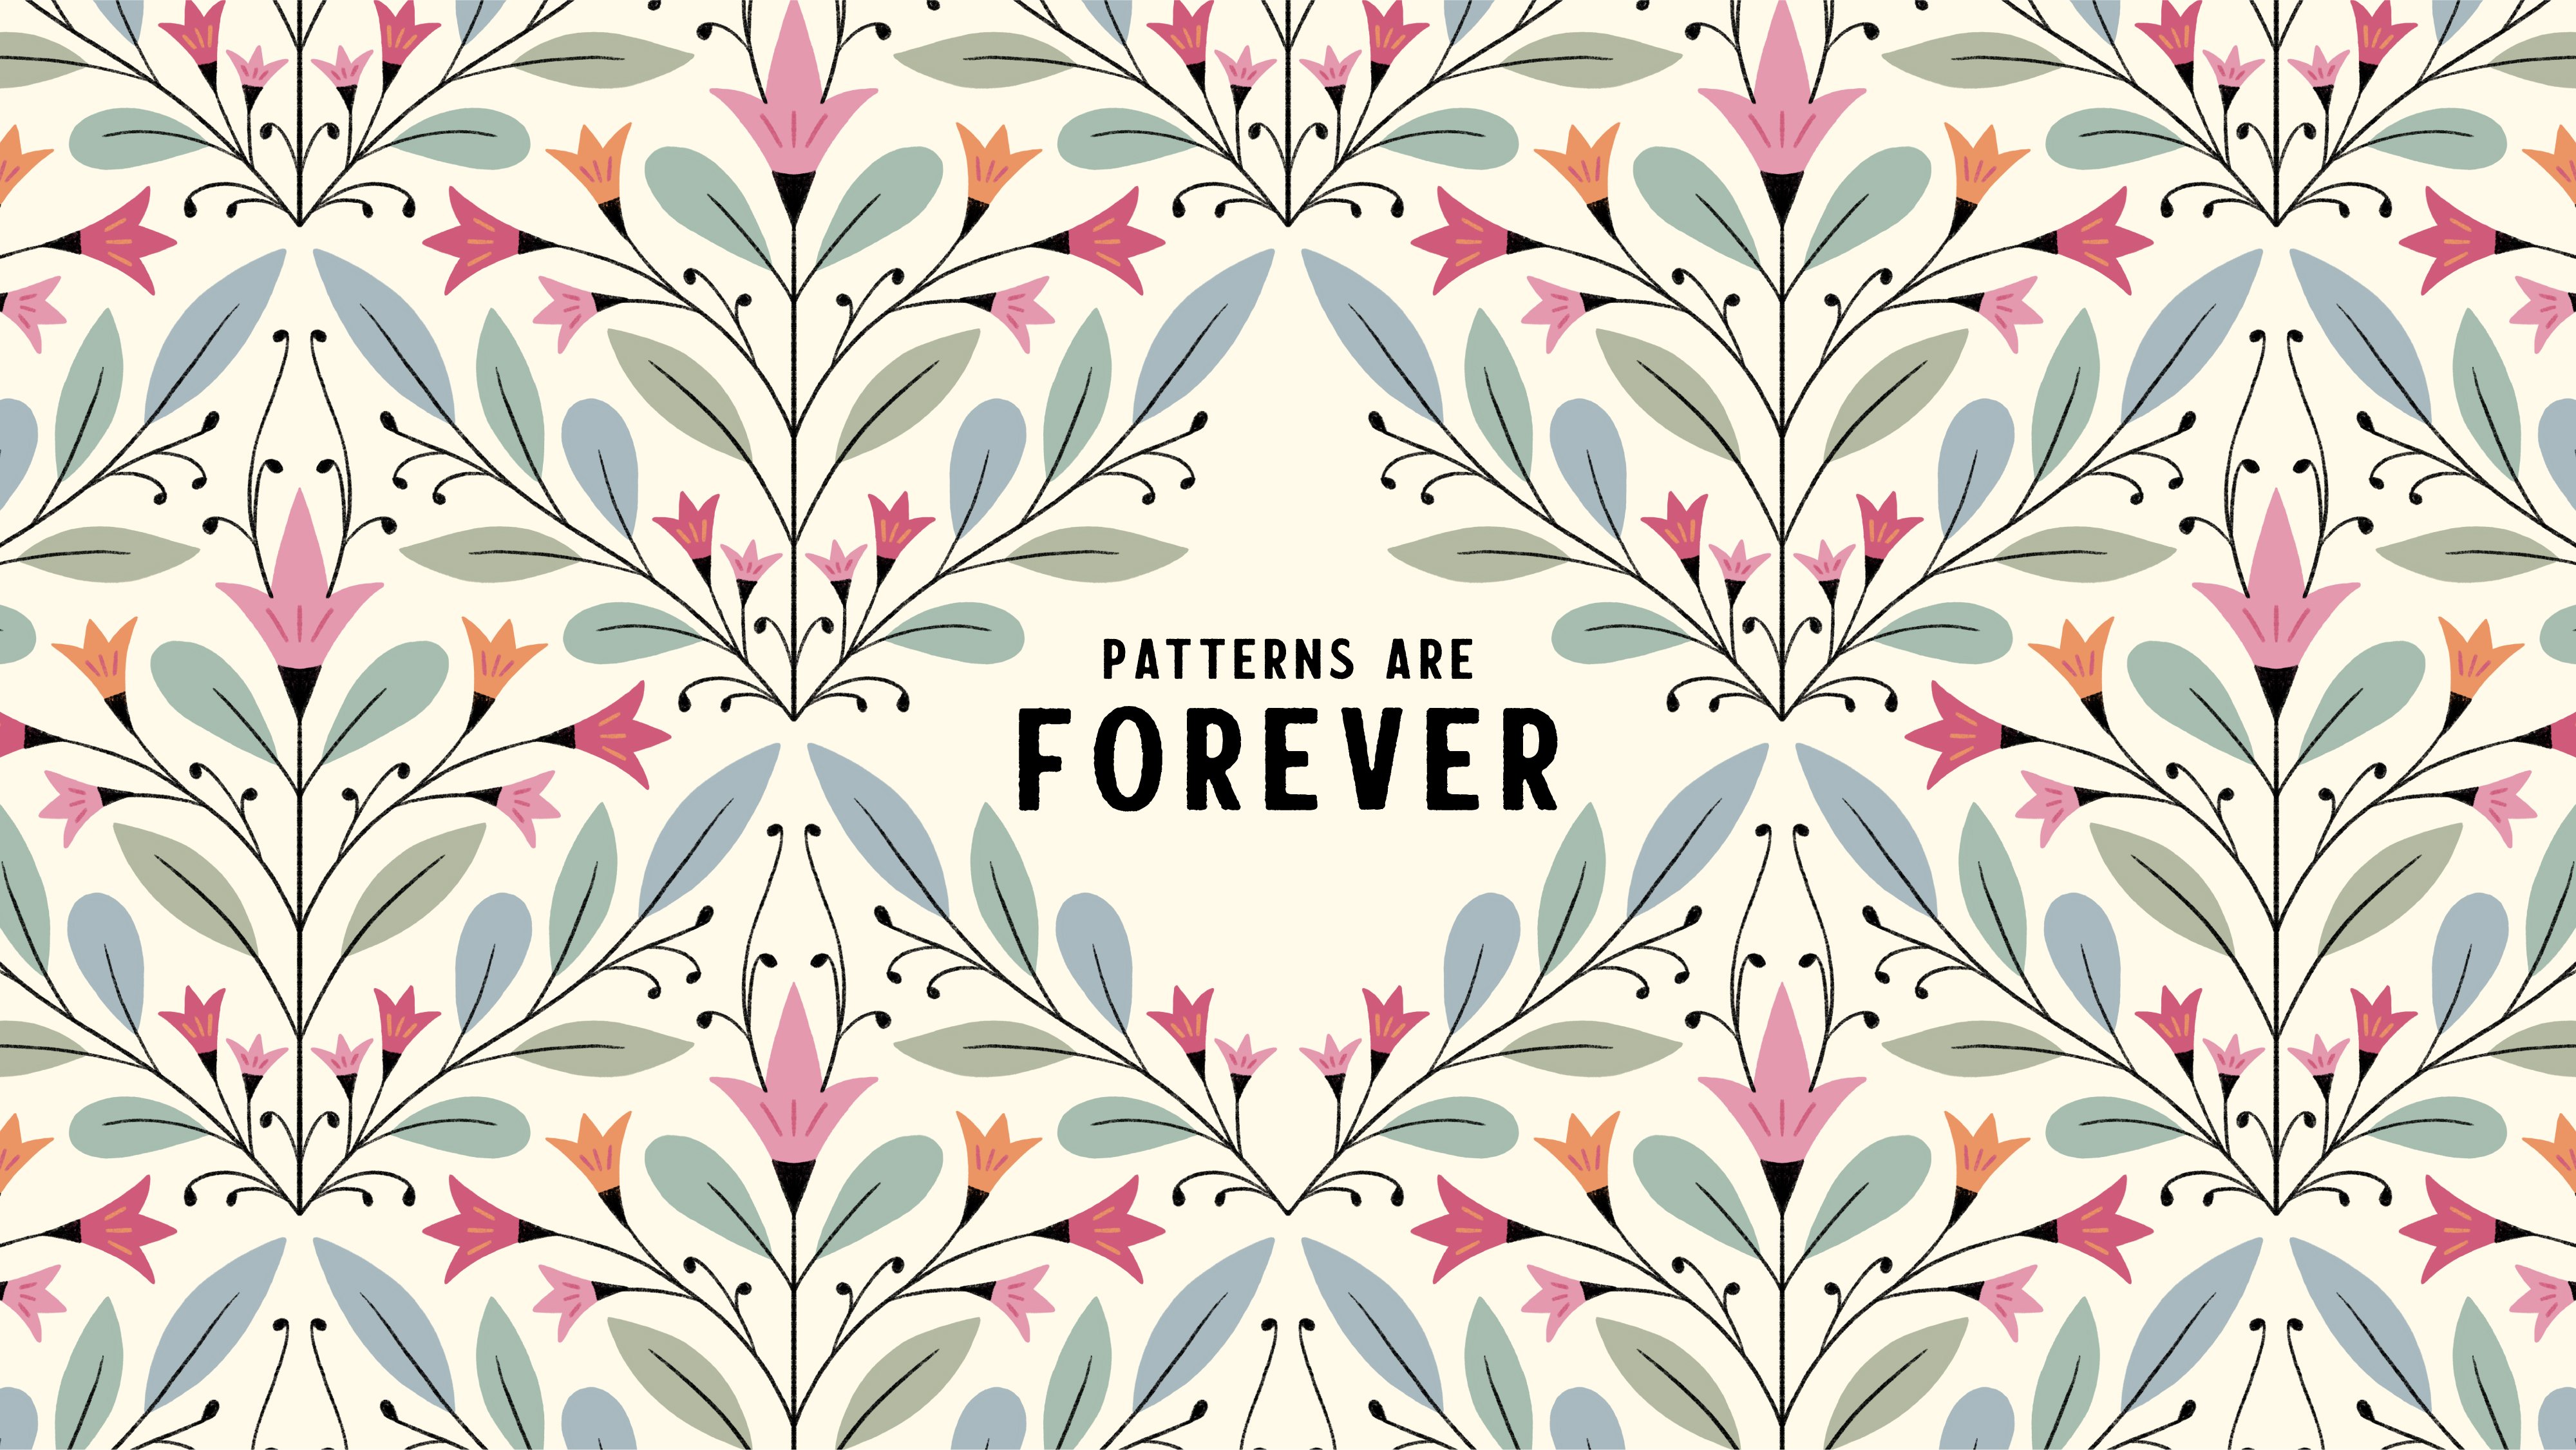
6. Salesheets: So what are sales sheets. Why do you need them
and how to make one. Here are two examples
of my sales sheets. One is used to showcase an individual artwork and the other to present
a collection. To make sales sheets, I use either Adobe
Illustrator or Photoshop. It depends on which one of those programs I use
to create the artwork. In other words, whether the
artwork file is vector or s. In this example,
I'll use Photoshop. The artword I'm using is
2,244 by 3,071 pixels. It has this specific
size because it will later fit perfectly in
my sales sheet template. I will now place
my artwork here. I will export it as a JPEG image and save it in the 2024
illustration images folder, which is in the main folder
named artwork images. Once done, I use adobe
illustrator to create the final sales sheets
using this template. I personally like to use adobe illustrator for this type of work because it's easier. But if you don't use
it or don't have it, photoshop works
perfectly as well. The format of this
template is A four. This is a standard
printing size. So if I need to print this in the future, everything is ready. I don't have to do
any extra work. And now, check out the
sales sheet elements. I have a placeholder
for the artwork. And below is the info. My name, website, contact info, and the artwork code, which is bolded and easy to see. On the right side
is my signature. You can place your logo
here if you have it. By the way, this template will be available to download in the class resource says as an Adobe Illustrator and
Adobe Photoshop file. So you can grab it and start using it right away to create
your own sales sheets. Now, from the folder, I'll grab the artwork image
and place it on the template. Okay. Okay. When I click on it in
this upper corner, I can see the artwork code. So I'll go down below
and change that. And that's it. It was
super easy and quick. And this sales sheet is done. Now, I will export
this as a PNG, and I will save it in
the regular folder, which is a part of the
main folder sales sheets. And I will set the
resolution to 150 PPI. Okay, let's take a look
at the size of this PNG. This one has 456 kilobytes. It's a good size and
resolution for printing. But if I want to send
it to clients and upload it to my online
password protected portfolio, I need a smaller file. Therefore, this PNG
image should be compressed in a way that
it doesn't lose quality. I tried doing it in photoshop but always ended up
with lousy results. So I found a good online
image compressor. It's called compress png.com. I just upload the regular
sales sheet here. It gets compressed. I download it and later place
it in the smaller folder. The compressed image has 197 kilobytes while the
regular one has 456 kilobytes. It's a pretty good
size difference, and you can see that the one I compressed didn't
lose the quality. All right. Our next stop
is the licensing database.
7. Licensing Database: Before I made a new
updated licensing and Client database, I researched different
organization apps besides Google Sheets. These two apps were mostly recommended Notion and Airtable. I've seen some classes
and pattern designers using these two apps to organize
their artwork database. I've checked them out, and
it all seems very nice. So it's good to know that notion and Airtable
are also an option. I personally went old school
and used Google sheets. Why? Well, the first
reason is that I just couldn't deal with another subscription
based productivity app. Both Notion and Airtable
have a free version, but as it always happens, you might need to
upgrade at some point. The second reason is that I wanted something I was familiar with and something with a simple structure that I
could use consistently. Basically, Google
sheets fulfills everything I need
at this moment. So here's my licensing
database. Take a look. I'll now explain how
I made the structure, and I'll show you how to use some cool Google sheet
features to make your database functional
and easy to use. Below, you can see that I
have two different sheets. This one is all files. Here, I keep and log every single portfolio
artwork I make. And the second one is licensed. Here, I keep track of all
the artwork licenses. To make more sheets inside one, you just click on
this plus button. Okay. Now, let's go
back to the first one so I can show you
everything in detail. Take a look at the columns. I have file for all the
file codes, the collection. If a file is a part
of a collection, the collection code
will be listed here, then kind to specify whether it's an
illustration or a pattern. Next is license. If the artwork
is licensed, I type yes. If not, I leave it empty, then program, whether it's made in a vector or raster program. Year to write when
the artwork was made. The next few columns are tags. You can have as few or as many
as you think is important. The first tag is for the
main artwork category. For example, if the artwork
category is every day, which means it can be used
for anything anytime, I leave it blank. But if it's for a
specific purpose or occasion like Easter, Christmas, summer,
I specify that. I use the next tag to
note whether something is specifically for
kids or adults, and if it's suitable for
both, I leave it blank. And then I use tag three and four to describe
the artwork in more detail. Tag three is a large
category like florals. While tag four is a bit more
specific, like bouquets, wild flowers, tulips, and then tag five is
related to patterns. Here, I specified the complexity of the pattern,
whether it's blender, secondary or hero,
and I also mark the illustrations that can become patterns with F pattern, which means future patterns. And the last column is notes, which always comes handy. By the way, take my organization as an example and a good base. But before creating
your own database, think about your
artwork, clients, and your target market
and make adjustments. As you can see, I don't have any artwork images
inside the database. In my opinion, adding images
is just an extra step, which means more work. And my motto is to keep it
easy, quick, and efficient. Otherwise, I will
not be consistent, and I'll stop using it. Plus, if you think about
it, it's unnecessary. I can just open a folder and then cross reference
everything nicely. In case you want to add artwork
images in Google sheets. You can absolutely do that. So I will now just
create another column, right click Insert column left. I will now select the cell, go to Insert, image, Insert image in a cell. To make the image bigger, I will just drag the
cell a bit down. There you go. This
is how it works. Now, let me show you how to use some Google sheets features
and upgrade your database. First, let's make
it easier to cross reference columns and
rows when scrolling. So let's select the first
row with column names, right click More row actions
and freeze up to row one, and you can see
when I scroll down and that row doesn't move. Next, I will select
the first column, file column, and go to
view more column actions, freeze up to column A. All right. Now if I
go right and left, that one doesn't move. Also, now I notice I need to I changed it a bit when
I was adding the image. Okay now looks great. Next, I will create filters. That's the main upgrade and
a game changer when it comes to using Google sheets as
your portfolio database. So I will select all
of these columns. By the way, as far as I know, the only way this works is to select all the columns together and then
apply the filter. You can't do it one by one. Once they have this selected, I will go to data. And create a filter. Now, all these filter
columns have a button, and if you click on it, you will get this menu, and here you can use the filter. Let's say you only want
to see illustrations. You can clear everything, select illustration, click,
and you will get this list. I you want to go back
to seeing everything, both patterns and illustrations, you can again, click
on the button. Select all and click Okay. Let's try it out
for the tag column. Here I have a bigger list. So to filter this, I will clear everything and then just type
let's say floral. Now I can see the list of all
my artwork that is floral. Once again, to see
the entire list, select all and click Okay. This sheet is done and
it's time to show you the next one where I keep
track of the artwork licenses. But before we move
on, imagine that you're building this
database now and have added all your
artwork info in this first sheet
called all files. You will go to the
license column. Click filter, Clear everything and only select and click Okay. Now you have the list of all your artwork
that is licensed. You can now copy and paste
this list into the next sheet. Okay, here we are.
You're now looking at the second sheet
where I keep track of my artwork licenses. The main column is file
for the file codes. Then clients to note who license the artwork, license type, whether it's an exclusive or non exclusive license products on which products the
artwork is licensed, then start and end year when the license
begins and when it ends, And last one notes. This one is used for
anything and everything. Now, let me quickly point
out the differences between this sheet
and the previous one. I'll now go back
to the first one, and I want you to look
at the file column. I'll now just remove
the filter. All right. Now you can see everything. So let's take a look
at the file column. You can see that
all the files are sorted in numerical order, and they do not repeat. The logic behind
this is that I'm keeping track of
unique artworks here. I'll bring back the second one. So in this sheet, I'm keeping
track of unique licenses. As you know, one artwork
can be licensed to many different clients
for different products and under different
types of licenses. So if an artwork, for example, has three licenses with
three different clients, the artwork code
will be duplicated three times in the file column. In that way, I can see the
clients license products, start and end year, all one below the other. Whenever you license
that same artwork again, you will duplicate it
in the file column. So I will just
create another row, right click insert
one row above. And now I can just
copy and paste the code and add the
rest of the information. In this sheet, I'm using filters for the file and client column. You can also add filters to
the columns if you need to. For example, it's useful to filter the start and end years. I mostly use the filters
when I want to check a specific artwork and
where it's licensed. So if a new client wants
to license that artwork, I come here and check
the availability. I go to the file, click Filter, then I clear everything and just type the artwork code
I'm looking for. Now, I select it and click
Okay. And there you go. In that way, I can
clearly see where that specific artwork is
licensed for which client, I can see the license type
and also the products it's licensed on and also the
end date of the license. To bring back the entire list, I'll select everything
and click Okay. The hard part is getting to this point where
everything is set up. If you're not fond
of making lists, it's going to be pretty boring. But once it's up and running, it's incredibly easy to use. Now, when I finish
the new artwork, I check my licensing database to see what's the next
available code. I save the artwork by that name. I place it in my
designated file folder, and I also go back to the licensing database
and add the info. It takes me just a few
minutes to do that, and I never let it pile up. Okay. In the next lesson, I'll show you what my
client database looks like. And as a little bonus, I'll also show you
how I keep track of contacting new
clients via e mail.
8. Clients Database: Okay. You're now looking
at my client database, which includes three
different sheets. The first sheet, the
one you're seeing named clients is from my current or past
clients and their info. As your client list grows, it becomes difficult to keep all that information in mind or constantly look for
it in your inbox. So the first three columns are the client name info
and their website. Then I have the name of the
person I communicate with, their position or title, and contact e mail. The next column is notes. I use this to write reminders, to keep in touch with
clients, for example, to send new artwork or
follow up if needed, to remind them to send me product samples,
payments, et cetera. Last column is rating. How did the collaboration go or how difficult or
easy the client is. So I would usually put
something like good, great, difficult, good
royalties, et cetera. Okay. Moving on to
the next sheet. And I'm sure you're all very
curious about this part. If you have a
licensing portfolio, you want the right
clients to see it so you can collaborate and
negotiate licensing deals. Once you get organized, this part of the work becomes super easy, almost autopilot. Okay, so here in the
potential client sheet, I add information about
clients I want to work with. I don't think I've
mentioned this before, but for two years, I worked at a tech startup, and a big part of my
job was email outreach. I was assigned to find leads, meaning potential clients
to do the client research, find their contact info, and send e mails. So I know the ins and
outs of this process. It can be boring. But it can also be interesting if
you see it as a game. Okay. Let's look at the columns. I have clients names, their website category or
products they're making. I also like to keep a column
where I add more info about the company I'm researching because once I start
writing them an e mail, I can quickly check the info
and know what I want to focus on and what kind of
artwork I want to offer. The next few columns are
for the contact info. Name, title, and e mail. If a client has a
specific e mail for art submissions,
I will use that. If not, I will try to find
the best possible contact. For example, that would be a creative director and
their specific e mail, so I can contact them directly. If that's not possible, I work my way around that, but that's a topic for another
time or another class. Lastly, I have
these two columns. The first one is for outreach. Here, I decide
whether I'll contact them now later or maybe. Maybe means I'm not sure if the client is a
good fit for me. Maybe they don't do
artist collaborations and they have an
in house designer, so it might be a waste of time to write an e
mail and contact them. Later mostly means that I don't have the type of
work they might want, but I'll have it in the future. But if all looks good and I
plan to contact them now, I move on to the next steps. You can see that I have a filter made for
the outreach column. So I select that and I clear everything and
only select now. So this is the list I need, and I can copy paste some of this info in my next
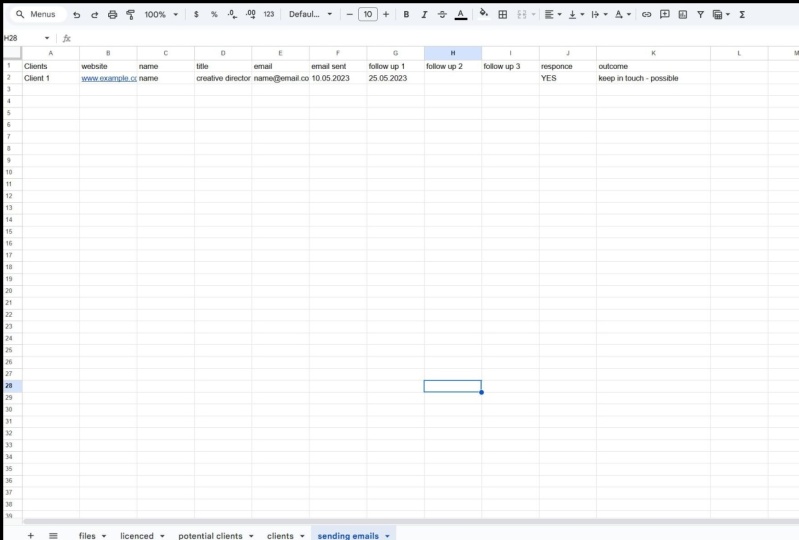
sheet called Outreach. Let's take a look at this sheet. It's very similar to
the previous one, but it's more focused on
tracking sent e mails, follow ups, responses, and most of all the
outreach outcome. These first five columns are filled with the
main client info. So have client website, name, title, and e mail. This is all the info I copy pasted from
the previous sheet. Next columns are for
tracking e mails. What I want to note is the date when I send
the first e mail. I also here have three
columns for following up. What I usually do, I follow up up to three
times and no more. When I do a follow up, I also add the date
when I did it. This column is the response. I want to note whether
they responded or not. And ultimately, I'm
tracking the outcome. The outcome can
vary it can be yes, collaboration, which is amazing. Then it could be maybe keep
in touch, not interested. Maybe they don't
work with artists or our styles don't match. All of these outcomes, I will note in this column. Now to forget, once I
send those e mails, I go back to the previous sheet and mark that that
e mail was sent. And that's it. That's
all in a nutshell. This whole system is very simple and works
wonderfully for me, and I'm sure it will
work for you as well. But as I said, take it as
a base, and if needed, make adjustments according
to your workflow, the type of artwork you have, and the type of
clients you work with. Finally, make adjustments that go hand in hand with you
and your personality. I think that's the most
important ingredient to making an organization
system that works for you. I personally don't like making detailed organization
plans or lists, and I would do literally anything to avoid
that kind of work. This means that the
system I made for myself focuses on the most simplicity. Meaning it needs
to be easy to use, and it needs to be
quick so I can use it on an autopilot
almost every day. It should be something so easy. I don't even think
of it as a chore. If it requires a lot
more steps or features, I might avoid using
it and the work will pile up and it
will all become a mess. So, that's me. Maybe
you're similar, but maybe you love
organization apps and love sorting things
out and adding images, making the list pretty. And that's what you
should focus on. Just listen to yourself
and try to adjust this system to your needs. Okay?
9. Wrap up: You know, for a long time, I felt like I was all over
the place and couldn't focus. It took me more
than three weeks to organize everything
from scratch. And as trivial as it may
sound, sorting out folders, files and database lists was exactly what I needed
to finally shift my mindset and become
more intentional about running my
own art business. That's exactly what I
want you to have after finishing this whole process.
Thank you for watching. By the way, I would love to hear what you think
about this class, so don't forget to
rate and review it. To get notified about
my next classes, follow me on Instagram at DUD or subscribe to my newsletter
through my website. I'm sending you lots of
love and good vibes, and I'll see you
in the next one.
 Di Ujdi, Illustrator & Art Explorer