Transcripts
1. Introduction and Supplies You Will Need: Hi, friends. How are you? I hope you're having
a great day today. I'm excited about sharing
this project with you. This is a drawing and
watercolor painting project that I designed,
especially for kids. Students do not need to have any drawing or
painting experience at all to be successful
with this project. I will guide students step by step through all the steps
that they need to take. Today, we are going to be
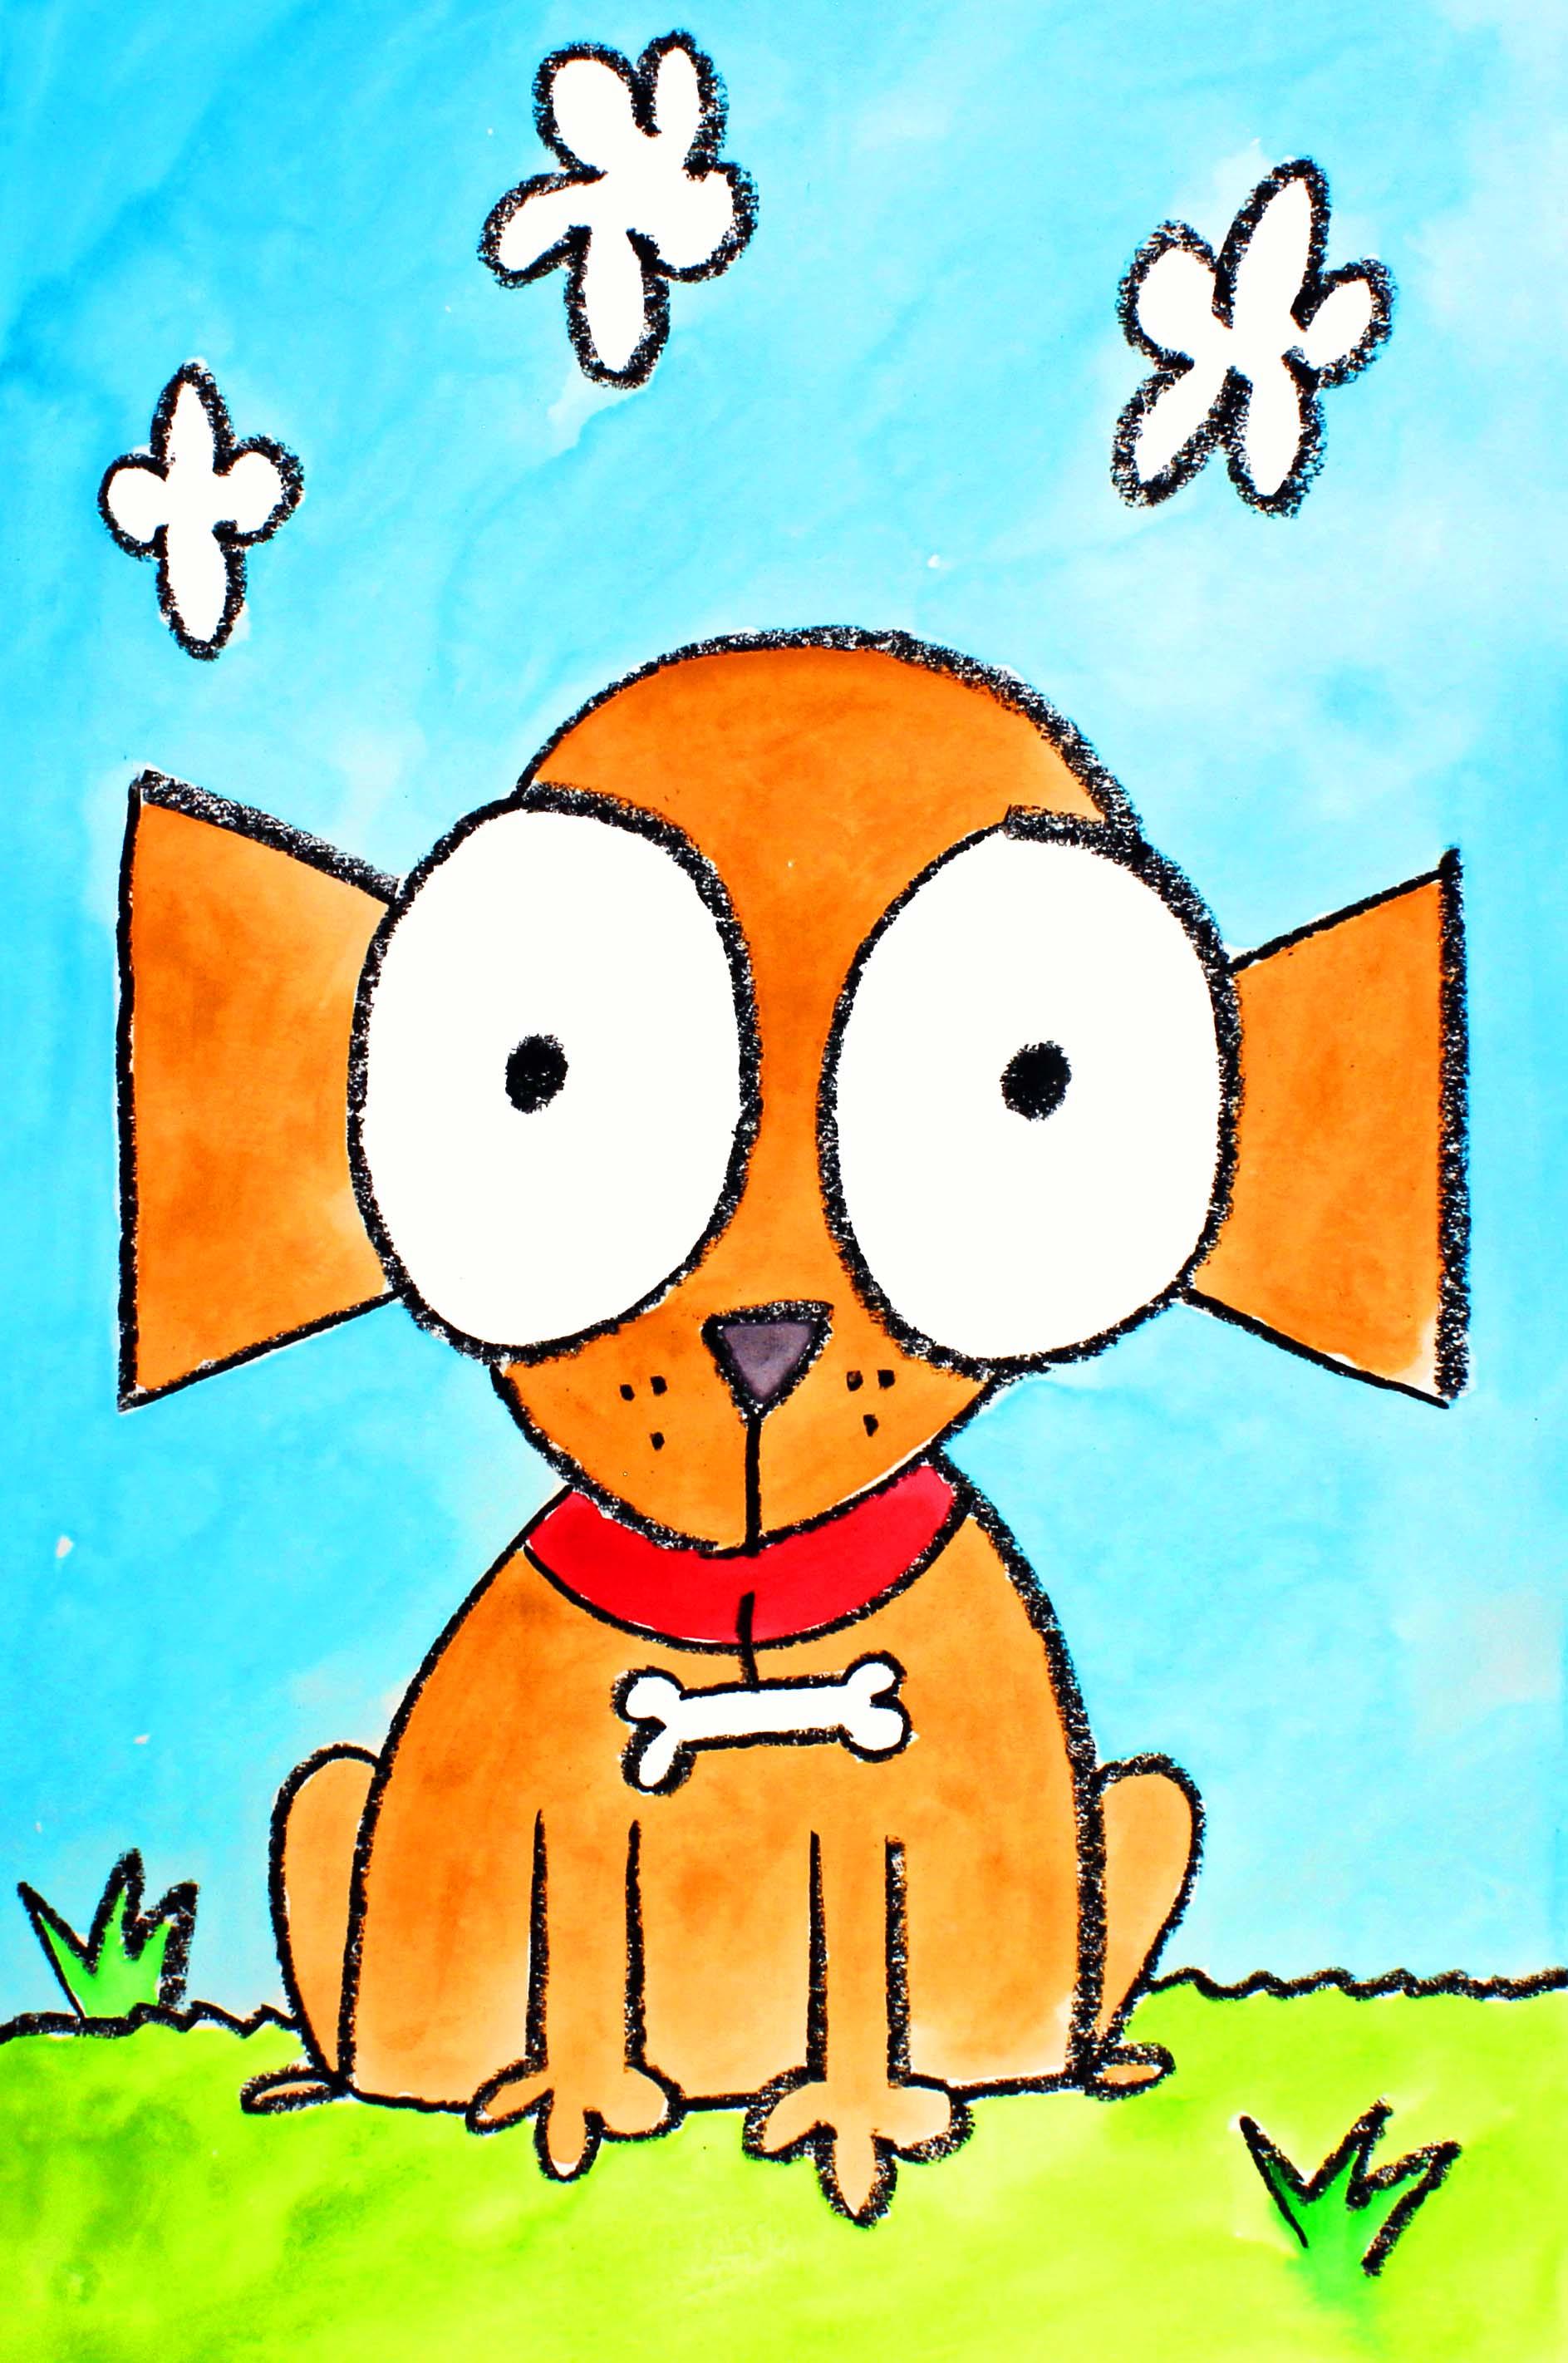
creating this puppy dog, and this puppy dog is special because we start
with the number 100. There's a one and
a zero and a zero. I hope that you have a lot
of fun with this project. Let's get started. Let's talk about
the supplies and the materials that you will
need for this project. The first thing
that you'll need is a sheet of watercolor paper. You will need a set of watercolor paints
and a paintbrush. You will also need a cup
bowl with clean water, a black oil pastel or crayon, and a paper towel. So go ahead and gather all of those supplies
of materials, and I'll see you back
here in the next video.
2. Step 1: Draw a Dog Design: In this step, we are going
to draw a puppy dog. So let's get started. So what we're going to do
is we are going to pick up our oil pastel or crayon, and we're going to
write the number 100 right here in the middle
of our sheet of paper. And we're going
to make sure that that number 100 is nice and big. We want it to be big so that
we can draw a puppy dog, including that number 100. So let's start about right here pretty close to the
edge of our piece of paper. We're going to make it
nice, big, number one. If it's not perfect,
that's okay. Now we're going to
make two zeros, so one, two. Just like that. So that's the number 100. These are going to be the
eyes of our puppy dog, and this is going to
be the end of the ear. So we're going to work with this number one a
little bit later, but we're going to
start out right here more towards the middle
of our piece of paper. So coming right out from the center of the
top of these eyes, let's make a curved
line like this, and that's going to be
connecting those two zeros. That is going to be the top
of our puppy dog's head. Now let's make some
nice round circles. Those are going
to be the pupils. Now let's move right
under here to this space, and this is going to
be the bottom part of our puppy dog's face and head. So let's come from
the bottom here. We're going to make a slightly
curved line like this. And then we're going to do the same thing on
the other side. So there's going to be maybe a little bit of a point here. If there's not a
point, that's okay. Now let's make a
triangle for the nose. And then what we're going to do is make a straight line from here down to the bottom
of that curved line. Now, if you'd like to add
a few little dots here, this is just what
I usually do with my puppy dogs because it adds
a little bit more detail. Alright, the next thing that
we're going to do is we are going to come back
up to this space, and we're going to make a
straight line from the edge of this eye to this line like this. And then we're going to do
the same thing down here. So that's one ear
for our puppy dog. Remember, this is a
cartoon puppy dog, so it might not look
that realistic, okay? Alright, let's make
another number one here. Now let's connect the top
of this line to the eye, like we did on the other side, like we did over here, and then we're going to do the same
thing down here like this. There's our puppy
dog's other ear. Alright, let's come down here to the lower part
of our piece of paper. And what we're going to
do is we're going to create the body for our puppy. So let's come about
right here at the lower part of the chin
on the left hand side, and we're going to
make a curve line. And then the same
thing on this side, Now, what we're
going to do is make some feet here in the
front, so two legs. Those are just straight lines. And then at the bottom
of those lines, let's make some toes. And then the same
thing over here. So it looks like the
puppy is sitting down. So now I'm just closing
up this space right here. And then I'm going to
make the hind legs. So I'm going to make a curve
line coming down like this, and then a little foot. And then the same
thing on this side, curve line coming down,
then a little foot. Those are the back
legs and feet. Alright, if you have space, what you can do is you can
add a collar onto this dog. If you'd like, you
don't have to, but my dog wears a collar. Now we're going to
make a little tag. If you want to, it can be a little heart tag
or a bone tag. I think I'm going
to make a bone. Let me show you
how I make a bone. Two lines and then
the number three. And then a backwards
number three. That's how I make a bone. Looking good so far. Alright, so what we're going to do now is take a
look at our puppy. Is there anything
else that you'd like to add to your design? If there is, go ahead and do it. If not, let's move
to the background. So I'm going to make
some grass along here, along the bottom, and I
might add some spiky grass. And then I think I'll
add some clouds up in the sky because I do
have some space up there. So this is how I
like to make clouds. They're nice and fluffy. There we go. I
think I'm finished. If there's anything else that you'd like to
add to your design, go ahead and do that right now. And in the next step,
what we're going to do is we are going to start
painting our design.
3. Step 2: Paint the Design: In this step, we
are going to start painting our puppy dog design. So let's get started. The first thing that
we're going to do is we are going to add a drop or two of water into each
of our pans of paint. And what this will do is it
will soften up our paints a little bit so that they
are easier for us to use. I always encourage my students to take this step because
it really does help. Alright. Now that our
paints are softening up, let's turn our attention
to our design. So here we have our puppy
dog that was created using the number 1010, zero. What we're going to do
is we're just going to focus on painting the puppy. We're not going to paint
the background right now, focus on the puppy. So for my puppy, I'm going to paint
my puppy brown. I'm going to leave these
eyes white because I'd really like them to
stand out on my painting. So brown puppy,
maybe a black nose, leave this bone white, maybe a red collar. That's what I'm going to
be working on right now. Alright, so let's prepare
some brown paint. I'm going to add a few drops of water into one of my wells, and then I'm going to
add some brown paint, mix it up really, really well. I'd like my puppy dog to
be pretty light brown, so I'm going to add
more water than paint. So more water and less paint. If you want something to be a little bit
lighter and softer. Oh, that's perfect. Okay? So what I'm going
to do is I'm just going to carefully
paint my puppy dog. I'm going to try not
to get my paint into those eyes because I want them to stay nice and
bright and white. Oh, I'm going to speed up this
video so you can watch me, and I will be right back once I finish painting my puppy dog. Alrighty friends. I'm finished
painting my puppy dog. I'm going to go ahead and
paint the collar red. And then I'm going to work
on painting the nose black, maybe a little bit darker red. So if you want paint to
be a little bit darker, then you add more paint. And if you want
it to be lighter, then you add more water. Nice collar. Now I'm going
to use some black paint. Put some water in
my well and just add a tiny bit of black. Paint. And then paint
in that small space. It's not going to
be very dark black. It's going to be more of a gray. Alrighty friends, I'm
finished painting my little puppy dog that was
made out of the number 100. When we come back, we will
start painting the background.
4. Step 3: Paint the Background: In this step, we are going
to paint the background. So let's get started. So I've decided that I would
like to paint my background, blue, and the grass
down here green. You get to choose the colors that you would like to
paint your background. What I'm going to do
is I'm going to create some blue paint for my sky. So I'm going to put some
water into one of my wells, and then I'm going to
add some blue paint. I want the paint to be
pretty light, not too dark. Let's try that out.
We'll have to do a little testing here.
That looks good. Spread your paint around. Remember, we're not going over and over and
over the same area. Push that paint around, spread it around so it can cover all of the space that
you would like it to cover. What I'm going to do is I'm
going to speed up this video, and you can watch me paint, and I will be back
in just a minute. Alrighty friends, I'm finished
painting the background. I really like how my
painting turned out. I hope that you had a lot
of fun with this project. I had a lot of fun teaching you. I will see you next time.
 Em Winn, Teacher, Art Instructor, Artist