Transcripts
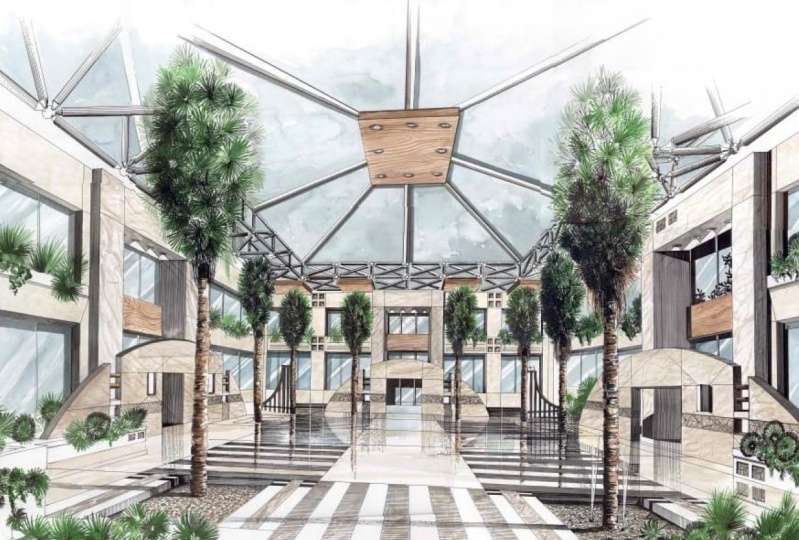
1. 00 How to render Dresses, Flowers, architecture Markers/Watercolor-Introduction: Hello, My name is Raphael milky. I am an architect with 30 years experience
in manual rendering. Here in some sample of
my warm water color, brush, pencil rendering, ink rendering. The marker rendering. I am here to show you my
technique in manual rendering. By the end of the classes, you can make full manual
rendering of your sketches. These classes made for
beginner to be an expert in this class for
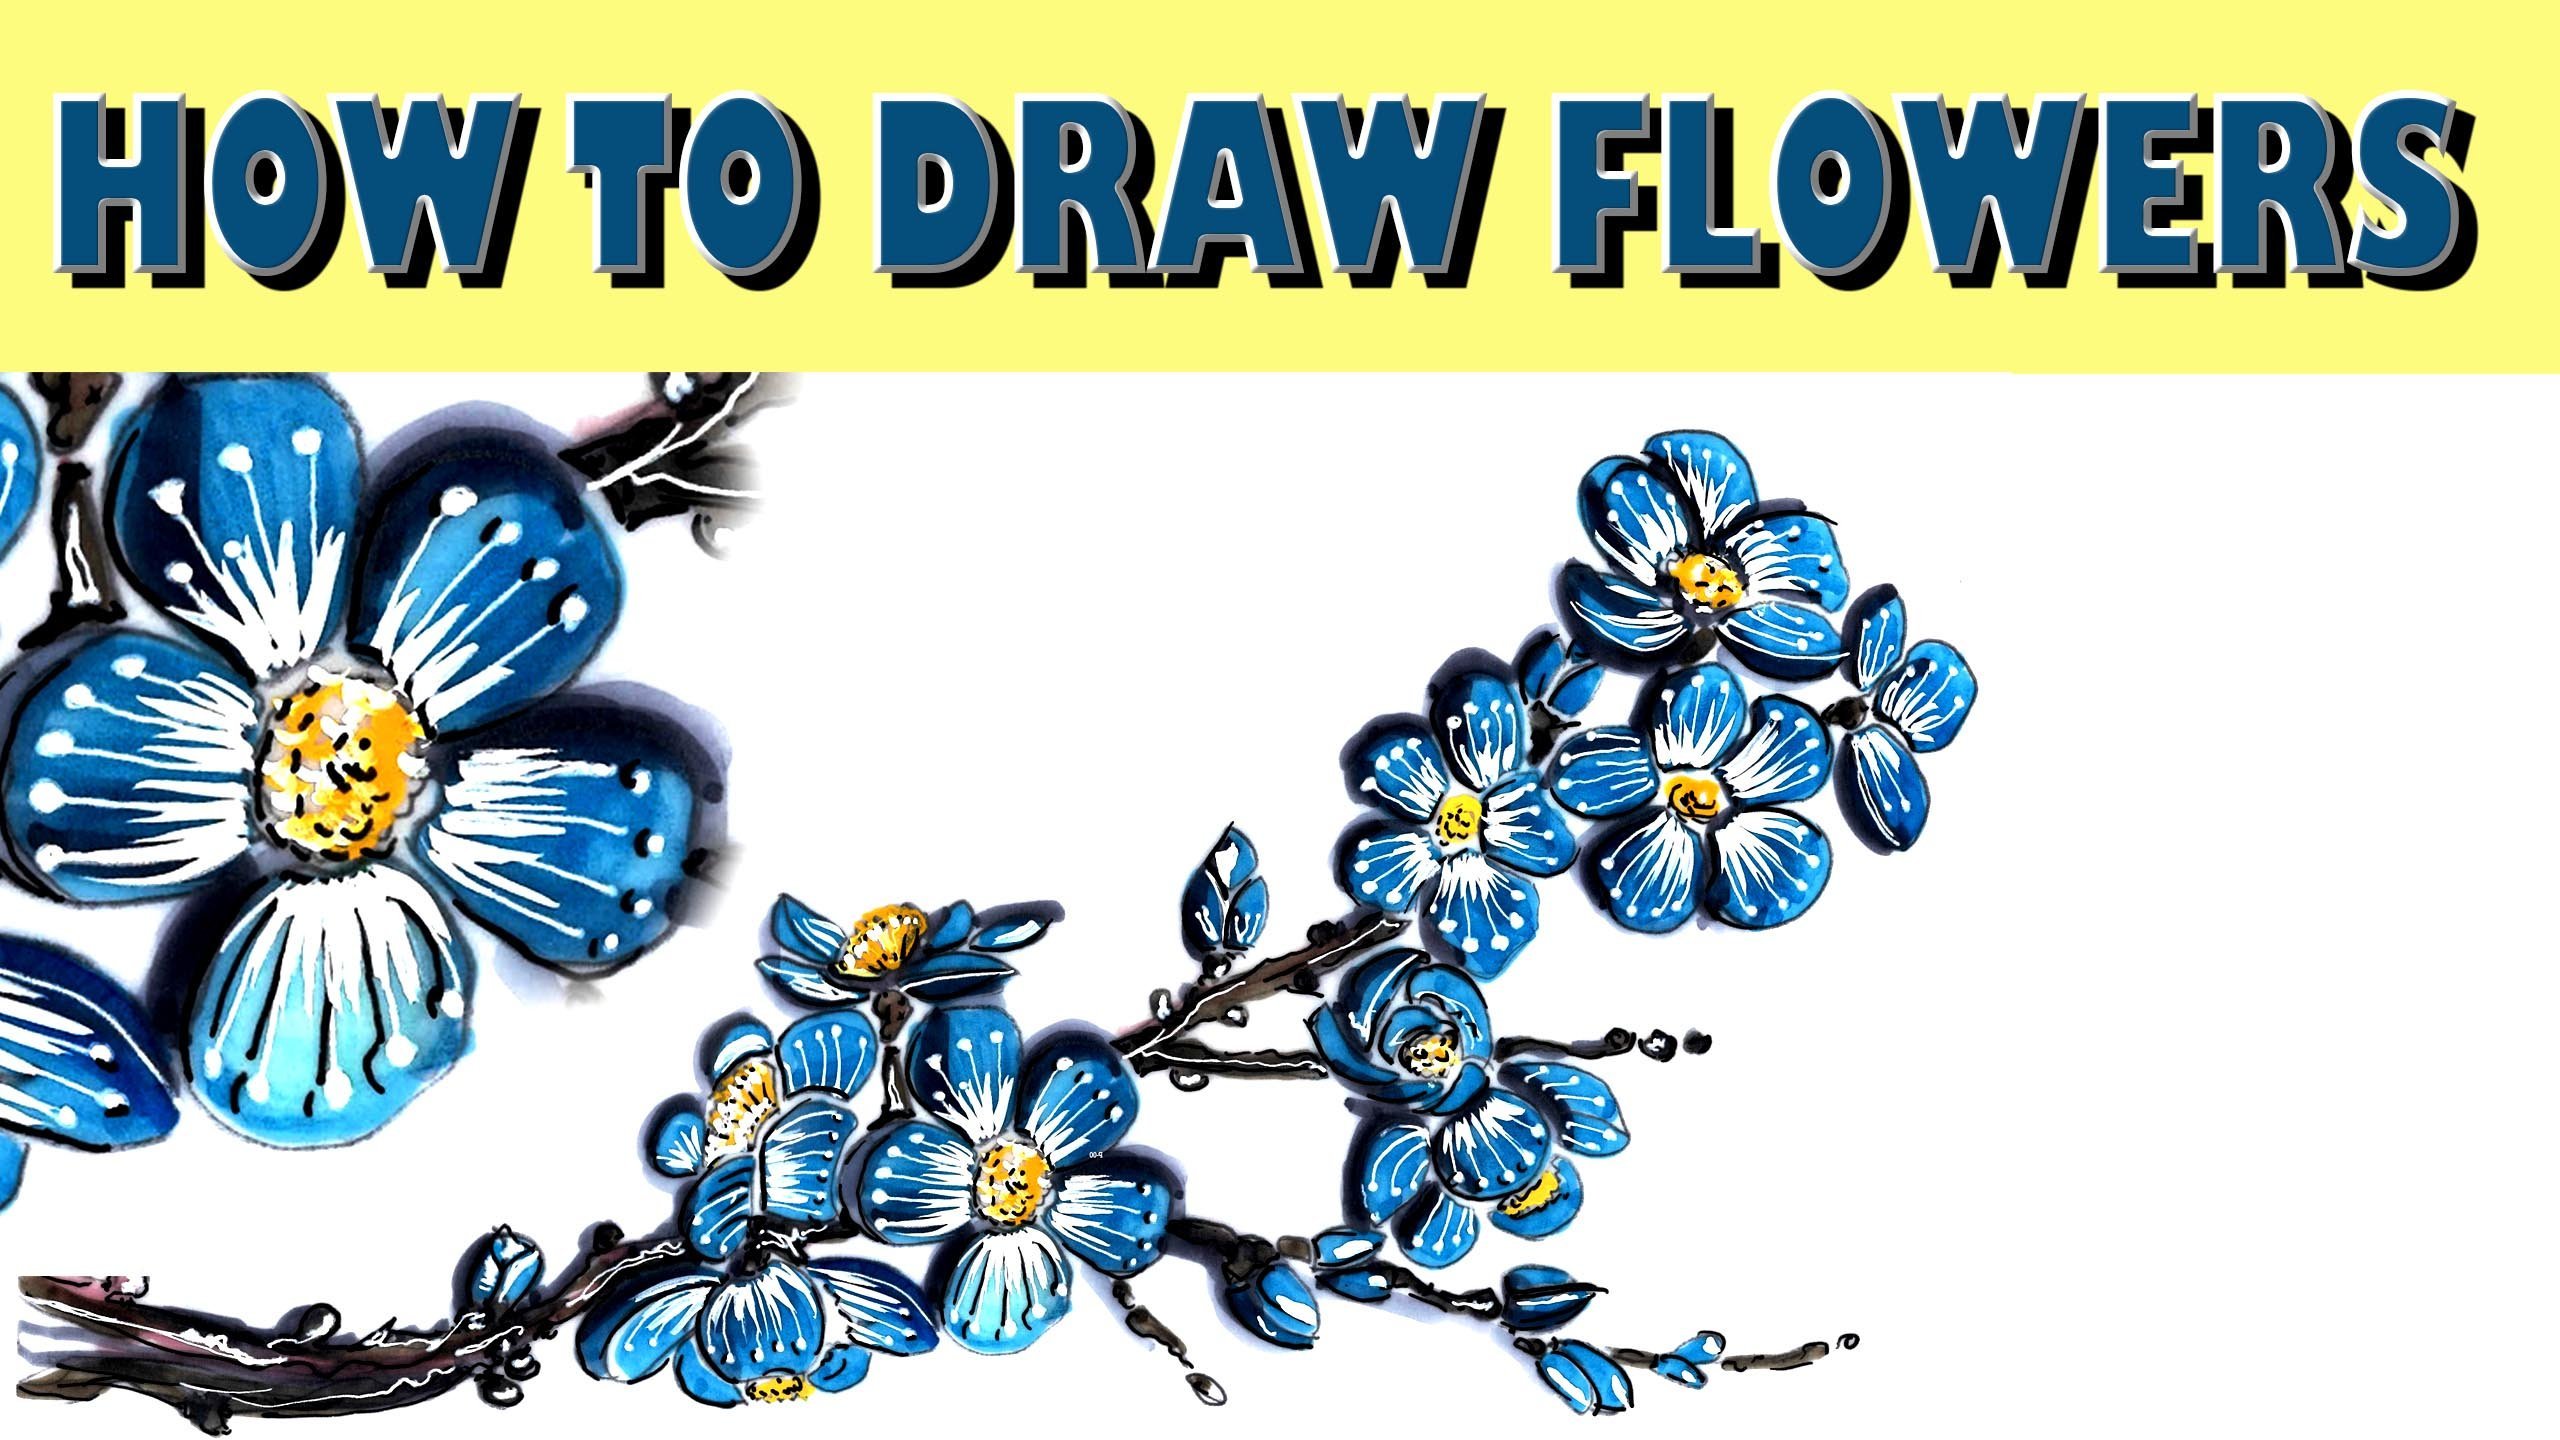
coloring flowers. Well, a marker. Let's
begin the class.
2. 01 Coloring Base blue: I will render these flowers is blue marker on
transparent paper. So let's start with blue marker. Fill all the flower leaves
at the back of the sheet. You know, I prefer
alcohol marker. It is transparent, not opic. It is unique and smart way to
color on transparent paper. You can see the
result at the end. We can Norma marker is
good or any equivalent. Make sure to fill all the
leaves was blue marker. You can feel it
any way you want. You know, this is just Bayes
for the flower leaves. And we will finish
it at zealous. Take your time to
fill all the leaves. You know, coloring adds
the back of the sheet, avoid you many mistakes. And you will see at the end, because the strikes of
the marker disappears, you will find it as
a homogeneous color. I choose the blue. You can choose any
color you prefer. Then the transparent paper
and the color is the inner or the flower was yellow
color by watercolor. Of course you can. Hello Rich, who is yellow
marker? If you want. Let's go to the next video.
3. 02 Coloring Flower inner-Yellow: Use yellow color and water brush number two to fill
the inner or the flower. Of course you can color it was
yellow marker if you want. Using dark brown marker
fills a flower branches. On the back of the sheet. Coloring adds a bag, avoid you many mistakes. Some lighter brown
for the branch. Add some black shadows. Assuming that light comes
from upper right side. So the shadows at
the left lower side. Using gel, pen make flour
effect. As you see. Please shake the jail,
been before use. To get the best result. You know, take your
time for details. It is very important
to show your sketch. Don't forget. Now, we work
on the front of the sheet. Continue adding details. As you see it is very important. Two shows a flower. Try to make lines radially
from the center of the floor. Don't worry, you
will finish soon. Any drawing needs patients. It is amazing. Copy. Let's go to the next video.
4. 03 Shadows and final finish: Continue adding details
with Shell been, using black been born
seven makes some shadows. Remember is that shadows adds the left lower side just roughly strikes
foreshadows. This tiny detail
is very important. Sorry, for the slope. But I want you to
see every day let me make some grooves at branch. Don't worry, step-by-step.
You can do it. Just stores is very easy as you see. Some light effects for branches. White gel pen. Remember is that we work
on the front of the sheet. The only color on the back
is the blue and brown. Using white in color and brush number to
add some details. For flowers, as you see. Give details most of the time. To get closer to reality. Again, at the back of the paper. Make some shade and channels. Now you can make your own
flower and let me see. Just to store and share
with us your own project. I was happy with you
and hope you too. Thank you for watching. See you.
5. 04-Coloring Base yellow-Watercolor: Watercolor and water
brush number two, let's color this flower
with yellow color. I usually use ink color. Brooklyn, the ink is preferred. But you can use a
coral color instead. Add some water to the
ink to be transparent. Spread the yellow color
over the flower areas. You know, you can fill the flower with any
color you prefer. Leave some areas without
coloring effects. It is preferred that
to get you drawing and follows with
you step-by-step. Don't worry, we'll add
some details later. Now, fill the inner hose. The flower was orange
or red, as you want. Roughly strikes is
preferred in watercolor. Let's go to the next video.
6. 05-Coloring Flower inner-Orange: Using various tones of brown
color is a flower branch. You can get brown color by
adding red to black ink. Just follow the steps and you
will get the grease reason. Try to make it run
them as you see. Using warm gray marker. Make some sheds. Assumes that light comes from the upper right
side of the sheet. Use black sand
been some details. You only go point
to is switching. It is clear now is a difference between the detailed
flowers and others. Let's go to the next video.
7. 06 Shadows and final finish-Details: Take your time for details. It is very important. It is clear now is a
difference between the detail, the flowers and others. It is very easy to
make your own flower. Just started. Complete all flowers as the seat and give the details. Most of the time. Let's make background. You can choose your color. Sometimes we'll have
gradient colors. Now you can color
your own flower. Thank you for watching. See you.
8. 07-Coloring Dress Base-Purple-marker: I will render this dress with markers on
transparent paper. Let's start at the back
and the colors address. Color. You prefer. I choose. As you see at the
back of the sheet, add marker color you prefer. Leave some white areas
without coloring as you see. To make it gradient. Hello. What I want you to
show you step-by-step, how I use this trend. Take your time. It
needs patience. You know, I prefer
alcohol marker. And it is transparent,
not object. Using beige color. Add some touches to the needy or sheets. And now color the heroes. Using white gel pen. The fraud is a sheet.
Add some fill. Let's go to the next video.
9. 08-Coloring Flowers-White: Take your time to
add floors. Benefit. It is unique and smart way to
color on transparent paper. If you want to make it faster, you can use white color
and the brush number. Because you see step-by-step is there are a big difference. Once, you know, this is a beast for the flower. And we will finish it. Assuming that light comes
from the upper right side of the sheet shows the shades will be left lower side using 0.1 black men and
some little tiny shades. There's a few hours. Let's
go to the next video.
10. 09 Shadows and final finish-Details: Using 0.1 black men and some little tiny sheets,
there's a few hours. Assuming that light comes from. The upper right side of the sheet shows the shades will be left, lower side. Step by step. Now you
can color interests. You. You can see my other videos for detailed. Very important. If you
need more details. As you see, it is very easy. You can start now. If details, most of the time, you'll get closer to reality. This is a summary of what
we have gathered together. I hope you enjoy it. I was happy with you
and hope you too. Thank you for watching. See you.
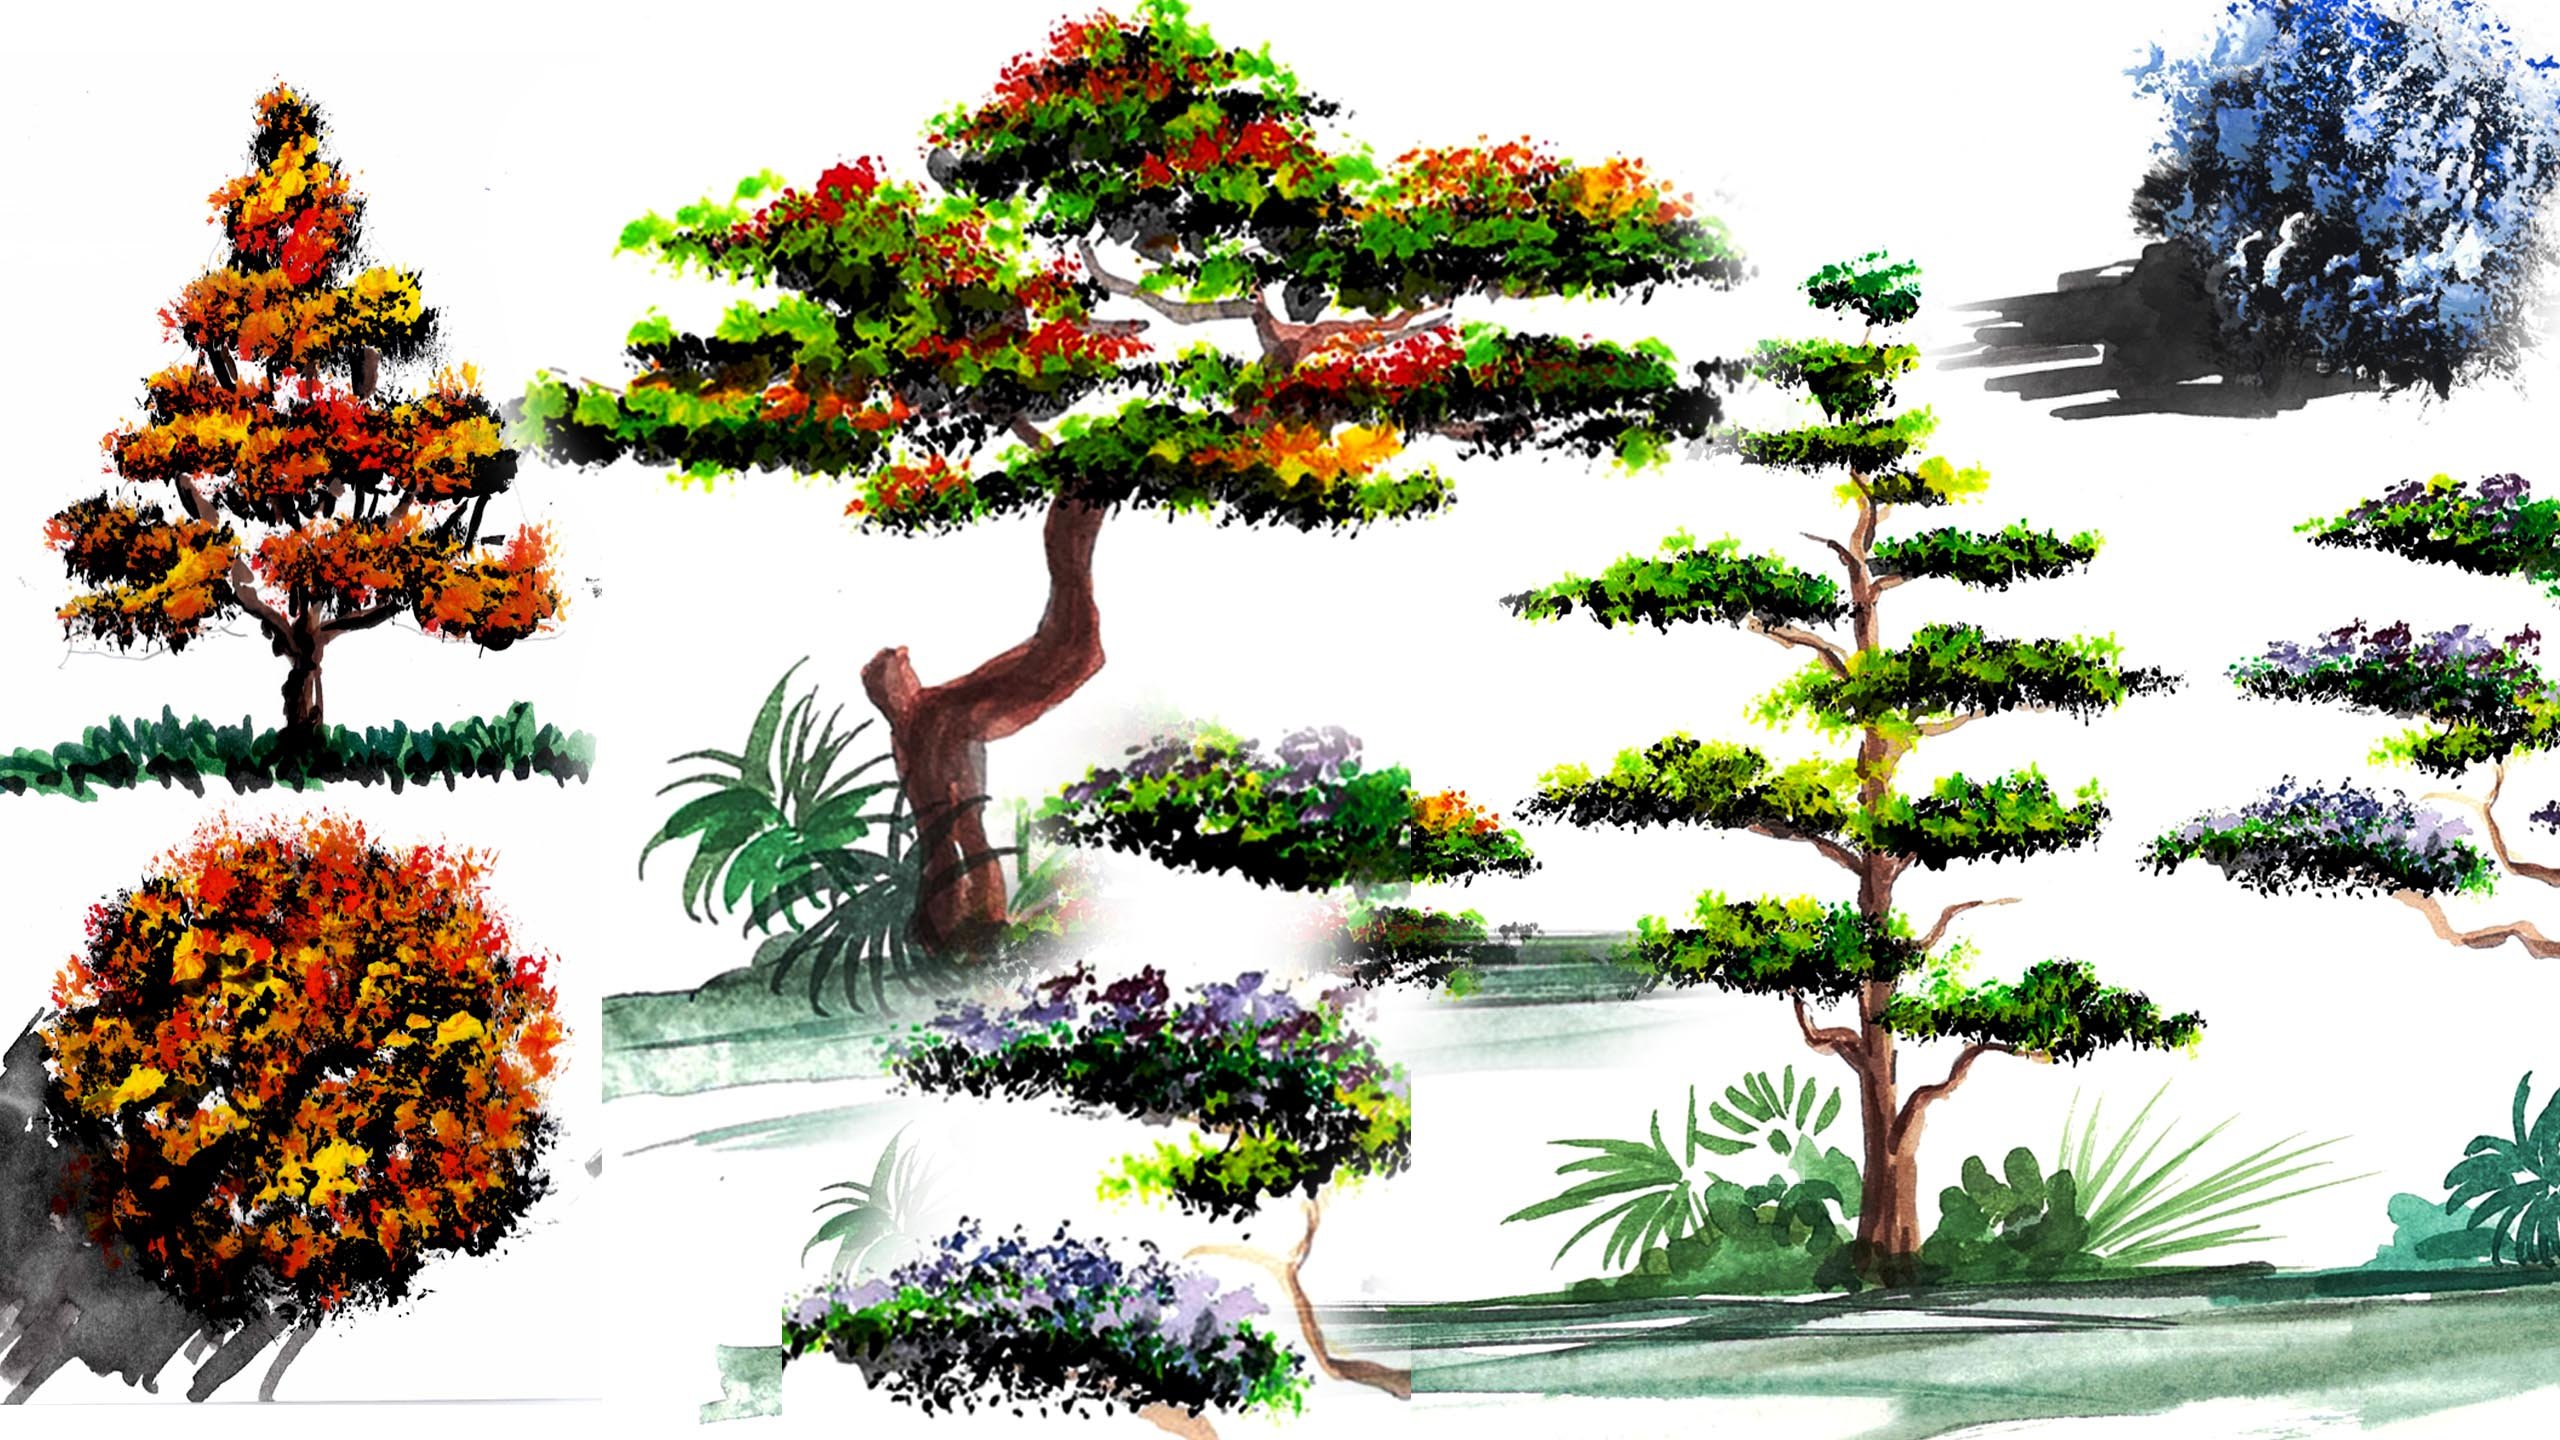
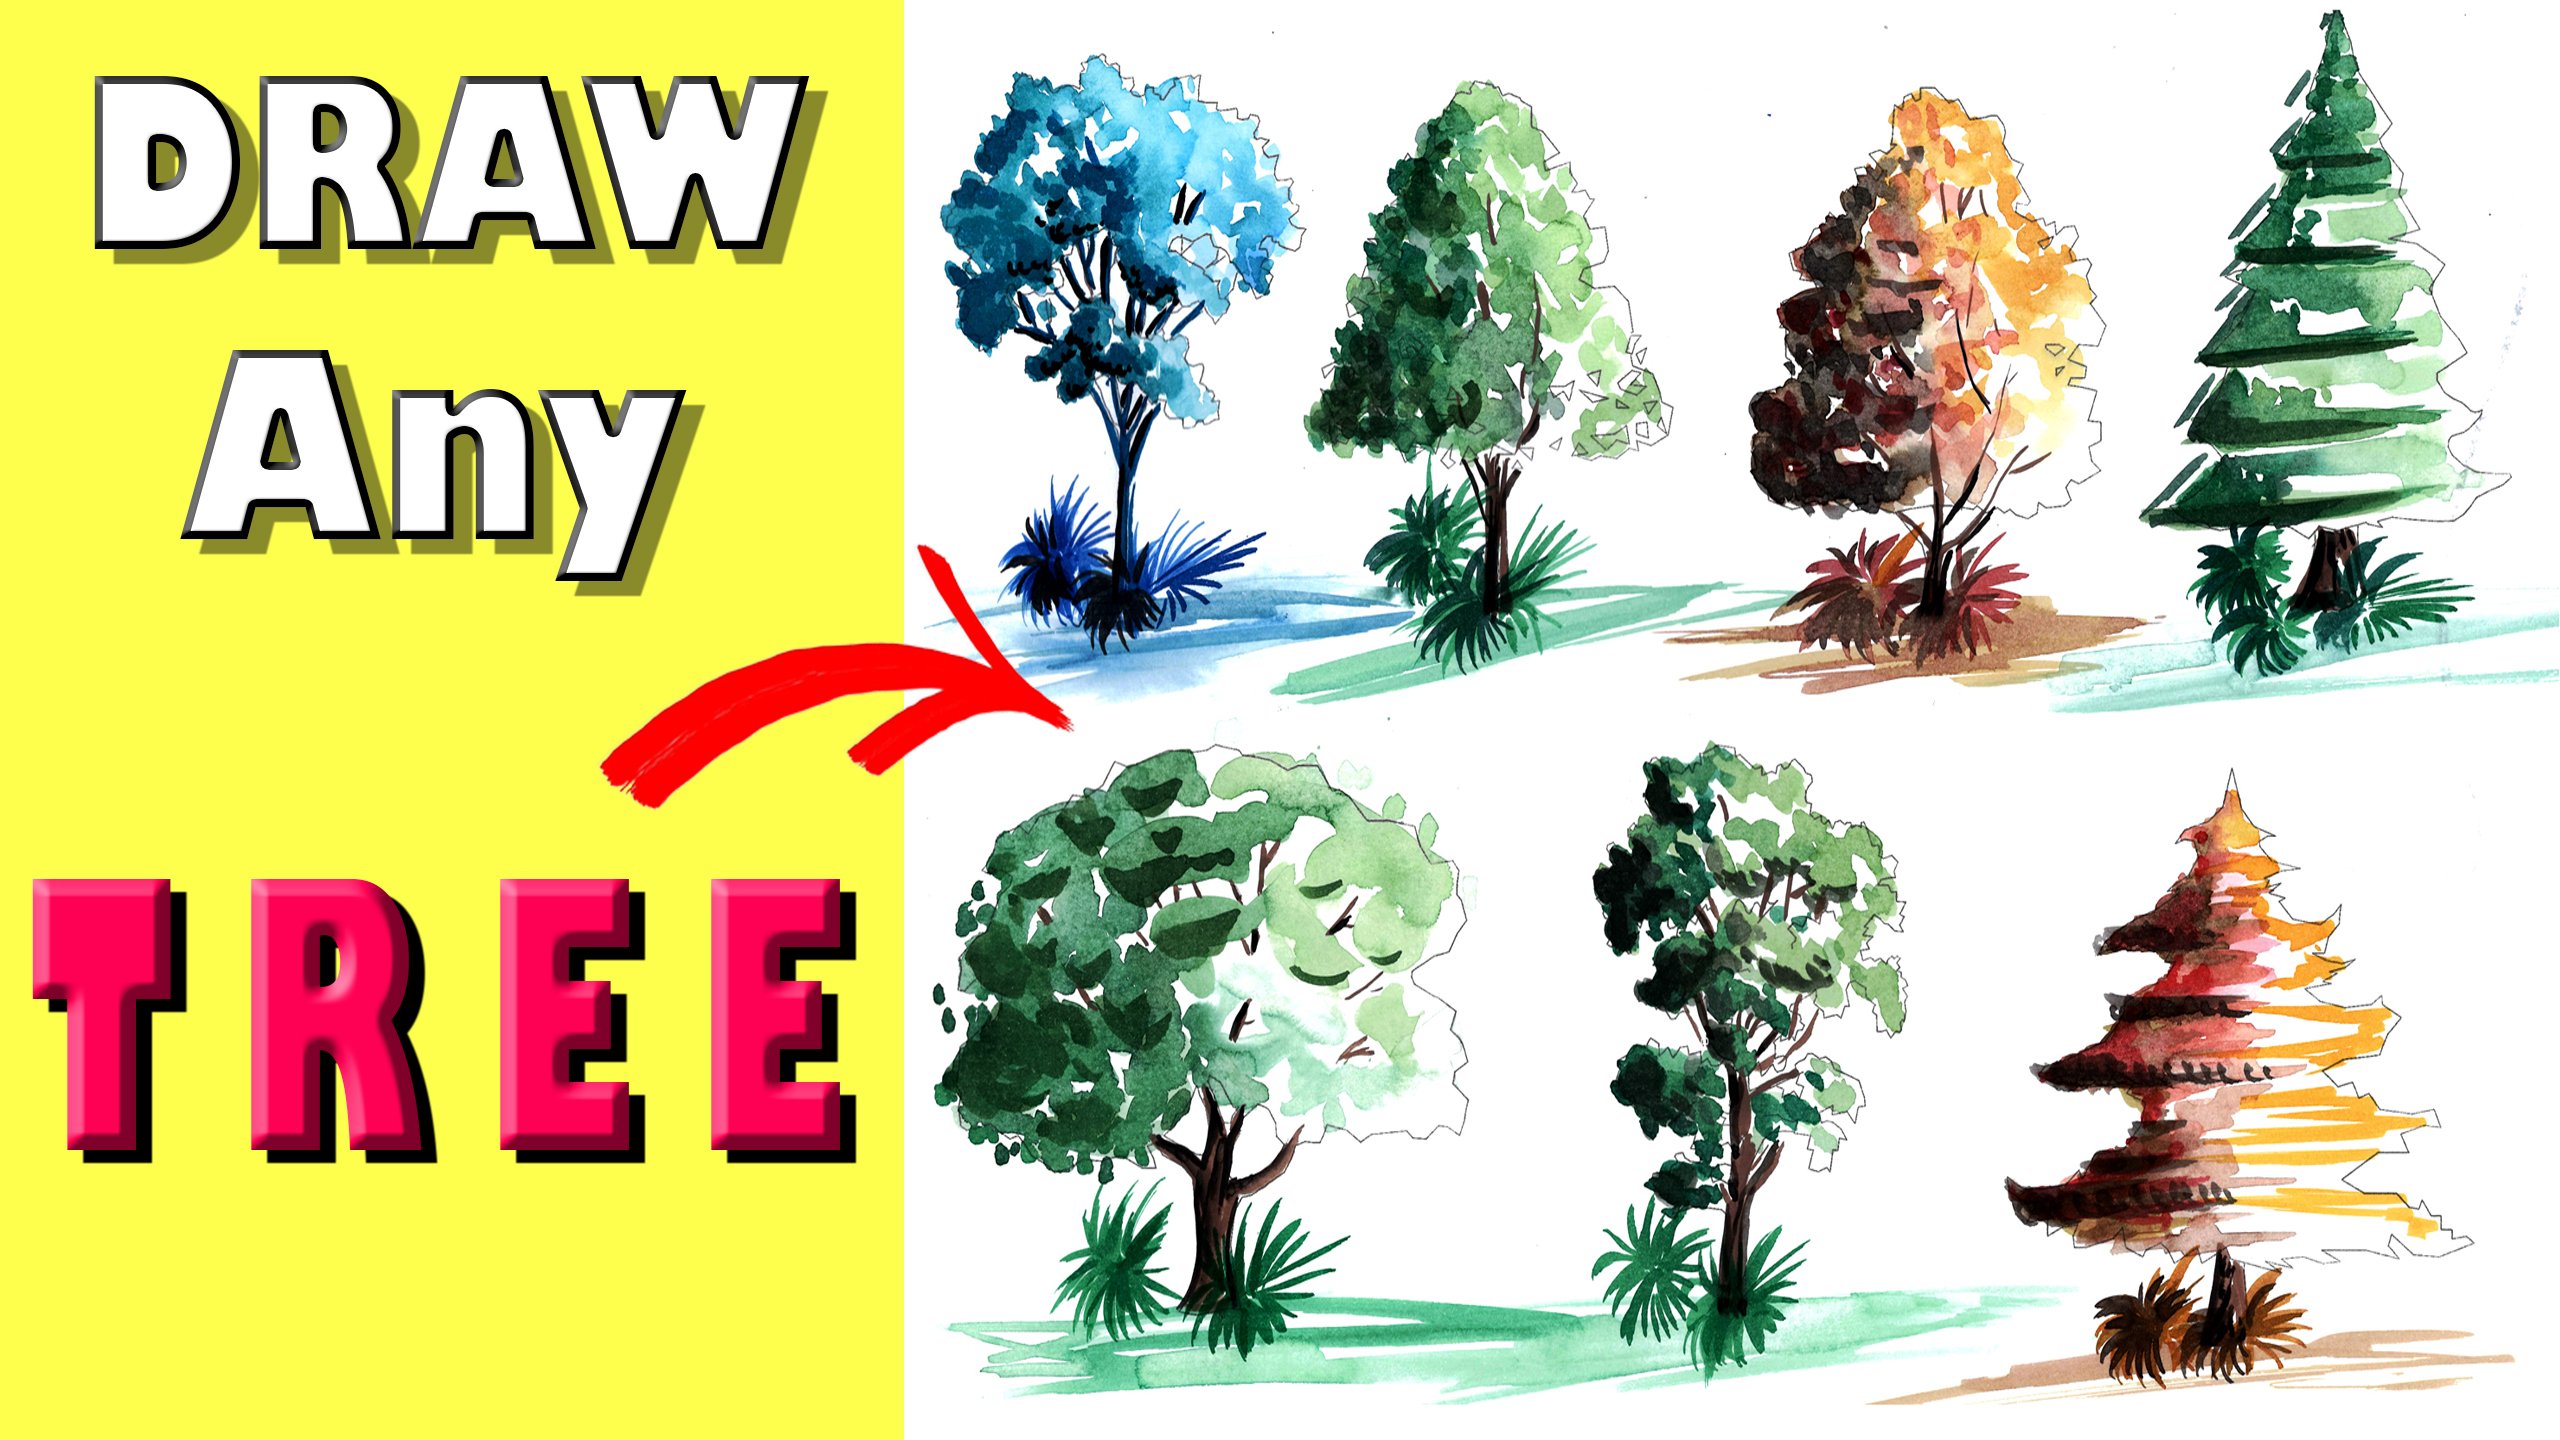
11. 10-Base color for varies trees: Hello, my friend. This is a summary of what we
will color together today. You can color any three. After this course. Using watercolor. I use the ink color, but you can use a coral
color if you need. So let's start. First of all, prepare some various tones
of greens and browns. Who will make color of every
three. As you will see. Let's start with green. One. Assumes that light comes from the upper
right side of the sheet. So the left lower side of any three would be
darker than others. Start making roughly strikes
using brush number two, water brush number two, and leave some areas result
coloring, as you see. Darker color is for the
lower left side areas. Now, we leave it to dry and start making base
color for the autumn. It was in Brown's. Use the same technique to spread browns and red, the orange. And now, let's go to the next
three to make base color. Using greens. This time. Don't forget to leave some areas without
coloring, as you see. Now, let's make different
style of three using greens. Let's go to the next video.
12. 11-Continue Making base color for trees: Step-by-step, you can make
your own trees and style. Repair various tones of blues. For the next three. We will make it
monochrome blue three. Use the same technique
for coloring. This blue three. Just roughly strikes and
don't forget to wet sheet. Sometimes. Water mix
is a color spread. Easily. Leaves it three to dry. And let's go to the next three. We will make it
with autumn color. It is a different style. Three. This time. Don't forget, darker to
the left side of the tree. I just put a base color for all trees and we'll
finish it later. Spread greens for resistor
three was the same style. You can use brush
number 64, big areas. And now it is time to
make some details for making three branches using brown color and
brush number two. Let's go to the next video.
13. 12-Coloring shade and shadows of trees: And now it is time to
make some details for making three branches using brown color and
brush number two. For the blue tree will make
branches with blue color. Don't make this color
unique. Was monochrome. Use darker blue and brush number two to make blue three branches. Now it is time for more
details and find touches. By making shades and shadows. Use darker brown for shades, for Rosanna, brown branches. Use darker colors for the
left sides of all trees. The tales and most the time, it's very important to add some orange color
for the brown trees. Lower left sides of old trees would be
darker than others. Let's go to the next video.
14. 13-Final touches and Details: Now let's make some
plantation below. Every year three, we may
use water brush number two. Just follow steps and you
can make your own 3s. It is very easy. You can try this. You will need just to start. For resists three, we will make a plantation using
browns and oranges. Let's make some plantation and ground cover under every three. As you see, it's very easy. And you can make an enormous
type of three as you want. And of course you can add this tree is for
your own project. Give details and fine
touches most of the time. And this is the final result. Thank you for watching. This is a summary. What do we have
colored together? Thank you for watching. Let's go to the next video.
15. 14-Architecture watercolor Elevation-Coloring Glass area: Hello everybody. This is a summary of what we will
color together today. It is private house, elevation, elevation using water. So let's start. First of all, prepare some various
brown colors for coloring roof tiles. Use yellow, red, black, and brown in color or acquire as you use water to
dilute all color, start making random
colors for rooftop. Assumes that light comes
from the upper right side of that color would
be the opposite. Lower-left. Try to leave some white
areas without colony. Now, let's prepare
some various tones of blue color for
the last areas. Start to make roughly
parallel strike using water brush number two. As usual, leave some white
areas result cutting. As much as you can, make bold stripe pattern and make some areas
darker than others. Now, it's time to color all handrails would
effect using brown. Let's go to the next video.
16. 15-Architecture watercolor Elevation-Coloring Handrails and tiles: Some beige tones for stones. By adding brown, yellow, and white ink color. Start coloring is tones
randomly using beige colors. And now let's make some
shadows using diluted likely. Try to make your
lines sharp and S3 using the same light gray color, make some reflections.
As you see. Let's go to the next video.
17. 16-Architecture watercolor Elevation-Shades and Shadows: Some blue tones
for cloud effect. And now, what is the sky area using water
brush number eight, some blue color, and just
strike the sheep, which it is. And now it's time to make sharp straight lines as shuttles used to be pencil and ruler. If the tail is most of the
time, it's very important. Using pencils make
guidelines for biomimicry. Let's go to the next video.
18. 17-Architecture watercolor Elevation-Plantation: And now start to color palm
tree leaves with green color. Brown color for bottom branch, darker color for the areas at the lower left
side of the sheet. Some plantation at
the end of the bit. And more reflections to be in darker colors. For sheets. Take the masking,
the end of zipping and using black gouache and oil rush numbers zero to make roughly strikes
as you've seen. Let's go to the next video.
19. 18-Architecture watercolor Elevation-Details: Don't worry, we'll fix it. At some plantation and
flowers at terraces. Using green and yellow gouache
color for three areas. To the upper right
side of trees. Just roughly strikes and try to make green and
yellow not mixing. Use gray color to make thick
and the gradient line below. Now, it is time to make some flowers using red
and yellow gouache color. And the brush number two. And darker colors add
some areas as you see. Let's go to the next video.
20. 19-Architecture watercolor Elevation-Finishes: Give details most of the time. Let's add some red dates. What is up not using a water brush number to add some little birds
using black ink. Thank you for watching.
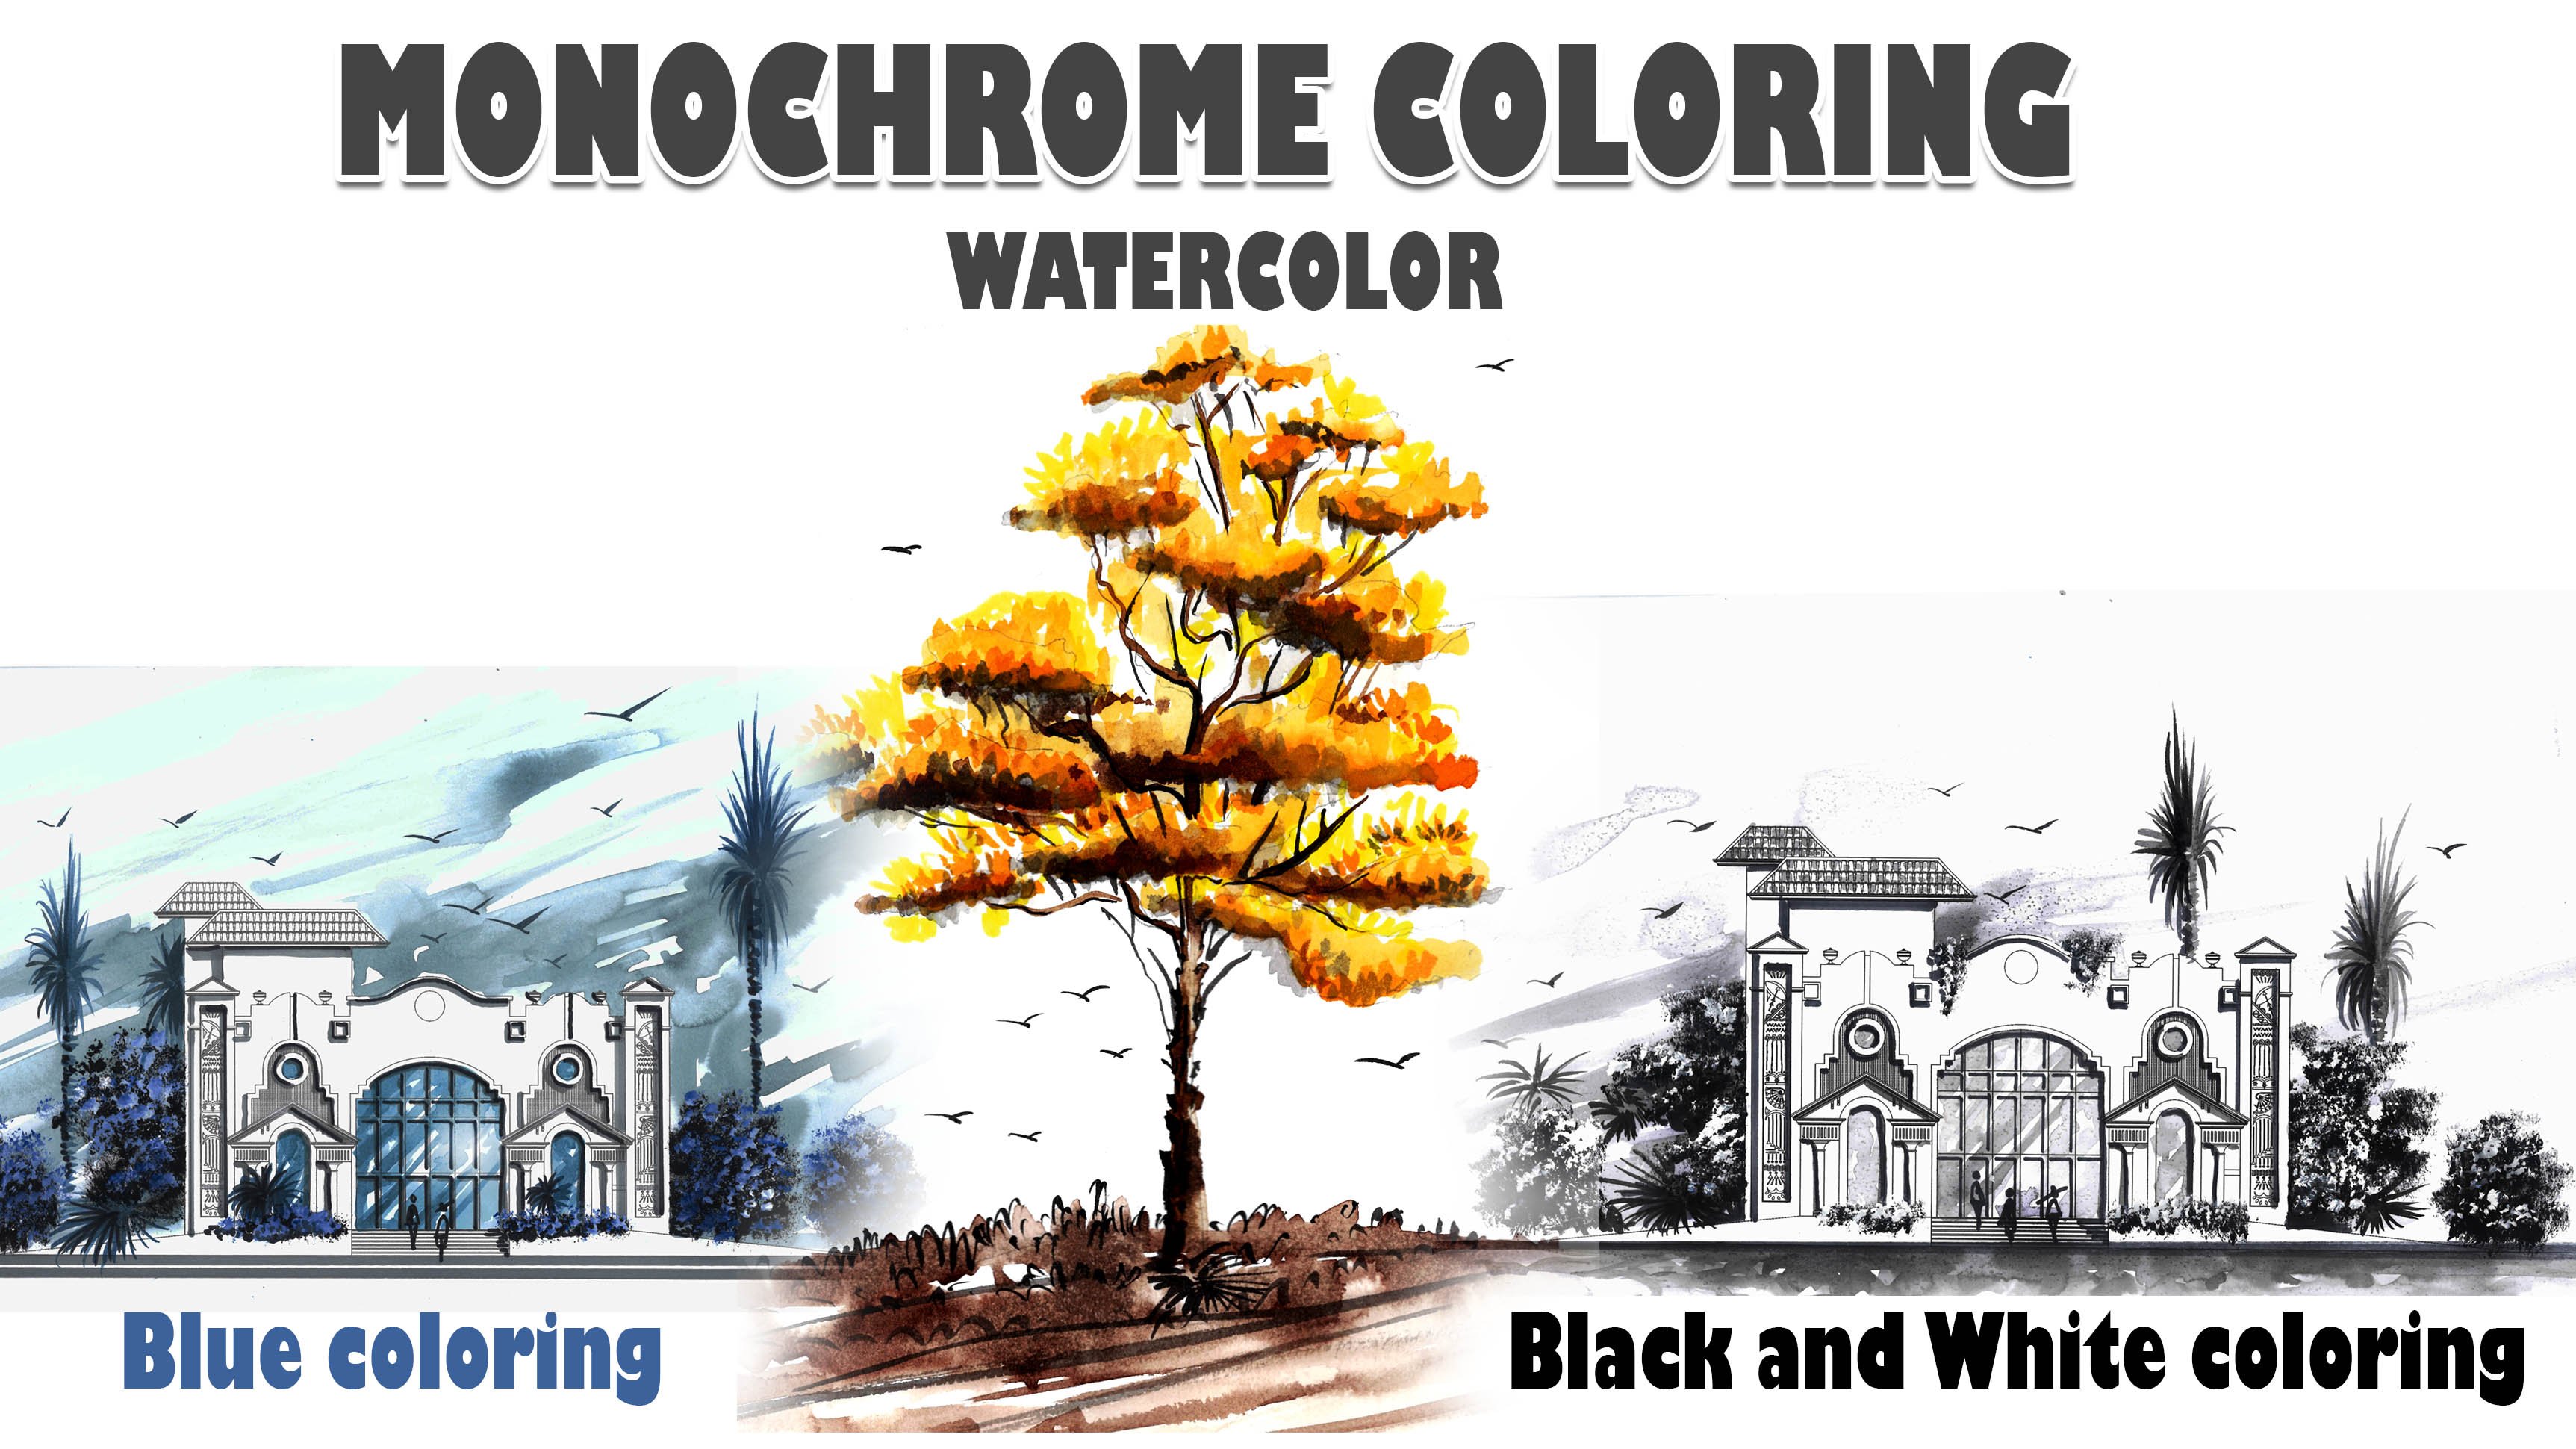
21. 20-Gouache tree plans -Coloring Base Filler: Hello my friends. This is a summary of what we
will color together today. Using gouache color. It is monochrome,
three technique. You can use it all
over your projects. It is very simple and easy. So let's begin. At first. Prepare
some black gouache for coloring the
base of the trees. Using rough brush number two, strikes the paper with
a semicircle shape. It's easy. And make a strip strike for every tree. Just roughly strikes
and we'll fix it later. Leave it to dry or dry
it to using tissues. Let's make the first three using brown
monochrome technique. Uses red and yellow gouache colors and make
the same roughly strikes. But this time, be
careful to make the lighter color
at the upper top. Three. Try to leave some areas
without coloring. I'll make the next three
using blue monochrome colors. Use blue and white gouache. Let's go to the next video.
22. 21 - Gouache tree plans-Coloring Shades and Effects: Try not to mix blue and
white gouache color. Let's make the next three
using black and white. The last three,
Let's make it green. Use yellow and the green wash. Try to make it random strikes. Now we have four monochrome
three. It's finished. It use gray color and the brush number two to
make some shades and shadows. Try to leave some white areas
and make your strikes had added the darker
blues the trees. You can make this
shadows using brown. For this 3.4, this three use blue color to make
some shades and shadows. Let's go to the next video.
23. 22- Gouache tree plans-Finishing: Given details most of the time, it is very important. Now you can make any tree you want and add it to
your own project. We have now four different
types of colors. It is very simple and easy. You can try it. And let
me see your product. This is a summary of what we
you have colored together. Thank you for watching and
have a nice day. See you.
 Sherif El Malky, ARCHITECT