Transcripts
1. Amazing Lines! Intro: So what if I told you that
you could create thousands of really amazing designs,
right in Procreate. What's up, guys, welcome to amazing lines,
symmetry in motion. My name is Dan Fried, better
known as drug-free Dave, and I just love to draw. I love to create
beautiful things. Now I went to art college. I went to school of visual arts about 100 years ago
in New York City, and now I live in Brooklyn. I'm getting married and
approximately 365 days. But enough about me. So in this class you'll
learn all about symmetry. So we're going to use Procreate. I'm going to teach
you how to make some really intricate designs using radial symmetry. These are designs
like Mandela's and just other really
beautiful designs using lines and different paint
brushes and things like that. You'll be able to use these
designs as decoration, as backgrounds for
other artwork, maybe even for your logo. This class is perfect for beginners or
experienced artists. Even if you've used
symmetry before. I'm up here to show
you a few new tricks, drug-free Dave style. And with that, let's move on to the next video class project
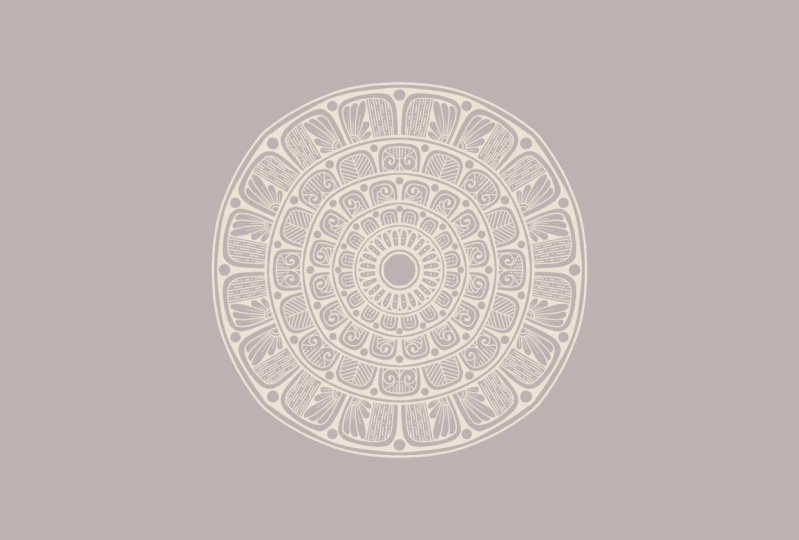
2. Class Project: So welcome to the class project. So there's gonna be
five different types of designs for today's project, and you'll learn each
one in each lesson. Here's a quick look
at the type of designs you'll learn
in today's class. This pressure is
called stormy bay. By the way, never use
it. It's really awesome. So we're going to make
slightly different types of designs in class. But feel free to come back to this video if there's one
that you liked in particular. So let's move on to the
next video, Getting Started
3. Getting Started: Non-Rotational Symmetry: So we're going to
make a new canvas. Just hit the plus over here. And I'm just going
to use screen size. I normally, I don't like
white. She's very bright. So I like to change
the background. So I'm gonna go here. Actually, I'm gonna go here to the layers and then
tap the background. And I'm going to
choose this color. It's a little bit darker, tan. But of course, you could
always go here and then you can like to use classic. You can choose whatever
color you want. But I would suggest like
something kind of dark, something kind of gray,
and sort of neutral read. So now we're going to change our layer to enable the
symmetry and enable the radio. And that'll allow us to make
some really amazing designs. So first, let's check
the little wrench. Check tap on the little wrench. And we're going to use Canvas. And we're going to use
the drawing guide. Now, once you have
the Join guy can see there's a grid on our Canvas, but we want to go to
Edit Drawing Guide. So now you see a lot of options here that you can
play around with. But for today, we're going
to focus on symmetry. And I've done some other
classes with symmetry. And you can adjust
these symmetry options. Let's just make this thick. So if you wanted to
do just both sides symmetrical, you can hit done. Then you have your layer
here and it says assisted. That means it's using the
settings that we just made. So if I add a new layer, it doesn't say assisted. So let's go to the brushes
and let's use calligraphy. And let's use brush pen. Here's the color
of my paintbrush. I'm just using this
sort of dark red color. So we're using a brush pen and you make a
circle on this side. And you can see it doesn't, it's not symmetrical because this layer doesn't have a cyst. So let's tap on it
and clear that layer. And let's try it with the
layer that says assist. Now you see that it
mirrors everything. Okay, so that's symmetry, which is also really fun. But let's go back
to our settings. So we go to the little wrench. We'll go to Edit Drawing Guide, Symmetry, and then
we'll go to Options. So now we have a horizontal, so that is a
horizontal symmetry. Then we have quadrant, which is four, and
then we have radio. So let's stay with radio
and let's hit Done. Okay, so now we have
our radial symmetry on our assisted layer. So we're going to use brush pen. And let's start on one line. And then just think
about drawing a spiral to the beginning
point, to the center point. So we'll start here and just try to think
about drawing a spiral. And you'll see it creates
this amazing spiral design just with using the
radial symmetry. And I think it's really
cool. So of course then you can sort of add
some details to this. If you want, you know,
things like this. You can really go ahead
and decorate this, you know, in any
way that you want. You really give it
some personality. And you can see, and you can pretty much make
these anywhere. You don't have to do
exactly what I'm doing. But notice that I'm
really going after the edges making
different designs. Okay, so let's hide that layer and then
we'll make a new layer. And we want to tap it
and hit Drawing Assist. So now it has this symmetry. So let's do something
a little bit more fun. Let's change the
background color to something a little darker. So I'm going to use
something like that. Now, let's go to calligraphy
and let's use Odeon. And again, I'm
using this sort of darkish red color. Let's
start in the middle. And it will make it smaller. And you can make some
really amazing designs. Let's see what happens
if we change the color. So let's go to classic
and maybe we'll try maybe like a golden color
and just see what happens. Maybe we'll add some little
diamonds type shapes. And of course, let's
change to something else. Let's do, let's do a blue. Let's change to another brush. Let's try Blache. Blache. See what that looks like. Water pen. And I knew I knew pretty much what I wanted to
teach in the class, but I can't help it, but to kind of explore and just see with the different
brushes have to offer. I think that's really fun. And remember you can also
use the layers to it. So you can add layers. And then you can
use some of these brushes behind the layers. But I made a mistake. I forgot to tap the layer and
hit Drawing Assist. Kinda give it some
interesting color. Bind some of these
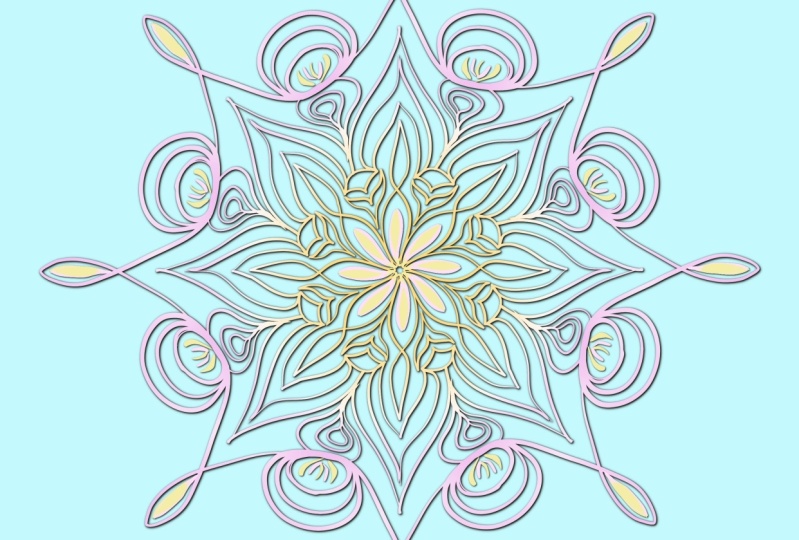
4. Rotational Symmetry: Okay, so let's go back and check the option for
rotational symmetry. So we're going to
check the wrench, edit drawing guide options and just make sure that you
check rotational symmetry. Also, you can
change the color of your symmetry lines up
here if you wanted to. New layer drawing assist. So that's a big difference
than the other option. So we'll go back
to it at drawing guide option will turn
off rational symmetry and do the same thing and see
how the regular symmetry, they both come
towards each other. Whereas rotational symmetry, they all go in the
same direction. How cool is that? So much fun. Okay, so I'm going to use brush pen and I'm going
to use a brighter color. Maybe we'll make it
orange or hallway. All right, so let's see
what we can get here. So let's start right at
the center and we're gonna make a loop reading this wedge, but we're going to
hold it at the end. So then you can adjust it. You can even make it
really big and you can make all these cool shapes. So we're just going
to do just kind of irregular loop like this. And then let's start in the
middle of these two and make a bigger one. And
it will hold it. Then you have
something like this. Now let's start in-between
all of these edges. And let's do a shape like this. It will come out like that. Bigger one. And then a little one. And let's make some
little pops like that. Let's duplicate it. Let's change the color
of the bottom one. So let's go here to
huge hue saturation. And let's make it darker. So we'll bring the
brightness down in the saturation up a little bit. So we have this one now. So let's tap on the little arrow and let's
just slightly move it. And they can tap to adjust it. That's pretty cool.
Let's take white. Let's make it small. And let's add some
little pops right, in all of these little things. So what happened here? Here? Here? We can even add some here too. Just a little line. Now we'll do something
really cool. So we'll take the assisted
one, the one underneath. So let's duplicate that. Will take this one, the one
that we've just cloned. So the bottom one. Let's go back to hue saturation and let's turn it
all the way down. So now we'll go back into
these options, adjustments, gaussian blur, and then just see how it says
got causing blur zero. Let's just slide a little bit on the canvas and
it's going to blur it. So now let's make sure
we're on the bottom one. Will tap the whatever
that's called again, the arrow transform,
I think it is. I'm just going to
slide it by tapping. You can make some
really cool effects just by doing those two. Just cloning them and doing different colors underneath
and slightly moving them, you can make some
really cool effects
5. Brush Variations: But let's just have some fun and just kinda freestyle and see what cool things
we can come up with. I haven't used od on
yet. So let's do that. Trying since k minus two to a bigger one. It's really cool. Alright, so let's do something
else underneath it. So let's change the color. Let's see how this green looks. Maybe we'll try, Let's
try some other brushes. Hexa vector. So this
is an abstract rule. Let's put it
underneath. So let's add a new layer underneath. Drawing assist. It's kind of interesting. It looks kinda nice. I want to change the color,
so I'm gonna go hue, hue saturation. That's nice. Let's add a new layer
underneath drawing assist. Now let's change
the color again. Let's try spray paints. Let's try spatter. It's really cool. Let's go
ahead and adjust the color. That's kinda nice. That's really cool. It. But
hopefully that was fun. There's so much more that you
can do and make with this, so please just explore
and have fun with it. Also, sorry for the construction
behind me. Hopefully. It's not too annoying to
knowing to me, but but yeah. I can't wait to see
what you guys make. Again, please
remember to rate and review and let me know. We think there's lots of other
fun things with Procreate, I'm going to try to make some
smaller classes like this, just to sort of
explore and go through some of the really amazing
stuff that you can do. Things that it's relatively
easy and that anyone can do
6. Sharp Edges / Corners: Okay, so let's do a little bit different of a design and color. So I'm using this really bright green and let's use syrup. So this is an inking and syrup. So let's start in the
middle and then let's make some really jagged
lines and sharp edges. Then we can do the
same thing out here. Make some smaller ones maybe. Then you can kinda
just have fun with it. And you can go in depth
as much as you want. And that's what really makes, makes it fun is you can really make some interesting
things and go in depth. Let's try something else. Let's make this a
little bit thicker. Let's just try some
interesting linework. Line weight is really
important and really cool. And even though these
lines are wavy, I still think it looks
pretty interesting. Let's see if we can get
something like this. But straighter lines
I would probably use. Let's go back to calligraphy. And script or brush
pen might be good. Brush pen might be nice. So let's try that again. Little bit cleaner. But either way, it
still looks cool.
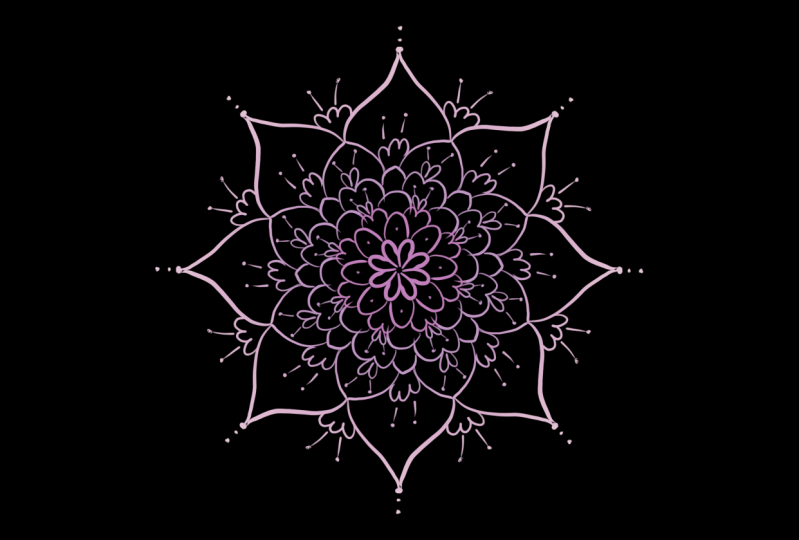
7. Mandala: So let's do a little bit more
of a traditional design. I'm going to change my
background actually, I'm making my background as
it is and I'll use white that way you can see it
really clearly. So I'm on a new layer. And for the brush, I think I'm going to use script up on my brush around 60%. So start really simple,
swirl like this. And then I'm gonna make a loop
in the middle of each one. I'm going to hold it so that
I know it's nice and clean. Then I'm going to take
the two outer edges like the two longer ones
and make another arch. Now I might make two
in the middle of this. Now I'm going to do an
outline around each one. Hold it. Now obviously, you can keep going and it'll just keep
getting bigger and bigger. But let's break it up
with nice little loop. But as I go and close,
I want to make it. So it's more like
a teardrop shape. Let's make a big one. So in the edge of this one, I'm gonna make the
brush a bit smaller. We'll go down to about 20. Will do something like this. Then maybe in the myth
and the edges of these, we'll just make some loops. Okay? And then maybe we'll make some, some little designs. Like it's greenery or something, or like berries or something. Just kinda organic. If you want to kind
of bring that, this flavor in the middle, you can sort of go like
this and add it like that. Maybe do something like this. You can get some really
beautiful designs. And the secret weapon
for things like this. I love it white, but let's clone it and hide the white one. That way we have our
design, it's safe. So now we'll take
this white one, tap it and hit alpha lock. So now we're Alpha locked. So we'll take our
paintbrush and let's find something
that's really soft, like maybe an airbrush. So we'll go with
soft brush here. Maybe we'll make
that really big. Let's try like a
lighter pink first. We using our airbrush. And remember where alpha
locked on this on this design. So now I'm just going to softly, we can make it a
little bit smaller. Softly color that in. Let's change the color to maybe something a little orange, perhaps, maybe a
little darker orange. School, lower the brush
to about maybe ten. Actually, you know what,
that's actually better. So I accidentally painted
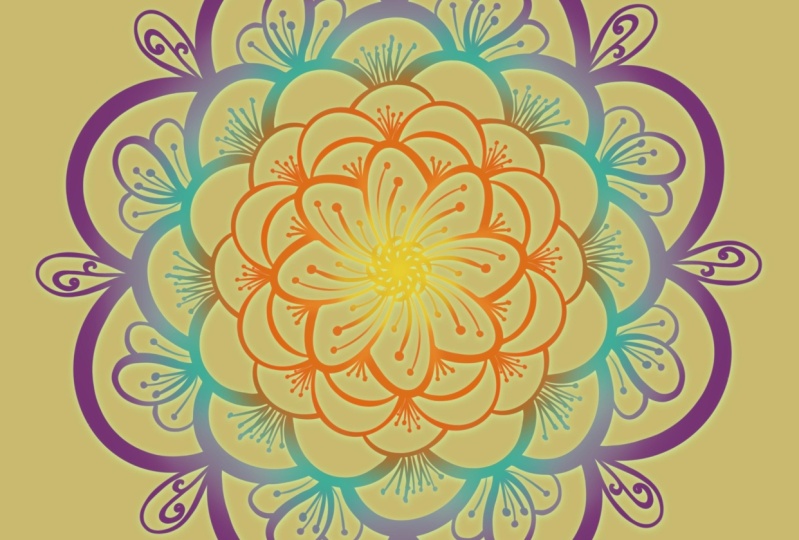
the whole thing pink. But I kinda like that. So let's start in the
middle and make it orange and slowly go
out towards the edge. Now let's do a
little bit lighter. Let's make it a
little bit lighter, orange for the middle. And then maybe let's go a
little bit more towards yellow. Then do that in the middle. We have some really nice
color designs as well. So remember, you can do
this with any brush. You can use your
favorite brushes. You can use my Disney
style brushes, which I didn't use because
I always use those. But Procreate has
plenty of brushes that have a lot of different effects. But I just wanted
to do something a little more traditional. And as you can imagine, you can make, you can have a
lot of fun with Mandela's. It's really, I think it's, it's really relaxing
and therapeutic. I kinda just get lost in it. So hopefully you
feel the same way. So yeah, go forth and make
some really amazing things.
8. Thank You! : What's up, guys, Welcome back. I hope that you
enjoyed yourself. I hope that you're
still drawing and creating designs right now while you're listening to this. If so, then I know that
I did my job, right? I love creating
designs this way. I love using radial symmetry. It's really fun, It's
really relaxing. And I hope that I got those
points across to you as well. I'm really looking forward to
seeing your class projects. Of course, please
rate and review. That really helps me. It
really helps the class. Of course, you can follow
me for more artwork and more tips and more
3D on YouTube, youtube.com slash drug per day. I'm on Instagram and TikTok also as drug-free
day of and Facebook. Probably know all of
you from there already. But please, if you post, tag me, I love to share your work and I'm really
looking forward to seeing your work here on Skillshare in projects
and resources. Just remember to experiment
with different types of brushes, different
line weights. Remember to push the envelope,
just see what you can do. That's the real way
that we all learned. And with that, I can't
thank you enough. I really appreciate
you for watching my classes and
listening to me talk. Hopefully you got
a lot out of it. I really, again, I appreciate each and every
one of you keep drawing, keep sculpting and I'll see
you all in the next video.
 Dave Reed, 2D & 3D Illustrator - Brooklyn, NY