Transcripts
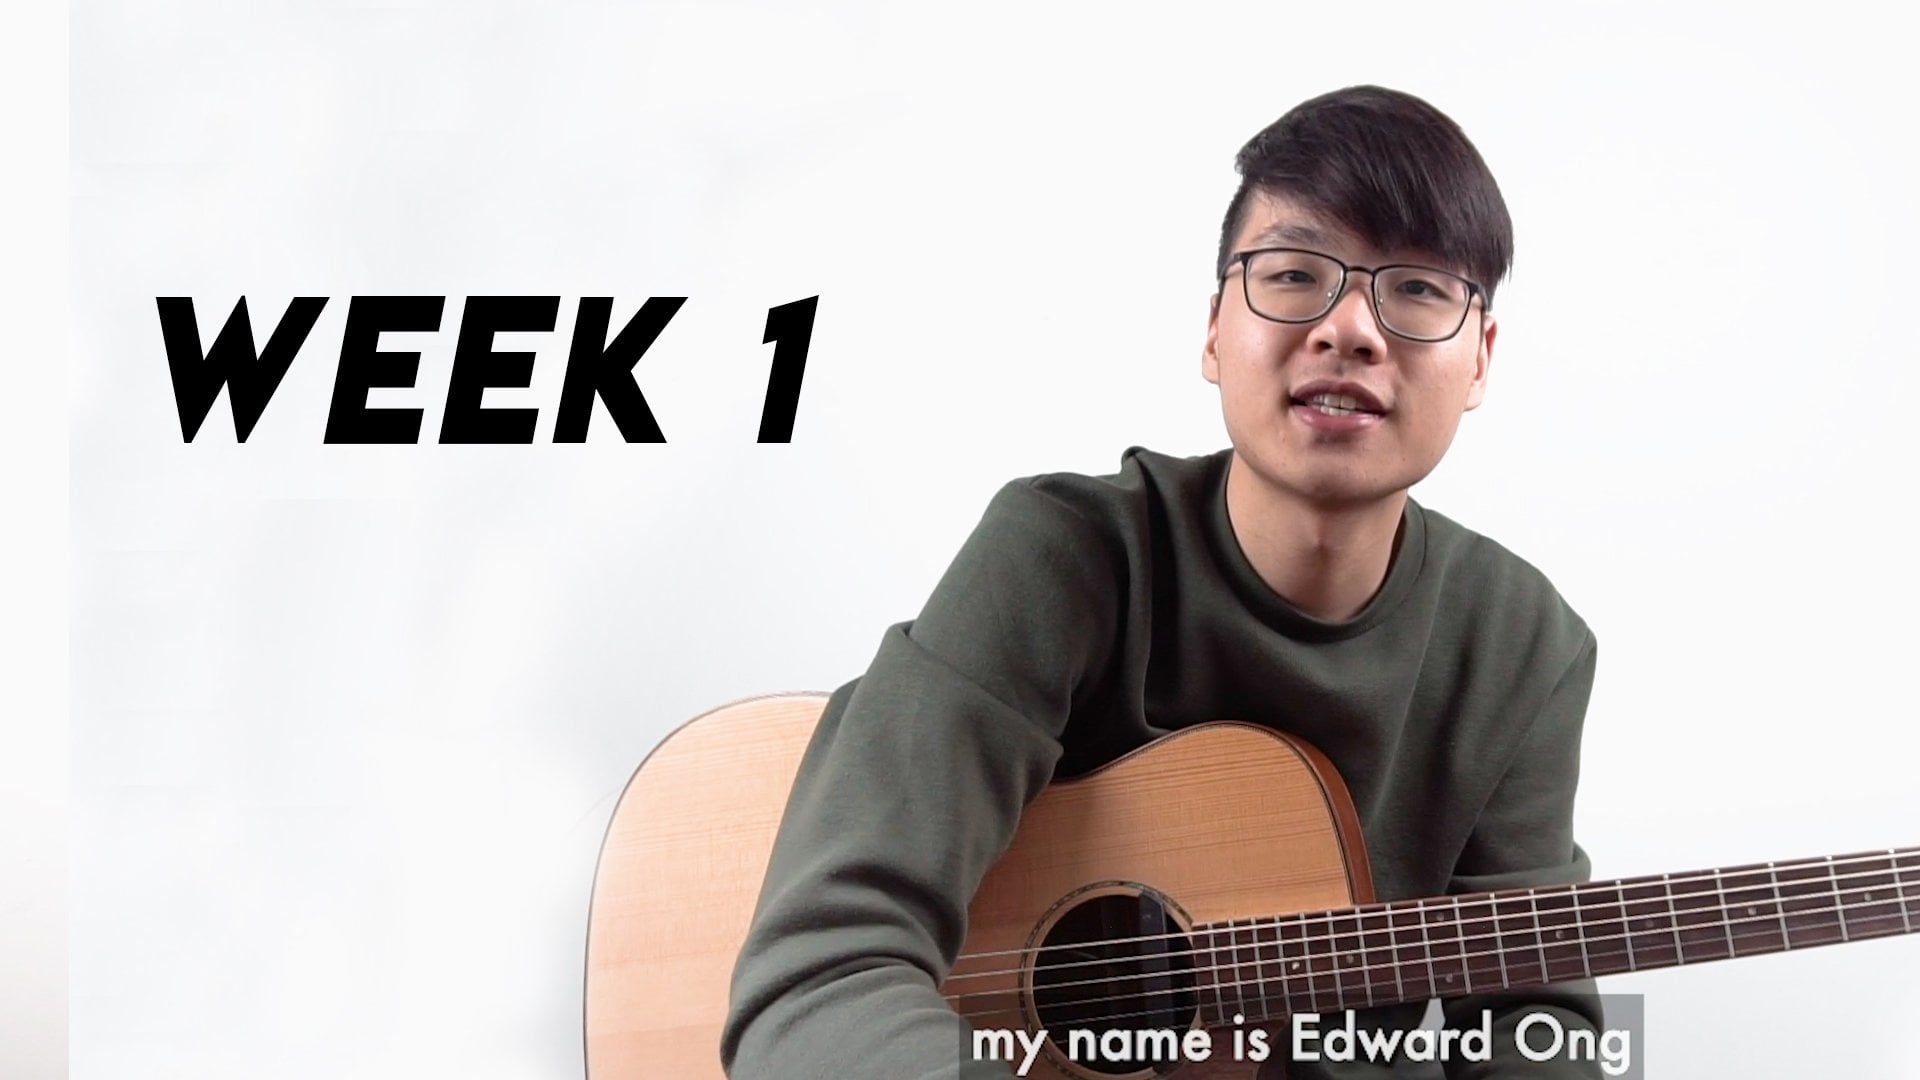
1. 1.00 : Introduction: Without a strong steady rhythm, a piece of music can easily become disjointed and confusing. Welcome to my advanced finger style guitar
masterclass level one. My name is Edward own and I am a professional finger
style guitarist with over 18 years
of experience, with more than 25
million total views across my YouTube videos. I have been asked
many times about how I arrange songs into
finger style guitar. So to create a great finger
style guitar arrangement, we must first incorporate various techniques and
skills into our arrangement. But before we do that, we need to break down a song to understand its
fundamental foundation. Just like a tree, needs strong
roots to grow and thrive. Music also has its own
fundamental foundation, which is the rhythm. The roots of a tree provides
stability and support. And the rhythm of
a piece of music, gifted structure and direction. Without a strong steady rhythm, a piece of music can easily become disjointed and confusing. But with a well-defined be, a song can flow seamlessly, captivating and
engaging the listener. In this crash course, I will be teaching you some of the most fundamental
rhythmic techniques that I used in my finger
style guitar arrangement. These techniques
are the first steps to arranging songs and will not only improve your overall percussive skills on the guitar, but also at a new level of creativity to your song
arranging journey. By the end of this course, you will be able to play song arrangements
using kick drums, slept, and body hits. So grab your guitar
and let's get started on this exciting journey
of arranging songs.
2. 1.01 A : Understanding How To Play Kick Drums: The first step to
arranging a song is just like the first step
of how a plant grows. We have to first grow our roots. Growing our roots would mean
that we need to first break down and figure out what makes up the
foundation of a song. As mentioned in the introduction
part of this course, rhythm is the base
foundation of a song. So a question for you, what instrument carries
the main rhythm of a song? Is it the drums? Is it the piano, the
guitar, or the singer? The first step to arranging a song is to listen
to the draw lumps. This is because the drum carries the whole
rhythm of a song. For some songs that
do not have Trump's, you will need to
listen carefully to the main instrument
carrying the song. It can be a piano or it can
be a guitar to begin with, and drums, there are four most basic sounds
you can look for. Firstly, the kick drums. That's the biggest
item in the drum. Hi-hat, snare. And Tom's. To practice your ear. Here is a quiz for
you in this song. What are the most rhythm heavy instruments that
are going on here? You think? What do you normally get
away from the drains and gender? But it doesn't. It will be best if you distinguish which
part of the drums is being used and how to replicate it in your
guitar playing. So not to worry, in this module, I will teach you about the
foremost essential sound of the drums to play on
a guitar, kick drums. In guitar, we use our
palm to hit the guitar. Snare, drums and hi-hat, we play as different
types of slaps. You will learn that in
the next few sections, toms and guitar, we played as other
different types of body hits like this. Four basic types of drum sounds are in different
sound frequencies. So you have to treat your
guitar as the drunk to look for different frequency sounds which are similar to the drums, starting with the kick
drums in this module. What is the kick drum? Kick drum is the main part of a drum kit as
demonstrated earlier. So if you listen to a song, e.g. this song, there is a main bit that goes 1234. Kick drums are more
like heartbeats. The heart of a song
that sets the rhythm. Playing kick drums is the easiest method
and finger style. We usually use our palms
to perform kick drums. What you can do is bend
your hands like this, forming an inverse V shape. And then use your wrist as a
pivot to ban it downwards. To form a V-shape. This will naturally
hit the guitar, giving you a deep sound. It is from an inverse V to a
proper V-shape, inverse V. So proper V-shape. Here are few examples that I have used in my YouTube videos
to perform kick drums.
3. 1.01 B : Where To Play Kick Drums?: Kick drums can be played in different
parts of the guitar. It can be played nearest
town hall, which is here. This is the most common place to play it because you will be needing to play other strings at the same time as
well, like this. Other times when you
would not need to play the strings using
your right hand. Kick drums can be played at the lower bottom of
the guitar here. So Waltz your hand perform tricks like tapping
hammer ons and such like. So. Here are a few
examples in my video that I have performed
this technique. Other times when you
will not need to play the strings using
your right hand, kick drums can be played at the lower bottom of the
guitar, right here. Same technique, inverse V
to the normal V. Whilst your left hand
performs trick like tapping MR. on and such. We can incorporate the kick
drums right below here. Here are a few
examples is my video that I have performed.
This technique. You would want to usually
hit the more hollow parts of the guitar to produce a deeper frequencies sound
similar to kick drums. Hollow parts like
these places here, here, here. Or maybe here. We usually play kick drums according to the main
beats in the song. So given that your
time signature is in common time signature, which is four beats in a bar. The kick drums are usually on the main beat of the bar, 1234. In some songs where
there are ups, the drums only come in during the pre-chorus or the chorus. E.g. this song, just
like their attention. It's written. I don't want to play strategies.
4. 1.01 C : Kick Drums In Alternate Beats: King drums can be played in alternate beats
in a bar as well. Depending on the song, we will not stress
too much about where to place the kick drums. Instead, we can always
refer to the original song. We would like to play and arrange the kick
drums accordingly. At the end of this first module, I will give you some examples of drumbeat for you to actually figure out and be
creative yourself on how to look for your
own combination.
5. 1.01 D : Combining Kick Drums With Other Techniques: As we know, finger style
guitar is a style of playing the guitar where the guitarist
becomes a one man band. Therefore, we have to
include drums, bass, melody, and accompaniment in our plane to be a drama on the guitar, we have to first understand
what a drama plays in a band. As mentioned, the three
fundamental drumming techniques in finger style
guitar are the bass, drums, slaps, and fields. Now, I will bring you through these techniques and how to apply them into your
guitar playing. Percussion adds
groove, helps maintain a constant tempo and enhances
the dynamic of the song. And since drumming on the
guitar creates noises, it does not compete with the songs melodies,
it compliments. Therefore, it plays a vital role in spicing up your plane. Let's get straight
into practice. As we have learned
about crotchets before, here are four crotchet
beats you can try. Playing techniques
individually is an easy task, but the complex part
of fingers style combines the methods
simultaneously, e.g. combining the kick
drums with plucking like this, hold the G chord. Perform a kick drum. Whilst
you pluck the G chord. Before we start the exercise, the letter P in my
tabs stands for palm. Play as the kick drums. Sometimes you will see this
and P together in a taps, which means the same thing. In this case, the G
chord and the letter P, our plate like this. The one with the
bracket X means you only have to perform
the kick drums Alone. Let's start with exercise one.
6. 1.01 E : Kick Drums Exercise 1: Let's start with exercise one.
7. 1.01 F : Kick Drums Exercise 2 Walkthrough: As you can see from
this arrangement, did you notice that the
bass drums are played at the start of every code? Yes. In this case, every chord changes at the
start of every bar, except for the second last bar. However, it greatly depends
on the group of the song. Sometimes the bass
drums can be played twice in a bar and
sometimes once in 2 bar. Please don't worry, we
will go through all of these situations
later in this course. As for now, let's move
into exercise two. This time we shall
play the kick drum. So four times in a bar. This will help you get used
to playing the kick drums. In this part of exercise to, you will have to combine a
slide with a base strong. Here is how you
can play it using a pinky slight from the fourth to the fifth fret
on the second string, so forth, to the fifth
fret on the second string. At the same time, performed
the bass drum together, wall plucking like this. Let's proceed with exercise two.
8. 1.01 G : Kick Drums Exercise 2: Let's proceed with exercise two.
9. 1.02 A : Introducing the Slap Technique: Have you ever slept someone
in the face before? What sound does it produce? Slapping someone interface produce a high-frequency sound. So it is the same on the
guitar to create sounds similar to the snares or
the hi-hat of eardrums. We need to look for sounds
with higher frequencies. So you can slap the front bot. You can slap the body, and
you can slap the strings. So here is a practice for you. Out of the four parts of
the guitar, I have slept. Which part of the guitar is the most similar to the snares? Which part of the guitar is the most similar to the hi-hat?
10. 1.02 B : Playing the Slap Technique Correctly: It is the strings and the
fret board of the guitar. So let's begin slips. It is a technique used in
finger style guitar to produce a high-frequency
percussive sound similar to snares on the drugs. We usually play it
using our right thumb. As you know from
the term itself, it is called slip. So basically you have to slap the strings to produce a sound. Slap usually comes
after a kick drum. Usually what I do is I use
the sight of my thumb, the left side of the thumb
to actually slap the guitar. We use slaps because
we want to replicate the sound of a snare
hi-hat of the drums, a site from using the thumb, what we can do is also slept the whole friend
bought closer to the sound host. My
sound hole is here. In regular guitarists, the sound hole would
be somewhere here. So stepping near the sound
hole on the fretboard would mean it's somewhere
in this location. It is usually beyond the 12th fret with your three
fingers like this. An example would be like this. It's in the fret board with more than two fingers
would give you a mixture of hitting the woods and the high frequency of
the slab on the strings. This would give you
a sound similar to that of snares than hi-hats. Here are a few exercises and
examples of when I use slap.
11. 1.02 C : Combining Melody With Slaps: There are a few
types of slapping techniques in finger
style guitar. The most important slap
technique we will be learning today is the
thumps lab technique. This is the most common
technique used in finger style guitar
to achieve a snare sound and melody
at the same time. As said previously, to
perform this trick, hit the side of your thumb
lightly on the strings. It should give you
a snare sound. But now, how do we combine the
melody and slept together? We can introduce our middle
finger into this technique. In guitar tabs, you
will usually see x and a note at the
same time like this. What you have to do
is slip the strings using your thumb and
at the same time, flip your right middle finger
along the desired strings. Slip the strings
using your thumb. And at the same time flip your right middle finger
at the desired strings. Let's try out a simple exercise with this segment of the
slipping exercise one. So how do we play this bar? Hold a D chord. Accordingly. When you reach the
slapping part, slap the strings with your
thumb and flick the second string simultaneously using
your middle finger like this. To recap, hold a D chord, right? When you reach the
slapping part here, slept the strings
with your thumb and flip the second string simultaneously using your
middle finger like this. Let's try it one more time. So did you get yours correct? The correct method to play the second slap node is the
same as the first slap, not hold the D caught as usual and slept
the threat string. It is the same like the
previous Latin note. But now you are slapping
the third string. I believe by now you
must be thinking, why is there a bracket around the first slapping node and
no brackets in the second. Here's a tip for you. The notes in the
brackets stands for ghost notes and they are
meant to be played softly. Why? It is? Because the first slapping
here is not the melody. Therefore, it is meant
to be in the background. However, the second
slapping note is the main melody of the song. Therefore, you will
need to play it louder than the Goes naught. You might think that this is not necessary for your playing. But trust me, understanding and applying dynamics
correctly in your arrangement is
what differentiates you from any other guitarist. So let's try out
slapping exercise one.
13. 1.03 : Slap Notes: I believe you have watched traditional movies about
how people go to war, riding on a horse
in the olden days, what they would do is
that they whip the horse. Well, every single time
the horse is being width, there is a sound produced which is similar to what we are
learning in this section today. In the previous section, we learned how to use the slapping technique to
produce percussive sounds. In this section, we
will learn how to use the slapping technique to
produce notes like this. So when we need to slap and played notes at the same time, we use this technique. What we can do is
instead of resting or thumb on the string after
you perform the slab. What we do now is
write after the slab, immediately lift your thumb away from the
strings, like that. Just like the whip
bouncing off the strings, immediately lifting your
finger off the strings. This would vibrate the strings creating the note
you want to play. This technique is mainly used
by bass guitarist when they want to include percussive
elements into their baselines. We can also incorporate this
technique into our plane. Here are few examples of this technique that I
have used in my videos.
14. 1.04 A : Body Hits: Body hits, as you can see
from the name itself, you will hit the
body of the guitar, creating multiple
different sounds. For body hits, we usually
use three fingers, the index finger, the middle
finger, and the ring finger. So we can do finger rolls. Using your ring finger, followed by a middle finger, index finger continuously
as triplet beads. As well as reversing the
sequence from the index finger, the ring finger, index finger, middle finger, ring finger. To play the finger
roll in triplet bits. We can play like this. 1231, 23s for body hits, you can use your thumb as
well to hear the guitar. Usually the bottom part
of the guitar here. So whereas the index
finger, middle finger, and ring finger can be hit
at the sites of the guitar. It will give you a
higher frequency sound then hitting it here. Compare. What you want to do here
is actually listened to the type of sounds you want
to create using the body hit. There are no strict rules to it. It is more like knowing what
kind of sounds you want. So usually body hits are
similar to Tom's on the drums. Poems are usually used as fuels. So when we want to play
the fields, we use toms. Let me give you an example. You have various
sounds for Toms. You have a range of frequencies, ranging from high frequencies
to the low frequencies. You get, boom, boom,
boom, boom, boom. What you can do with a guitar
is the same thing as well. You can look for
spots on your guitar. Hollow spots will give
you a deeper sound. Whereas less hollow spots, which is nearer to the
edges of the guitar, will give you a higher
frequency sound. This trick can be used
in conjunction with kick drums and as well
as slaps and tapping. This technique is
rather complex when you are combining it
with other techniques. But not to worry,
I have performed body hits in my
arrangement on YouTube. So I will go through this with you so that you will
learn how to use them and then proceed to create your own sets of body heat combinations
in your arrangement, you will need to get inspired by combinations that you
have played before or combinations in other songs to naturally create your own
body heat combinations, it is going to be tough. So what I would
recommend first is you will need to
practice a wide range of body heat patterns
or tom patterns in drunk tracks to create
one on your own.
15. 1.04 B : Breaking Down Body Hits Sequences: Here is a section in my arrangement where I
have used body hits. I ended the song Blue Book with a percussive
sequence like this. Stripping the body hits down. If you can hear, there are different frequency sounds
to each and every body hit. I started the bit sequence with a low-frequency kick drum sound, followed by a finger roll from ring finger to the middle finger to
the index finger. Proceeded by another
deep kick drum sound using the inverse V to
V technique like this. Followed by a
high-frequency slap on the bottom side
of the guitar. Here. Using your ring finger
and your middle finger. Then followed by
using the size of my thumb to replicate
the sound off Tom's. Moving up the thumb to another less hollow
part of the guitar, which is here, which is
near the fret bought. And proceeded to
perform another Tom slap on the body to create
another high-frequency sound. Then finally ended the
sequence with slept harmonics. Here is how the combination
of body hits would sound like slowly, fast. Now, practice with me
with just seven steps. Step one, kick drums. Step two, finger roll. Step three, kick drums. Step for high-frequency
Tom slip. Step five, thumb slip. Step six, thumb slip. Step seven, slept the strings. I repeat. Step one, kick drums. Step two, fingers. Step tree, kick drums. Step four. Hit the
site of the guitar. Step five, high-frequency Tom's. Step six, another
high-frequency Tom's. Step seven, slap.
16. 1.05: Outro: In my future courses, you will learn how to combine
the percussive techniques and the melody techniques together to create
a masterpiece. But before you proceed, it is crucial that you
fully understand and know how to use these techniques
accurately and correctly. To help you with this, I've compiled all
the exercises from this masterclass
into a PDF document. Click on the link
in the description below to download it for free. If you require for the assistance and
feedback on your playing, feel free to let me know in the comments section or
through the link provided. I'm here to help you succeed and improve your finger
style guitar skates. I'll see you in my next advanced finger
style guitar course. Keep practicing and
stay motivated.
 Edward Ong, Fingerstyle Guitar Artist