Transcripts
1. Introduction: Welcome to this Wire
Jewelry tutorial. Once you have finished
watching the video, and if you created the ring, I would love to see your design. So please share that
in the comments or in the project section. If you don't follow me already, you can find me across most social media platforms
at Katie Rose Creates, and you can find
me on Skillshare, YouTube, Facebook, Instagram,
and the Threadsap. If you found this
tutorial helpful, I would love to have you
check out my other videos where you can find more
wire jewelry tutorials. Thanks so much for watching, and now let's jump into
creating this wire ring.
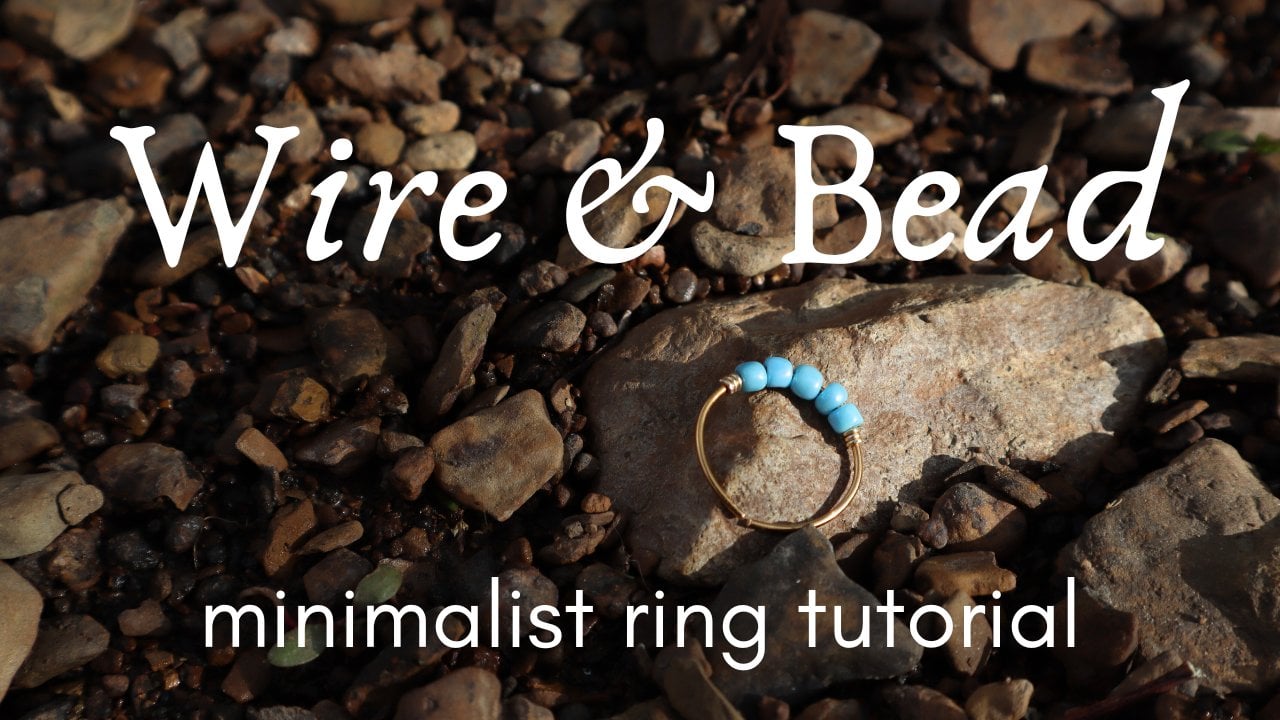
2. Adding Small Beads: Using wire to attach beads onto a ring is a fun way to
add color to any design. We're going to
create the band of the ring with 18 gauge
solid brass wire. Then we will be using
a 22 gauge wire to attach the beads
onto the ring. I chose some black two millimeter seed
beads for this ring. Then we will be needing a
ruler as well as a file, and then a ring mandrel in
the size of your choice, and I'm going with a size six. Then for our tools, we will
be using Nylon jaw pliers. We need a pair of wire cutters, and then we will be using
some round nose pliers, as well as the
chain nose pliers. To begin creating the
band of the ring, we're going to take
the 18 gauge wire and run it through
the Nylon jaw pliers, smoothing it and
straightening it out. Then placing the
wire onto the ruler, we're going to measure 2.5 ". This is about how much wire
I need for a size six ring. Holding the wire at
our 2.5 inch mark, we can then snip it off and move on to our
round nose pliers, where we are going
to begin creating a little loop at the
end of the wire. Holding the wire in the
very tip of the pliers, we're going to bring the end around to create a
circle in the wire. You can make this loop larger or smaller if you would like, depending on where you place it into the jaw of the pliers. Once we have brought the
wire all the way around, we're going to
place the loop back onto the pliers and gently bend the long depth of wire so that it is centered
underneath that loop. Then turning the wire over, we are going to create
a matching loop on the other end of the wire. You can either bend the wire
in the same direction as the first end or
you can bend it in the opposite direction,
which is what I did here. Also, when you are
creating the second loop, make sure that you are wrapping the wire on the same
plane as the first loop. That is to say, you don't
want one loop being in a vertical position and
the other being horizontal. Now that we have created loops
on both ends of the wire, we're going to place it onto the ring mandril
and shape the ring. Pressing the wire firmly onto the ring mandrel to
create the shape. We can also grab a pair of
pliers and using the handle to firmly press down
that wire if it's a little difficult
to use our fingers. This might be a little
unconventional, but I find that
using the handle of a pair of pliers
works very well, especially for pressing
down the ends of wire. Because of the nature of wire, we can see that it
springs back a little bit even after we have pressed
it on the ring mandrel. To work past this, we have
to over bend the wire, so we have to push it past
the point to which it naturally springs back to so that when it
does spring back, it will be in the position
that we want it to be. Now when we place it back on the ring mandrel
it fits correctly. With it on the ring mandrel, I can see that both loops
are turned up a little bit. So I'm going to use
the chain of pliers in placing one loop and then
the other into the pliers. I'm going to gently
bend the wire so that those loops are more flat
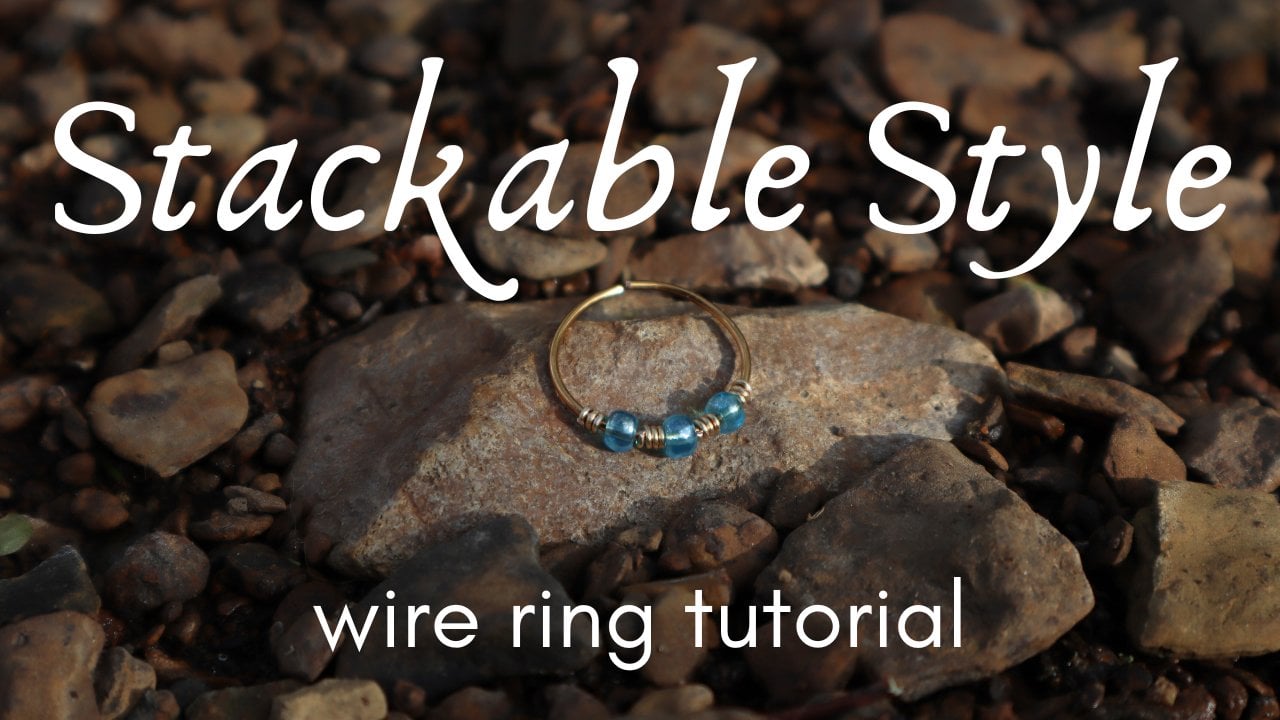
towards the base of the ring. With the band complete, we can now begin attaching the beats. Using our Nylon
jaw players again, we're going to smooth out a
stretch of the 22 gauge wire. Then we are going to string all of the beads onto the wire. For the ring that I'm making, I decided to do enough
beads that would cover about the top
third of the ring. With this method of
attaching beads onto a ring, I don't think you would want to go over a third's worth of the ring because the beads would begin to start slipping
over the side of the ring, but you could definitely
do less beads. If you would want
to add more beads, I have other videos that show more methods on how
to attach beads. Now to attach the
beads onto the ring, I want to make
sure that my beads are sitting across
the top of the ring. I'm going to bring them
up to the end of the wire and then bending the wire so that it fits across the ring, how it will be at the end. I'm going to measure that, find that spot to where I
want it to be sitting, and then holding the
wire onto the band of the ring will then wrap it tightly around the
band of the ring. We can measure this
spot again after we first attach the wire
on because the wire will be able to slide a little bit back and
forth on the band of the ring until we have
tightened it down securely. Don't stress out
if the wire feels like it's moving way too much
on the band of the ring. Once we have finished
creating that wrap, we'll be able to move
it a little bit before we tighten it down to
secure it in place. Using your fingers or
pair of pliers to wrap that wire around as many or as few times
as you would like. I went around about three
times before grabbing the wire cutters and snipping
off any excess wire. Now using the chain news pliers, we can tighten down that wrap and secure it onto
the band of the ring. With one end attached, we are going to bring the beads back up to the top of the ring and curve that 22 age wire to match the curve of the ring, and then bringing
the long end of the wire down around through
the band of the ring, we will then securely wrap it
until we have as many wraps on this end as we do on the first so that both ends
of the wire are matching. When the wire wrapping matches, we will take the wire cutters
and cut off the extra wire. Once we've done that, we
will then take the chain of pliers and tighten down this wrap as we did
with the first one. As I mentioned, that wire may want to slide back
and forth on the ring. So we will use our
chain nose pliers to go back over
those wraps to make sure that they are
tight and secure and the beads can no longer
slide back and forth. The beads will naturally want to follow the curve of the wire. So using our fingers, we
will bend those beads so that they are straight
over the top of the ring. Then using the file, we will go back and check
those wrappings to make sure that everything is smooth and
there are no sharp edges. When we are satisfied that
everything is smoothed down, we have now finished the ring. I hope you enjoyed this video. Thanks so much for watching.
I'll see you next time.
3. Outtro: Katrina here to say thank you again for watching my video. If you would do me a favor, it would be super helpful if you left a review and comments, letting me know how this
video went for you, ways that I might be able to improve these videos for you, as well as ideas on what
you might like to see next. If you want to see more
wire jewelry tutorials, be sure to go check out the rest of the videos on my page. That's it for now. I'll
catch you next time.
 Katrina Anderson, DIY wire jewelry and craft tutorials