Transcripts
1. Drop Shadow Effect Course Introduction: Hi, I'm Devin charge.
My profession. I'm an engineer, but I've
been using the Vinci Resolve extensively for
regulating purpose for projects like these. Lately, I've also been using those same skills for
prediction mapping, wherein you take your
video editing skills and applied to the cart
and achieve projects like this to fill out on
you and you return. Now, the safety, following your whole join along on this journey
and we love it. Cool stuff. Let's
explore the effect we are going to learn
in this course. Let's explore the shadow effect. First and foremost, Jeff
bade from Bateman added, inspired me to
achieve this effect. And DaVinci, I must say it
does add significant value. Shadows add a sense of
depth to your creations, thereby making them
seem more real. Here's a quick look. As you can see, multiple elements like the
wreath and the pillars, the icing all have their
individual shadows. In this course, we'll learn
how to add shadows to images. To be honest, that's fairly
straightforward and easy. Next, we'll go over steps to achieve some degree of
motion to the image, as well as animate the
shadow accordingly. Finally, we will also learn
to add shadows to videos, in this case, a green
screen footage. As you can see, the shadows do move in accordance with
the motion and the video. By the way, I'll also link the resource used
in this example. The same concepts can be used
for other fans scenarios like go Santos and other elements flying
across your house. The effects are perfectly achievable without
extreme hassle. So jump on board and take your creations
to the next level.
2. Add Shadows To Images: Hey guys, let's get started
with the shadow effect. First and foremost, credit
where credit is due. And Jeff bed from bade
manner is actually the one who gave me this
idea to add shadow effect, which adds a whole new
dimension to your creations. A quick demo, here's
my gingerbread house. As you can see, it has
multiple elements. Some candy canes reap, some icing, some circular candy, and a bunch of other things. So for a quick demo, I've added shadows to
couple of these elements. As you can see right here, you can see that some are
3D effect to the scene. For example, notice
the candy cane pillar right here with the shadow. The moment I
eliminate the shadow, it looks kind of flat and you'll see it pop
out with the shadow. Same with this circular
candy sort of thing. I'll turn off the
shadow and you'll notice that they kinda
stuck to the Gingerbread, which is a cool look in itself. But for me, I had the
circular candy spinning, so it kinda made sense to have it a little
ahead of the house. And you can see other aspects like the wreath has
its own shadow, all in all, it looks kinda cool. So let's get right into
creating this effect. Let me start with a base image. Let's say this is the
image right here. And I want to add an
element which has a shadow. So first and foremost, you start with an image with
a transparent background, which is a PNG file. Jpegs usually don't
have transparency, so you need an image with a PNG format just for
illustration purposes, I'm going to start
with this image. As you can see, it does
have a background, It's a JPEG image. And let's say I want to
use this candy in front of the gingerbread
house and I want to get rid of the
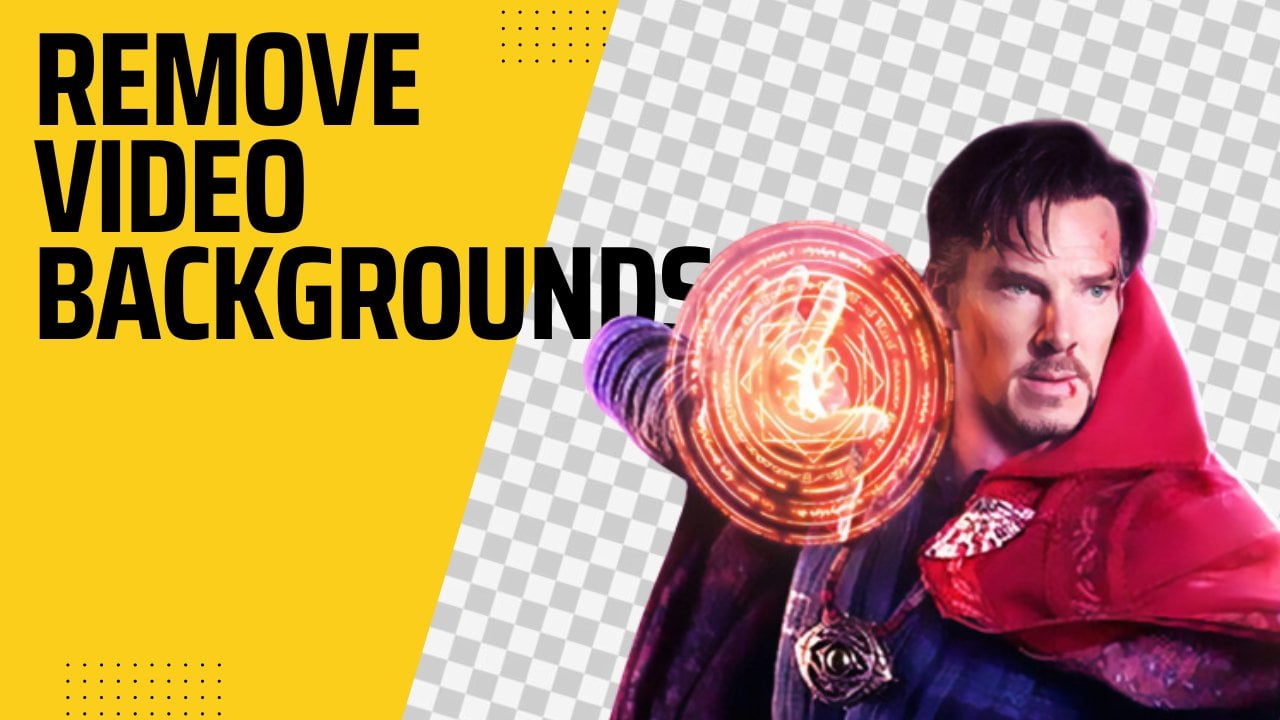
background real quick. Does bunch of softwares
that can do that. But an efficient way to
do it is just go online. So online, just go to remove
doc BG, that's the site. Just drag and drop your image. It's as simple as that. And there it is, it does
the job automatically. Sure, you can make
some quick edits in case the background
was more complicated. It may not do a good job automatically and you may
have to make some tweaks, but in most cases it does a pretty good job automatically. And let's say in case
you had to tweak it, all you need to do is
hit Edit and you get a little brush that you can
use to erase and restore. So right now we're on erase. Let's say we want to get rid
of this candy right here. I'll just zoom in a little bit. And that's it. I
can get rid of it. I can reduce the brush size
for more finer control. And that's basically how
you'd get rid of stuff. Similarly, you can restore stuff again, that's
basically it. So in this case we didn't
really have to do anything. It does it automatically. So all you need to
do is hit download. And there it is. You have a PNG image with
a transparent background. So that ways you can use
pretty much any image from Google that you'll want to
have a shadow effect for. Now. In my case, I've used a cloud image. So let me bring that in. Here's my cloud image. I'm just going to
drop it right here. Me just extend the image. That's it, That's my cloud. I'll make it a little smaller. So this is sort of the Cloud
that I want on this image. As you can see,
obviously there's no shadow at the moment.
Let's add it quick. So adding shadows to transparent PNG images is
fairly straightforward. Just go to your
effects library in case the effects
library is not visible. Just toggle it on the toggle
button is right here. So going to open effects
and just search for shadow. That's it. Drop shadow is what
you're looking for. Now. Just drag the drop shadow
onto the clip that it is. So it's not really
noticeable at the moment once you have the clip
selected head over to effect. So now you have further
control over the shadow. First and foremost, let
me move the drop angle. This, as you can see, the shadow right here
is moving around. So essentially you
get the control to rotate the shadow
any which way you want. So now you ideally want the shadow to match
your other shadows. And in general, for me, I have a street
light right here and that's primarily the
reason why I chose to have my shadows
to the left because most other artifacts may have
a natural shadow anyways, due to the street light. So I'm choosing to go left. So it's better you think get
with your actual lights. Apart from external
sources like streetlights, also consider the
predicted itself. Some structures on your
house or going to cast shadows from the
prediction light itself. So consider your shadow
angles accordingly. So there you go. I'm going to just put
my shadow right here. So we have a little
shadow right over here. So next up, we'll use
the drop distance. So drop distance basically controls the illusion how
far ahead this object is. For example, if I
increase the distance, you can see the shadow
moving back linearly. You can go further than
what the controls are low. So let's say I put the
shadow right here. Finally, I'll come back
to the first control. You have shadow strength. It actually controls
the intensity. So they got the shadow
just gets pretty dark. You can get it all the way. Doug, I would strongly
recommend not to get it completely dark because
essentially the project, I won't shed any light there. It may not look as cool. So you still want
a little bit of the texture in mind case the gingerbread texture
to show through. So I have the shadow intensity, slightly lowered blur,
as you may notice, it controls the amount of blood. And so ideally, the more
light sources you have, the more you want to blur. So for me, I'm just going to leave it to something like this. I just aim to match
the shadows for now. Next step is color. You can actually change
the color of the shadow, which I personally feel
doesn't really look natural. The time when this
comes in handy is, let's say you're floating some sort of translucent object. For example, you're
creating a project where glass of maple syrup
is floating in here. So in that case, the shadow would not be black because the light
would pass through and may have sort of
a reddish shadow. Those are the cases when this colorful shadows
come in handy. But for now, I'm just going to stick to the same all-black. That's basically it when it
comes to creating shadows. And to actually know how
good effect this is. Now look at this,
the moment I turn off shadow effect
and it looks like, so the moment I turn it on, so it does add more realism
and 3D effect to it. So that's it. When it
comes to simple images, this is all you need to do. It's pretty straightforward.
3. Animate The Shadows With Imges: Next step, now that
we have our image, now it's time to create
some sort of motion. And the motion, we're primarily going to use keyframing for it. So let's start with that. I'm going to reduce the size of the shadow a little
bit so that I have more surface that I can move it across and it's
easier to portray. This is what I'm
going to work with. So first and foremost, just focus on
creating the moment. We'll worry about
the shadow later. So first and foremost, let's have the starting point. I'm going to keep cloud
at my starting point. Go to transform node,
add a keyframe. You can be selective and just
add a keyframe at position. That works too, but
I'm just going to make it easy and add the
keyframe to the entire thing. So this is our
starting position. Then we traverse through time, let's say a couple
of seconds later, we want the cloud to be in this particular
position. That's it. So what happened there is, you can see the keyframing
was added automatically and it was only the x and y because that's the only
aspect that changed. And you can traverse
through keyframe ends. If you go to the last
position, we were here, and you can jump to the next keyframe using this
little arrow right here. Next, I'm going to move a little more ahead
in the timeline, and I'm just going to move the
cloud all the way up here. So basically we're created a motion with a cloud moves from right to left and then it goes on the second
floor essentially. And as you can see the
moment you make any updates, the keyframes are
added automatically, pretty straightforward
and simple. Let me turn off the controls so as you can see as you
move through timeline, the motion is created automatically and the
motion is linear. And you can choose to add more keyframing if you
want a finer control. But for now, it's
just linear motion. So that's pretty much it when it comes to
moving the Cloud. So next step, we're going to actually work with the shadows. So first and foremost, I'll come to the first
and the starting point, and I'll just keyframe all
of the Shadow controls. This should be my shadow
at the starting point. I'll just jump to
the next keyframe when it comes to position. Now if you analyze how
the light source works, there was an object here. My light source was to the right and there
was a shadow here. Now if the object moves
further to the left, the shadow will actually move further to the left
than it was previously. So what I'm gonna
do is this going to change the angle a little
bit so it's to the left. Then I'm gonna kinda
increase the drop distance that makes it seem like the shadows mode
there to the left. So that will give you a
more realistic moment. So let me jump back and show
you what we have so far. So as you can see, the Cloud and
shadows right here. And as we move along, the shadow kinda
moves further along. There we go. The shadow was closer and
now it's moved further. Next step, we can directly jump to this point where
the cloud is right here. In this case, I'm going to
use a little more finished. So what I'm gonna do is I'm going to keep everything here. And right. When we transition from the first floor to
the second floor, I'm just going to change
the drop distance further because my second floor is further behind than
my first floor. So what I'm gonna do is
right around this point, I'm going to come to effect
at a keyframe for the shadow. Basically at this point, I'll just add keyframes. I want the shadow right here, but the moment we go up and
transition to second floor, I want the drop
distance to increase. And of course I'm exaggerating a little bit for the
purposes of tutorial, but you guys get the point next step and just moved to
the furthest point. At this point. I don't really want to change the angle too much,
just a little bit. So now let's look at our image
movement and our shadows. If you notice when you start, the shadow is pretty
close to the object. Now, as we move away, you can see that the
shadows mode further away, giving an illusion of
right-to-left moment. And considering the
angle of the light, it gives a more realistic look. And now we're going to create an illusion
based on the depth. Because here the depth is
less and here it's more. So as you can notice, the moment we crossover
to the second floor, the shadow distance
should increase. C. There it is. I'm just going to
go back and forth. Now, imagine I turned
off the effect. So this is what the
motion will look like. As you can see, it's pretty
flat and unrealistic. The moment we add this, it gives a great depth
to what's happening. So that's it guys. So when it comes to images, we have learned how to
add shadows and also create motion based on
the emotion of the image.
4. Add Shadows to Videos: So now that we have
added shadows to both images and also went
about how to animate them. Let's work with videos or so. First and foremost, I'd
use the same base image. Let me just cut the video to
what I'm planning to use. I'll just do a rough cut right here just to keep it simple. So there it is. That's the
way I'm planning to use. Okay? So most importantly, we want to resize the image so that it
lines up to where we need. For that. I usually use the
transform node right here. It's an open effects. Just search for
transform, That's it. Right here. Once you go to Transform
and go to effect, change it from
sliders to Canvas. And for the effects
controls to be visible, you gotta change
this little icon right here, Open Effects. Now you have the Open
Effects Control visible, gone up in your image
so that you can place it where you actually
want the video to be. So for now, that
looks about right. Now, let's work on
adding shadows. First and foremost, like we did, they're going to chroma key out the green screen for that, I usually hit to the
color page. In here. Right-click, add alpha output what we got this
blue dot right here. Connect, blow to blow. Next go-to qualifier. That's where you work
with chroma key. So in here there are a
bunch of icons, HSL, RGB, select 3D, and then
hit this Plus, this is what I usually go with. And then just draw a
rough line right here. It's done. What do you
want to do is invert it because you want to
take the green out. So there's this inward button right here. That's
pretty much it. And you can see there's a
bunch of green hue for that. Does is D spell slider. Just crank it all the way. You can control the crank, but usually crank
it all the way. Take care of all the green.
That's pretty much it. A quick observation right here, we notice that the background
image is no longer visible. For that, the work-around into Vinci resolve is go back to the clip where
you did chroma key, go into power window,
select this curve. This lets you draw a free shape. Draw something around
in their subjects that you are sure that
won't let the subject, that's pretty much it. Stay within the
dimensions of the club. Don't go outside. That's it. Now you can see everything. Now let's do the same
thing that we did before. Go in here and add drop-shadow. Drop-shadow, drag it. So now we have our
drop shadow effects controls right here. I'm just going to crank it up, change up the angle,
that distance. As you can see, there's
nothing really here. There's no real
shadows. You can see. Something's not working, right? There's absolutely no
shadows that you can see. So now what we want to
tell the software as V1 shadows only for the
subjects that are visible. But that, Let's delete this. Let's go back to color. Now hit effects. And then, as you can see, there's an effect for drop
shadow right here. So in order to
keep things clean, I'm just going to add one
more node and make sure that the color correction or the chroma key
happens in this node. I'm just going to
add another node, add cereal, and
then take the blue, connect the blue out here, in here, and then add the drop
shadow to the second node. So that way it keeps
the processing clean and reduces possibility
of software bugs. As you can see, you
can see the shadow. I'll increase the strength
that drop distance. You can control
everything back again and now the shadows even
more with the subject. So that's basically it. So as you've noticed, you add shadows in the edit page while you are doing chroma key
in the color page, it doesn't really work. Everything has to be
in the same page. The other way you
can work around this as this is a more
easier technique, I'm just going to
reset the node. We're back to how it was before. So now let's jump
back to the edit page and do all our
processing right here. Let's take completely
to the edit page. First and foremost, in order
to key out green-screen, look for 3D, Kia,
just type in 3D. 3d here, drag it in. As you can see. Here shows up. Open up the controls. Now you want to hit the Plus. Again. This is essentially
the exact same thing that we did in color. It's just in the edit page. But where you do the processing
does make a difference. But in terms of controls, they are exactly the same, just laid out
slightly different. They're going to do the
same process, hit the plus. So when you do the plus and
you notice it doesn't click because you got to
enable the FX Overlay. Once you do this,
you can click here. There we go. Pretty much done it already. So the inverters
automatically clipped. So it does the right thing. And for dispel, you have
the slider right here. That's basically it. You're done with
your green screen. Now, you're going to look for
Drop Shadow and track this. And now you're gonna
go to Drop Shadow, change up the strength, the angle, and the distance. As you can see, the
shadows move here to the moral of the story is, when it comes to videos, you gotta make sure to do
both your chroma key as well as your drop shadow
in the same section, end of NC, you can do both
of them in the edit tab, or you can do both of
them in the color tab. You just want to make sure you
do both in the same place. That's pretty much it guys. That's how you add depth
to your creations. Looking forward to your
handiwork, best wishes.
 Telwin George