Transcripts
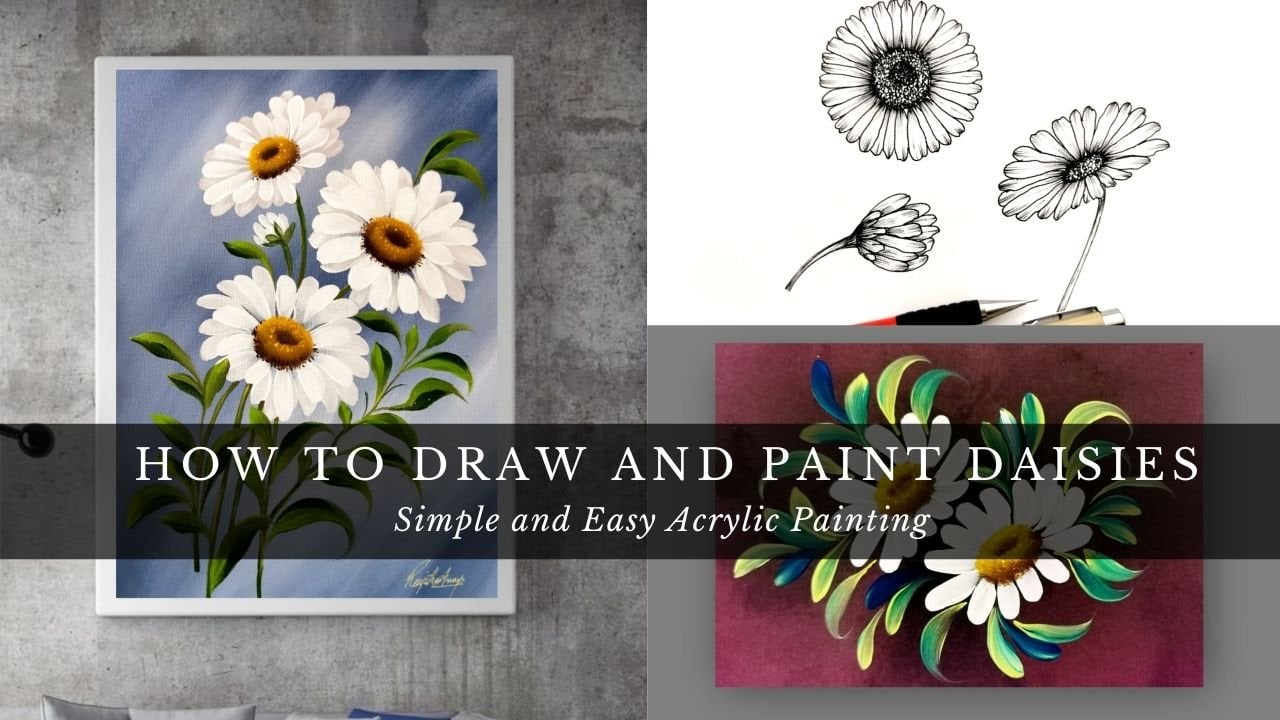
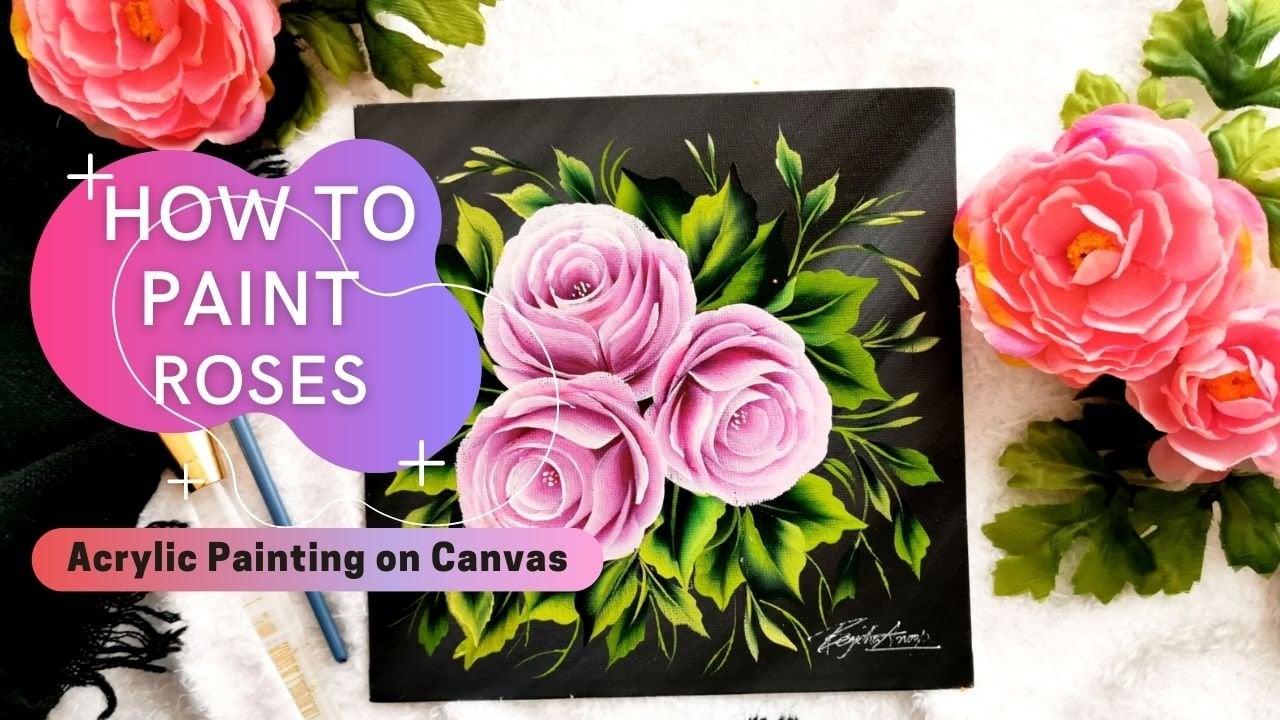
1. Introduction: Hello everyone. My name is Renjitha Anoop. Welcome to my, another Skillshare class. Today we are going to paint this beautiful floral artwork on a canvas. If you're a complete beginner, I recommend you to take my previous class, about one stroke painting. I cover all the basic that you need to understand about this painting technique in that class. So in this class, we will be covering the materials needed. How do paint a symbol background? How do stencil the pattern on the Canvas, how do paint flavors, how to paint the leaves, and also how to layer the flowers using simple technique and how to give shadows to them. And I will take you through the simple and easy process of creating a beautiful art work. I will share with you simple tips and tricks in painting florals. And I will teach you how to apply gold leaf and how to give a golden finish to your paintings. And also there is a simple project for you to try out with step-by-step instructions and a download worksheet. Whether you are a beginner or an advanced artist who is looking to expand the painting skills. This class covers all. So everyone is welcome to my class. join today and let's learn something beautiful and fun.
2. Materials Required: Before we begin, let's have a look at the supplies you will require in today's class. First is Canvas. You are most welcome to use any other material such as mixed media paper, wood, acrylic paper, or canvas paper. But for today's painting, I'm using Canvas of size 12 by 12 inches. Next step, let's discuss about brushes. For today's class, we are actually using few different brushes to complete this painting. These are the brush that I use to create the background, filbert brush and mop fish. You can also use flat brush. Next, you need stenciling brushes. I use boarding bridge to send to that baton. But if you don't have that, you can use normal brushes like this. Next set of brushes you need is flat brush and angle brush. These are the brushes that I use to paint the flowers, to give shadows. And again the leaves. Next thing we need are scruffy brushes like this, to paint the center of the flower. If we don't have this brush, you can use flat brushes as alternative. Next, you need are liner brushes? This is the brush that I use to add fine details to leaves flowers and veins. If you don't have this brush, you can use small round brushes. Next thing you need is a stencil pattern. If you don't have the same pattern, you can use any other pattern. Instead of this. Next the paints. These are the colors that I use to paint the background. Titanium white and Mars Black. Instead of Mars black, you can also use ivory black hole, Carbon Black. Next thing you need is colors to paint the flowers. These are the colors that I use to brain levels. It's my agenda, white and guide Women. If you don't have this similar color, you can use any other color combination, San Carlos, I do a head. It can rearrange. It can be blue or any other color combinations you wish. Nick said though, Kyla that do need these green colors. These are the color that they use to be least, it's olive green, olive green, light, and white. Of these colors you can use any other color combinations. The next important thing you need is golden leaf. To apply the golden if you record material, if I had calcium and it dries in the depression. Instead of this golden need, you can also use Majdanek gold. It's also give you the same effect does coordinating. Apart from this, of course, you will need water. You also require paper towels. Lastly, you need a pallet. It can be glass or ceramics. So let's say I move it up being E6.
3. Prepare Painting Background and Stenciling: Let's start painting the background fest for that. I'm using black and white. I prefer to use a very light color as the paragon, especially I like the gay dots. But you can choose any color of your choice to distribute the colors, are they again, was I use a filbert brush of size one. Neat. If you don't have reverb branch of the same size, you can go with plaid brush or down fish. Again, was his big, large, you can use a bit large brush to distribute, debate. It make I assume they're dying. I need may be easy for you to distribute the palace. I forgot to tell you regarding the black color that I used in this particular painting. Insert of carbon black. I use mice black. But don't worry if you don't have the same color, you can either use lamp black hole, pattern black. In general, acrylic dries really fast feet to avoid drying time, my suggestion is to boys wear Canvas before the application of paint. Or you can moisture in your brush in-between the blending process. Now I am using a small brush to blend the colors very softly and smartly. If you don't have it anymore press, you can use a dry brush to do the same process. While using a small brush, make sure that the brain is not right. If the paint is dried, we don't get this MOOC and soft finish while blending. Now the background is finish less than vendor that makes excellence. In this byte, I will show you how to stain cell the battle. Before going to be in this dancing, I drew two saccharides on the canvas using a white pen. If you don't have this white band, you can also use penicillin or charcoal pencil to draw this. Now let's paint the baton. Sorry. This is the same so bad that they use for this particular binding. If you don't have the same by adding a Durham, you can use in your design that are available on your hand. The bain, the pattern, I am using black and white color. I mix the black and white Karla to make a slightly lighter color and the background. You're going to also take the collateral is correct or not like this. If not, you're going to add a bit more white color to create the exact order that you wish. Now the color is perfectly match. So let's start painting the factor to painless Denzel. I'm usings point pressure. First. I hold it a stencil in place with my fingers and just download their colors using the sporangia pressure on resistance. No, to force the band underneath the stencil because I only want the pain to go in the exposed areas. Instead of this points erase. You can also use densely brushes. Continue and aloo, how gov or distance learning areas on the Canvas don't apply too many layers. Or what obligation of acrylics leads to bulky stiffness. So gently dab this point or this Denzin and you are satisfied with the companies. And if you feel difficulty in holding that stands in place using our femurs, you against dig the stencil using a day and you can do the same process. Continuing the process and glucagon or distance learning areas on the canvas. Carefully pull away the stencil when it is done and place it in the other areas, and repeat the same process for the rest of the areas and finish this penciling process. Now this dance numbers in these greenish Legendre and move on to the next stage. Next step is to draw a rough sketch of the design using a charcoal pencil or a watercolor pencil. What I mean by rough sketch is the placement of the flowers and the leaves. There is no worries. A board, if you're not good at drawing, you can just draw a symbol circles for the pushing of the three levels and also for the lease. Just mark the areas where you need to place the flowers and the leaves, That's it. And this rough sketching you a clear idea of how and where to paint the flowers and leaves, and it will give you an overall view of your painting. I hope this is helpful for you. See you in that mix it branding section.
4. How to Paint Leaves: Hello, Welcome back to this painting section. First of all, I'm really sorry that if you potion nose during recording. So I am going to show you a separate video on how to be in the first half of the leaves. So Dupain the leaves, you will require an angular bridge or a flat brush. Here I'm using an angular bridge of size eight. The color I use ease, olive green, and, or lived in late. You don't need exactly the same color. You can choose any other green color that is available to you. Well, choosing my suggestion is Tuesday, one darker color and one like that. Either. The learning of the bridge is very simple. You can note one end of the publicity. That means the site that goal insight by painting this drug will be darker color and the other end with a lighter color. This is the one of the symbol stroke to the leafs. This rock I use here is a kind of a stroke. Give a really light pressure in the beginning and more debris still upward and lived very slowly with itchy silage. And repeat the same with that downward direction in this drop with the C ciliate joining the fastest stroke. This is how I painted the first half of the leaf. Next, I'm going to show you how to be in the second half of the leaves that overlap data faster. So the second half of the leaf is binded with that same stroke movement as before. But instead of angular brush, I use a flat brush because flood brush give the exact dimension of this kind of leaf painting. The loading of the bridge is same as before. Being there faster half with lighter gallery of will go outside and in the next day Half, as you can see, I changed the direction of the British rare. The lighter color will go inside and the darker the color go outside. That's it. You can see from the banding like to make a big difference to the leaf structure. Next I am going to add some veins to the leaves using a liner brush and enlightened Dean CUDA.
5. How to Paint Flowers - First Layer: Now we start painting the first layer of the flowers. For that, you need an angular brush of size eight or a flag British. The color that I used for the flavor is, imagine that and white. Load your brush with one side my agenda and the other side white. Blend the colors Jin Di and also don't forget to load your brush with NFP. You again, moisture bridge before normally to make them blending process easier. Before start painting the flower, I share an idea on how the place flowers and petals. If the flower needs to face on their left side, then the petals that near to you really be painted smaller than the petal data file. So the flower will face like sideways. If you are a completely beginner in this blending technique, my suggestion is to practice and learn the basic strokes files. You need to study the loading, blending using the correct amount of water or mediums and steady easiest drugs under you are perfect in it. Because the basics is the key to the stroke painting. In the beginning, it may be a bit difficult for you to get the exactly the same stroke. But with few practice, you will get it. So give it did dry and practice more and more by late paying the actually I use a very less amount of water. As you can see from my branding process, I load my brush for E2 strokes that helps the moist ablaze and get enough paint on WSDL. And it will give a smooth flow of the strokes. You can see from each strokes it's flowing like water. That reloading technique is the key to get that stroke perfectly. So try to reload your brush for E2 stroke. And also if you feel like the brushes getting messy, then you can wipe both. Reload again. Now the first two priorities are most finish. Next, move on to the second node that facing the other direction. As I said way for the better XYZ determined that direction after lovers and so babies you battles. According to that. I use the same stroke woman to create the rest of the flowers and blending everything is same as before. So keep on watching and tried to learn this painting technique. If you have any doubts or difficulties in getting this job, please let me know in the comment section. I'm happy to answer to all learn arrays. I have given an instruction and Iraq sheet in the project section in that I pressurize how to create each stocks in a step-by-step way along with the directions. So please seek it out. And also, you can download the worksheet and drier the project I have given. If you are a beginner, the project will be goodbye to understand that elements in the painting techniques. So give it a try and share it with me. I know it's a very lovely day procedure, but goes in each dogs again and again will help you in understanding this dark moments perfectly. So I just don't want to skip that portions. You're going to achieve the same stroke woman with a fat brush do so to say blaze. That comfortable for you to bait. If it is an angular brush, a flat brush, you can hold your brush in a way like you holder pen or pencil. There is no particular way to hold your brush or technique for holding. And it's just like you normally hold your brush or pen or pencil. Once you start practicing, then able to, they will come perfectly. It may take some time to get that stroke perfection, but never give up. Keep on trying and keep on practicing. You can see from each stroke I am painting and I'm not using any medium or water. So all the reloading technique in getting that fraud do an E2 stop. So keep in mind, reload your brush eaters dying 42 strokes. It's given a big difference to your stroke moments is when it will flow like water. I'm pretty sure that you just don't need any external medium or walkaway painting. I hope you enjoyed seeing this bending section. Let's move on to the next part.
6. How to Paint Flowers - Second Layer: In this part, we will study how do layer the flowers. Layering means how to apply a second layer on top of this brain that printers. For that I use the same size bridge and the same stroke moment. The only change that I make here is that collector. See like in the previous section, we use margin there and white to create the first hidden layer of the levers. So to give the second and more striking reuse a bit of a loop don't belong with a light gray. You can choose colors that compensate with each other. While painting the second layer, one thing you need to understand is the placement of each vectors. Remainder few bad debt is underneath. We need to show a part of the first two layers of the metals. And also there's a candy. So you will need to place them in 3D when the bed deals that we painted earlier. That's the only thing YOU considering being that layering of lovers follow the same strategy to their instructor credit creation. As you can see here, I use the same stroke moment. You create the second layer of the vectors. If you are a completely begin early in this way technique, I strongly recommend to study the basics of this drug points. I can also set this to you when adding the second layer of petals, you can wait for the faster layer to completely dry. It helps to avoid mixing up of the Payne's. Follow the same strategy and enjoy the painting process and finish the rest of the flowers using this technique. Layering after flowers is foremost release. I hope you enjoyed the bidding process. This move on to the next part.
7. How to Paint Flowers - Center and Details: In this biodiverse, show you how we can paint a symbol, send it to this flowers. For that I use coffee brushes like this. I know it's quite hard to find these kind of dashes. So if you don't have the same bridge, you can use flat brush as the owner BD, and the loading of the brushes symbol, you can load one side of the best deal with a lighter color and another side with a darker color than simply dab the colors on the ballot to blend it correctly. Then move on to pain. And you can slightly dab the brush still in a circular motion to create a sender. As you can see from here, I'm simply dabbing the colors to make a beautiful center. The flavus. Repeat the process for the rest of the levels to make the froward beautiful. And alternative method of using scatter brushes, flat brush. If we're trying to make ethanol using a flat brush, then load the flat brush with the colors in a similar way, but holding the brush a 90 degree and then dabbing in circular motion, you will get exactly the same kind of center by using the flat brush. I hope you liked this painting technique. I know it's the ID investing to create this kind of sand and give it a try and move on to the next to fight. To make the sender more beautiful. I'm just adding fine details using a Chinese brush. If you don't have the same kind of pressure, you can use liner brush or a round brush. As you can see, I'm loading my brush with a light year no dawn. The local ad will be more vibrant. So I'm adding your loan us the detail, the edge to the flowers. I apply very light pressure in the beginning and give it a line. And then the ending I just pressed Dustin. So you will get this as toggling the same effect devalue seeing that are virtual. So, so give it a try. I hope this tactic is easy for you to give the details to the center of flowers. You get up with the same process for that law was. So overall, the prover will look more elegant, beautiful language standing to arise. So I hope this technique is easy for you to understand. Again, paint all the flowers in this manner and finish it like this and more. Next depart.
8. How to Create Shadow: In this section, we are going to study how to create shadow or how to add more details to each buttons using a symbol. It is completely optional. But I hope you will like this process and I would like to share this technique retail because district will make the binding into and enter that level. You can see that later on this section. So let's begin the processes ways in ways that are bigger brush, it can be an angle bridge or a flat brush. Then load the Carla made early on barnacle or not after breast and blend at Sean. You can dilute the paint using a bit of water. Try to avoid the pain to cover at the end, dare dress till. Next thing to keep in mind is the color choice uniquely yard the breast, with the color that we use to paint the inner area of the law. But in this case, it's my agenda. If you're painting on a blue shade, then it will be blue like that. No need to paint the end areas of East buttons with this technique. Leaf area of white, as it is, it will give the petal a folding effect. As you can see now, how the symbol technique change the overall view of the flower. If you like this technique, please let me know your comments. Or if you find it in difficulties in getting this, you can free to ask, I can give you guidance to get the stocks follow the same procedure to the innervated. Leave a few ideas as it is, and move on. For the inhibitors, we use same magenta color, diluted it with a bit of organ to make them a bit transparent and do the similar stroke as before. As you can see, I am just using the same technique to get that forwarding effort to inspect. Try to avoid obligation of Big Ben always in dialogue. Bain, we debit two of our data while using this kind of technique, then only we can achieve this kind of effect to each vectors. Now it's really clear for you how the transparency of the pain, getting that effortful each petals and believing that in Ojeda create a different look to each petals. You can do the strokes or this technique on some bitters or Ugandan government in their petals. Now you can feel like the overall bending drastically shades. I hope you like this technique. And this is a symbol did that and give you is if you forgot to leave no space, no worries. You can just dig a low-paid nor a symbol liner, brush and variable, you need that and know, or Dutch, you can give this kind of finishing or the deals like this. Now in the shadow, but I'm the businesses come later more and do that next word.
9. Prepare Black Background and Add Veins: Next I'm going to apply a black color to the background of the flowers. And all you have to go, I need to upgrade this black color at this moment. No, it's almost finished and it's all are looking good. But because I wish to add a voltage of patterns to the same debt off this area. So to pop up the Gordon finish and also to make the overall painting more elegant. I prefer to add black, but it's completely optional. If you don't wish to load this process, you can just keep it at any Archimedes for that. I think that Gordon finish makes the bending on GLUT4 to apply the black pen, I'm losing your pervert brush, but, you know, there is some narrow areas in between the flowers. So for that you can use a very thin around birth or even the liner brush. Now the background is finished in a small order that makes bind in this, but I add few, find the details to the painting using it and abolish hiding means we'll give the bathing a more beautiful and realistic look to see a color that I can't see him. Some lines using the liner brush or a round brush. The beat or add variable you need and store bundle. You are satisfied. To pay into this more by defect, you just press a bit harder. And then to clear it, then you will get the exactly the same effect. But you can ask you the same using a round brush and also lead to embrace the processes punish decimal. We'll do that next.
10. Gold Leaf Application on Painting: In this part, I will share with you how to play golden leaf to your paintings. You need a glue. I'm using speed, but normally sell glue and it brush to apply the glue. It's an interesting process of this painting section. First step of the process is the application of the globe. If you don't have the same glue, you can use a glue stick. First, a bit of glue on the ADS where you need the Golden leaf effect. Wait for their diminish to dry the globe. After drying the globe, the milky color will turn into beta transparent effect. So it won't really be Sibyl do arise, but the glue is dreadfully. I use this kind of Gordon live for this particular training. I have mentioned that the deals in their discussion blogs of this painting section. Next thing you need is a brushes, or you can use a dry brushes. Don't use fresh for removing the leaf from the glute areas. Now, I'll play the Golden leaf garlands. And deity SLI, as you can see from here, dissuaded delicate. So use very gentle pressure on that. Now Jen leaks more to the leaf or whatever and cosine. Then I remove unused to the NAEP using a dry brush. Our Sean. Be very careful not to damage the exits of the BCA. To say, you get a bit closer to the endeavor area where you update. Well, the reason I want to learn not to use any red British or raping good while the abrogation of Gordon. Gordon the fabric is nice finished. I hope you enjoyed the process of playing Goldie leave effect of the painting. Let's move on to the next part.
11. Finishing With Stencil and Final Touch: In this part, I'm going to add a batch of gold finish to the back-end using if he had also, I'm using the same golden collect data use before. This modification basis is symbol dot-dot-dot. Come to my mind after finishing that go live. Because once I applied that gold leaf effect, I created leg. If I add something golden touch to the whole painting, it feed more elegant. So I am just giving this modification. I naught or how different mindset. So if you don't wish to do, can skip this step. But I just wanted to share the process off my paintings. He had, I'm using a dry brush effect, do this but then because I'm not diluting that pain with water and also I'm not Boise my breccia so it's dry effort and don't need those cred day. Gordon color to the Indian pattern. Just need a few ADS. And how play on people for each patterns and just blend it do-gooder to avoid that lines. So that's something that I do in this depth. So you can just see like for fine veins are fine patterns. You can use smaller brush. And for the gold patterns you can use a bit more fresh. Now the bending of the factors is finished and I add or garden touches to each pattern. So I hope you enjoyed and learned something new and different. So we'll just move on to the next part. To give a final painting. I use metallic gold and states in this demo I use a round brush in slow sponge brush later stands in place and maybe even the experts ADS made my daily goals. And I lead the process until you are finished with that backends. Now in the Baghdad is for Lee completed. I know it's looking pretty good, yes. With dust Golda effect. So I hope you enjoyed the breeding process and give it a try.
12. Final Thoughts: Hello and regulations on finishing this class. We covered all the different techniques you can use to create a beautiful canvas set. So keep on painting and keep on grit. Don't forget to check out the project section of this bean declares limited Dre and shadow works in the body sick. I'm always happy to see your wax then you for taking this class and it's been a pleasure to meet you will see you in my next class.
 Renjitha Anoop, Artist, Educator, Entrepreneur