Transcripts
1. Introduction : Hi, everyone. My
name is Cherise, and I'm an abstract artist and illustrator that makes colorful paintings with a squeegee. Scrape art is a great
technique for all ages, and it's a really fun way to start creating art if
you're a beginner. There are also a lot
of exciting ways that you can
incorporate scrape art into your practice
if you're a more advanced or seasoned creative. In this class, I'm
going to be showing a few basic scrape art
techniques that you can try out. I'm also going to go
over all the materials that you'll need to get
started with scrape art. If you're interested in
trying out this technique, be sure to join
me in this class. I can't wait to see
what everyone creates.
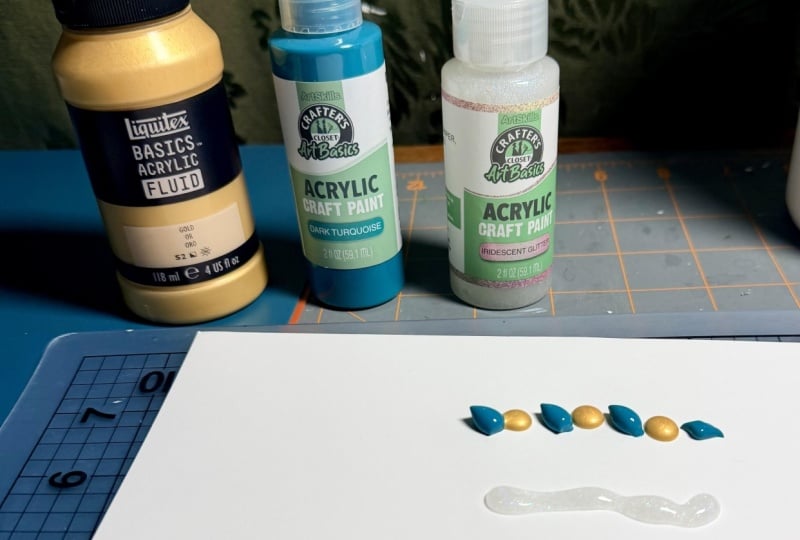
2. Materials: Before we get started painting, we need our materials. The great thing about
scrape art is that you don't need a lot of
materials to get started. You really just need paint, paper, and a Skeche. Scrape art works best with an acrylic or acrylic aah paint. There are a lot of
different brands and consistencies to choose from
when picking out a paint. But as long as the
paint is pigmented, any paint should do for
this type of technique. When creating scrape
art paintings, I like to use a more
fluid acrylic paint. I usually work with
liquitex acrylics, and if I'm just doing
practice paintings, I work with apple barrel
acrylic paint as well. If you decide to work
with an acrylic paint that does not have
a squeezy bottle. Or that doesn't
come out as easily, you can always transfer
your paints into an empty squeezy bottle for
an easier paint application. Next, we have the surface that we're going
to be painting on. There are a lot of
different options to paint on when it
comes to scrap part, but today, we're just going to talk about working with paper. I find that the most
important thing when choosing a paper to
work on for scare work is how well it absorbs the paint colors and
how thick the paper is. For these paint studies that
we're going to be doing, I'm going to be demonstrating
on water cloy paper. And I find that waterclo paper works best for square
art paintings. I just really enjoy
the texture of the paper and the way that the
paint is absorbed into it. But you can also work on acrylic
paper and bristol paper. I've even done scare art
paintings on card stock before, although I find that
it doesn't really absorb the paint quite as well. As long as the
paper is thick and can absorb your paints,
you'll be good to go. Now that we've covered
our paints and papers, we're going to talk
about squeegees. The great thing about
scrape art is that you don't have to use a squeegee
for your paintings. I like to use a squeegee because it gives a smoother paint glm, but you can also use
other materials like a piece of cardboard or a
really thick piece of paper. You can even use a piece of glass or plexi glass to create
your paintings as well. These last two items
are not a necessity, but I like to have them when working on a
scrap heart painting. The first one is scrap paper. You can use old pieces of printer paper or pieces of
newsprint or newspaper, something that you don't mind throwing away that
you can use to catch the excess paint that falls off your paper
when creating your art. You may also want to keep some tape on hand while
working on your painting. I find that tape helps you to create different shapes
for your scrape ar. And it's also really
great for holding your paper in place while
working on your painting. You can always use your
hand instead, though, if you prefer and just hold the paper with your
hand for your artwork. That concludes all of
the materials that you need to get started with
scrape art painting. There are some
other materials and tools that can be
used for painting, but we're just going to cover
these really basic ones to get started today. O
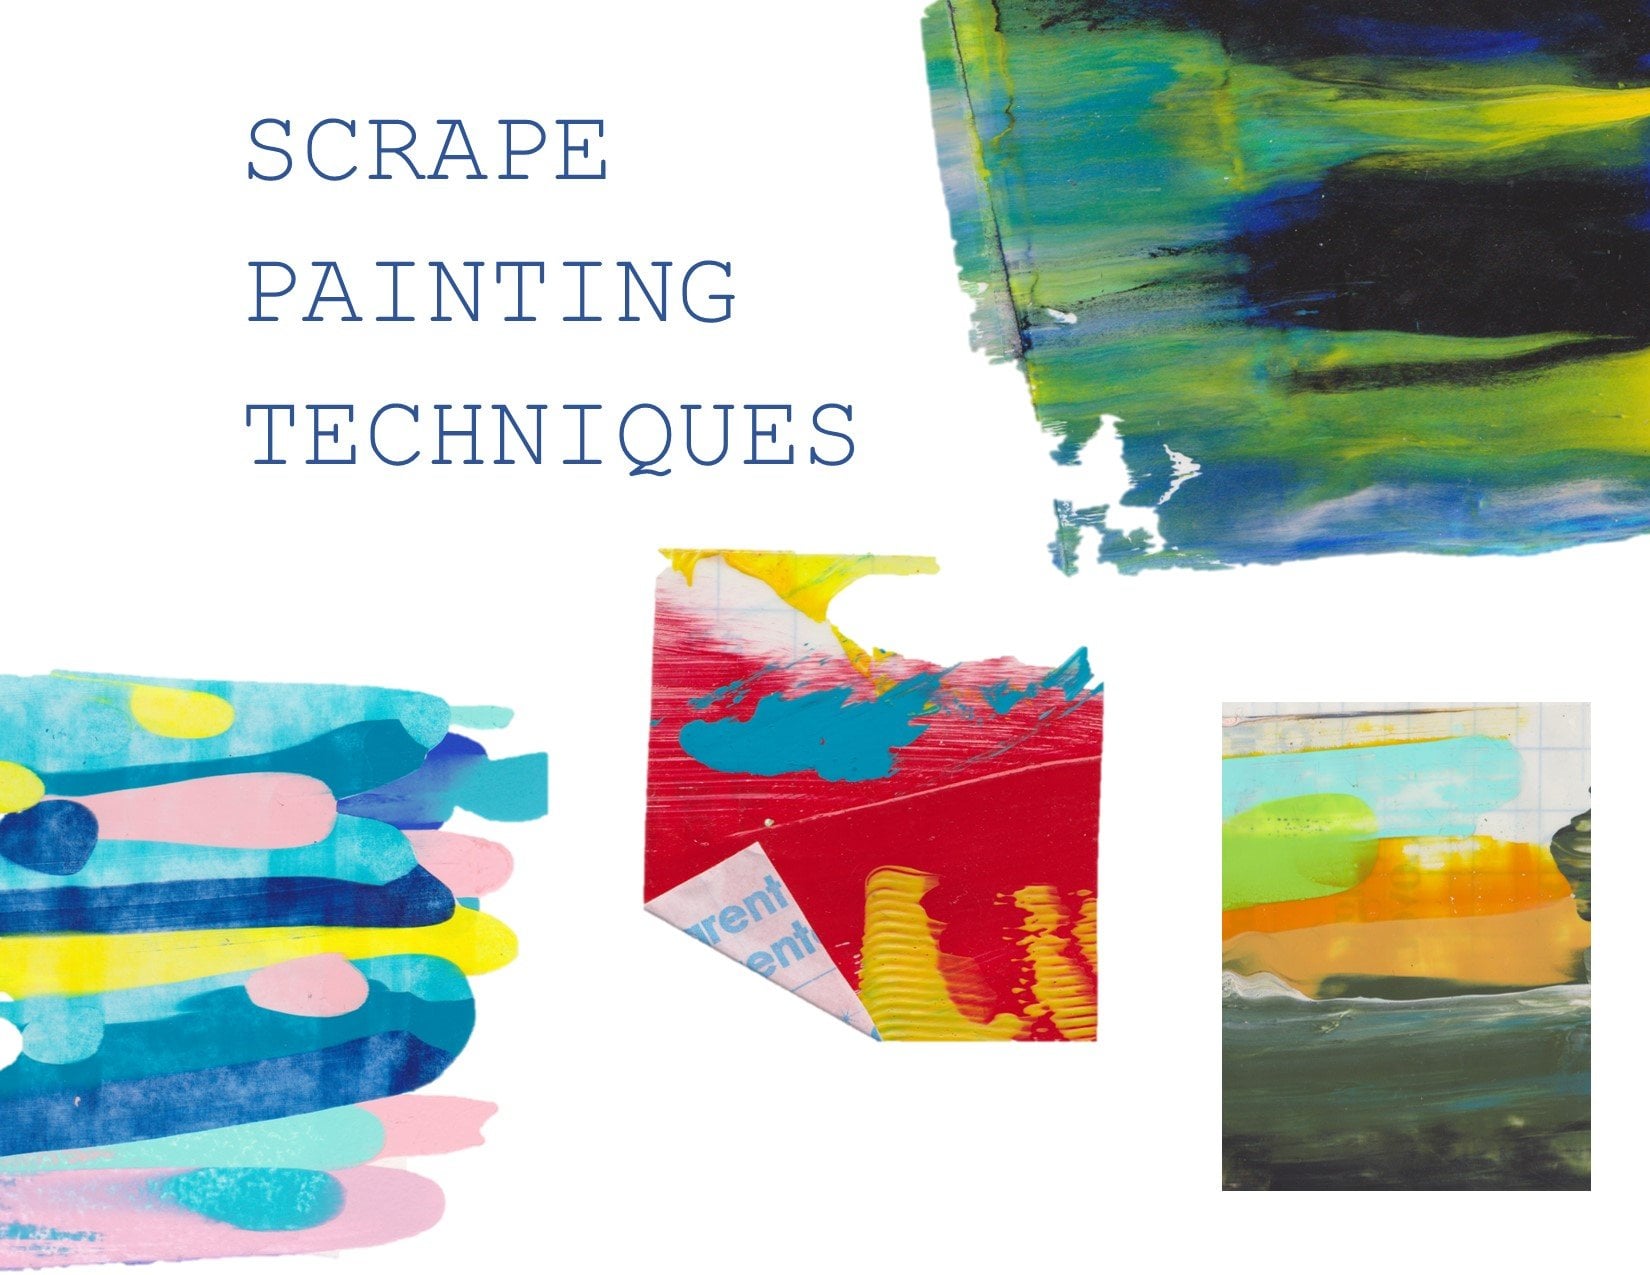
3. Basic Techniques : For this lesson,
we're going to cover some basic exercises and techniques to help you get comfortable using your squechy. Start with the color
of your choice, and I just want you to draw
a small line on your paper. Next, if you're
working with tape, grab a piece of tape and tape the top of your paper
onto your table. This will help hold your paper
in place while painting. Place a piece of scrap paper under your watercolor paper so that it can catch
any excess paint that slides off while
you're painting. Hold your squeegee at
the top of your paper. Make sure that it's placed
above where your paint begins. Next, you're going to press down hard into the paper and slide the paint down
with your squeegee until it falls off of
the watercolor paper. If you have paint left
over on your squeegee, you can wipe it off
with a paper towel or a cleaning glove. Repeat this process
again, but this time, I just want you to
draw a small dot on your paper instead of a line. For your third exercise, I want you to
select four colors, and I want you to adopt
them randomly above and underneath each other to
form a little group of dots. Use your squeegee to
scrape this paint down in a straight line as
you've done previously. If you have paint left
over on your squeegee, you can also try scraping the leftover paint onto
a blank sheet of paper. Notice that when
you're working with different color paint dots and you layer them above and
underneath each other, the colors that are closer to the top of the paper
are more dominant, and the colors blend together as you get towards the
bottom of your paper. This next exercise
just gives you a little bit more practice with seeing how different colors blend together depending
on what color is on top or on the bottom
in the painting. For the first example, I'm doing a blue line and
placing a yellow dot on top. And then for the second example, I'm doing a yellow line and
placing a blue dot on top. One thing that you
may notice is that the colors blend a
little bit differently, depending on what color is on the top and what color
is on the bottom. You can also
experiment with doing a dot above and
beneath the line and just play around with the
different ways that the colors blend as you stag different
colors on top of each other. Next, we're going to be doing a really easy pattern that
gives you these striped lines. So I'm going to be working
with blue and yellow, and you're just going
to rotate between these two colors to create
your stripe of dots. You can also add in more
than two colors and just alternate between however many colors
that you're using. For this next example, I'm doing blue,
yellow, teal and red, and I'm rotating between
those four colors, and it gives you almost
kind of rainbow line. All of these little
practice exercises that you've done are really
basic dot patterns. The dot patterns are just
the arrangements and placements of dots to create
your script art painting. Now that we've
covered some basics, I'm going to show you
another technique in the next video for scripting.
4. Dots Technique: For this technique,
we're going to expand on the exercise from
our previous lesson. To do this technique, randomly lay down different
colored dots onto your paper. This technique works
best when you have a lot of colors to
rotate between, but you can still make
it work as long as you have at least
three or more colors. You want to avoid getting paint on the edges of the paper? I like to have at least one of each colored dot at the top of the page so that you can get all of the colors in your painting. As a reminder, the dots that are at the top of the
paper are going to be the most dominant colors
throughout the painting as you blend the paints
and slide the squigi down. For this artwork, you can place your scrap paper on top
of your waterclo paper, or you can place it underneath
the waterclo paper. You can scrape straight down, or you can move the squeegee
from side to side to get a more wavy look
from your artwork. This is a really fun technique
that you can do with scrape art that fills up a
lot of the page at once. I hope you guys enjoy
this technique, and in our next video, we'll be covering another technique
that you may want to try. O
5. Stripe Technique: For this next exercise, we're going to be revisiting
the striped dots, and we're just going to
do it on a larger scale. Again, I'm working with
red, yellow, blue teal. This time, instead of
letting our paint come off the edge of the watercolor
paper at the bottom, we're going to use
our scrap sheet of paper and place it on top of the watercolor paper instead of placing it underneath
the watercolor paper. You can also experiment
with the direction that you move the squeegee when
you're doing a scrape. Instead of scraping
straight down, as we've done previously, try moving the squeegee
in a curved motion. This creates a curved or
arched shape with the paint. You can also use the
left over paint on your squeegee to
do a second scrape on a new sheet of paper. You'll notice that on the second scrape with
the left over paint, the colors blend a
little bit more, and you lose a little bit of the definition from the lines. These striped or rainbow lines are a really
fun technique. You can leave them by
themselves as is on your paper, or you can add them
on top of something, paint on top of them, and even cut them out
and use them for cloge.
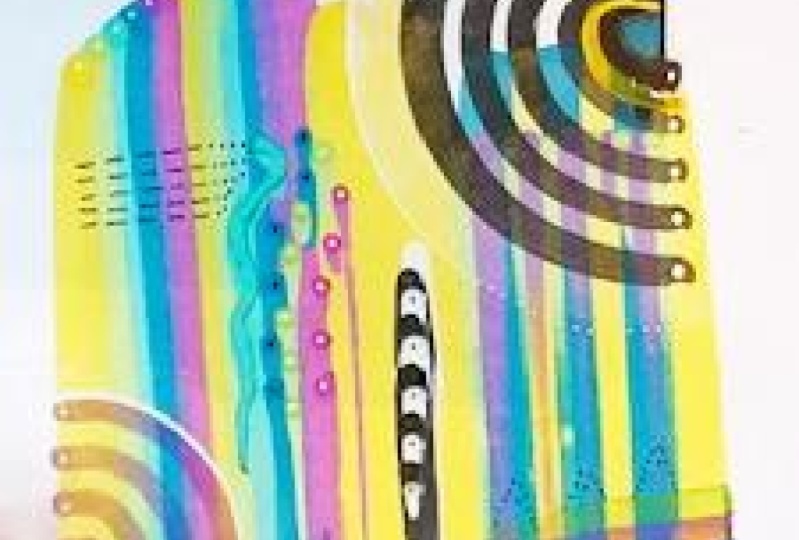
6. Checkered Technique: For our final technique, we're going to be creating
a checker pattern. This technique is similar
to the lines that we did for the striped
or rainbow painting. Start by making a
row of paint dots. For this painting, I'm
doing blue and yellow. Once you have done your
first row of dots, put the opposite
color of each dot underneath your first row
to create the second row. For example, in this video, I have done the colors
yellow, blue, yellow blue. Underneath the yellow
for the second row, I would place a blue dot. And underneath the blue
for the second row, I would place a yellow dot. Continue creating rows,
rotating your colors until you have about
four or more rows. Once you have your
desired number of rows, you can use the squigi to spread the paint and
create your artwork. The result of this
technique is a check your pattern towards the
top of your paper and striped lines towards
the bottom of your paper that blend the two colors of
your paint together. You can also do this pattern
with more than two colors. In this second example, I'm working with four colors and rotating between each color
to create my first line. On the second line, I'm shifting each color over
to the right one. You can continue this process until you have your
desired number of bros. For this technique, you can experiment
with different color combinations to see how the paint blends and creates different effects at the
bottom of your paper.
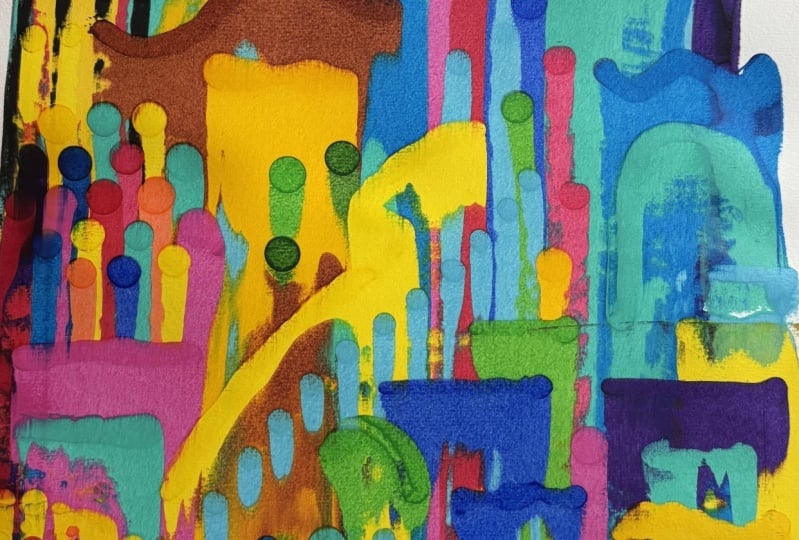
7. Final Project: To conclude our class on
basic script techniques, I want to challenge you to
try and incorporate two or more of the different
techniques that we've done into one painting. In this video, I'm combining
all of the techniques. I'm filling in an area with
the striped rainbow lines. Then I'm also doing an area with a checkered pattern and another area with the
pattern that we did. So here's how my final painting turned out after I combined these different
techniques together into one scare art painting. I can't wait to see
what you guys create. Be sure to share your projects. I hope you guys
enjoyed this class and had fun trying a
little bit of scare art. Thank you so much for joining me. I'll see you
in the next one. Oh.
 Sharece, null