Transcripts
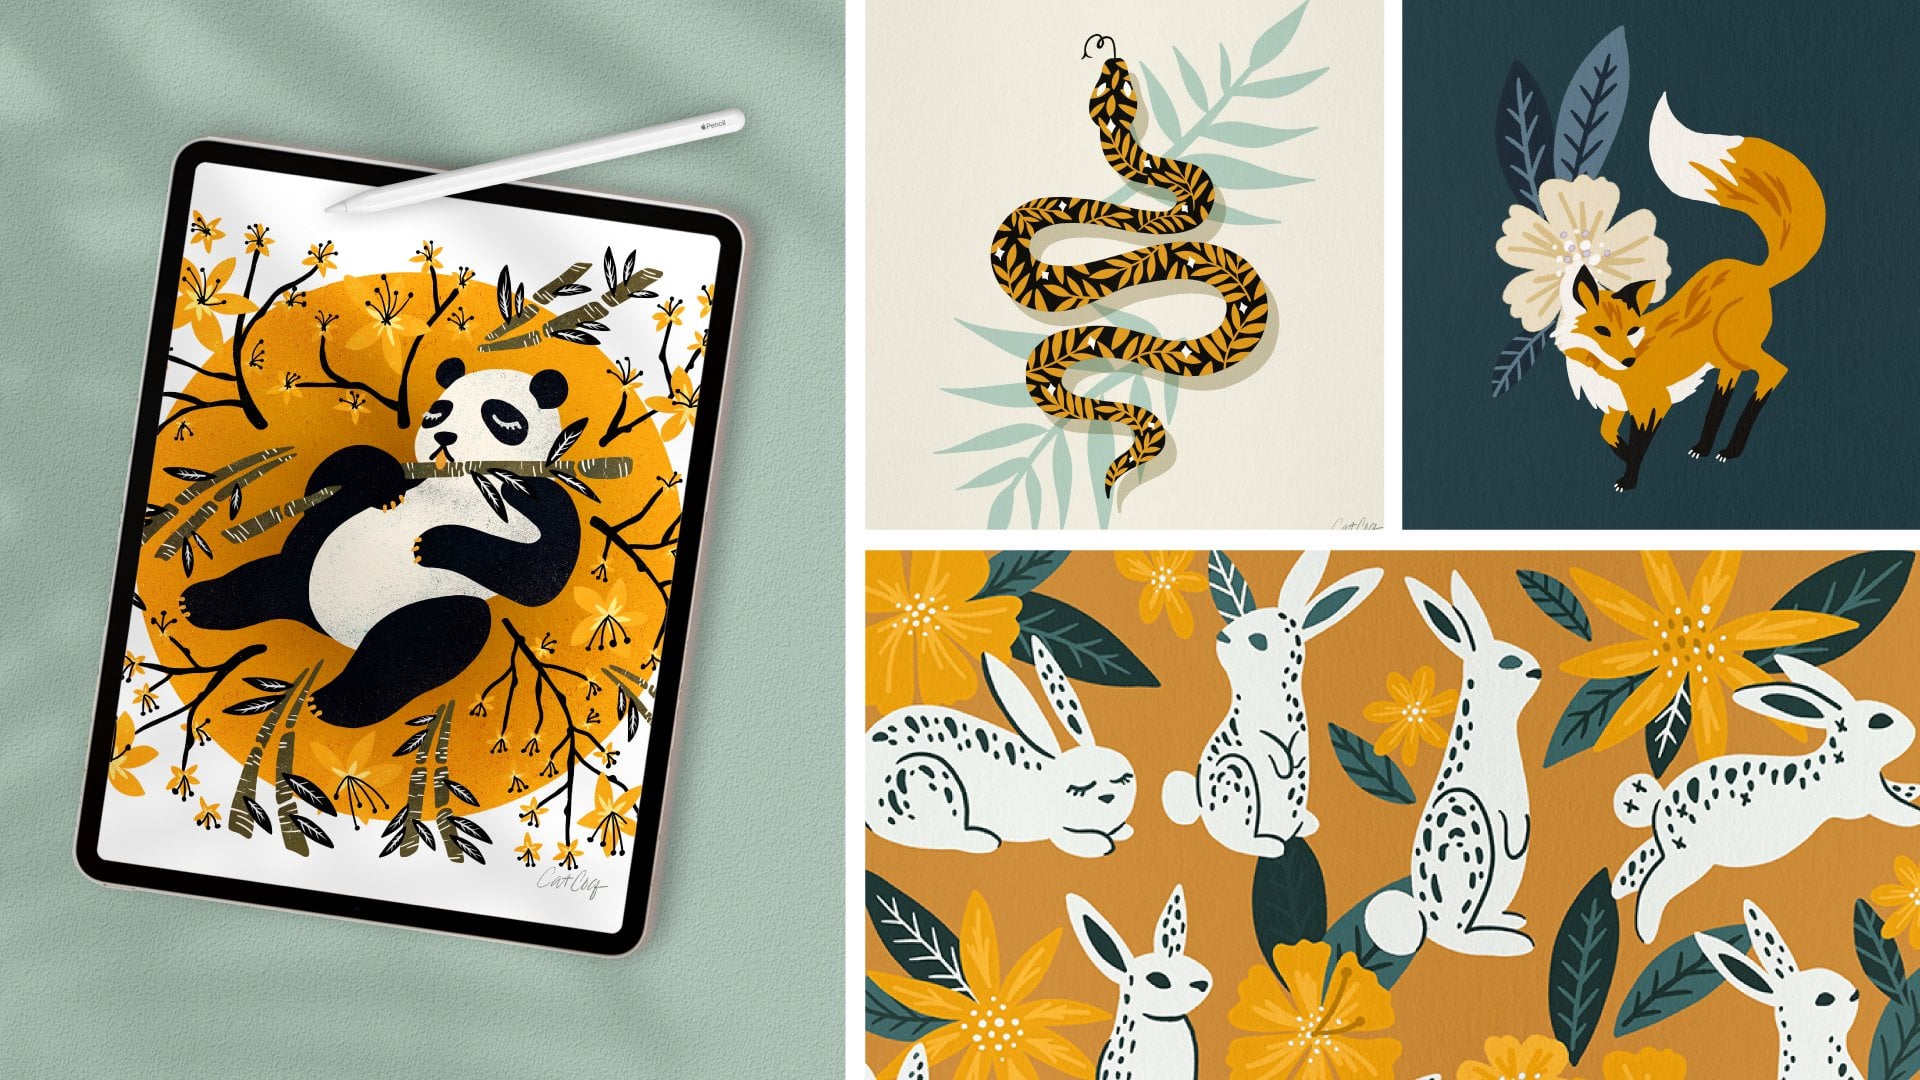
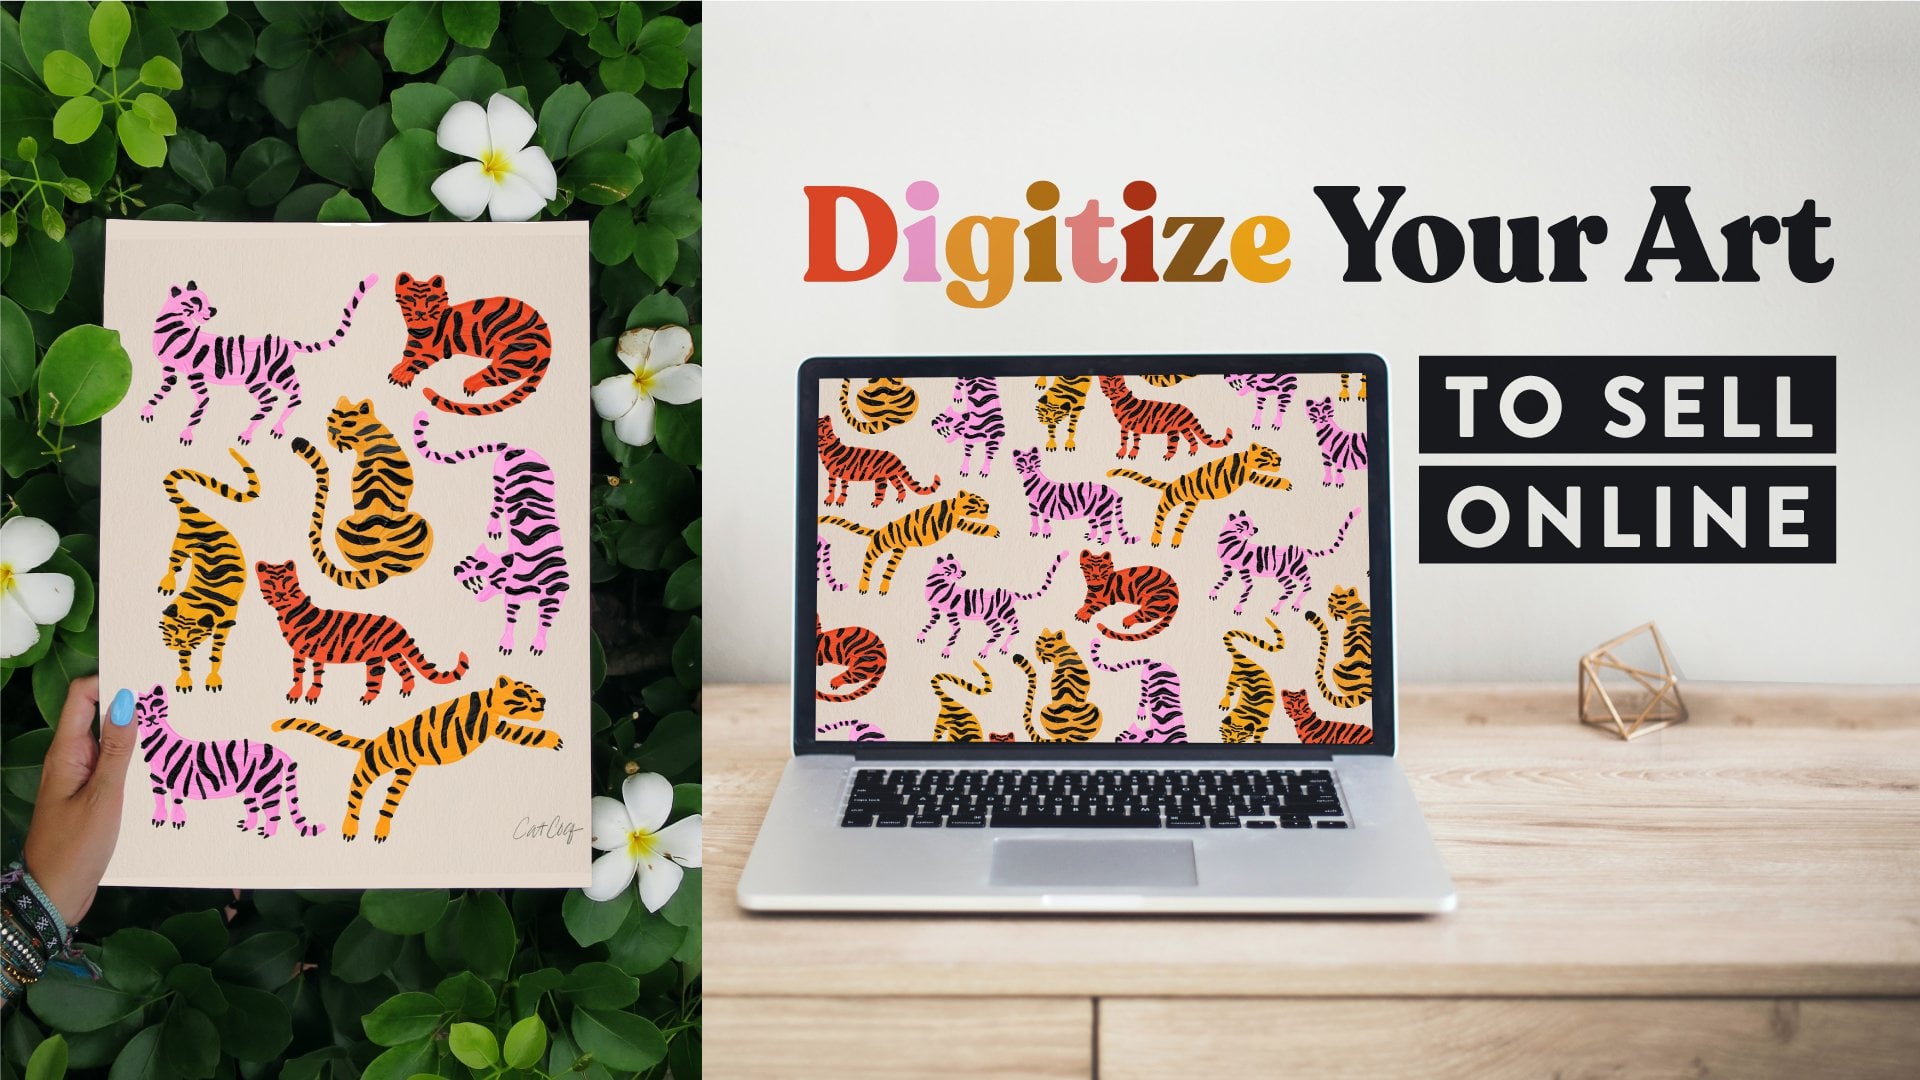
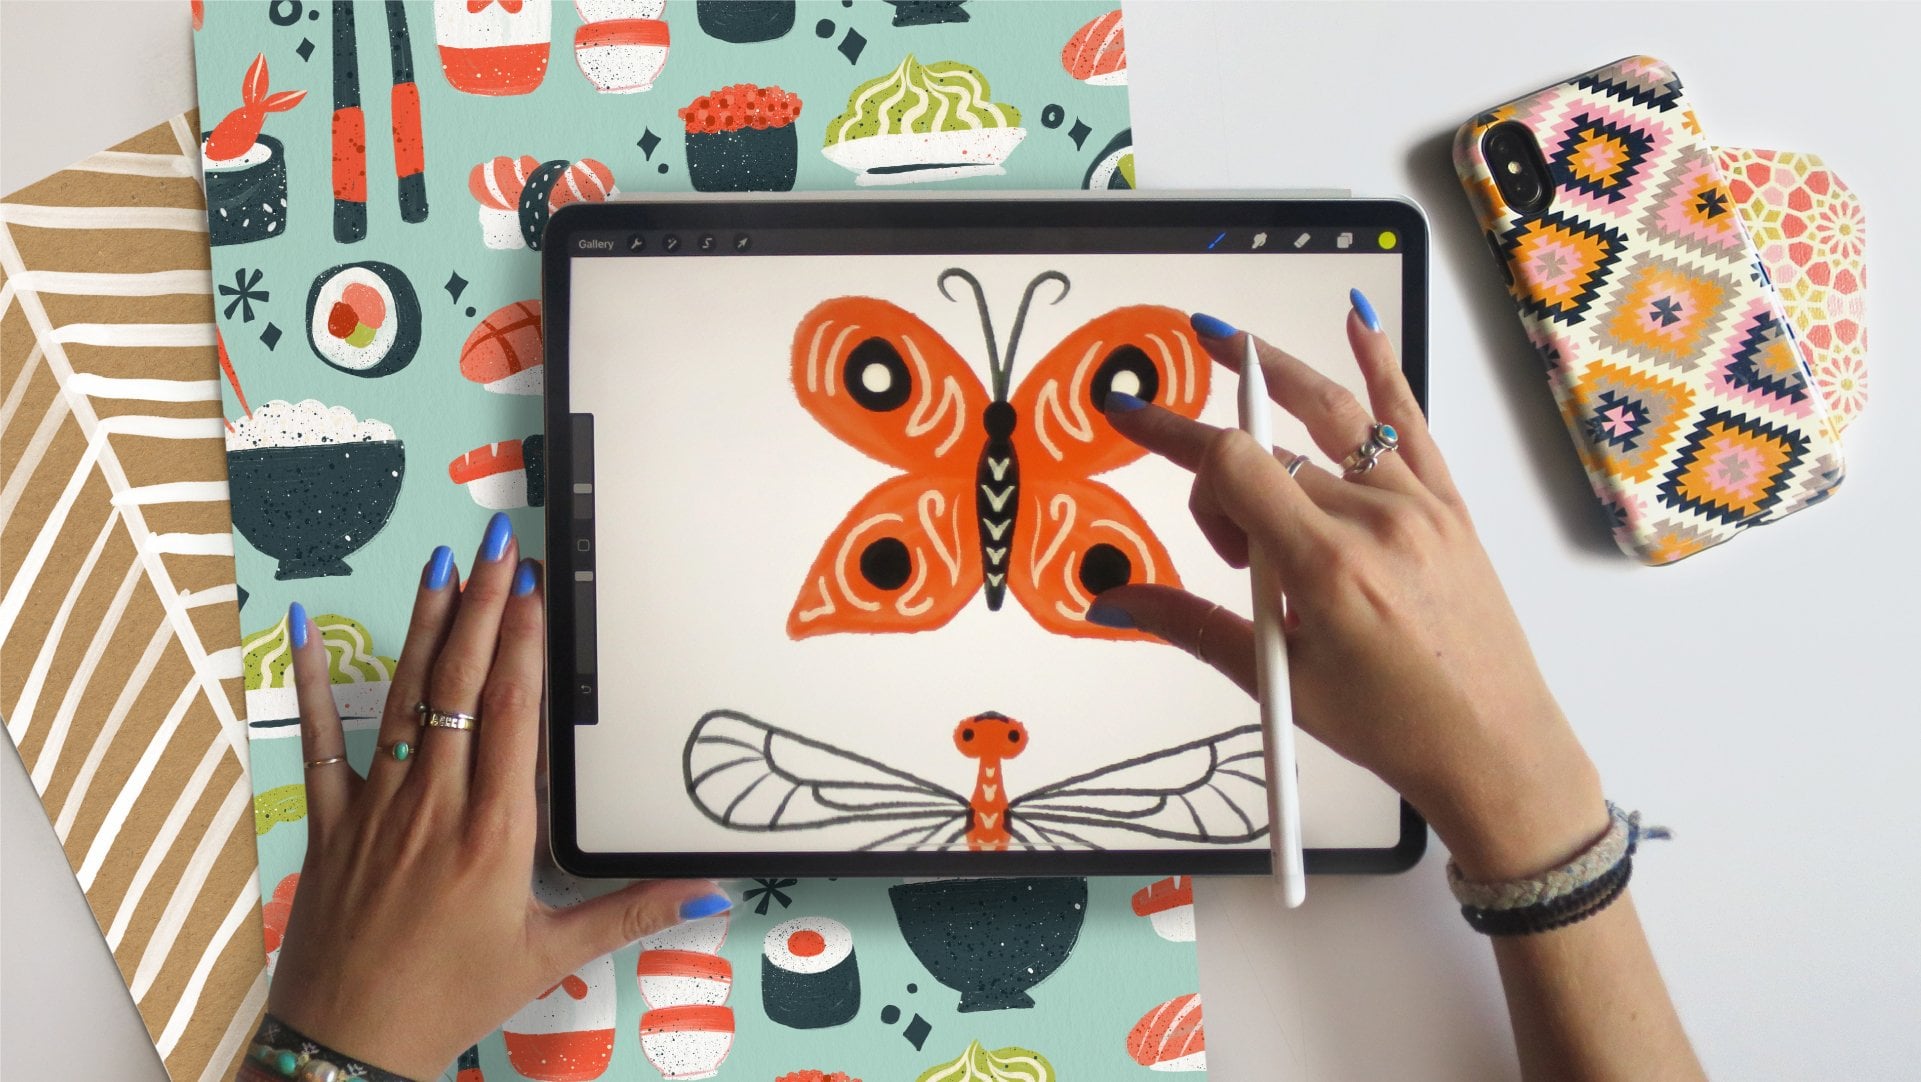
1. Intro: Hey, everyone. I'm back for my third Skillshare class. My name is Cat Coquillette, and I'm the founder of CatCoq, an illustration and design brand. Art licensing used to be my side hustle, but now it's my full-time business. I licensed through print-on-demand companies like Society6, Redbubble, and Casetify, as well as through art licensors that sold my artwork both online and in retail stores. I've been selling art through print-on-demand sites since May of 2014. In my first month, I sold three products; two phone cases and a tank top, and my paycheck was $9.20. But within a few months, I had grown my artwork portfolio window cohesive collection and I was earning enough to cover my rent and earn some. Today I've sold over 100,000 products through art licensing, and I'm among the top sellers on some of the major print-on-demand platforms. With art licensing, I get a percentage of sales. So the more companies I work with and products I sell, the more I earn. This is an incredibly scalable business and if you take the right steps, you can really propel forward. Licensing my artwork has afforded me the autonomy to support myself completely and travel the world full-time and live wherever I choose. I'm currently in Chiang Mai, Thailand, a mountainous jungle region up North near the Burmese Border. My artwork is inspired by the things I encounter everyday. Since I've been here, my portfolio has bloomed into all lush tropical plants, wild animals, orchids, and lotus blossoms. I illustrate on my laptop when I'm on the move, like in airports or coffee shops, so the digital illustration half of my portfolio has become my daily thoughts, mostly about petting dogs. I'll be teaching you the steps I took to get to those points. I'll give you insider tips that I picked up along the way so you can have the chance to succeed with licensing as well. My class is packed with actionable steps that can help you make your first sale online or boost your sales if you're already selling. I'll start with the basics of print-on-demands, including how it works and how you can make money with it. I'll also give you tips about how to get your shop set up with a major print-on-demand company like Society6. From your usernames to the staples you should always include in your artist bio. Then we'll dive into establishing your niche with a recognizable style and finding your target audience. These are the customers that are the most likely to purchase your work. I'll also go over how to key into trends and use that knowledge to create best sellers. We'll analyze what's been insanely popular lately, as well as look at how to project what the next big sellers would be so you can create work in advance that has a chance to make it big. I'll summarize my top tips for uploading your artwork, both on the technical end, like file types and dimensions, as well as choosing the best tags for your work. Spoiler alert: tags are vital to getting your work noticed on any platform. One of the most frequent questions I get is how to price your artwork. I'll walk you through the considerations I take to ensure that I'm earning a fair rate while gaining a competitive advantage. It's challenging to get noticed on a website that hosts hundreds of thousands of artists, but there are strategies you can implement to increase your chances of getting to the front page. I'll share what's worked best for me and give you my tips on how to gain traction and get noticed. Last but not least, we'll cover the essentials for growing your audience and getting discovered through social media marketing. I'll include tips to get featured by influencers, how to link to your shop, and strategies for highlighting your best work to share. We're covering a lot today, but I'll be breaking everything up into short videos so it's easy to follow along and digest. You can pause at any moment to take notes or skip ahead if you're eager to move on to the next section. If you have any questions, you can post them in the discussion thread down below. I read and respond to everything you post. Don't forget to follow me on Skillshare. Click the "Follow" button and you'll be the first to know as soon as I launch a new course or have a big announcement to share with my students. You can also follow me on Instagram @catcoq to see the latest works in progress. Ready to pick up techniques to make your first artwork sale online or grow your existing job? Hit "Enroll" and let's get started.
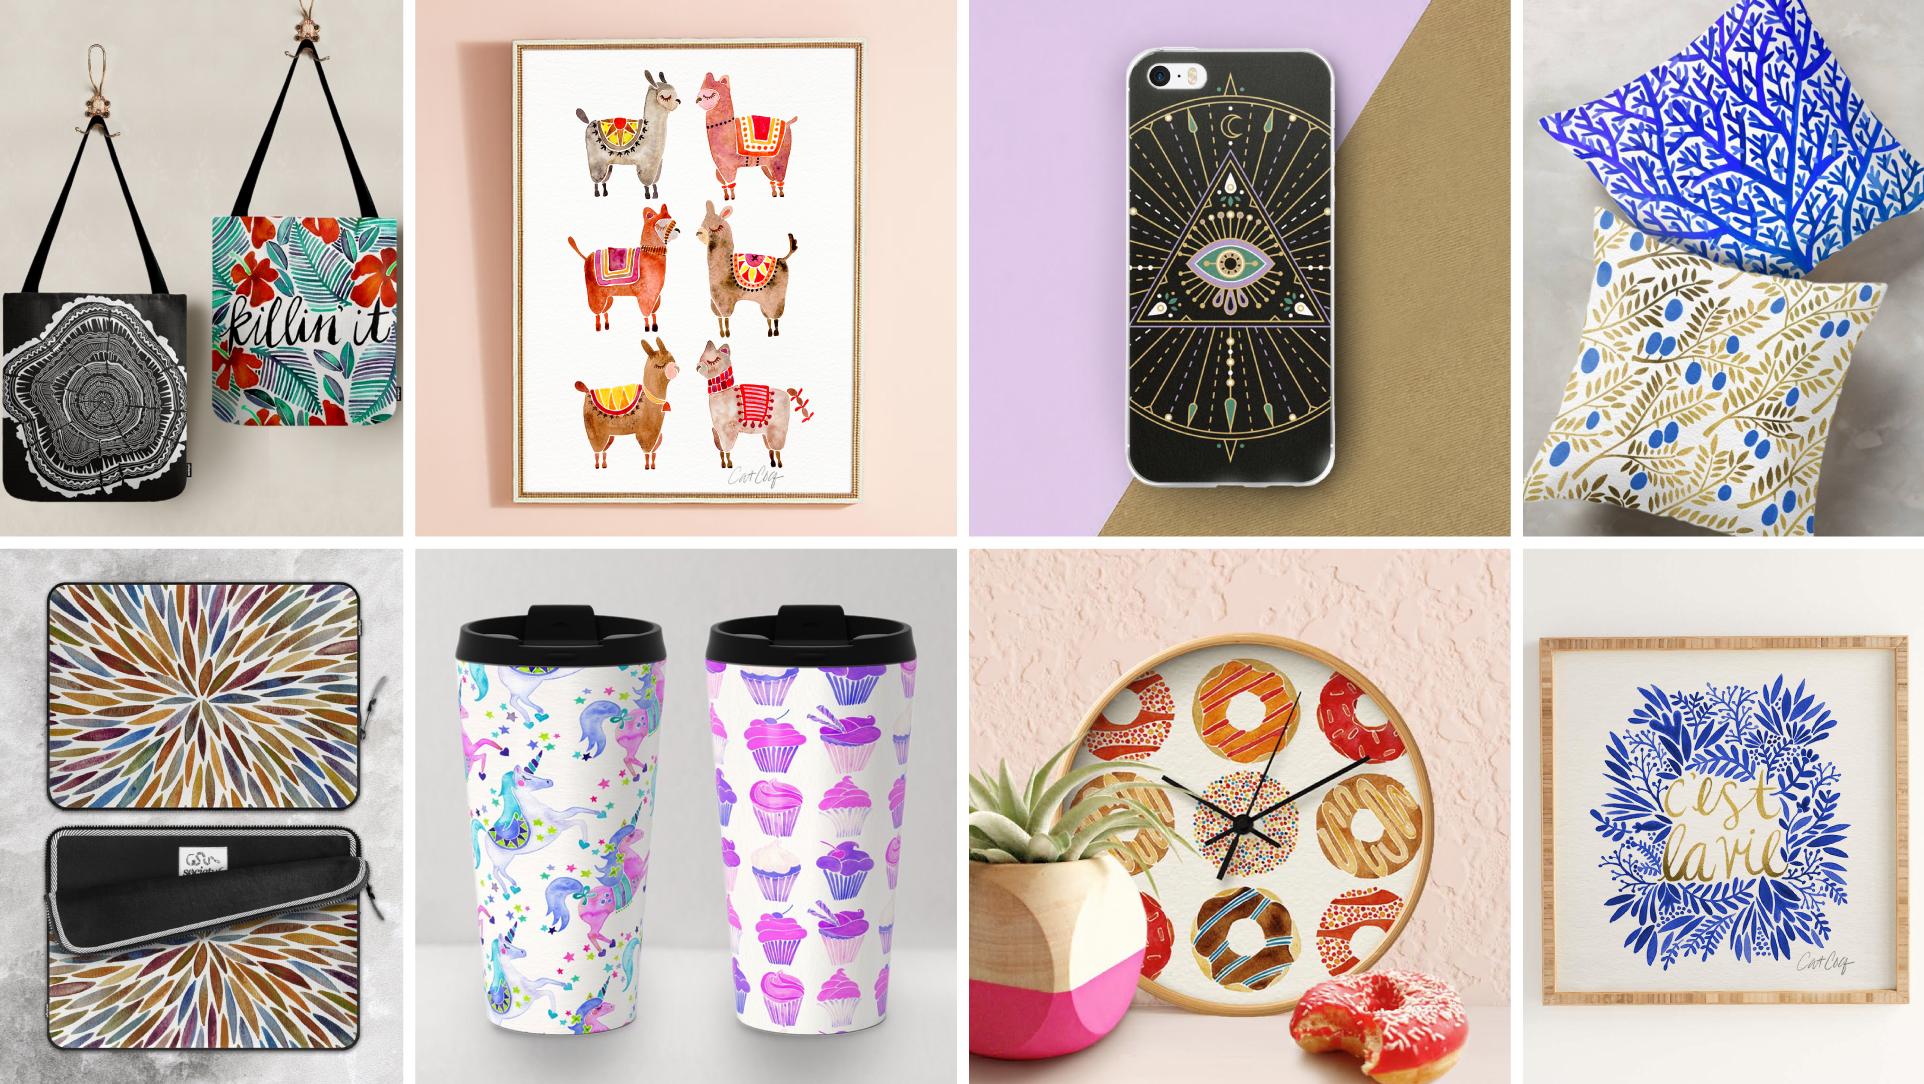
2. The Basics of Print-on-Demand: This video is going to be a quick intro into print on demand, in case you are not familiar. If you already are, just consider this a refresher, you might learn a few things. In my first featured course, creating art that sells, a working artist's guide, I covered a lot of these basics. If you'd like to learn more, go check that one out after this class. Consider this one a Cliff's Notes version. What is print on demand and how can artists profit from it? Print on demand is a production model where products with custom printed designs are produced as customers order them. Instead of printing a thousand t-shirts with the simple design and holding inventory, a single t-shirt is printed when a customer orders it. This is a low cost entry model and has been exploding over the past few years. It's provided incredible opportunities for artists to monetize their art work. There's no financial risk for artists to get involved. Just the time investment to get your shop setup and upload your artwork. Keep an eye out though, for sites that try to charge you money to sell your work, they're usually rip offs and it's best not to get involved with them. Print on demand sells nearly everything that can have designs custom printed on them, wall art, t-shirts, phone cases, tote bags, backpacks, leggings, tapestries, pillows, rugs, coffee mugs, notebooks, bedding, stickers, skirts. I could literally go on and on, but I'll spare you guys, you get the idea. On most print on demand websites, you can decide which products you want to be sold in your shop and which ones you don't want to include. If you're selling art prints on your own websites and you only want them there, you can set up a print on demand shop that sells everything except art prints. I don't do this personally, but that option is available. For each product and yours that sells, you get a percentage of the profit and you get paid every month or quarter. Some percentages are fixed, usually around 10 percent and some sites let you set your own prices. Society6 fixes all prices for products, but lets you set your own rates on wall art. Redbubble allows you to set your own prices for every product to sell. There's pros and cons to both of these options, but fixed and consistent prices across the board, do make it easier for your customers, which will benefit you. There are hundreds of print on demand sites out there and you can pick which ones you'd like to get involved with. The three that do the best for me are Society6, Casetify and Redbubble. That being said, I still sold my work on a variety of other platforms, both established companies and brands that are right out of the gate. Some other print on-demand companies to keep in mind, are Drawdeck, Design by Humans, Art Crate, Fine Art America, Threadless and there are tons more out there that I haven't mentioned. Just do a Google search and you won't have a problem discovering them. There are some considerations to keep in mind when you're deciding where to sell your artwork online. Quality is a huge deal to me because the quality of the products reflects on me as an artist. If someone purchases a print of my artwork that is poor-quality, it makes me look bad. I only work with print on demand sites that are known for their high-quality products. I purchase samples of my work from pretty much every print on demand I work with. This serves as a quality check plus gives me an opportunity to photograph the products and share on social media. There are some key benefits to print on demand to keep in mind. One, you have a professional online portfolio. I still send clients to my society6 shop to review artwork because it contains all of my work in one place and it's really intuitive to navigate through. Two, another key benefit is that print on demand is easy and hands free. You don't have to fulfill orders or manage customer support. You can focus on creating beautiful art. The print on demand does the rest. You don't need to deal with web hosting, returns, exchanges, shipping labels, inventory or packaging. I mentioned a 10 percent royalty rate earlier on which initially may seem a little low but keep in mind that the print on demand company is handling a huge chunk of the business. Three, another benefit is that your shop and portfolio grows with time. As you add new work, it'll start building up into a cohesive portfolio. You'll be able to sort out your work from newest to oldest to get an idea of how your style has progressed over time. You can also sort by most popular to see which pieces have the most potential to earn money. Four, as I mentioned earlier, there are no web hosting fees or custom-design requirements. Everything is already set up by the print on demand company and ready for you to add your work. This simplifies the process of building a website portfolio and allows you more time to create beautiful artwork. Five, most print on-demand companies introduce sales events from time to time, and this is a great opportunity to boost sales to your shop. They often send out emails to the artists in advance, so you can prep for a social media announcement and push your audience to your shop. My profits always increase during these sales events and it's a win-win for both me and the print on demand company. Six, last but not least, the biggest benefit of selling your artwork through a print on demand site, is that once your shop gets traction you'll get a paycheck every month. Additionally, if you continue uploading new work and promoting it, that paycheck should increase. I mentioned earlier that my first paycheck from society6 was $9.20. I'm so glad I didn't get discouraged by that. Instead, I kept hustling and it is paid off exponentially. With a typical nine to five job, you're limited to a steady paycheck. But with your print on demand company, your income will fluctuate both up and down, hopefully up, every month. As a general rule, the harder you work and the more you put into it, the more you should earn. This is a great incentive to get yourself in hustle mode and be passionate about what you do. It's all in your own hands. I've gone over a ton of benefits on print on demand but now let's talk about the challenges. It's not easy to make a ton of money through any of these websites. You've got to have a great portfolio of work with mass appeal, develop a strategy, and be flexible with new developments in the markets. One of the biggest challenges, is that it's difficult to get noticed on any of these platforms. With hundreds of thousands of artists participating, it can be really challenging to make a name for yourself and gain traction. There's not just one solution to overcoming this but throughout my course, I'll be sharing tips on how I got over this hurdle. Success doesn't happen overnight, it takes effort to promote your shop, gain followers, and push sales. Now, that you understand the basics of print on demand, let's dive into some actual strategies for making money licensing in your artwork. The next video is all about establishing your niche and the audience that comes along with it. Let's get started.
3. Establish Your Niche & Target Audience: Hey guys, in this video we'll be focusing on establishing your niche and target audience.[ MUSIC ]. First of all, let's talk niche. What I mean is your recognizable art work style. When you first get started, it's okay to paint with a wide brush, figuratively speaking, and explore a variety of styles. When I was starting out, I had two basic styles. For one, I created a ton of digital collages with patterns, textures, and big blocky shapes. My other style was floral watercolors. Guess which one tanked? Hint, you never see the cloth stuff in my portfolio. I wasn't very good at it, no one bought it and I've since weeded it out of my online shops because it was pretty distracting. However, the watercolor floral took off and became the base of my brand style. This is a great example for getting started. You don't need to have everything established right away. Explore a variety of styles and motifs and see which one takes off and starts to earn you money. Once you figure that out, you can create more work in that thing and branch off from there. Once you have a solid understanding of your style and what people are purchasing, consistency then becomes important in your portfolio. I limited my artwork styles to two main themes. One is hand painted watercolor paintings, where I explore motifs from plants and animals to food and quotes. The color palettes are highly saturated with limited color waves within each painting. My second artwork style is detailed digital illustration. I spend a lot of time traveling, so creating artwork on my laptop is an easy way for me to continue building my portfolio when I'm on the move, like hopping on a flight or working from a coffee shop. These two styles are pretty different, but I maintain both together within my brand. Together they're both big sellers with about 70 percent of my earnings coming from hand done paintings and the other 30 percent coming from digital work. Once you have your style established, you can find your target audience. It's pretty intuitive and most artists target audience are pretty similar to them. My audience is predominantly women ages 18 through 40 who like cute phone cases, animals, uplifting wall arts, and sharing funny or relatable quotes online with her friends. Basically, this is a broad picture of me. I know my audience, I know how to speak to them through my social media posts, create more art work that will speak to them and who to target for sponsored ads. A burly biker guy in his sixties probably is not going to buy one of my phone cases, so there's no point in trying to reach him by creating a floral tote bag design with a Harley Davidson quote on it. I don't even know that means which is a perfect example of what I'm saying. Stick to your audience. If you go broad, you won't appeal to a niche. You can find your audience by selling on the right platforms. Each print on demand site has a slightly different audience. Casetify is all about fashionistas, style bloggers and Kardashians. Society6 is all about LA style, dorm rooms for cool kids and has a very millennial aesthetic. Redbubble is pop art stickers for your locker and Punny t-shirts. This is an over-generalization, but you get the idea. I sell the most through Society6, because my audience most aligns with theirs. The product that sell the best for me there, like que sera sera or Alpacas, good VIBES and Little and Fierce aren't the things that's all the best for me on Redbubble or Casetify. This is why understanding your audience is so important. That being said, most print on demand sites don't require an exclusive contract, so you're free to sell the same designs across a variety of websites. Take advantage of this non-exclusive and put your artwork out there everywhere. You never know what's going to take off. I think I've hammered in the importance of establishing your niche and your audience hard enough. Let's move on to the fun part, 'Trends'.
4. Key into Trends & Generate Mass Appeal: This video is all about how to spot upcoming trends and create work that has mass appeal. Once you key in to these two things, you can create work that people want to buy and put your own unique spin on it so that your work is proprietary to your brand as an artist. There's a lot of methods for keying into trends. One of the most obvious things you can do is look at the top rated popular pieces on each print on demand site and see what sells the best on each platform. You don't need to copy another artist, but take note of what's selling well and look for patterns. So right off the bat, I'm noticing what's on the top page of Society6, portraits, otherworldly landscape collages, abstract canvases, and subtle tongue-in-cheek societal statements. These themes clearly do well on this platform and they're broad enough for you to explore on your own artistic style without copying another artist. This is what I mean by noticing patterns. You don't have to rip someone off to jump on a current trend. There are tons of other resources for tracking trends as well. Let's look at Pinterest. I'm literally typing in trends of 2017 and there are basically a million results. Pinterest is a great resource. It's basically a search engine comprised of visuals, which is great for artists and designers. You can click through the images and land on the original blog or site where the image was first posted and in this case, we'll find a full blog post about interior trends of 2017. Not all of these will apply to artists who are licensing our artwork, but we can glean some details. Like if Copper planters are making a come back, maybe consider adding a copper color palette or metallic tone into your new painting. You can get lost in the wormhole that has Pinterest, so let's move on to some other resources. I love browsing through design blogs and following my favorite artists and designers on Instagram. My bookmarks bar on Chrome is basically overflowing. Ad Week, The Creative Market blog, Design Clever, SwissMiss, Form 55, Designs bunch, AIGA, IN design, Illustration Age, Design Week, The DIALIGN, UnderConsideration, Green Edit, Design Cloud, Juxtapoz, Design Taxi, I'm just going to force myself to stop there. But just know there are so many great design resources out there. They are really great for trend tracking, gathering inspiration, and getting motivated to create new work. Basically, as long as you're observant and mindful about tracking trends, it won't be hard for you to do so. If you notice a lot of photos and paintings of succulents popping up all over the internet, you might consider that a trend and want to take advantage of it. Some examples of what's been popular lately, quotes, especially things that people can relate to or connect with because those are the ones that they're going to share with their friends and family and social media. Anything tropical does really well in the summer, succulents and cactus prints have been going strong for a few years now with no end insights. Although quote me on that and we'll probably be dead tomorrow. '90s nostalgia does really well, so does minimalism, neon typography, anything with girl power, Mandela's and Moroccan patterns, astrology, taro crystals, film art especially Game of Thrones, Harry Potter, Stranger Things and Star Wars. Although be careful here because you can get into murky waters with copyright violation. Surreal photography, especially in landscapes. Last but not least, pizza, astronauts, rainbows, unicorns, and cats, always cats they will never go out of trends. You get the gist. We'll move on. Be sure to plan ahead with trends, some are seasonal, so create the artwork well in advance so it's ready to go. Back to school, will always have a surgeon sales, especially in notebooks, backpacks and home decor items for dorm rooms, like tapestries, wall art, floor pillows and comforters. Tropical themes do really well on the summer, like I mentioned earlier, and on every holiday, print on-demand companies will usually put together collections of holiday themed products which can provide opportunities for your work to get pulled into these collections and get noticed. It doesn't hurt to have a few pieces that work for a specific holidays, like Valentine's Day, Christmas, Mother's Day, Halloween, Easter, even though you might not associate some of those holidays with people making a lot of gift purchases. There's typically not a ton of competition in those arenas compared with artwork that has mass appeal year round. So we can really open the door for your first feature. From my last piece of advice on trends, I really want to hammer this in. Remember your competitive advantage. It's more than just copying a trend. What is your unique take on it? You need to own it and make your own artwork proprietary to your brand or else it's easy for someone else just to rip it off and make it theirs. Infuse your own personal style into your work, especially when you're keen into popular trends. Ultimately that will make your body of work stronger and reinforce your brand recognition. Next up, I'll go through a quick overview of setting up your account with a print on demand site. It's pretty cut and dry and we'll just be covering the basics, establishing your username, writing a bio and including contact links, and some key tips to strengthen your profile. See you guys there.
5. Account Setup: Setting up your account with a print on demand company is super easy. The hardest part is choosing your username, so if you already have your brand name established, you're good to go. If not, you've got some brainstorming to do. I chose my brand name Cat Coq because it's an abbreviation of my own name, Cat Coquillette. It made sense to shorten my last name because unless you're French, it's impossible to pronounce, spell and it takes forever to type into a URL or a social media handle. Therefore, Cat Coq was born. Don't skip out on the basics of filling out your profile. Adding a profile pic and banner image, will round out your shop and make it look more professional. I use my logo as my profile pic, but some artists use their own headshots or a close-up of a popular art piece. This one is totally up to you and it's easy to change whenever you feel like it. My banner image, is a close up of one of my top selling pieces. Some artists include their social media handles, which isn't a bad idea. They aren't clickable links, but it definitely makes their social media influence more prominent. You can also link to your website, social media, and provide your email address and your bio, which I definitely recommend doing. I've found a lot of clients reach out to me because they found my work on Society6, which led them to my profile page with access to my info. I can't emphasize enough, provide your email address at the very least. The rest of your bio, should provide a clear and interesting glimpse of who you are as an artist. You can talk about where your based, your education, whether it's formal or self-taught, what inspires you as an artist, and a short overview of how you describe your personal style. I prefer personal bios that are easy to relate to, so if you'd like to make it more personal, you can pepper in a few tidbits that make you sound more interesting. Here's an example of what I mean. My bio reads like this, "Hey there. My name is Cat Coquillette, and I'm the founder of Cat Coq, an illustration and design brand. My work typically incorporates bright pops of color, vibrant topography, and a blend of hand painted brushwork and clean vector illustrations. You can find my work in retail stores like Urban Outfitters and Mod cloth, as well as on my Society6 shop. My inspiration comes from traveling, so, I made the decision not to renew my lease back in Kansas City, USA. Now, I traveled the world 24/7 and create as I go. I'm currently based in Chiang Mai, Thailand. My backyard is the jungle and I have a pet gecko that lives on my balcony and eats all the mosquito's. Life is good. Best moment of my life, swimming with baby otters. If I could change one thing about myself, it would be cure my allergy to dogs. My future goals, become a crazy cat lady." After that, I linked to my portfolio, which is my website catcoq.com, as well as four social media channels that I used the most frequently, Instagram, Facebook, Twitter, and Dribble. Last but not least, I include my contact info. Hello@catcoq.com. This helps your bio become more memorable and provides an opportunity for an icebreaker if someone reaches out to you. I can't tell you how many emails I've received from people where they also mentioned that their fellow otter lovers, or they just think it's super cool that I got to swim with my favorite animal. Adding that info, makes me more memorable to the people that read it, and gives them a glimpse of who I am as a person. The final step you need to take, is linking to your PayPal accounts. This is how 90 percent of print on-demand companies will pay you, so it's important to have a PayPal account setup. It doesn't have to be a business account, a personal one works out just fine. Sometimes the print on demand company will need to verify that your PayPal account is linked correctly and it's actually legit, so you'll have to send them $1 from your accounts to them to verify that it's real. This isn't a scam, it's actually pretty normal. Not all print on-demand companies have this extra layer of security, but some do, so just know that it's there and it's normal.I told you this would be a quick lesson and I wasn't joking. Next up, I'll cover my best tips for when you're uploading your artwork under any platform.
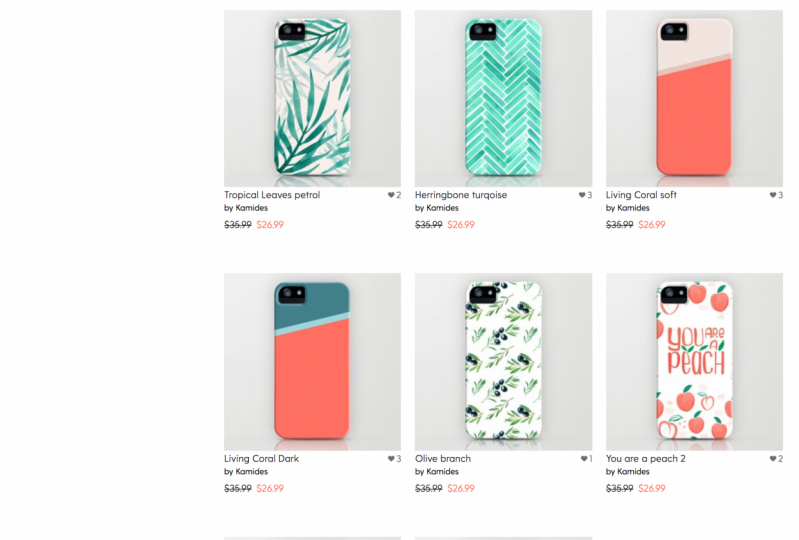
6. Uploading Tips: Uploading your work to print on demand sites is pretty straightforward. But I'll give you some tips to optimize it and the strategies I implement to prepare my work to the front page. I'm going to Society6 as an example for this one. Every print on demand has its own uploading system, but they all have three main components, title, categories or description, and tags. Every one of these is important for SEO and visibility within the platform, so don't skip out on efforts here, even though it can be tedious to list out 20 tags per our work. Tags are basically word descriptors that aren't necessarily included in the title, although they can be. In this black jaguar example, I'm using all 20 tags of words or phrases that relate to the artwork. That way if someone searches panther or black and white, this artwork will still appear even though those words and phrases aren't in the title of the piece. This is a great tool for getting your artwork noticed on the platform, only use tags that relate to your artwork and keep them fairly specific to your piece or else they can get lost in the bigger pool. When I say SEO, what I'm talking about is the search bar function within each print on demand sites. Customers can and do search by keywords, which is why it's important to include them. Society6 also uses the same function when they're putting together look books or collections based on a theme. Check out the collections page on Society6, it's filled with tons of categories that are updated frequently of products and they'll periodically features left categories and e-mails within social media and on their homepage. If you want to make it into one of these categories, the best thing you can do in addition to having an incredible piece of art is to become more visible on the platform. You can do this by using all 20 tags for the artwork that you upload. You can put together an artwork description for each piece as well. This helps your customers see what inspired your work and learn more about you as an artist. To be totally honest, I usually skip this part because it takes too much time and I turn out painting is very quickly. That probably isn't best practice, but it's not mandatory, so it's your own decision. Now, let's move on to some of the technical specs for uploading your work. I go over a lot of them in my previous Skillshare course, which is called from paper to screen, digitally editing your artwork in Photoshop. I'm not going to go over all the details from that course on this one, but I will highlight the basics. I encourage you guys to check out that class after this one if you're interested in learning more about how I use Photoshop to enhance and prep my artwork when I upload it. But for now, here are the dimensions that you should know. For art prints, your shortest edge should be at least 30 inches long, at 300 DPI, and RGB color mode. You can choose whatever custom dimensions you want for prints. They can be square, portraits, or extreme horizontal. Literally whatever, just keep those staples in mind, 30 inches at the shortest edge, 300 DPI, and RGB color mode. Here's how you check your file size in Photoshop. For products I generally save a square file of 10,000 pixels by 10,000 pixels at 300 DPI and RGB color mode. This is large enough to cover every product on Society6, except they're double bugs, but they have their own template which you can download. For now, we'll focus on everything else. I save my giant square file as both a flattened JPEG and is a transparent PNG. I'll use the PNG when I need to transparent background. For clear phone cases and apparel, I'll use the JPEG, which is generally a slightly smaller file size, so it uploads faster on everything else. Sometimes I have the second square file where I turned my artwork into a pattern. I'll upload this one to products where the pattern will look better than the original artwork. In this case, notebooks, pillows, rugs, betting, just about everything to be honest, it's the same file setup, 10,000 pixels by 10,000 pixels, RGB color mode, 300 DPI. I've also saved a flattened JPEG and a transparent PNG of this one. While I do include my signature on the other file, I generally don't do it with patterns, because it's hard to predict where they'll probably have and I prefer no signature to a signature that sliced in half, which just looks sloppy. Don't forget to save this one as both a JPEG and a transparent PNG, in case you want to use the pattern on clear phone cases. Just a disclaimer, the giant square files are basically a one size pixel. Alternatively, you could save separate files based on every product size and will generally be smaller and faster to upload. But these giant square files will save you time designing for every template type in Photoshop and they also minimize the amount of files you need to have stored in your folder. This is my last plug of my previous Skillshare course. If you want to learn about resizing file types, making patterns, playing with color alterations erasing your work, scanning and paintings to Photoshop, or anything else along those lines check out that class next. It's filled with my best artwork editing advice and currently has 100 percent approval rating from my students. Thank you guys. I'm pretty stoked about that. Let's move on to the next video.
7. Pricing Your Artwork: Deciding how to price your artwork can be a very difficult decision for artists, especially when you're putting value on a personal piece that you poured your heart into. I'll break pricing down a bit so it's more about strategy and less about emotion. When you're licensing your artwork through a print on demand company, the earnings you make are called royalties. Royalties are a percentage of what the customer pays for an art print or product. Some print on demand companies have a fixed royalty rate that's already established and cannot be adjusted by you, some let you set your own prices for each product so that you can determine your own royalty rates, and some have both options. For sites that already have an established price for which you can not adjust, the norm for royalty rates paid out to artist is between 10-15 percent, and most of those are closer to 10 percent. That means if you sell a phone case for $35, you'll earn $3.50 off that product. I know that sounds incredibly low, especially when you consider all the effort you put into creating the artwork, uploading it, and marketing it. But there are a few things to keep in mind. One, you're getting 10 percent of the price of the item was sold at, not the profit. This is a higher number than profits, so that's a great thing. Two, keep in mind that the other 90 percent of sale price covers every other cost the print on demand company has to fork out to get this product from their website to the customer's doorstep. Materials and production cost to manufacture the product, packaging and shipping costs to get the product out the door, plus all the operating costs that keep them in business, hosting their website, marketing their brand and all their products, brick and mortar fees like owning a building or lease, paying their employees, and taking the time to help customers with support questions, returns and exchanges. After all of these costs are accounted for, they still need to find room for profit off every product they sell. After all, this is a company that needs to make money. When you consider all of this, 10 percent royalty is actually pretty reasonable. Back to the $3.50 I earn off a phone case. How can I possibly make my living off of that? The answer is, I sell a lot of products through a lot of websites. That's the trick with licensing. You've got to have a huge portfolio of good sellers or a small portfolio of incredible sellers. Today, I sell between 40-80 products per day through all of my licensing partners combined, depending on the time of year, summers are slow and holidays spike profits. Some high-priced items earn me a higher royalty rate, but included in that 40-80 are low priced items like stickers, so take that number with a grain of salt. If 10 percent still seems low to you, that's totally fine. On all of the major print on demand sites, you can opt in for which products you do and don't want to sell. You can always open a Society6 shop and sell only wall art for which you can adjust your own prices and forget about all the other products for which you cannot set your own prices. You can also decide to license your artwork only through print on-demand companies that allow you to set your own royalty rates. There are a lot of options out there for this, and I would never recommend selling your work at a royalty rate that you don't feel comfortable with. Ultimately, you need to decide what's best for you and your brands. Some sites like Redbubble allow you to set your own prices for products, which essentially means you're dictating your own royalty rates. Making a 50 percent royalty rate across the board sounds awesome, but is someone really going to purchase your $19 coffee mug, when another artist on the same site offers theirs for 14? Maybe, but probably not. Scroll through the site and find out how other top artists or pricing their products. You'll probably be more successful if your items are in the same general zone as theirs. Redbubble also makes it super easy to bulk adjust your prices across the board within each product category. To do that, all you need to do is go into Product Pricing under your Artist Tools, and go through and adjust your prices here. You can even click "Apply to all," if you want the same royalty rate across the board. If not, you can still do individual rates for separate products like say, stickers I'll want 45 percent, which will give me a margin of 1.03-5.78. When you're finished making all of your price adjustments, all you need to do is scroll to the bottom and click "Apply these markups to all of my existing work." This will make sure that any of the work that you've already uploaded, even things for months or years ago, will have the adjusted prices that you're setting forth here. Let's save new default. Casetify has identical prices within each product category, which means the royalty rates are fixed at around 10 percent and you cannot set your own. You can see the breakdown here on the Casetify page. Sorry, some of this stuff is in Thai. I have no idea what that says. I'm in Thailand, and not all websites get translated accurately. Scrolling down, you can see the different prices that you receive from different products like: backplates, Apple watches, whatever this word means, iPad, Macbook sleeves, and all the tech products they have. Again, these are fixed rates with Casetify, so you cannot adjust these numbers. They're set royalty rates. Society6 offers a little bit of both options. You can adjust your own prices on art prints and framed wall art, but all products come at a set rate determined by Society6, which gives you a 10 percent royalty rate across the board. Here's the breakdown. When you're in the back end artist studio, this is the opportunity for you to adjust your artwork based on all the templates sizes. We're not going to do that, I'm just going to show you what the pricing is. On art prints and framed wall art, you can adjust prices. Everything else is static, but let's go ahead and check out what that looks like. This shows you what the base price is, which is the cost to Society6 to produce this item. A mini art print cost 14.99 on Society6's end. If your markup is $0, that item is going to be sold to everyone else at 14.99. If you increase your markup, you'll get more money per every print that sells, but the total cost will go up. It's great to get a balancing point between where the customer feels comfortable purchasing it and you have a great markup that you're happy with. These are the prices that I set for my markups for art prints. I make $6 for the smallest print, all the way up to 23 for the extra large. I'll show you what I set my prices at for framed art as well. For framed art, 8, 10, 15, 20, 25, 30. These are the prices the customer will pay on the far right column, 40.99 up to 148.99. So far these prices have worked out pretty well for me. I did a lot of experimenting with prices with my first few years on Society6, and these are the prices they netted out at as being the most successful for me. Here's my ultimate takeaway when it comes to pricing your artwork. If you price your work at a rate where you'll be disappointed or feel like you've been taken advantage of when someone purchases your products, increase your rates. This is your own personal choice and you should price it in a way that you feel comfortable. Let's move on to the next video.
8. Get Featured on the POD Website: Getting noticed by the print on-demand platform is the first step to getting noticed by potential customers. If the print on demand company decides to feature your work in an upcoming collection, gift guide, e-mail, or in their Social Media, your sales of that piece can take off exponentially. I say exponentially because once an art print or product starts getting a lot of sales, it'll move to a higher ranking within the website where more customers will notice it when they're shopping online. You just have to get your foot in the door first, which is why making it into a feature is so vital. There are some strategies for getting featured on the websites. In my uploading tips video I talked about the importance of titling and tagging your artwork. This is key for getting noticed by the platform. When Society6 is putting together a Mardi Gras collection, the first thing they're going to do is search the site for keywords like Mardi Gras, New Orleans, French Quarter, or bourbon streets. If you're worked, pops up in any of those searches, you might have a shot at getting pulled into that collection and featured by Society6. Another way to get noticed by the print on-demand company is to be active within their community. Participate in discussions, leave meaningful comments on their blog post and on other artist's product pages like other artwork and follow other artists pages. When you show that you are making an investment into their platform, they're more likely to return the favor back to you. Some print on-demand companies have artists only in Facebook pages. This gives you an opportunity to participate in discussions, share new work, and offer suggestions for ways to improve their platform. I'd suggest getting involved in those as well. Sometimes print on-demand companies will reach out to you via e-mail to ask if you're interested in a collaboration or even just filling out a web survey. I always say yes to these even if I'm loaded down with work or traveling, I will always make time. I'd been asked to write guest blog post for Society6. Like the top ten sites to learn new art skills and a letter to my younger self. Society6 also asked me to collaborate on a sculpture class with them, which of course I said yes too, especially since it meant I got to fly to New York. I've done interviews with CASETiFY for their artist resource blog about how to optimize your Twitter and Instagram accounts and grow followers. Have also collaborated with CASETiFY on their celebrity collections. When you're with Hillary Duff at the neck for a custom commission collection or directed by actress Lucy Hale. Redbubble asked if I could jump on a Skype call to discuss ways to improve their platform. All of these things I've said yes to, and it's helps me gain a first-name basis with each company. Trust me, if you make an effort to support them, they will return the favor. You can also show your involvement by hashtagging their brand name in your social media posts, linking to your shop page in your Instagram or Twitter bio, and posting mock-up photos of your own artwork on their products, on Social Media and your websites. The phrase, I'll scratch your back and you scratch mine applies all the time in entrepreneurship, especially when it comes to forming business relationships. This goes without saying, but I'm going to say it anyway. All of these techniques hinge on the body of work that you have to offer. You need to have a solid portfolio of work that people want to purchase or else no amount of schmoozing, marketing or self promotion are going to get you anywhere. Great artwork is the primary and key step to making money on any of these platforms or in general. Everything else is secondary. Let's move on to the next video.
9. Grow Followers on Social Media: After you've learned how to optimize the potential of getting noticed and featured by the print on-demand platform, it's time to focus on reaching your potential customers. I'll be focusing primarily on organic or non paid marketing through social media because that's my primary marketing tool and I want to teach you what I know firsthand, not what I read online. I spend most of my marketing efforts on Instagram, and therefore that's my biggest following. I have a little over 15,000 followers on Instagram, which isn't pop star status but it's a pretty solid audience for me to reach out to. Everyone starts with zero followers on every platform, so don't be discouraged if you have a couple of 100 or a couple of 1,000. The strategies I'll be going over apply to everyone no matter your number and will help you grow your following to the next level. First things first let's start simple, hashtags. Some people love them and some people hate them with a passion. I'll go over some ways that can be used strategically to grow your following, get more likes, and increase your engagements. Quick refresher. Hashtags are a word or phrase used to identify a specific topic. The idea is really similar to the keywords I talked about earlier in my uploading tips video. It's like a search bar. You can tap on a hashtag and see every other posts that used the same hashtag. That means that your posts can reach a much wider audience outside of just your followers, which helps expose your brand and gain traction. Despite your thoughts on hashtags, they do make a difference. A photo on Instagram with at least one hashtag will get about 13 percent more engagement than a post without one, and interactions are highest when a photo uses 11 or more. Because of this, hashtags can be a great way to grow your following, especially on Instagram and Twitter. That being said, you want to ensure that you're using the right hashtags. As a general rule, you want to pick a balance between a popular hashtag and something more specific. The reason you do this is all about numbers. Let's look at the hashtag for painting. There are over 44 million photos with this tag, which means chances are your photo is going to get lost in the sea the second someone refreshes this page. However, if we look at something slightly more specific like watercolorflorals, we got 35,000. This is your sweet spot. This tag is popular enough to warrant 35,000 users, but still specific enough the people are going to see your recent posts for a longer than two seconds. If you pick a hashtag that has an engaging community behind it and is specific to your target audience, you've hit the jackpot. This will be your best bet for extended growth and followers that are active in the community. I think I'd made the point that hashtags are vital for growing your brand on social media, especially in the beginning. Now, let's talk about finding the best hashtags to use. Similar to what we did in the trends video, we're going to look at what the industry leaders and influencers are doing. These brands have clearly done well when it comes to growing a social media following, so obviously they're doing something right. Why not take a look at it? A quick word on trending hashtags. Some hashtags search results have a grid of nine photos, which are the top posts. This means that all these photos are the current most popular posts that utilize this specific hashtag and they're stickied to the top, which means they will be a visible for longer. If you can make it into the trending hashtags, that's awesome. It's much easier to do this when you choose a less popular hashtag because there's less competition there. Last note on hashtags. Instagram limits them to 30 per post, and I recommend using all 30. Use a blend of popular versus specific hashtags so that you can cast a wider net. For example, I'll use watercolor painting with 1.5 million posts. Watercolor artists with 150,000, and watercolorcat with just over 3,000. This will differentiate how I appear in search results. Popular hashtags will get me more quick likes, less popular ones will be better in the long run. I've mentioned engagement a few times, and I want to do a quick dive to explain what I mean by that. One active and engaged follower is worth 100 fake bot accounts. Fake bots aren't going to purchase your work or help grow your brand, they're pretty much meaningless. When you have engaged users, you're following will grow and you'll reap long-term benefits, especially when it comes to brand recognition and loyalty. You can take some steps to optimize engagement with your users. Encourage a dialogue by asking questions in your captions, posting meaningful contents, and by having a presence on other users' accounts as well. I use Instagram stories to share the cool things I saw or did that day, but aren't photogenic or artsy enough to make it onto my actual Feed. Instagram stories are really similar to Snapchat, what you post last 24 hours and then fizzles into nothing. Yesterday I posted about 20 photos of these cats I saw at a coffee shop. They were super cute and hilarious, but there is no way it was going to bombard my carefully curated Instagram Feed with them. Sorry little kittens. Next up, let's talk about getting featured from massive exposure. Getting featured means that either the platform like Instagram will highlight your work or an influencer account will share your arts. First, let's talk about the former. The Explorer page on Instagram is tailored to each individual user based of the accounts you currently follow, the videos you watch, and the photos you like. My Explorer page won't have the same content as yours. It's designed to get you engaged in Instagram and help accounts get more exposure. If you can get your posts to appear on someone else's Explorer page, you're doing a great job. There's not really a way to know for sure if you're appearing there, but if you normally get it around to 100 likes per photo and then suddenly that jumps to 500 on a new post, chances are that the new photo was featured on the Explorer page. You can get there a few different ways. The first is the most important. Half killer contents. Mediocre photos aren't going to make the cuts. Next, utilize the hashtags. Also, don't forget to write an intriguing caption that encourages users to engage. The best way to do that is to simply ask for it. Tag a friend who needs this art print on their walls. "Which one do you like better? Left or right? Hands up if you love cats too." All of these captions are going to get better engagement than just a wordless jotting of emojis. Last thing, if you're including anyone else's products in your post, tag them. For example, I always tag Society6 and posts where I encourage others to purchase my artwork off their sites. The other great way to get featured is through a popular account, especially one that has loads of engaged followers. Some popular accounts for artists are art_sanity with nearly 350,000 followers, artfido with over a million, magic gallery with 27K. Aartistic_dreamers has over 115,000, and art_spotlight has nearly two million. There are loads more out there, just do a simple Google Search to find them.
10. Marketing Best Practice: When you post your artwork to social media, people's eyes are on it, even if it's just for a few seconds. [ MUSIC ]. If that particular piece is available for purchase anywhere online, let people know. Make it as easy as possible for someone to purchase. Think of all the impulse purchases you've made online when you're already signed in through PayPal. When it's super simple to buy something, you're more likely to buy it. Now one wants to dig through your shop website to find a particular piece they saw on Facebook, but they will click a link that takes them directly to the product page. On Twitter and Facebook, it's easy to provide clickable links, Instagram's are different story, especially since it's primarily used through mobile or purchasing power is less utilized then tablet or desktop. Still, it doesn't hurt to toss in a URL. I use a URL shortener which takes my giant stream of characters from society six and turns it into a concise URL that's easy to use. Bitly as my preferred choice because not only does it shorten the URL, it allows you to track all the times people actually used your link and the analytics involved. Let's move on to deciding what content to actually post. My social media feeds are a blend of works in progress, finished artwork, products with my designs, travel pictures, and my daily offices, which are the coffee shops they work from throughout my week. By broadening my content like this, I'm able to reach a much more diverse audience. Some people follow me because they like my art, others like my travel photos, and some just like my location-independent story. When it comes to posting artwork, I always feature new projects and working on or the latest pieces to hit my shops. I also highlight old work pretty frequently, especially if I can cast it in a new lights. Societies six, red bubble and case two phi and the rest of the other big leagues provide templates that show your artwork mocked up on the products. Take advantage of this and share these mock-up pictures on social media. If you want to make them more and unique and personal, you can add a background color or texture, show them in a grid, or place them in an environment. Ultimately, when it comes to marketing and growing your audience, find the channel that works best for you and grow it, for me that's Instagram, although I still post frequently on Twitter and Facebook. My Large following comes through Instagram and then as the social media channel I most engaged with. The takeaway here is that there are a lot of ways you can market through social media. But the most important element is to grow an audience that's engaged and interested in what you have to offer. Next up are my final tips for making money through licensing your artwork. Let's do it.
11. Final Tips: Welcome to my final tips. I'm glad you guys have made it this far and I promise this will be worth it. Here are my five bonus tips for today. One, create art that makes you happy. Earning a fat paycheck is awesome, but what's even better is being proud of the artwork that got you there. Two, invest a little in a lot, especially at the beginning when you're just getting started with different print on-demand companies. You never know which ones are going to take off for you. Three, don't quit your day job until your confident you can support yourself through licensing. It took me nearly two years to get to that point. Four, be open about what inspires your artwork and share your story, even if it's just through a caption on Instagram. Everyone loves hearing about what inspires artists to create the work they do, and authenticity is always appreciated. Five, think about where you want to be a year from now and work towards that goal. My biggest motivation to succeed with art licensing was my desire to travel the world with no limitation. It wasn't easy, but I finally got there and I couldn't be happier. My lifestyle is incredibly fulfilling for me and it's in large part due to getting started with licensing and taking a leap of faith. Thank you so much for enrolling in my class today. I hope you learned a lot and are inspired to start your own journey through art licensing. Feel free to comment below in the class discussion if you have any questions or comments about what I covered today. Last but not least, you can follow me on Instagram, Facebook, and Twitter @catcoq. Remember, please click the Follow button up top so you can follow me on Skillshare. This means that you'll get a notification as soon as I launch my next class, or have an important announcement like a Skillshare premium giveaway, new freebies like color palettes and brushes, or I'm highlighting the artwork that you upload to the project gallery like I frequently do on my Instagram page. I'll see you guys next time.
 Cat Coquillette, Artist + Entrepreneur + Educator