Transcripts
1. Welcome to My Class!: Hello and welcome to my beginner's guide to lino printing. My name is Katie Jane and I love making things with my hands. I love starting new hobbies but lino printing in particular is something that I've come back to again and again. Lino prints really bring things to life in a way that's dry and bold and beautiful and really different than other art mediums. It's also something that as a beginner, I think you'll catch on to really easily. I think that even today you'll be able to make something that you love and that you want to share with your friends or put in your home. Today I'm going to take you through all the things that I wish I knew when I was a beginner and really just gave you the whole process from start to finish so you can make something that you love. Let's get started.
2. Gathering your Materials: In this section of the class, we're going to get right into the materials that you're going to need for this project. We're going to talk about what you need, why you need it, and even some possible alternatives that you might have just laying around the house. The first thing that you're going to need is Lino. There's two different types of Lino or linoleum. They're soft linoleum and hard linoleum. Soft linoleum is more pliable, more forgiving and a little bit easier to carve. Hard linoleum is trickier to carve, but you can get finer details. Soft linoleum is great for beginners and that's what we're going to be using today. The next thing that you're going to need is a cutter. Once you purchase your cutter, you'll probably notice that it has several detachable blades inside of the handle. Each blade has a little number on the back, and the smaller that number is the finer details that blade will produce. The next thing that you'll need is ink. As you're looking, you'll probably come across two different kinds of inks. A water-soluble ink and an oil-based ink. I would recommend that you get a water-soluble ink as it's much easier to clean up. It's not the best option but if you're in a pinch and you don't have time to go get some block printing in, you could also use some acrylic paint or even a standard ink pad for today's project. The next thing that we'll need is an ink roller. If you're looking for one on the Internet, it's usually called the ink roller or an ink brayer. This helps us to rule out the ink nice and evenly, so our print turns off perfect. Then you'll need a rolling plate. This is basically just a non-absorbing cleanable flat surface that we can roll our ink onto. Then you'll need a piece of paper. For today you can just grab one out of your printer. Or if you have some art supplies, water colored paper works great and it gives the print a very nice texture. The next thing that you'll need is a big old spoon from your kitchen drawer. If you get a kit, it may come with something that looks like this. This is called a barren and it'll do the same thing that our spoon will do for us today. Even though some of these materials have to be purchased, you'll be able to use them for a long time. For a quick recap, the materials that you need are a piece of paper, a rolling plate, ink roller, some ink, a spoon, a Lino cutter, and a piece of soft Lino.
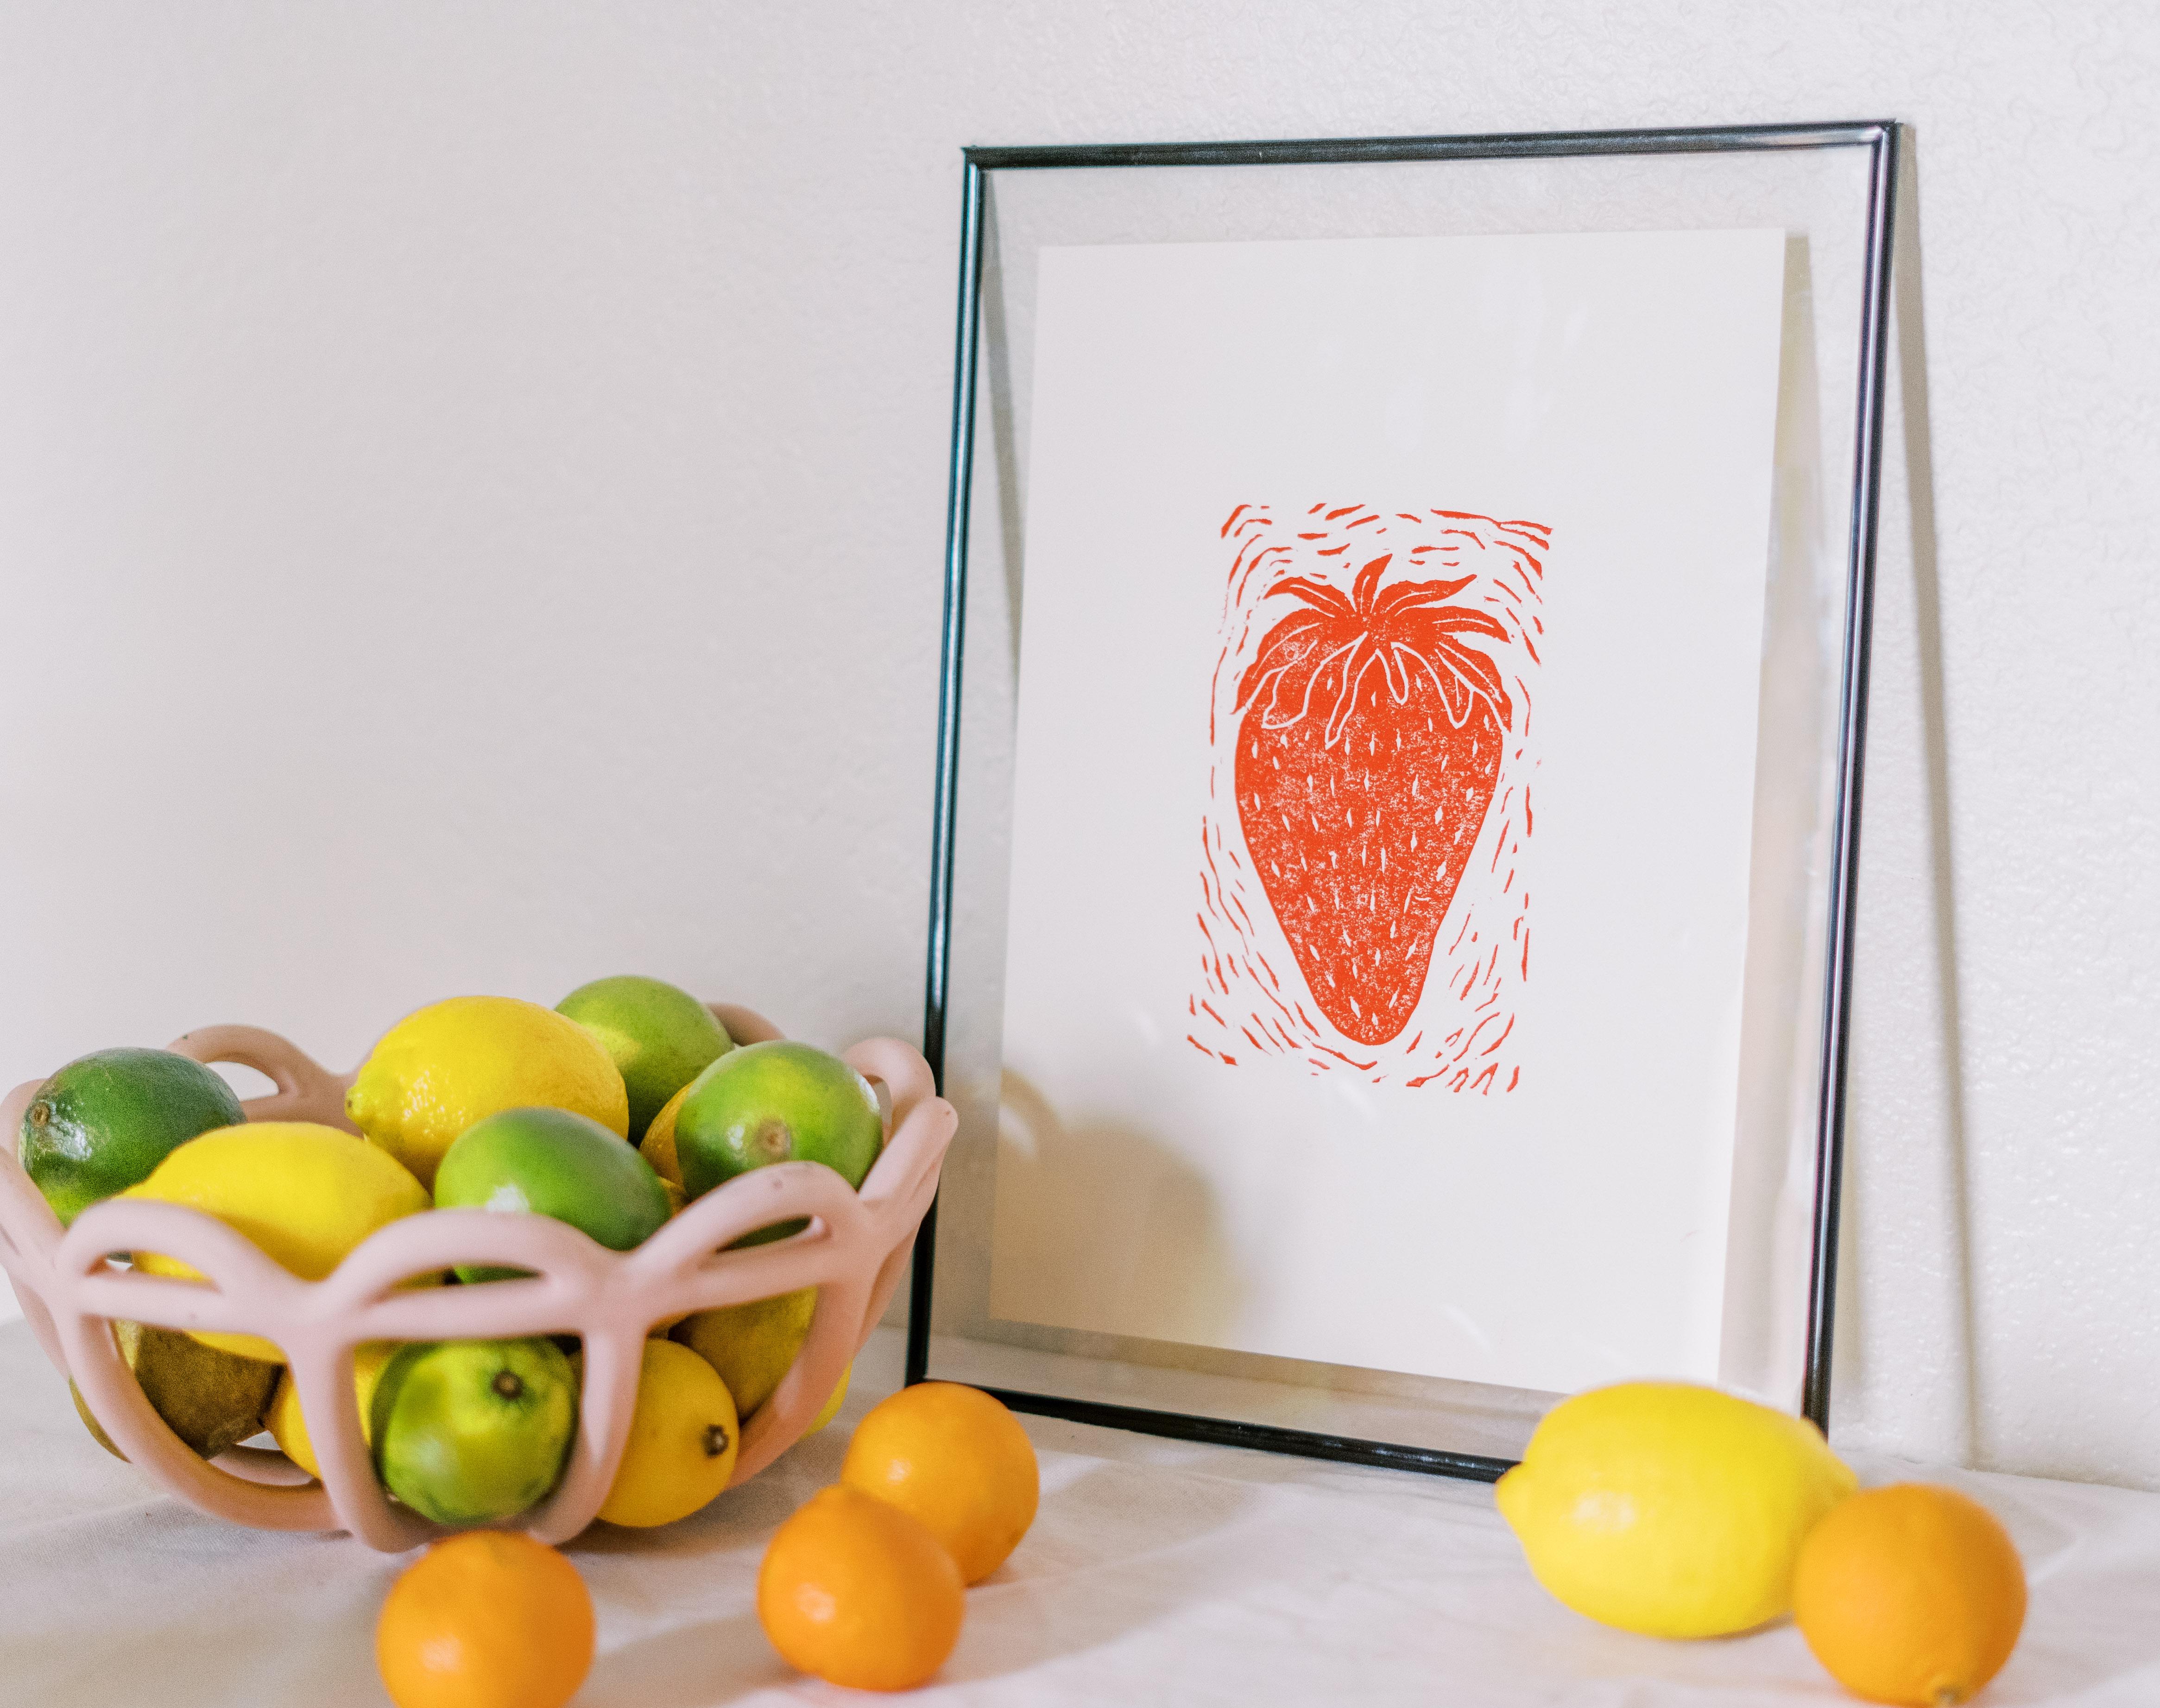
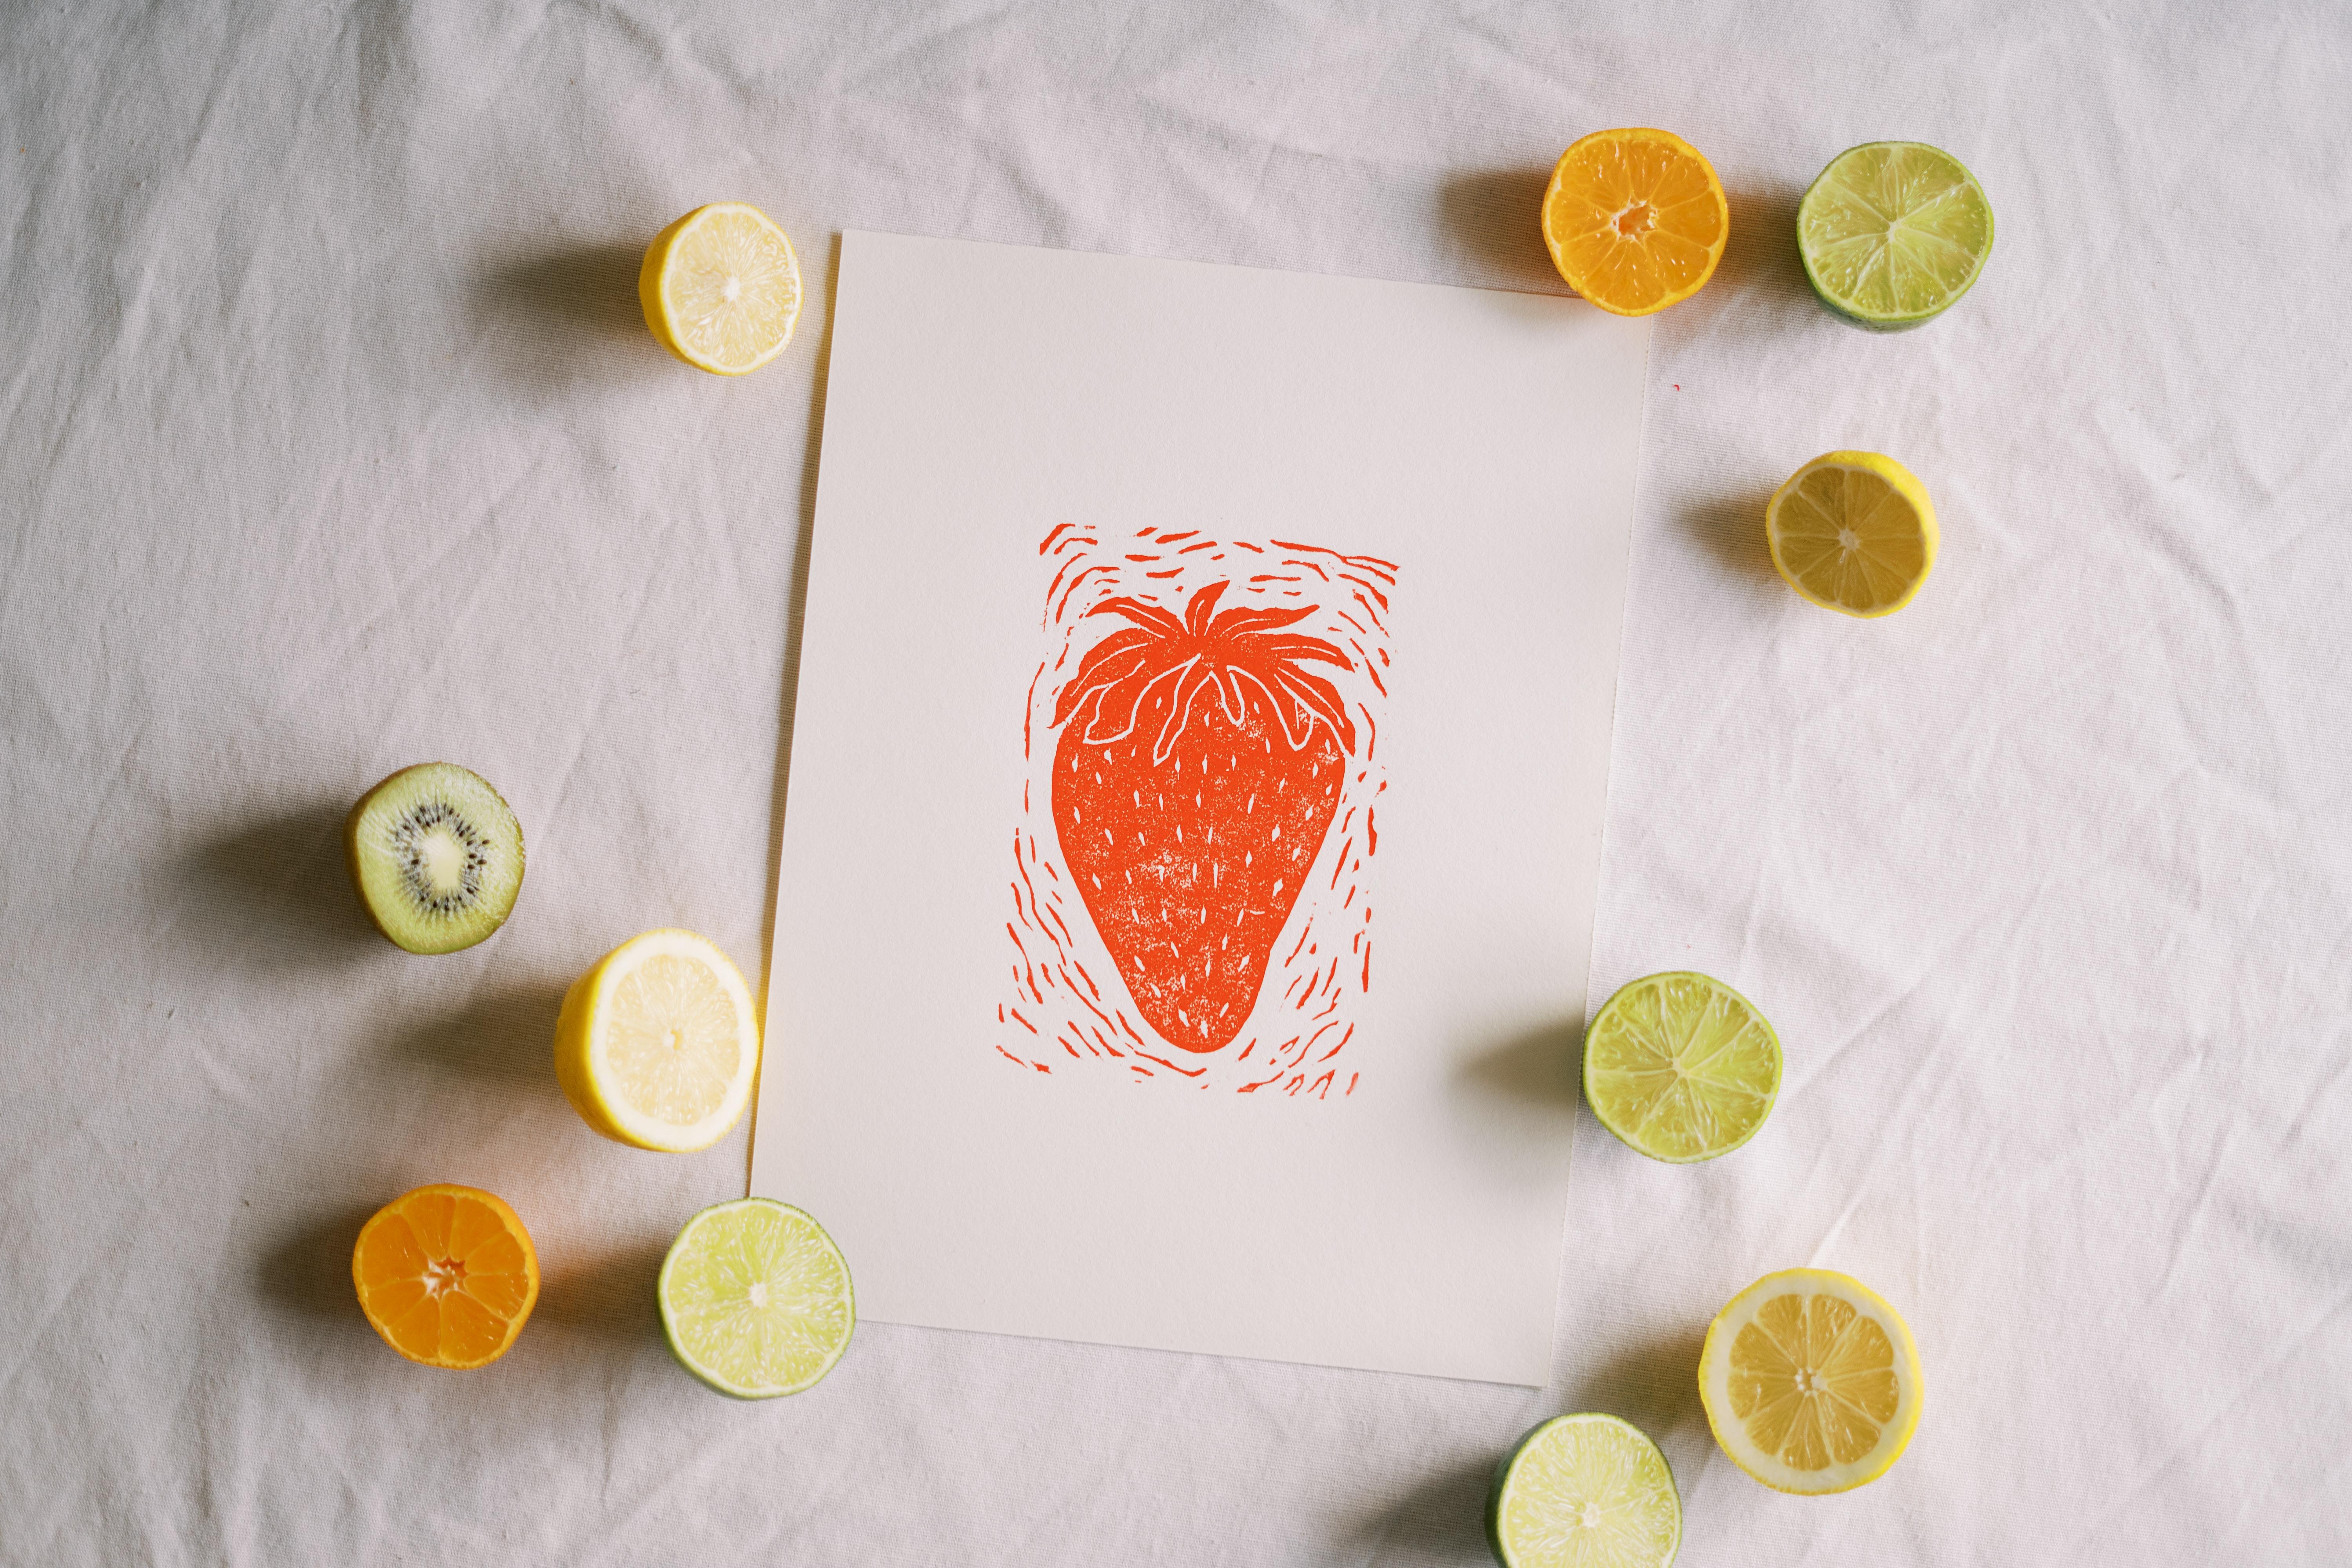
3. Ideating for our Project: All right. Today for our class project, we're going to print your favorite fruit. Fruit are a great place to start with Lino printing because they have fairly simple shapes, but there's also enough detail that it'll give you an opportunity to practice some new skills. Once you know what fruit you want, we're going to find some inspiration. It may seem like you don't need inspiration or ideas to draw a fruit because there's only one way to do it but I assure you that a quick search on Pinterest or Google will prove you wrong. For example, my favorite fruit is a strawberry and there's lots of different ways to depict a strawberry. Here on Google, I just looked up strawberry art and there's already so many ways. There's this final one with the strawberry and the lips. There's these more sketchy style. There's leaves, there's flowers. Some of these are very simple with just vector art. This one is incredibly simple, very symmetrical and you could add arms or legs or a face, or you could put the strawberries in a bowl. There's so many different ways to depict your fruit. Now we're just going to take a minute. Don't proceed to the next video until you have an idea and have collected some inspiration of how you want to depict your fruit.
4. Sketching your Design: In this part of the class, we will be making our final design. Whatever you choose to sketch onto this paper, we'll be transferring directly to this block of line up. Make sure you use a pencil and as far as opposed to a pen or an app to do your sketching because we will be rubbing the lead right onto this piece of line now. If you are not feeling sketchy today or not feeling up to sketching today, you can rely heavily on your reference picture or even print it out if you need to. We just need a good line trying to put onto our liner. Before we get started sketching, we're going to take your piece of liner and trace it onto your paper. The reason that we do this is that when you're drawing your sketch, it doesn't end up being bigger than your line. Now I know exactly the bounds that I have to draw in. Using my reference image that I liked, I'm going to draw my strawberry. You also don't have to use all of this space. If you end up not using all of your space, you can cut off that part of the linoleum and use it to make it smaller. I'm liking how this strawberry looks, and so I could go back and erase some of these other lines, but they're not too confusing to me. I'm just going to choose to darken the ones that I really saw. That looks good to me, and so I'm going to go ahead and transfer that onto my linoleum.
5. Transferring your Sketch onto Lino: Now, we're going to transfer your sketch to your block of lino. This is the first time that your big kitchen spoon is going to come in handy. We're going to dust off our lino so it's nice and relatively clean, and then we're going to place the block over our drawing back in the same rectangle and then flip that paper over. Then using the back and the edge of our spoon, we're going to transfer our drawing onto this lino. Make sure that you cover the whole drawing and get every line pressed on there. There we go. Now our sketch is on our lino. The reason that we don't usually draw just directly onto the lino is because if you make any mistakes, you can't really erase it without messing with the texture of the lino. However, paper is a little bit more forgiving. If your lines are still a little bit lighter than you would like them to be, you can go over with a pencil one more time just to make sure they're nice and dark and you know exactly where you want your carving lines to be.
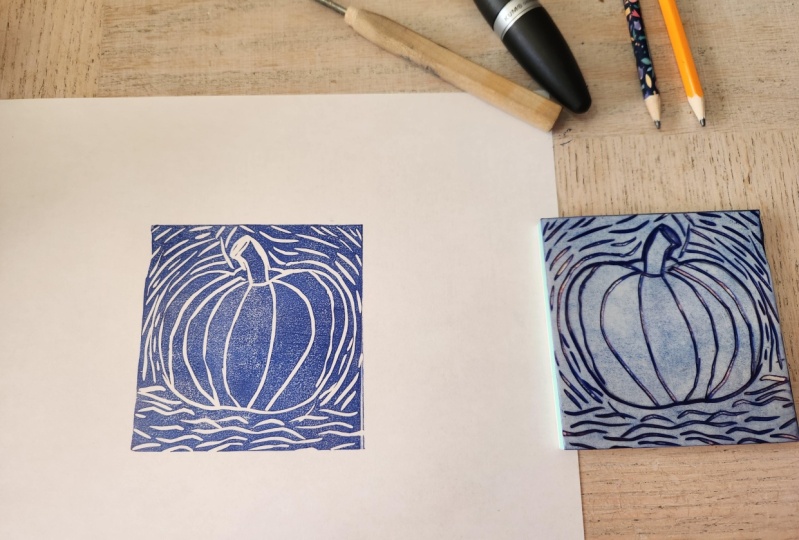
6. Cutting Tips and Tricks: In this section of the class, we're going to be talking about some cutting techniques, and really some things that I wish I knew when I first started making lino prints. The first thing is safety first, you know what they say. The most important safety tip to keep in mind is that you always cut away from your hand. When I first started making lino prints, a lot of time I want to hold the lino down and cut, and I work with grace sometimes, but sometimes my hand would slip and I would get lots of little cuts on my fingers. Save yourself the trouble and try to cut away from your hand as opposed into your hand. The second thing that I wish I knew is that it's much easier to cut the lino if you glide across the top of it, as opposed to digging down into it. I think sometimes I thought that if I really dug into the lino, I'd be able to get a deeper detail. But if you just glide right across the top and will use smoother cut, and you'll have more control of the blade. The third tip that I'm going to offer you before we start cutting is that the very first cut you make is to outline your lino. Sometimes if you start on the outside, you'll just get into the zenness this of lino cutting and you might slip and cut into your drawing. But if you just focus on making a nice outline first, that usually is never a problem. The fourth tip we were going to talk about before we get started is actually a style choice that you need to make before you can start. As you cut your lino, you can create a very clean or a very messy look. Both of these look amazing, but it's important that you decide before you start cutting your lino so you don't cut away more of your design that you want. In these two different pictures of the oranges, you can see that in this sliced orange, I chose to keep that messy-looking and keep those lines around the edge. The bowl of oranges, I chose to make it cleaner. Look around the oranges and cut away all of the messy stuff. If you want a clean look, I would recommend that you carve away the lino in nice strips. If you want a messy look, I would recommend that you use more of a wave motion to cut the lino, leaving more of those segments to stay there and just look pretty.
7. Cutting your Design: In this segment of the class, we finally get into the actual cutting of our lino. If you remember in the materials section we talked about how these blades have different sizes and different numbers on them. I would recommend that you use a finer blade to do the outline. When you're first learning how to use this blade you might be tempted to try to use your wrist to go over all the corners, but then you'll notice you'll start doing this thing where the blade is coming right towards you. We don't ever want to do that because that's worse than cutting your fingers. Try to move the lino as opposed to moving your blade. Now you're done with the outline. Before we go back in and do finer details within your fruit, we're going to finish the outside. Sometimes it's hard to remove these blades from the cutter. But sometimes just a little nice tap on the table will loosen it up just enough to get it out. Now we're going to move into the details of our strawberry. It would be especially sad when you're doing these fine details if your cutter slips and makes a big fat line across your artwork. So make sure that you're in really good control of your cutter and that you are making each line intentionally. Now I'm going to be moving to this size 1 blade, just this really tiny blade to make some fine little finishing touches onto my strawberry. I'm a little bit nervous that I'm going to make the seeds uneven on my strawberry, so before I cut it I'm going to go through with my pencil and just add them in. There you have it. Your print is all carved. I wouldn't put away your carving tool just yet though, just because usually after I make my first print, I like to go back in and clarify some lines or find some details. Just make sure it's looking exactly how I want it to look before I make my final prints. Let's move on to the inking process.
8. Preparing your Printing Space: If you are using water-soluble block printing ink it dries fairly quickly, so there's a few things that we need to do to prep our printing space, so we can race that fast dry time. The first thing that we're going to want to do, is to clear a space of all the crumblies that were made from carving our print. The reason that we want to do this, is so that those little extra pieces don't get caught in our ink and give it a weird texture. Also, there may be some lino caught up in the crevices of your print, to make sure to give your lino a good tap and make sure you get those all out. The next thing that we're going do to prepare our printing space, is we're going to make a printing guide. This sounds fancy, but it's basically just something I came up with to help me get my prints nice and centered on the paper. Sometimes when I would just eyeball it, they would be crooked or of the center, so all you need is a piece of paper that is exactly the same size as the piece of paper that you're going to print your print on, and some tape. We're going to take our tape, and just tape down the corners of our piece of paper. Next you're going to take a piece of lino that you've curved all beautifully, and place it exactly where you want your print to end up. Now you're going to take your pencil, and just trace that rectangle onto a paper. Then you're going to take your other piece of paper that eventually you'll be printing on, and you're going to place it over the top of that bottom piece of paper. Then you'll take another piece of tape, a little bit longer one and just tape that at the top, you're not going to tape down the other sides of this paper, because we're going to use this piece of tape, like a hinge to move this paper back and forth. How this is going to work is one we have our lino block all inked up, then put it in that rectangle. Pull this piece of paper down, and use the back of our spoon to press the in front of the paper. This printing guide just helps us, so you print ends up in the center of the paper. It's also helpful if you're making multiple prints, that they all look identical and your print is in the exact same spot on every print.
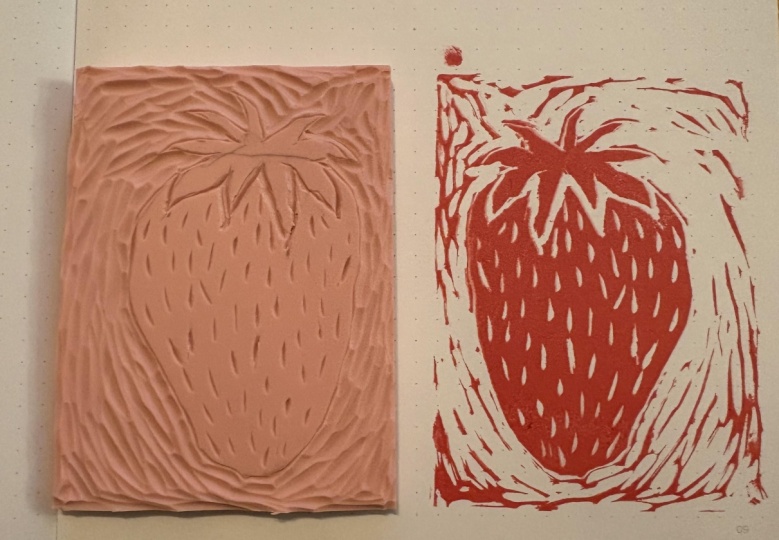
9. Printing your Design: For this segment of the class, you're going to need all of your materials. We're going to start with your ink. Go ahead and put some ink on your printing plate, one of a nickel size of paint, not too much, and then we're going to begin rolling that ink. Roll it forwards and backwards. You may have a tendency as you're rolling your ink to just go back and forth like that, but if you just go back and forth like that, it's not going to coat your entire roller in ink, so just do forward motions or backward motions making sure to hit all parts of your roller. You don't want your ink to be too gooey, but you also don't want it to be too dry. What you're really looking for is that nice velcro sound. Once you have it nice and rolled out, go ahead and grab your print and just start rolling that ink onto the lino. I want to recommend rolling the ink onto your lino when it's already on your printing guide, just because you don't want to get any ink on the sides. Now, we're going to place our lino on a rectangle like we talked about, hold down that other piece of paper and use a spoon to evenly spread the ink onto paper. Make sure to get those edges. If you have a baren that came in your lino kit, you can also use that to press your print. Once you think that you've got it all covered then go ahead and pull up that print and there you have your first final print. I think that I am going to go and make some small refinements using my first lino print as a guide. In the time that had taken us to refine our print, our ink has probably dried up. Let's just ahead and wash our rolling plate, our roller, and even our lino with a little bit of water to get that dried crusty ink off there. If you wash your lino and it still looks like there's ink on it, don't worry. Even if you change ink colors, it's just a little bit stain but it won't affect your print at all. Now let's do it all over again for our final print. Once you've got every part of your print, go ahead and pull it up and now you have your final print. As long as your ink keeps making that nice velcro noise, you can just keep making prints until it's all dried up.
10. The Wrap Up!: Thank you so much for joining me today, on this beginner's guide to line up printing. Again, my name is Katie Jane. I hope that you learned something new today. If you want to check out any of my prints, you can find them @katiethejane.com or @katiethejane on Instagram. Don't forget that after you are done today, you can still use the back of the line or block from today to make another one, or if you have any scraps, you can make some little stamps. The fun is beginning, but thank you so much for coming and I can't wait to see what you make and I'll see you next time.
 Katie Jane Cummings, printmaker / art director