Transcripts
1. Introduction: Hi guys, my name is Dario Pieber. I'm a Latte Artist based in Switzerland. In this course, I want to show you how to upper your game in latte art. It doesn't matter if you work in a coffee shop or just a started with coffee, the Sophie something in this course to help your poor, better latte art. My goal is always to teach the people in the most easy and understandable way and let them see your results really quickly. With my experience as a barista trainer and participating and even winning championship, I shared all my tips and tricks in this course, I hope this course helps you, To pour better Latte Art into your cup. So let's do it.
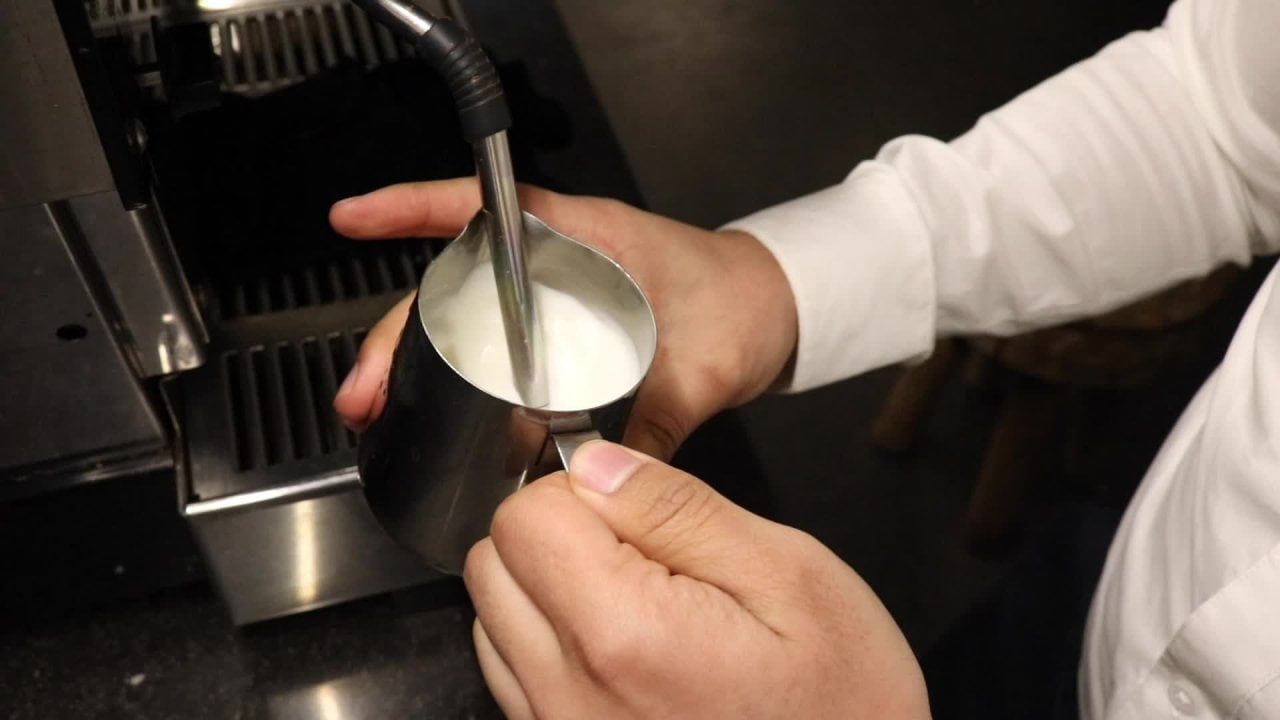
2. The perfect foam: In this video, I want to show you how to froth the milk perfectly each and every time. So let's do it. Before we even go to the coffee machine. We have to prepare the milk. The milk jug has to be half full, more or less to get the perfect form in the end. The first thing we do at the coffee machine is to purge the steam wand. One second should be enough here. Now, I show you the right position for the steaming process. Place the tip of your steam one slightly off center. As you can see in the video, the steam one has to be in contact with the spout of your milkpitcher This will get you some stability during the frothing process. If you found your position, turn up the steam full power. In this first phase, we create the volume of the milk. This is called the stretching phase. You should hear a fine fizzy noise like ztt, ztt, ztt. the tip of your steam wand has to be really close to the surface of your milk. To achieve this, about one to two millimeters to suck in the air and make the volume. If you want more volume in your milk, make the stretching face longer. If you want less volume, make the stretching phase shorter. With my machine, that takes about five seconds to get enough foam for a cappuccino. In the second part called rolling phase, we create the fine bubbles of the microfoam, the tip of your steam one has to be about one to two centimeters in your milk and you shouldn't hear any fizzing noise. The whirlpool in your milk pitcher will destroy all the big bubbles we created in the first phase and get you a nice and glossy milk foam perfect for any kind of latte art. From now on until the end of the frothing process, you shouldn't changed the position of your pitcher. This is the easiest and most comfortable way to froth the milk. We want to heat up the milk to 60 to 65 degrees Celsius. So constantly feel the temperature on the bottom or the sides of your milk pitcher. The milk shouldn't be too hot because nobody likes to burn their tongue at the first sip of their cappuccino. When the milk has reached a temperature of 60 to 65 degrees, turn off the steam and remain in this position for 1 second. Clean off the steam wand with a wet cloth and purge once again. this should be the goal. A glossy milk foam perfect for any kind of Latte Art
3. The perfect heart: Hi guys, in this class I want to show you how the pour the perfect heart in your cappuccino. So lets go. This is what I want to show you today. The nice clean heart. Right at the beginning, swirl the espresso to break the crema. This will give me a smoother shape of the heart. So let's start mixing. Aim at the center point of the espresso with a constant flow. You should hold the cup roughly in a forty degrees angle and only mix within the green area on the picture. In this process, we want to erase all the white dots, simply by pouring over them from a bit higher above, as you can see in the video. This will get you nice and clean canvas to draw on. When the cup is half full, we stop mixing. And then aim for the right position, for the next step. Drawing time. Aim at that point slightly behind the center and pour in a constant flow. Stay at this point till the cup is nearly full. The flow should be a bit quicker than before when mixing the coffee. When having this big balloon shape, we just have to cut it by moving front and the upward. There you go. Now, you know how to pour the perfect heart.
4. The perfect tulip: I guess in this video, I'm going to show you how important effect to it. This is what I want to show you today. And to link pattern, the mixing is always the same. We want to have a nice and clean convert to draw for the first stock aimed right at the center of the cup and push it slightly to the front. The flow should be quite high. As soon as you have this small balloon shade still pouring and make sure not to cut it as we did before on the heart. Or the second dot, we aim slightly behind the center and push it with a big flow into the first one. When the flow was high enough, we'll get that nice span of the first row. Start porting slightly behind the center. I'm pushed right into the other two dots. To get a better look, make sure to first dot will be the biggest and the last one, the smallest. As you can see, this dot was the smallest so far. To finish the total pore in a small heart and cut through all the other layers you've created before. There we go. Now you know how the poor and basic coding.
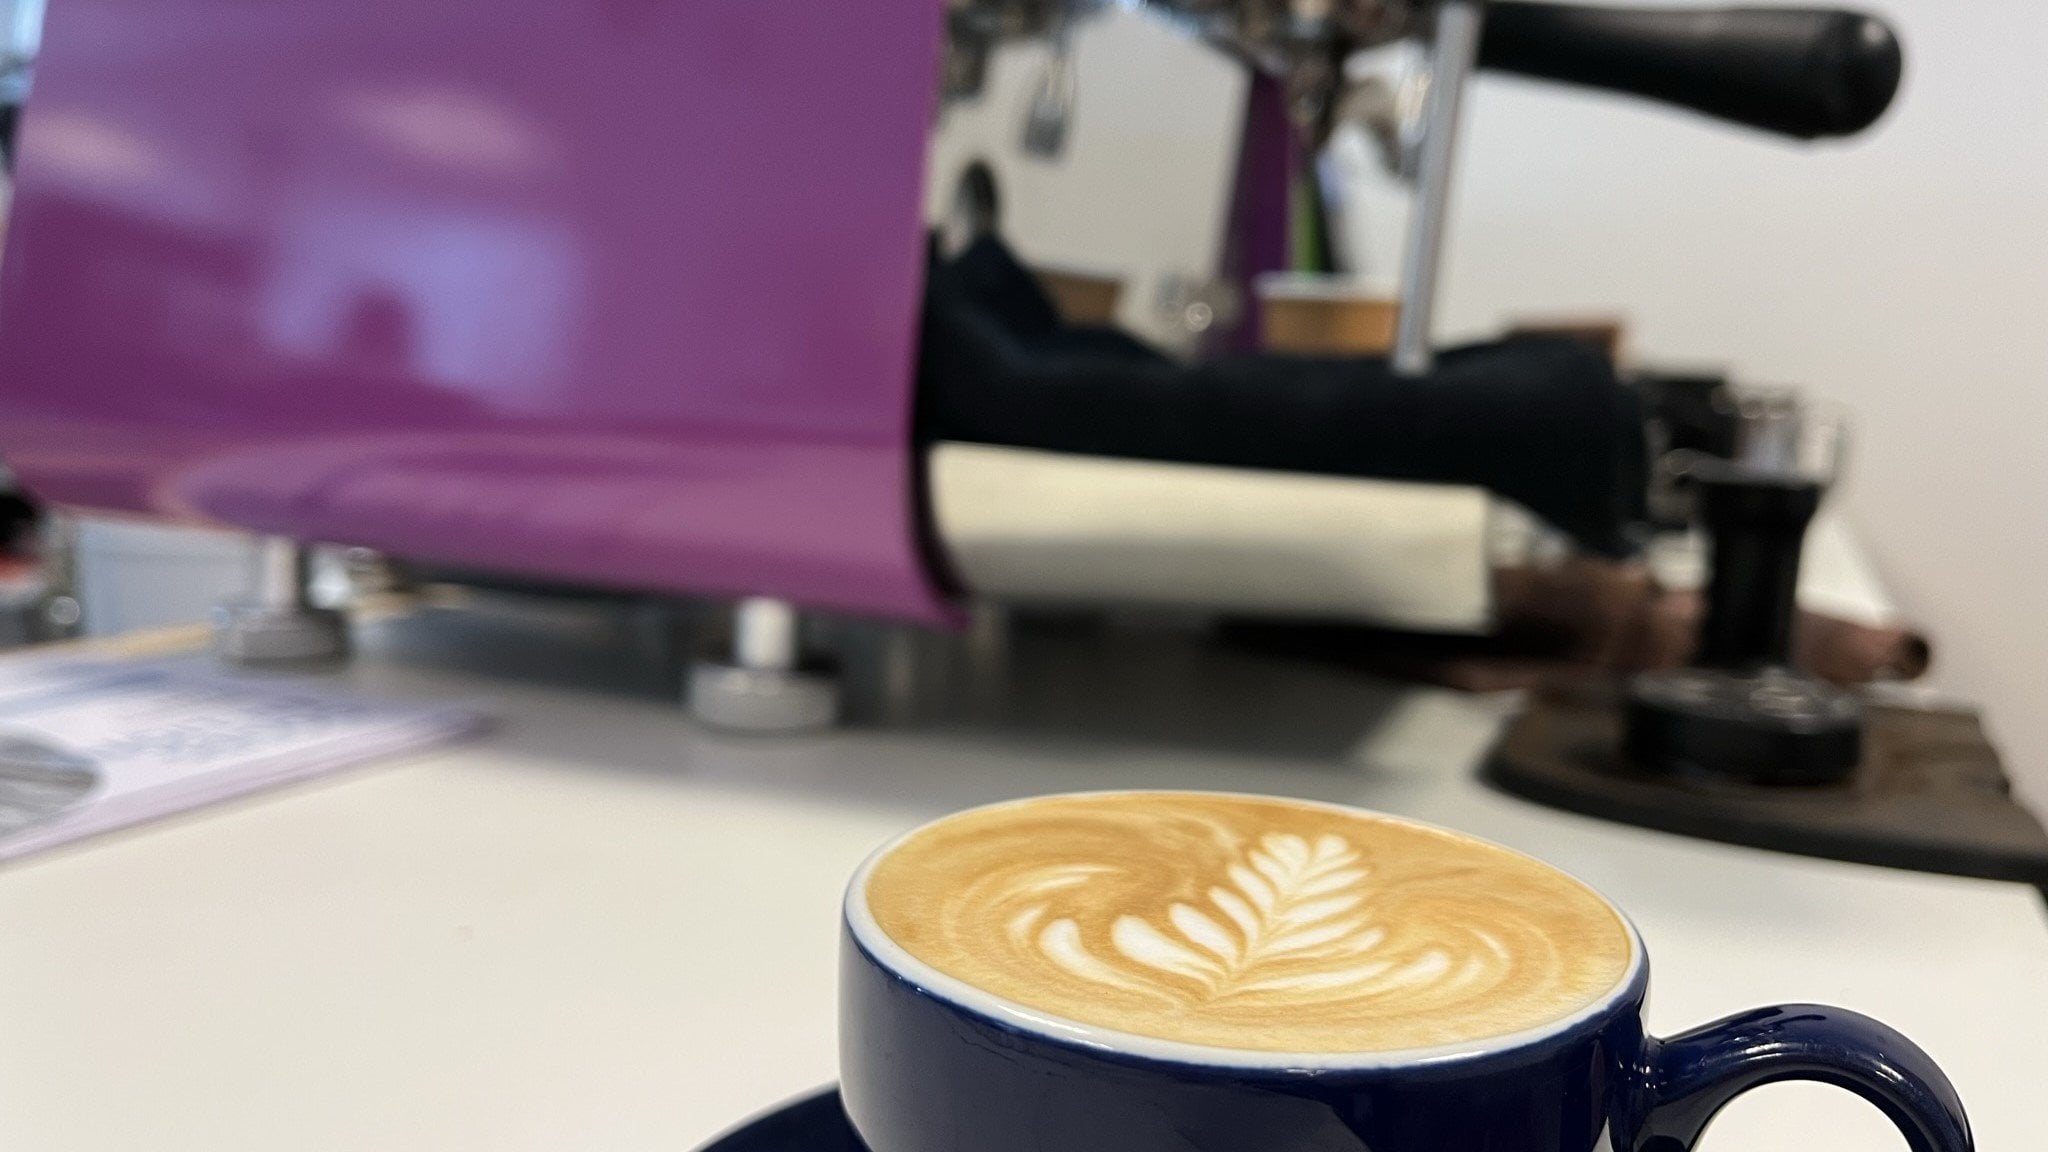
5. The perfect rosetta: In this video, I want to show you how to port your cappuccino. Lets go. This is what I want to show you in this class, and nice and clean Rosetta in at the center of the cup and swing your milk flow closely to the coffee surface. Keep the swinging in control in the same spot till I get a big enough space. As you can see right here. Tilt back your cup and move backward in a consistent way. As the copies getting fuller, you should reach the rim of the cup and prepare the categorise into in a bit higher up position. There you go. Now you know how to party perfect Rosetta.
6. The perfect swan: Hi guys. In this video, I want to show you how the poor, a perfect swan. Let's do it. This is what I want to show you in this video. And nice and clean Swan aimed right at the center of the cup and start to wiggle just as you did before for the receptor. So when you milk flow closely to the coffee surface in the same position till you get a big enough body for your Swan. Now, it is really important to actually have a picture in your head of what exactly you want to pour it. If this is your first time pouring a swan, I even suggest to draw it on paper first, in the next step and show you how to call it a wings. Similar to the rosette data, you have to move backward while keeping a consistent wiggle. Just leave enough room for the neck and the head of the swan on the other side of the cup. Drawing time to create the neck of the s1, which is follow the outline of the Rosetta and make sure to draw an elegant and natural shape. You have to be really, really close to the coffee surface with your picture for getting imbedded contrast. When back at the top of the cup, just pour in a small heart to create the head. Cut your heart in a retire up position. Just don't pour too quickly, otherwise the heart will disappear again. There you go. Now you know how to port the prefix one.
7. How to draw a cat: I guess this video I want to show you how to create a cat in your cappuccino. This time we don't only core in the cappuccino, we also do some matching. So lets go. This is what I want to show you in this video. A super cute cat done with some really, really easy latte art and announced to some etching. Or we have to do to create the head of this cut is pulling a balloon shape into your cup. Deploring is the same as when you would do a heart. 09 fled to cutting through India. And this is where all the magic happens. You can use anything that does shock enough to do this. For example, a toothpick, or of course, as used in the video a lot there, a chimpanzee, make sure to hold the etching and vertical. This will help you to get better drawings. The principle here is really easy. If you want to grow something in white, DIP THE hand slightly and some milk foam. Or if you want to draw some dark lines, DIP THE pen in some parts of your crema before you draw on the coffee. Makes sure to clean the etching pen when you change to call us, this will get you cleaner lines. What I want to show you this video is that even with some really basic latte art, you can create some amazing stuff only of adding some details with your pen. So let's be creative and do some amazing motel art. No.
8. Final thoughts: You guys, I hope this course helped you in some way or another to poor better law tell. It takes an insane amount of training to get the perfect latte art into your cup. So don't be done if it didn't work out the first cup of rice. This is very normal. Just don't give up. With that being said, thank you very much for watching this class. I hope you make someone stay with your latte art. Cia.
 Dario Pieber, Latte Artist