Transcripts
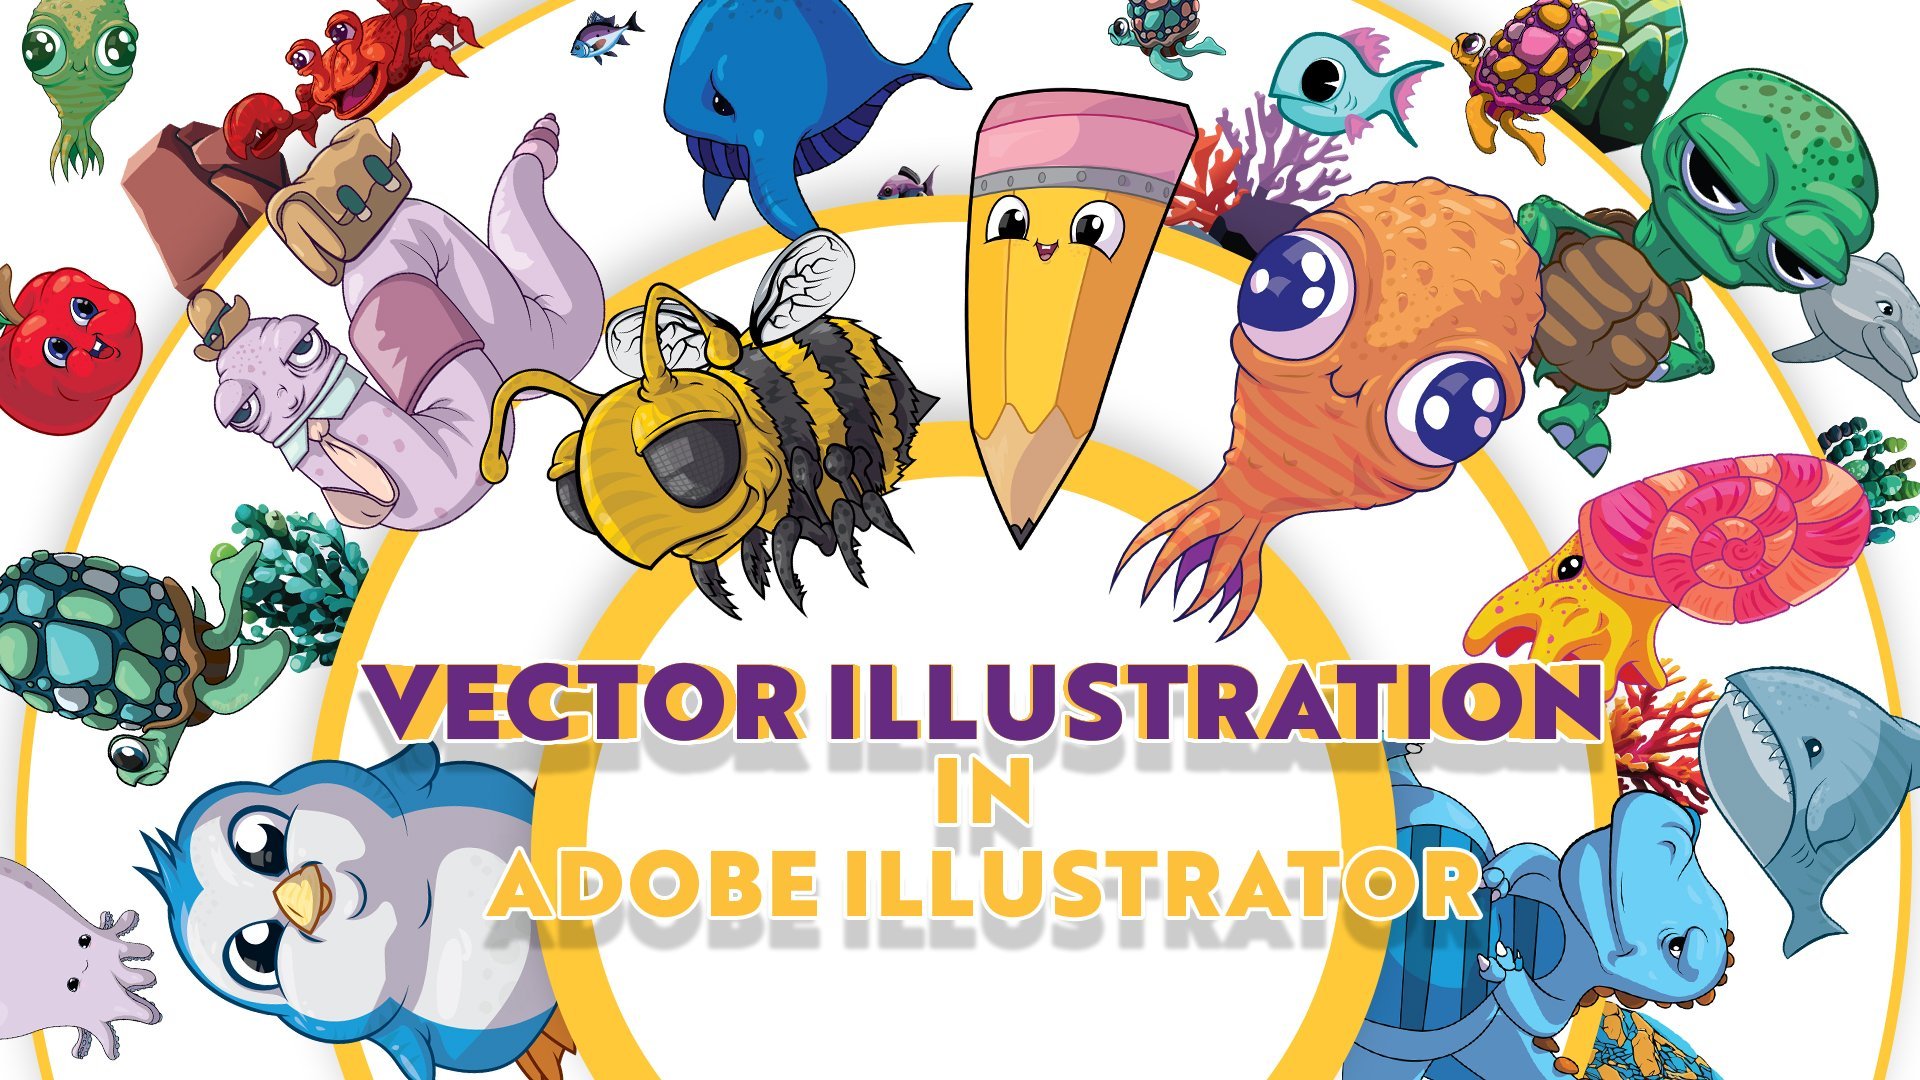
1. Intro: Hey guys, my name is Kyle Aaron Parson. I'm a graphic designer and illustrator based in Edmonton, Canada. In today's class, we're going to create a stylized geometric portrait of your favorite animal. I think geometric design has such an interesting aesthetic. Over the last little while, I've created steps to create a very interesting design. In this class, we'll go over how to use the pen tool to create geometric shapes to form our illustration. Then we'll bring our illustration to life by adding pattern textures, a drop shadow, and a very interesting frame. We will also cover how to easily use color in Adobe Illustrator by creating our own custom color palettes. This class is for anyone who wants to make a more geometric design. Even if you have a basic understanding of Adobe Illustrator, this class is for you. I will cover each step in detail so that even a complete beginner can follow along. I can't wait to see you in class.
2. Finding Your Reference: Now we're going to start by finding a reference image. Our reference image, again, we want to have a face-on image of an animal so that we can mirror one half of it, just for simplicity sake. I just went to unsplash.com. It's an awesome website to find great images and they're all royalty free, so that's awesome. For this class, I decided to do a deer, so I'm going to go down, and I'm going to try to find an awesome deer picture. An image like this that's straight on, that's perfect, but I feel like the horns are a little too big. This one is pretty good, even this one without baby doe here, that might be good as well, or even this one. A lot of these are almost pretty much perfect. This one's I think what I'm going to go with. It's basically face on, and the image aren't too large for what I want to do, so it won't get too complicated. What I'm going to do is I'm going to download this image, and then I'm going to open up Adobe Illustrator. In Adobe Illustrator, I'm just going to create a new document, a basic 10 by 10 is perfectly fine. Any size is okay, just hit Create. Now, we want to import our image into our workspace. All we're going to do is go to File, we're going to go to Place, we're going to go find our downloads, and we are going to place our image. What we're going to do is we're going to click and drag our image on to the screen. Perfect. I'm going to pull it into roughly the center, and there we go. The next thing I want to do is I want to create a guideline. I'm going to hit P on the keyboard, and I'm going to go up to the top center of the art-board. I'm just going to click, create a line holding Shift and going all the way down to the bottom. I'm going to create another point and create a vertical line. This is our center line. I'm just going to click on this line and increase the stroke width a bit. There we go. Now we got a nice center line. What I want to do is I want to center this portrait, so the center of his face is right in the middle of the line. I'm just going to use the arrow keys on the keyboard, and just to find a point where I feel like it is pretty good. I feel like it's slightly angled, maybe not. That feels good to me. The next thing I want to do is I'm going to open up my Layers panel. I have my Layers panel open here. I'm just going to dock it to the side, so it's always visible for me. In the layers panel, I have layer one, this has my reference image and my center line. I'm going to double-click on that, and I'm going to name it reference. I'm going to click the button that says, Template. I'm going to create the Template layer, and it's going to dim the image to 50 percent so we're just using it as a reference. Also since it's a template layer, it's not something that will be exported. If you accidentally leave it on when you export your image, it will not carry over to your exported image. Just a safety measure there. We set up our reference image and we set up our center guideline. The next thing that we're going to do is we're just going to add one more layer and this is where we're going to do our line.
3. Creating Your Line work: We're going to jump in and start doing our line work. There's a few things that I want to take into consideration when making your line work. Number 1, we're working on a new layer, not on the reference layer. Then I'll just make it easy. Second thing is we want to turn on a few features in Adobe Illustrator. We want to go to View and we want to go down and find where it says, the snap to functions. The Snap to Grid, Snap to Pixel, and Snap to Point. What we want to click on is "Snap to Point". It allows our cursor, if we get close to a point, it will automatically go right to the point. That's what we want when we're making our geometric shapes. We want to make sure our points are always right on top of the adjacent point. Turn stamp to point on. Second thing is if we go to Edit, Preferences and if we go to Smart Guides, there is a snapping tolerance. It means that the closer or the smaller this number is, the closer your cursor has to be to a point to snap to it. Since we want to be very accurate with our snapping, we want to just increase that a little bit. But if it gets a little too hard to handle and it's jumping around places you don't want to, just jump back into this function and turn it back down. I'm putting it to about six points just for now when I'm doing my line work, later on I might change it back. Now what we're going to do is we're going to start drawing our lines. What we need to do is click "P" for the Pen tool and we're going to start building shapes. When we build our shapes, what we want to consider is the forms and also the contrast of the animal and some of the parts that we know we want to show. Something like this eye, we want to make a custom shape around this eye maybe and really draw attention to it. Other things like maybe the forehead, we can make it just one big solid piece. When we're creating our geometric designs, we're going to use very basic shapes like triangles or quadrilaterals. We always want to create a closed path when we're building our shapes. If you don't build closed paths, you will find later on it'll be a little more difficult to work with. For the sake of simplicity, try and always work with closed paths. We're going to start building our shape, we got a Pen tool. We can turn the fill layer of our Pen tool off and also we can change the color of our pen just so we can see it. It's very visible. I'll just change it to some pink so that works. I'm going to zoom in here and I'm going to start building my shapes. I want it on this center line, I'll start one on the center line and maybe I will build this forehead out here. It's on the center, it's on the path. As you can see when my cursor hovers over this point, there's a little o that appears underneath the cursor, underneath the Pen tool that just indicates that I'm creating a closed path now and that's what I want to see. I created my first shape, now we want to add more shapes onto it. I want to build up where the horn is coming out this section. There might be a little triangle here. I want to build this up a little bit. What I'm going to do is, if I click with this selected, this path is selected right now, if I just click on the point, what's going to happen is it's going to actually subtract the point like that. I don't want that to happen. I "Control Z" to go back. In order to click on this point here or click on any point and add a new point there, I have to hit "Control" and click outside, so that deselects this one and now when I hover over it it's starting a whole new path, like that. Now I can close this path. I got two paths. If I wanted to add another point here, instead of just holding "Control", I can hold "Shift". What Shift does it allows me to click on a selected path, but start an entirely new path on top of it. I click and I start a new path here. Then I'm just building up my shapes, closing that path. Now I want to build a big triangle here. I'm going to hit "Shift" right on top of the previous path and triangle there. Then make sure I close it, so building it up like this. I'm going to select all of these, my path is a little too thick for my liking. I'm just going to make it a little smaller like that. Back to the Pen tool and I see here if I hold "Shift" and maybe right there, building that. You don't always have to click on an endpoint as well. You can actually click in the center of a line and start a new path. Then I'm going to finish it there. As you can see, this part curves around. I don't want to place a triangle, let's say like this. What I want is the shape to go around the form here. If I wanted to just take this anchor point, I put it over here, but I don't want it over there, I wanted some more over here. I can hit the "A" button. That's the direct selection tool. I can hit this point and I can drag only this point to where I wanted it to go. If I'm not happy with the placement of my points, I can definitely go in and simply just click on one and adjust where it is. I think I'm more happy with that. I'm going to go back to my Pen tool, hitting "P". I'm going to build out this shape a little more. I'm just going to go through the entire artwork and I'm going to find the forms and build my shapes around the forms of the structure. Take your time with this, doesn't have to be perfect. You can always adjust it later. But just remember, you're building a 3D structure. Consider the shape of the object and also the contrast. I don't want to have a triangle that goes right into the eye. I want this eye separated. I'm going to build maybe a couple of smaller structures here as the eyelid and again, it doesn't have to be a triangle. It can be quadrilateral, it can be a more complex shape, but keep it nice and rigid and straight for this design. Again, it's all up to personal choice and your own style so play around with it and figure out something new. I would love to see different styles in this technique. Also, when you are creating your animal portrait. I'm just going to make the head, I'm not going to do like the neck. For this animal here, I have to decide where I want to cut off the head. I don't want the neck into it, so I might start curving it in and consider this the neck line here and then build that up. Maybe this is the, I guess the jaw line and that's where I want to end it. I don't want the neck in this. I just have to make that decision. Obviously, you can go further with it and you can build the whole body or the neck into it. But we are going to create a drop shadow and that gives it the illusion of a neck on it. Just keep that in mind. Here where there's less detail, I'm just making bigger structures and building them out. There's not so much detail in this area, so I don't mind building bigger structures. Here, you can see that I built a triangle here and I built it over here. But actually this is not filled, and I can show you that by just selecting everything and then changing the fill to a stroke or the stroke to a fill. Here you can see that that wasn't filled in. What I want to do is I want to go back and I want to use the pen tool and deselect everything, and then I want to build in this shape here like that. Now that will be filled in. I want everything to have a closed path in that area. That's another tip if you want to see whether you actually filled in a sheath. Just hit "V" on the keyboard, drag and select everything. Just toggle this back and forth between the stroke and the fill and you'll see what you actually outlined and what you didn't. I'll go back to work. I finished up the main face and now I'm going to start working on the ears. As you can see, the ears, its little more texture, a little more, I guess, fluffy. In this case, I'll show you what I do to get a little more texture into it. I'm going to draw my triangles, and I'm going to build up a shape here. But now, instead of going right to the end, what I'm going to do is I'm going to actually go from the center. I'm going to deselect and just select a point in the center, and then I'm just going to build it from there. It's overlapping itself. I can build some more structures here, maybe like that and maybe like that where there's a highlight there and then some of this stuff, let's build up one more. Maybe not like that, maybe like this. We don't want to get too detailed, but all right. To get a little more texture in here, instead of going from the end points, maybe from this endpoint is fine. I'm just going to go to the center and then go a little bit further, and we've got the ear there. Now the last thing we're going to do is we're going to build up the anther. Again, this one, since it's coming out from this, I'm not going to go from the end, so I'm going to come from here and then build up a couple of pieces on here. I didn't close that. I'm going to close that loop. Then here you can see that there is some highlight areas and there's shadow. I want to also capture that when I'm building my shapes. I can get that highlight and I can get this shadow area in here. We're always to create a closed path. There we go. We created the structure of our geometric design. If we turn off our reference layer, we can see how it looks. You can go around and you can play around with the shapes if you want to change anything. Go back and forth between your reference layer. Is there anything I want to add? I think here I might want to add a triangle here just to build that out a bit because it looks like a missing section, and then I also here on should add one there to make it a little more full. But does it capture the image? Does it capture an animal? Yeah, I think so. Definitely It'll improve as we add color to it and shading. Looks awesome. That's the end of the line work section. The next part we're going to create a basic color scheme, and we're going to apply it to our line work. I'll see you in the next class.
4. Coloring Your Linework: For the next section we are going to add some color to our linework. The first thing that we're going to do, we're going to use a five-color color palette. The colors you choose at this section don't matter, but you want a range of colors. You want brightest to darkest. What we're going to do is we're going to create a simple color palette really quickly. We're just going to hit M on our keyboard and we're going to make a square. We're going to give it a fill and no stroke. I'm going to pick a color, maybe a dark blue or something like that. I'm just going to dock my colors up here and my colors is in swatches just so I have them accessible. If you can't see the colors or swatches in your panels, you just go to Window and go to Color and it'll open it up. Or if you need swatches, you can go find Swatches. It's already opened up in my window, so that's why it has the check mark there. Now that we have our line work done, we're going to create our color palette. We've got one color. I'm going to make it a little darker. I'm just going to make a little darker like that, and now all I want to do is I'm going to duplicate this. How I did that is I hold Alt on my keyboard, click on the square, and then drag it down. Holding Alt, it makes it copy image. I'm just going to hold Shift so it goes straight down, and then I'm going to hit Control D on my keyboard. That'll just duplicate what I just did. We're going to make these a little smaller, easy to work with, and I'm going to zoom in. I got my color palette here. Now what I'm going to do is I'm going to just change the colors a little bit. Make this one a little bit brighter and make this one brighter than that. This one a little brighter than that even, just pulling. Then I'm going to make one more color and just pull it in. Make this one the brightest, almost white. That's our basic color palette. We have one really dark shade and one really light shade. Now, it doesn't matter what these are as long as you have five colors and it goes from darkest to lightest. We're going to change the colors later, but this is just to build up our structure. What we're going to do is we're going to apply these colors to our line work. We're going to find places where it should be dark and give it the darkest tone. Where it's bright, we're going to give it the lightest tone. In order to do that, what you want to do is we want to select all your line work. You just click and drag. Hit V on your keyboard and click and drag over all your line work. What we're going to do is we're just going to give it a white fill. We gave it a white fill and we can still see our line work. Now we know what we're working with. Now what I'm going to do is I'm going to hit V on my keyboard and then I'm going to hit I. What that allows me to do now I have the eyedropper tool selected. Now if I hit Control or Command on the keyboard, it toggles between my selection tool and my eyedropper. If I hit Control, I can select on a piece. I know that this part over here, I want the lightest color. I'm just going to hit Control, click on that piece, release Control, and click on the color I want on that section. I know the eye, I want it to be the darkest part. Now I'm going to work around finding the spots of light and dark. I know that this one's the darkest tone and then the part around it might be second darkest, and then this part up here might be middle. I'm going to build up the shapes just like that. Now when I start applying the colors to it, I can start selecting from within my shapes that I've already created. How I'm getting these colors? I'm thinking about the shading of it and I'm also looking at the reference on the other side. Since it's a symmetrical image, I can use the rough shading there, but if I also want to turn that off and on my reference or my linework layer. I can see where do I want to put the highlights and where do I want to put the shadow. I see here is actually getting a darker area, but right next to it here is a lighter area, so I can use my light and dark here. Then when you're building up your shapes, you don't want to have the same color right beside. You want to always change it up. It's going to be difficult with a five-color color scheme to never, I guess, butt up the same color, but we got to try our best to do it just so that our shapes can be distinguished from one another instead of blending together. I'm going to just go back and forth between those tones here. We built up the linework, and now we built up the colors within the linework. It looks pretty good. Just go through your image and see if there's any areas that you might want to change. Not all areas need to have a color that's different. These two right here, they butt up against each other and they're the same color, but that's okay. When we work with our patterns later on, we can actually take those areas and split them up a little more. Right now it's looking pretty good. In the next video, we're going to take this image and we're going to mirror it on itself to create a full image. Then what we're going to do is we're going to create a custom color palette and apply it to our artwork. See you in the next class.
5. Patterns and Strokes: Guys, so we did the brunt of the work. Now, as we're coming into this second phase of our artwork, we are getting into the more customization of it. We're going to build in some texture through patterns and we're going to create a drop shadow. We're also going to frame the image within a circle. The first thing that we want to do to complete our image is we're going to reflect our artwork on to the opposite side. How are we going to do that? We're going to select all our image, and we're going to hit "O" on our keyboard or you can find the reflect tool up here. Then we're going to click in the center line. We're going to hit "Alt" and just drag holding shift to the opposite side. There you go. You brought your artwork over to the opposite side. The next thing that we're going to do is we're just going to clean it up so it's not so symmetrical. As you can see that in the center we have the same colors is budding up, we want to get rid of that. We're just going to go in and we're going to select the colors and we're going to give it a new color. Now that this one's darker, I'm going to go back and change maybe these ones to a darker color. Same with this one. Maybe I want it to be that color and this one can be this color and this one can be the darker color like that. Going in and just adjusting the colors a little bit and playing around with it and just seeing what you can do. Just like that. Just play around with it now. Now you can go in and adjust things, you can change things and make them the way you want. The next thing that we're going to do is we're going to apply a pattern to this. Not everywhere, just on certain places. Now I want to show you a pretty quick and easy way to do that. First thing that we need to do is we want to make our swatches. We just want to select all our artwork and we're going to make a new color group. We want to have Convert Process to Global and make some global colors. Now what happens everywhere that these colors were applied to, anywhere in my artwork, if I go into my swatches panel and I click on one, I can have the ability to change the color and it'll change every instance where that color was applied. That's the great thing about working with colors in illustrator. It really makes it versatile to change colors on the fly and really easy to work with. The reason why we wanted to do that is because we want to apply these global colors into our pattern's swatch. Now we're going to make a pattern swatch. What we're going to do is we're just going to create a rectangle and we're going to create the width of our line pattern. We're just going to make a basic line pattern. If you want to make a different pattern like a dot pattern or a star pattern or anything to fill in your artwork you should definitely try that. For me, I'm just going to use simple line pattern. I don't want it too thick, maybe there, that'll be my line. The next thing that I want to do is I want to go into Object, go to Pattern, and Make. I'm making this pattern now. I don't want it this tight together. I'm going to go to the width. I'm just going to increase the width a little bit. That might be a little too much for me. Now I have to bring it down to 0.05. Let's see what that looks like. That looks good to me. You can play around with this and then the height, it'll just be the distance from this one to the next one. I don't want really any, so I'm just going to bring it down a little bit 0.3. It's overlaps itself and it'll break apart in your pattern when you use it. What I'm going to is I'm going to make sure the dark swatches there, I'm going to hit "Done." A new pattern swatch has appeared in my panel. Now, if I were to bring over and duplicate all of these swatches, I can apply the pattern to this one here. But now I want to make a pattern for each of these colors. How I'm going to do that? I'm going to double-click on my pattern in the swatch panel and I'm going to just change the color. I'm going to give it the lighter color. Select my artwork in the pattern, give it the lighter color and I'm going to just save a copy, new pattern 2. The next thing I'm going to do is I'm going to keep that selected, grab the light color, save a copy, new pattern 3. Change the color, save a copy, new pattern 4 and lastly, apply the last color, save a copy. What that did, as you can see, I have all five of my colors now in a pattern swatch. That's awesome. I'm just going to cancel because I don't want to save the first swatch that we had. Now what I can do is I can apply the same color to the patterns. Now if I go into switch one of these colors and preview it, it'll change even the color in the pattern, so that's awesome. The next thing that I want to do is I don't want these to line up vertically. I want to put a little dimension in it and I want to angle them. I'm going to select them all and I'm going to hit "R" on my keyboard. I'm going to hit "R" and I'm going to hold Alt and click in the center. Now the rotate menu will come up. I don't want to rotate the boxes, but I want to rotate the patterns. I'm going to put Transform Objects, turned off and I'm going to turn the preview on to see what's happening. The next thing I want to do is I want to pick an angle. You can pick any angle you want. I'm just going to do with the classic 45 degrees and I'm going to see how that looks. I think that's looking awesome. Now all the patterns swatches are at a 45 degree angle and they're line patterns. I'm going to say, "Okay". I got my two swatches there. The next thing that I'm going to do is I'm going to select my artwork, maybe we could rename this artwork. I'm going to copy it, Control C and I'm going to create a new layer above my artwork and I'm going to name this one Patterns. Now what I'm going to do, I'm going to lock my artwork layer and I'm going to click my patterns layer. I'm going to hit "Control F" that's to paste whatever I copied right in front on itself. As you can see, it created a complete duplicate over top of my previous artwork. Now, we're going to apply the pattern swatches to our artwork. Since we have an image underneath, what's going to happen is if I apply a darker tone to this area. Currently it's this tone right here, if I apply the darker pattern, you can see that the underneath layer will show through. You'll still have that original color but you'll give it a pattern of a darker tone. Yeah, that's how we're going to fill in our artwork. We're just going to go through and we're going to find areas, we want to apply a slightly darker tone. It's between these two. It's this one plus this one, like that. That's looking pretty good. Usually I go one step further. If it is currently the mid-tone, I'm going to go up one pattern swatch to the second darkest tone. If it is the lightest tone, I'm going to go up to the second lightest tone like that and vice versa. If I want to make a highlight, I want to make this area of brighter I'm going to just bring it up to one more tone like that. I'm going to work through my artwork and I'm going to apply the pattern swatches to where I see fit and create a little more dimension on it and break up some of the areas where there might be some colors budding up. I might apply a pattern swatch to one area to break it apart from the other area. Go through your work apply the patterns and create some more dimension to your artwork. There we go. We apply the pattern swatches to our pattern layer and yeah, they look awesome. We have our swatches layer. Swatches, I'm just going to rename that right now. We've got our swatches layer, we've got our artwork layer, we've got our patterns layer. I'm just going to drag these swatches off to the side a little bit so that we can just focus on our artwork. For now. We don't need our reference layer on anymore and we're just working on the artwork itself. That's perfectly fine. The next thing that we're going to do is we're going to apply a line work. We're going to actually break up the pieces a little more. This is totally your choice if you want to do, I think it makes it look pretty good. I'm going to lock my patterns layer for now and I'm going to create a new layer over top of my patterns there. I'm going to go onto my artwork layer and I'm going to select my artwork. Again I'm going to just copy and then lock my artwork layer and then go to my layer 5, this would be lines. What I'm going to do is Control F to paste in place, so another completely copy damage right over top. We don't want it just like that. What we want is we want it with no fill and we want to give it a color for the stroke. If we go into our swatches, let's give it the darkest color we have. It doesn't look that great right now. But what we're going to do is we're going to decrease the stroke weight a bit and then we're going to go into the Stroke panel. If you don't have the Stroke panel, again, go to Windows and go find stroke, there it is. Now we're going to get rid of some of this roughness. As you can see, some of the edges, they poke out in places we really don't want and doesn't look very good. How are we going to fix that? Is we're going to select our work and we're going to round all the corners and round the caps. What that does it is it just smooths out all the areas in all the edges so we don't see any of those points poking through. I think that looks pretty good. I'm going to decrease the stroke width even more, I like it just pretty subtle, but it breaks things up a little bit and looks really good.
6. Creating a Drop Shadow: The next thing that I want to do is we want to add a drop shadow. Underneath your Artwork layer, we're going to create another layer. This will be our drop shadow. I double-click Drop shadow. What we can do here, we can do a Control F again, so we can lock the other layers and need to Control F. Now another one of our images has appeared. What we're going to do with this one now is we're going to go into our Pathfinder window and we're going to hit Merge. Then we're going to hit Unite. What that did, you can't see it right now, but if we turn off our other layers, it actually merged all our layers together into one solid group. But we have a few edges here that we might want to clean up. One way to do that is if we hit Shift and M, that's the shape builder tool. What we can do is we can drag over the areas in which have some that didn't merge with Unite tool and see if we can merge them with this. Just drag over top of it, it'll merge them all together. That's what we want. We want just the outline like that. The next thing we're going to do is we're going to put a stroke around this one. We're going to put a stroke and we're going to give it the darkest tone. Also, we're going to give it the darkest tone with the stroke. First, we got to click on our object and then give it the darkest color. Also in our fill, we want the darkest color. Now we're going to go to our Stroke panel. Again, we're going to increase the stroke now. Now it's a little pointy. What we're going to do? Round the corners and round the camps and then keep increasing until it has a good distance around the outside. It's going to make a little border around our image. There we go. The next thing we're going to do to create a drop shadow, we're going to use something called the blend tool. Let me explain. It fills in one pattern to another pattern with what it thinks should be there. If we drag our object holding Alt and Shift to get a 45 degree angle, and if we drag it just to the bottom corner of our screen there, and we click on both of them. What we're going to do is we're going to go to Object, Blend, and Make. Now you can see that it created an image right in the center. It's taking one image and blending it with another image. Since it's the same image, it's just the basic copy. How are we going to make a drop shadow with that? We're going to go back to Options, Blend, and Blend options. Now what you can do is you can go to specified steps, and now you can increase the amount of steps there are. Let's try 50 and see what that looks like. It looks not too bad, but I can see that there's going to be some bumps in there. We can even increases even more. Let's go to 250 and preview that. It looks like it's smoothing out a lot more. Let's hit OK. It looks really smooth from one edge to the other. Now what we can do is we can take our bottom one. If we hit A on our keyboard, we can take our bottom one and select it and we can drag it anywhere we want. We can have a shadow going in any direction. But I wanted that 45 degrees, so I'm going to keep it there. Now what we can do is we can turn on our previous layers and look at that, simply making a drop shadow. The next thing that we're going to do is we're going to create the background circle. We're going to stay in our drop shadow layer. We're going to create an ellipse. Going from where we think that circle should start, we're going to create a circle. We're going to get rid of the stroke and we're going to give it maybe the second lightest color. Now we're going to drag it to where we think it should be for our image. We're going to push it to the back behind our drop shadow. How we can do that is we hit Control and the left bracket key. It'll take a step backwards in the layers panel. If we go to drop shadow layer, you can see that there is only two items in it. But what that does if I hit Control right bracket, it'll bring it up one step in our layer. If I hit the left bracket, it'll go down behind it. The next thing I want to do is I don't want this drop shadow to go all the way out. I want it to be confined in this circle. We need to use a clipping mask. We're going to select our circle and we're going to copy. We're going to hit Control F to paste in front. We're going to bring that one to the front. Now we're going to click both our copied circle and our drop shadow, our blend, and we're going to right-click and select Make Clipping Mask. Beautiful. Let's zoom in. Let's see how that looks. Perfect. We just created a geometric animal illustration with a drop shadow and a circular frame. It looks awesome. Now what we do is we can select it and we got to unlock all our layers, select all our layers together, and bring them into the middle. The next thing that we're going to do is we're going to play around with those colors. We have our full image there. Now we can get creative with how the colors interact with each other, even if we don't have to use just a single color like a single huge as blues. We can change it up and make multicolored. That's where we can add some style and flare to it. In the next class, we'll go over how we can change and customize the colors in your artwork very easily in Adobe Illustrator.
7. Customize Your Color Palette: Guys, the next thing that we're going to do is we're going to play around with the colors. We're going to make our own custom color palettes. What we're going to do is we're going to select all our images, make sure everything is unlocked, and we're going to copy it. I'm going to keep my original here and I'm going to create a new artboard. How I'm going to do that is I'm going to go to the Artboard tool. Then I'm just simply going to click and drag, holding "Shift" to constrain the proportions and make a new artboard off to the side here. Now what I'll do is I'll hit "Control F" and it'll paste my image on my new artboard in place. Also, what happened here is everything actually went onto the same layer. Maybe I want to cut it, so "Control X", and I want to create a new layer. I'm just going to lock all my previous layers and just work on a new layer, so "Control F" to paste in place. Now I have a new layer with my colors. What we're going to do now is I'm going to group it. I'm going to select all my artwork. I'm going to hit "Control G" and that'll create a group. I'm going to shrink it down and I'm going to make a copy of it and make another copy down there. Now what I want to do is I want to apply some different colors to all four of these. I want to make them all pretty unique. Just play around and try a few different things. I'm going to keep my original. I like that. It's a nice cool blue. The next one, I want to show you how you can change the colors very easily. With your artwork selected, go up to Recolor Artwork. There's a little greyscale color wheel here, Recolor Artwork. This window pops up. You can see that all five colors that are in your current selection are here. You see what is the new color going to be. What if I want to change this blue, maybe this teal, I want to make it a red? See what that would look like. That's pretty cool. Anywhere that that teal was applied in your artwork, it'll change to the red. Now, a different way to use this function is you can go to the Edit function. Now, instead of having to open each one individually, you can play around with all the colors at one time. Let's say all my colors here. If I just wanted to change the hue, if I wanted to go from all blue tones to all red tones, I can link harmony colors and what that allow me to do is when I use my slider, it'll drag all my sliders at one time. Let's say I want more red. There we go. We have our red. We can give it a little more saturation. We can make it a little darker. We can change it to green. We can change it to magenta. We can change it to purple, blue. We can make it yellow. This is how you can play around with the Adobe Color and Adobe Illustrator. If we unlink the color harmony, we can actually drag each color individually or I can select this color and I can use the HSB sliders. I can have a little more control of where it goes, how much saturation this has, how dark it is, and I can play around with it. What I want you to do for this class is I want you to create four different color schemes for your artwork. Try something out. Make it contrast the image, maybe green and pink, maybe blue and green. Play around with many different colors. Let's try and just spread out these colors to different areas and see what happens. You might come up with a color scheme that's awesome. You never know really what works until you try it out. What if I wanted this one a little brighter? Let's try some colors with little brighter, might look good with more of a reddish tinge in the dark tones and maybe the lighter tones are more of a blue like that. Play around with your colors and come up with four different color schemes. I want to see what you guys create. This is going to be the final class where we work in Adobe Illustrator. I want to show you one more thing, how to apply a pre-made color palette to your existing artwork very quickly. This is how you can play around with it and make your own colors. Now, I want to show you how you can apply a color palette to your current artwork. I created my own color palettes up here. These are the ones I really enjoy using. I believe it's on my artwork layer. I'm going to select it. I'm going to create a new color palette in my swatches panel. In my swatches panel, if I have my five colors selected that I want to use, I hit "New Color Group" and just hit "Okay". Now I have a color group in my swatches panel. Now how do I apply this color group to my existing artwork? Let's try it with this guy over here. I have my group selected and I go into Recolor Artwork. Now what you can do is you can actually select a color group that's in your swatches panel. I wanted it to be this color group. That doesn't look too good. The reason why it doesn't look too good is because it randomly applied the colors to any of the colors that exist. But remember, we have a dark tone, and we have a medium dark, and medium light, and lightest tone. What I want to do is I want to drag the new colors to where the light tone goes and the dark tone and the medium. The lightest tone I should drag over there. The darkest tone I should drag to the darkest tone. The middle tone or the second lightest tone looks like this one, you should drag it there. Let's just switch these and see. I think these can go either way. I think I'm liking it there though. That's how you can quickly apply a current color scheme to your existing artwork. Just match up the tones, the lightness and darkness, and match them up in your color swatch. Again, if you want to change these colors, you can go into Edit and you can adjust any of the colors however you want. I want to hit "Okay". I applied my color swatch group to my artwork and it looks pretty cool. Have fun with it. Create four different color schemes and at the end, if you want, you can apply a background and bring it to the back of all your artwork. Maybe make it a dark tone and there you go. Guys, that's how you apply colors to your artwork. I can't wait to see what you guys create with your color schemes and where it goes from there. See you in the next class.
8. Cut Out Your Border, The Final Touch: All right, guys. This is our final class, and what we want to do is we want to create a simple border around our work. You can do with just an individual artwork or you can do it with all four. I'll demonstrate how you can do with all four. Basically what we're going to do is we're going to create a shape on top with circles cut out. You have your background color and then you have a layer on top that has rings cut out of it. How are we going to do that? I'll show you. The first thing that we're going to do is we're going to access our direct selection tool. We're going to select all the circles as well as the background, and we're going to copy it. Then what we're going to do is we're going to lock our colors layer, create a new layer, Control F to paste in place. It pasted it in place all the circles as well as the background. The next thing that I'm going to do is I'm going to select all four of these circles. I'm going to go to Object, Path, and I'm going to go Offset Path. What that did is it took the paths that I selected and expanded them according to how much I input. If I wanted a little smaller, I can make it smaller or I can make it bigger like that. But I think 0.25 for me, that looks pretty good. Now what I'm going to do is I'm going to just hit, "Okay." Now you can see that we have multiple paths here, multiple circles. All we're going to do, since we have all our other layers locked, we're just going to be working on this later. I'm going to select everything. Then I'm going to hit Shift M for the shape builder tool. You can find it in your tool panel here. Now what I want to do is I want to basically cut out these circles from this main shape. I'm going to hit ultimate keyboard and this will actually subtract whatever I scroll over. If I click and drag over this circle, it just cut it out completely. I'm going to do the same thing with all these shapes. You can't really tell what happened there. But if I go back into my colors layer and I select the background, I select between my artwork and this main path. I change this to a different color, maybe the light color. Now you can see what happened. Now we basically cut holes out of the top layer so everything underneath can show through. That's pretty cool. Very easy to make a border.
9. Thank You!: Thank you so much for taking this class. Make sure to post any work that you created in the project panel. It really helps to promote more engagement and it is a huge support to the class. I am so looking forward to see what you created. If you have any questions regarding any of the subjects that we covered in this class, feel free to post it in the discussions panel, and we could all learn together. Or you can find me on Instagram at kyle.aaron.art. Lastly, if you have enjoyed this class and you've learned something from it, please consider leaving a short review and help others discover this class in the future. Until next time, See you later.