Transcripts
1. Introduction: [MUSIC] I love nature. Whenever I get to
a place to shoot, instead of taking my
camera out right away, I take my time, explore the area,
take the scene in, and look for the
best place to shoot. [MUSIC] Hello, and
welcome to Creating Stunning Visual Effects
using Long Exposure. I'm Ileana Chase, and I have been a
photographer half my life. For the past seven months, I've been traveling with my
husband throughout America. Right, now we're in
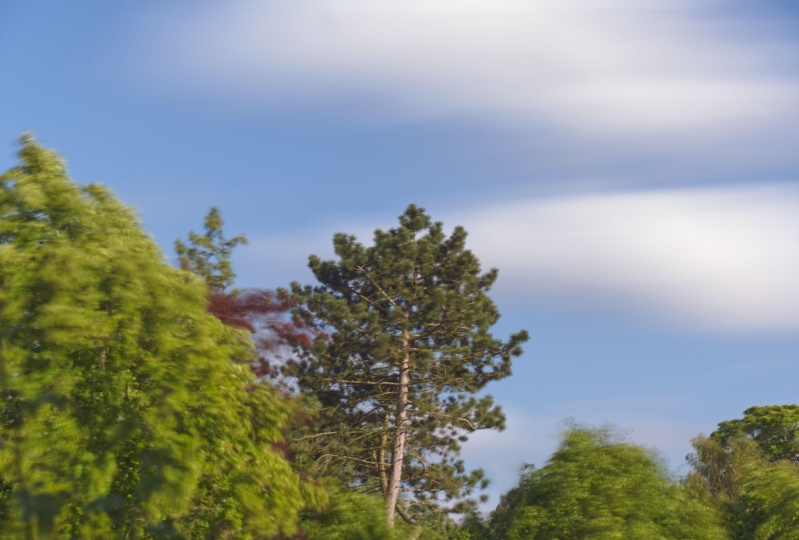
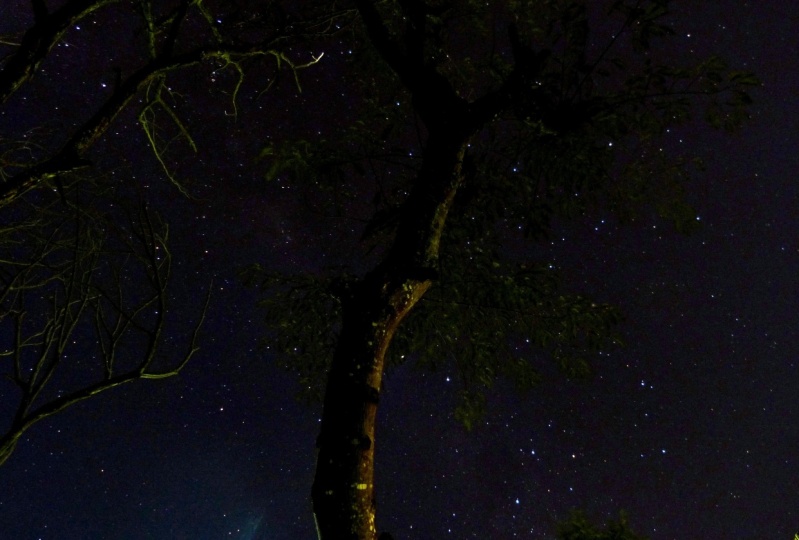
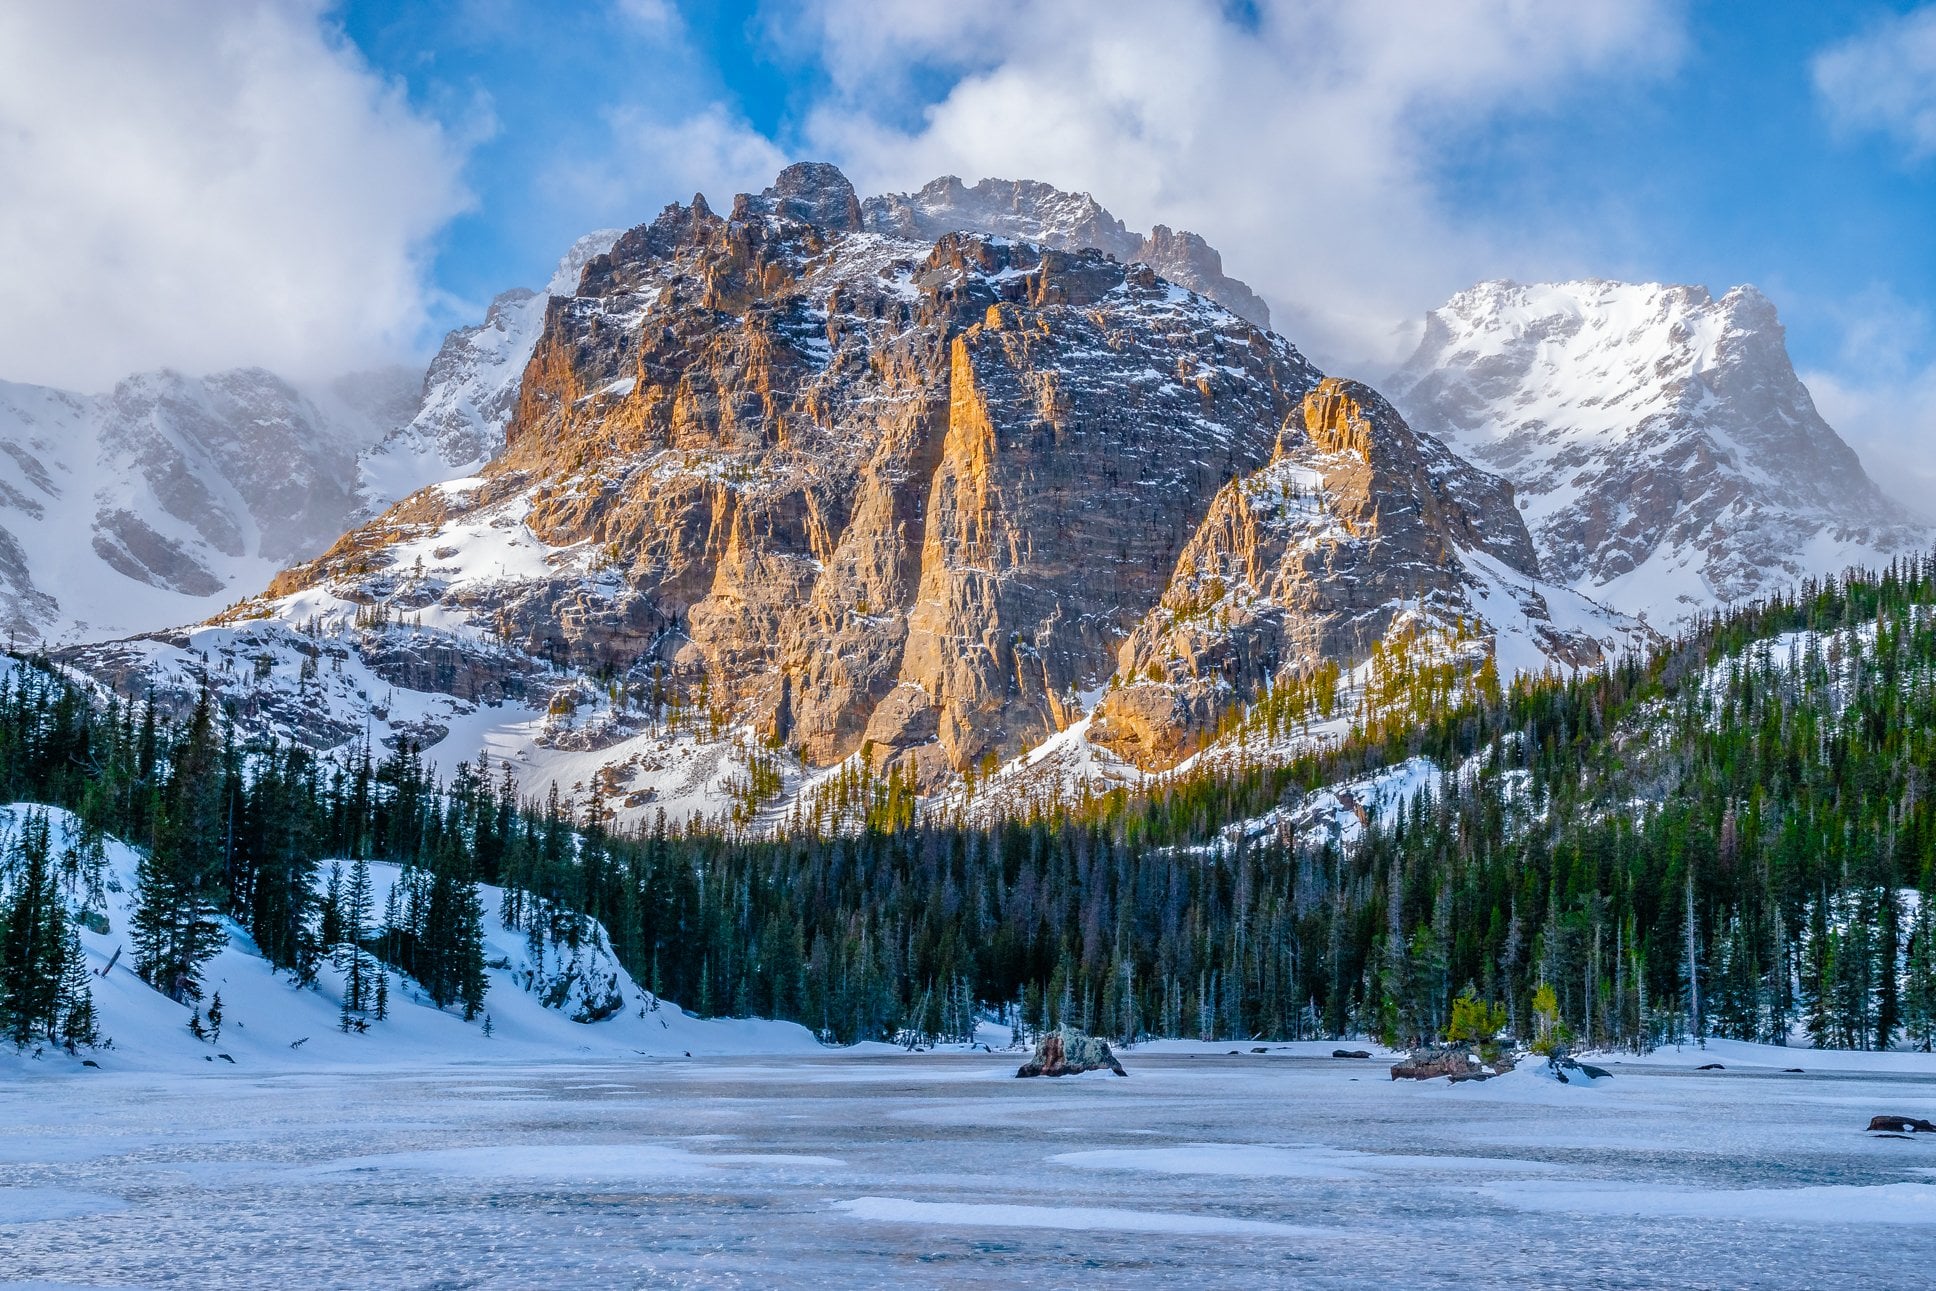
beautiful Costa Rica. Here are a few of my
pictures to illustrate what you can create
using Long Exposure. Go beyond freezing a moment, and actually capture
the passage of time. Throughout this class, I'll
be showing you lots of sample images and
we'll go together through the steps I use
to create my pictures. From setting up the camera
to taking the shot, to sunlight, editing, to get beautiful effects
on your pictures. I'm not a technical
photographer. I learn by trial and error. I believe in knowing your camera and going out to
shoot and have fun.
2. The Project: [MUSIC] For this project, I want you to choose one
picture either day or night using what you've
learned in this class. They're not good
or bad pictures. This is a safe space
for creatives, artists, and anyone that would
like to experiment with light and the
passage of time. [MUSIC] Just for any
type of picture, remember to slow down and
appreciate the scene. Just think about how
it feels for you, is it moving, if it looks sadness or peace, so take a look around. Don't go too far. Go outside your home. Checkout the park next to your place or the ocean or
whatever you have in nature. If you don't have nature,
you're in the city, go out and explore
the city at night. That's going to be very cool. Just want to make sure
that you're safe, that your equipment is safe. If you have a friend
that you can go out with or a group of
friends, even better, make it a day trip, go out with your friends and just take your camera
along and have fun. Let's take a look at the
equipment that you will need.
3. The Equipment: [MUSIC] For this class, you will need a
camera and a tripod. If you would like to
experiment during the day, you will also need an ND filter. [MUSIC] I will be
using a DSLR camera. But any camera with a
bulb mode can work. [MUSIC] You can use any
equipment you have. But if you would like
some recommendations, please take a moment to download the equipment info page
under the resources. [MUSIC] Let's talk a little
bit about long exposure.
4. Long Exposure: [MUSIC] What is low exposure? The easiest way for me to
explain is to show you. When you take a picture, the shutter opens and closes, allowing the light
into the camera. We have a very fast
shutter speed, like 1/1000 of a second. Like what you would use for sports photography or
to freeze a moment. You will be able to
see and hear how fast the shutter opens and
closes but in long exposure, we slow down the shutter. If we leave it open for
five seconds or so, a lot of light will be
coming into the camera. Let me show you. This is what will be considered
long exposure. Once we press it, it will just stay open for as many seconds as you
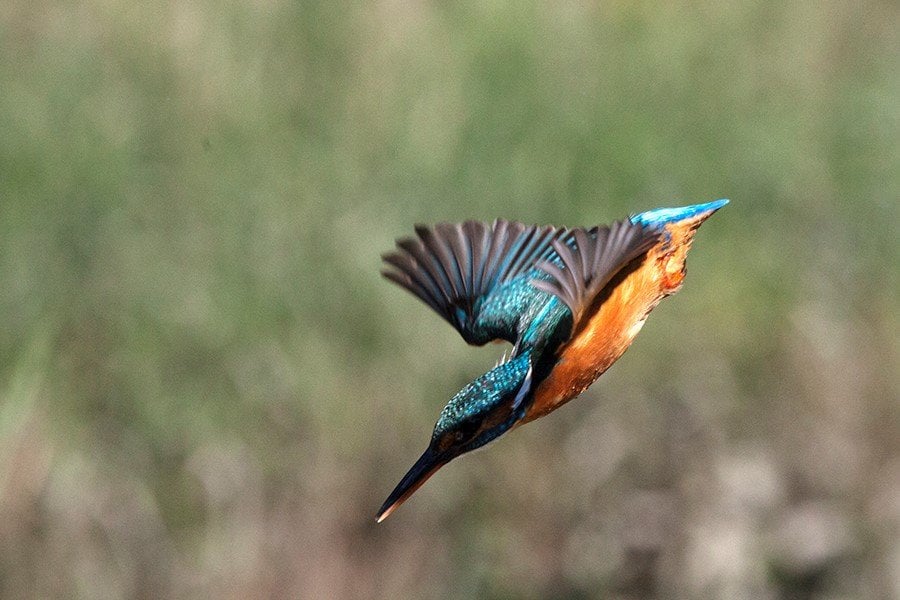
need to capture the light. This technique will show
whatever is on movement like water or clouds just
dragging to the picture. Whatever is still like
rocks or an object will just remain frozen or everything else is
moving around it. That's what makes long
exposures so special. The use of an ND
Filter will help you extend the shutter speed to
capture the passage of time. Creative long exposure reveals a world that is invisible
to the naked eye. I really enjoy applying long exposure techniques
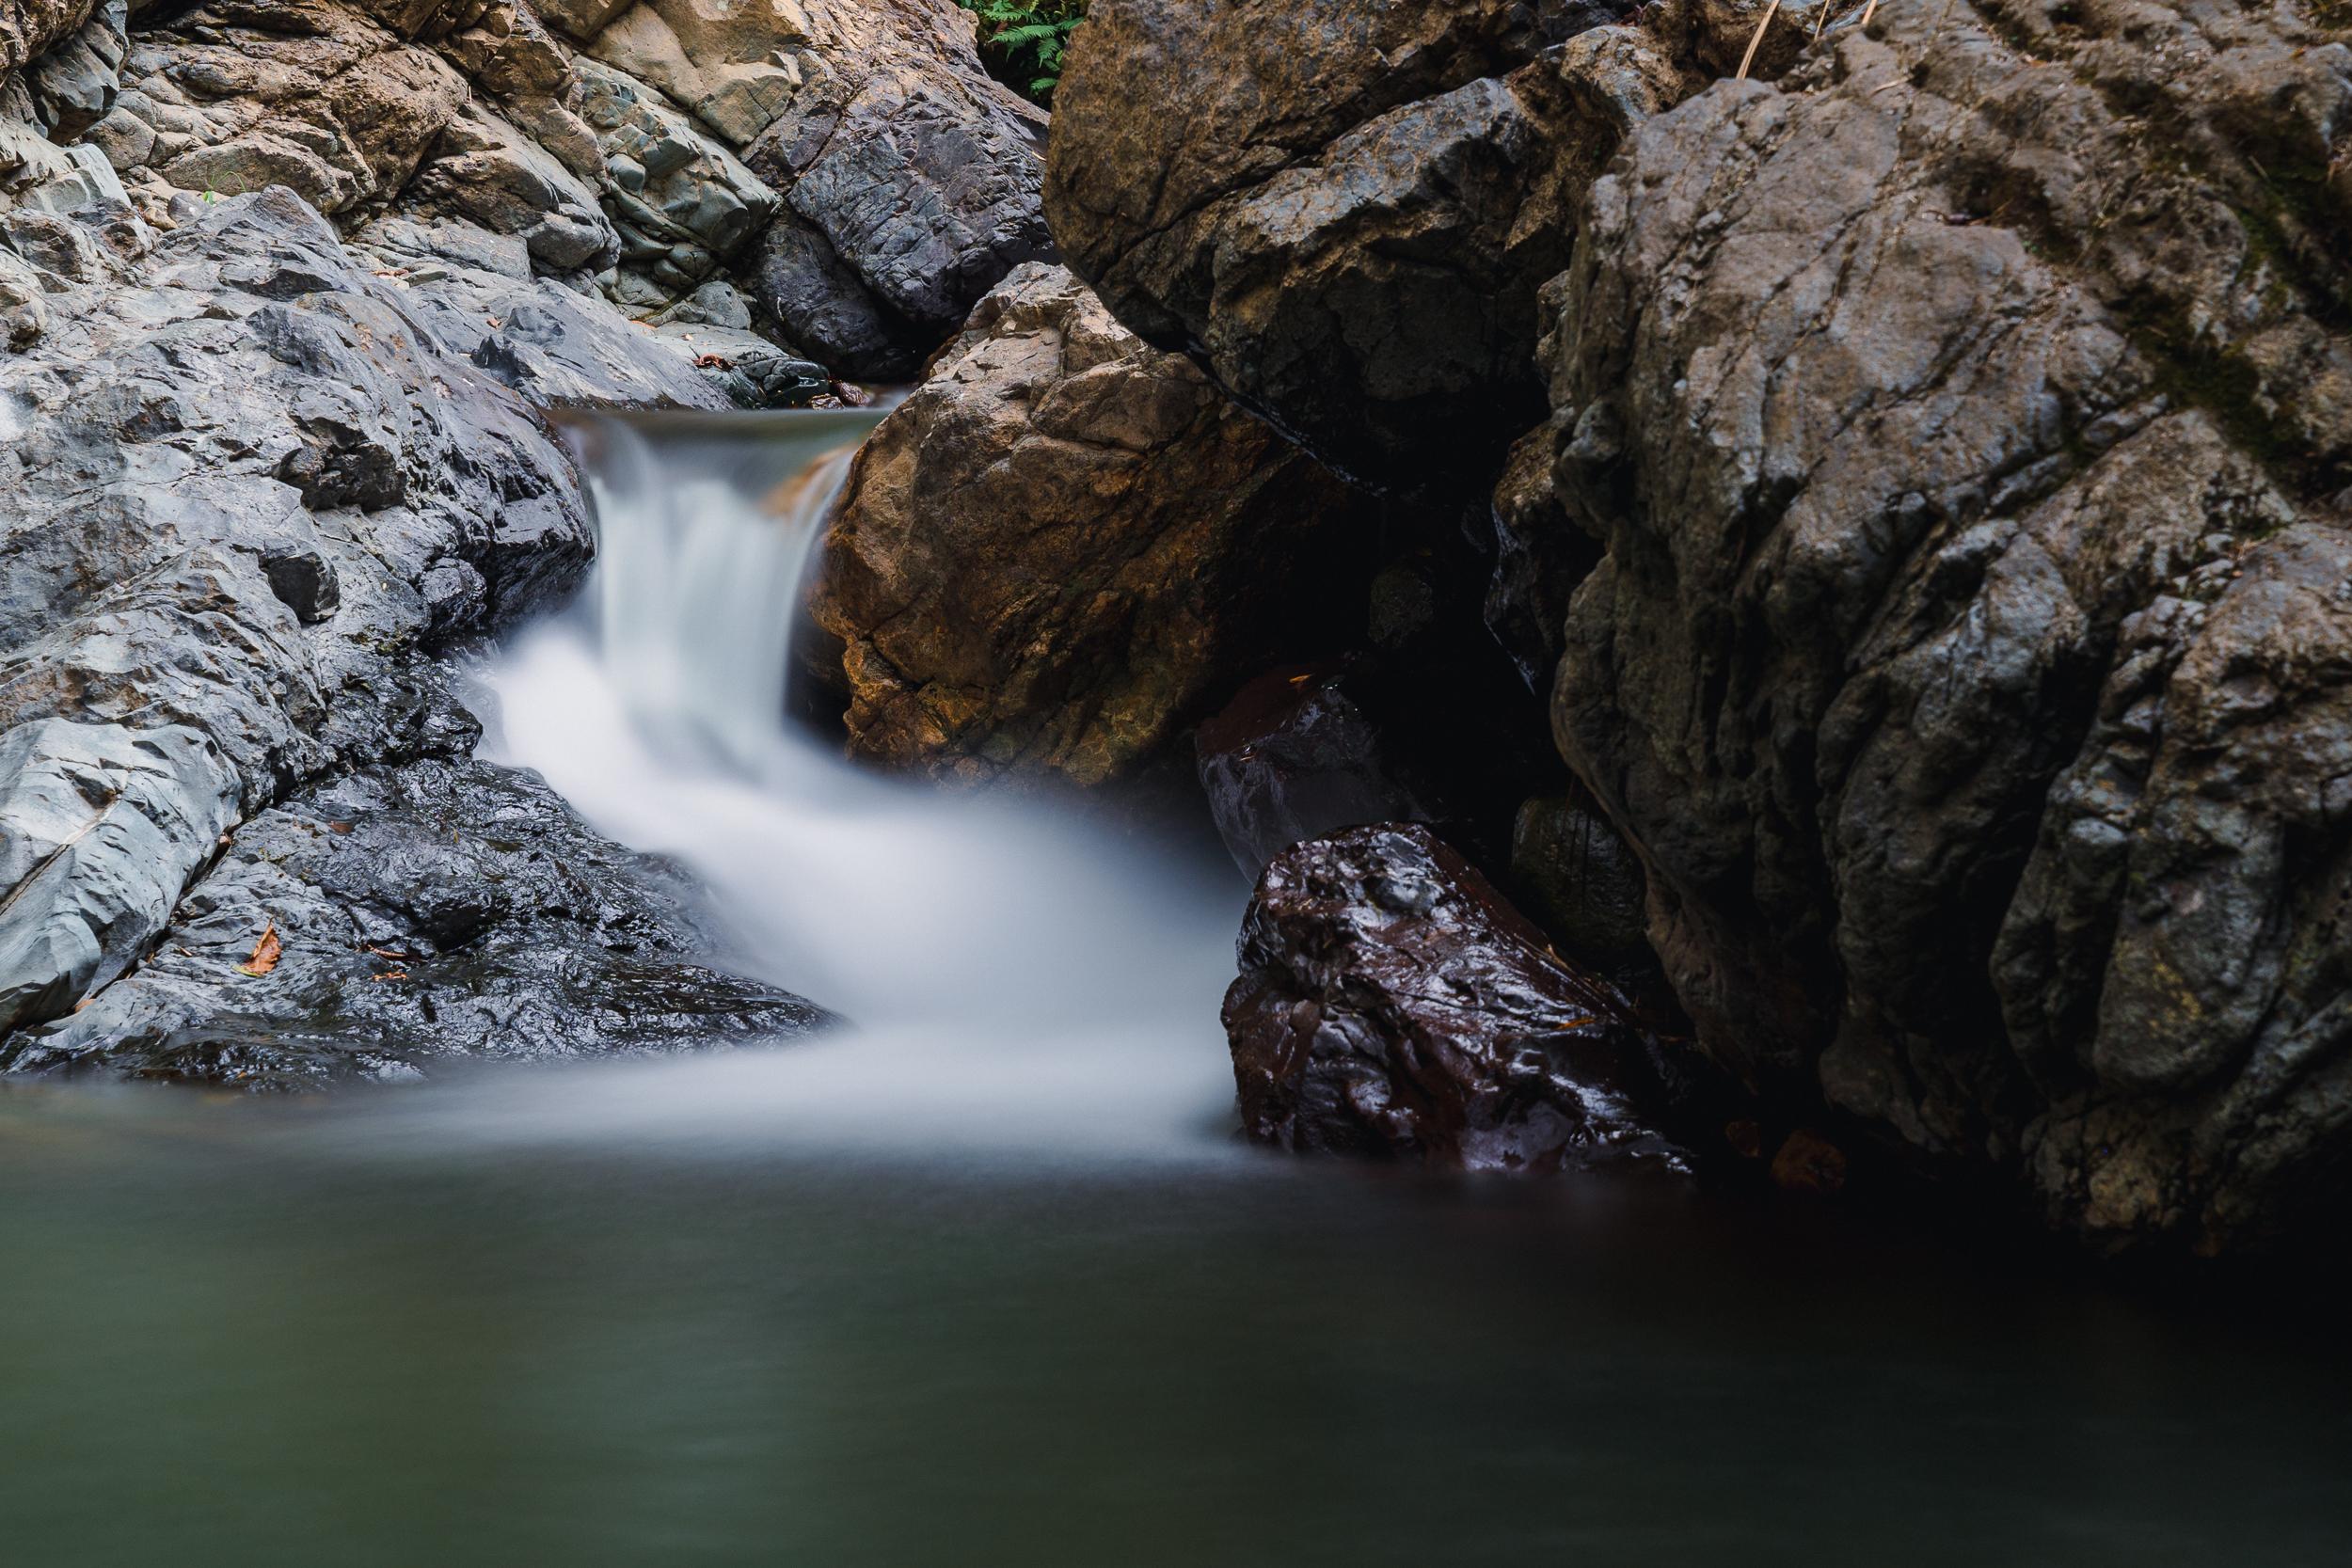
to almost everything. Waterfalls are one of
my favorite subjects. They create a
fantasy world to me. It feels almost ethereal. I won't be giving you a
few tips on how to shoot long exposure before we
jump into our project. Number 1, this is obvious. You need a camera on a tripod. Number 2, you might need an ND filter if you're going to be
shooting during the day. Now, these are some of the
settings I use in my camera. I make sure that
I'm shooting raw. Why? What was easier to edit. If you don't have raw it's okay. I've been shooting with JPEGs and it turns
out fine as well. Choose the white balance
settings to auto. Work on manual mode. Turn off auto ISO, and turn it to 100 ISO. Make sure your ND filter is clean and then screw it on
or slide it into place. Adjust your shutter speed depending on the filter you got. Use a remote to
trigger your shutter, or set it on a 2-second timer
if you don't have a remote. [MUSIC]
5. Day Project: Welcome back. Today
we'll be going over the step-by-step
process of taking a long exposure picture
during the day. I'm at a local waterfall
and it's a beautiful day. We will be needing a camera, a tripod, and an ND filter. Today I'm using my
10-stop filter. Depending on the
intensity of the sun, if you try to take
a long exposure, your picture will
turn out white. With the use of a filter, you can make water perfectly smooth or see the
clouds strike out. This is why you need to do
full settings in your camera. [MUSIC] For this feature, I chose to leave
the shutter open for 43 seconds to a minute. Remember that the time you keep the shutter open depends on the filter that you're using and the light
conditions outside. This is the picture
that I'm going to edit and I'm editing
in Lightroom. If you don't have Lightroom, you can just download
it and you can get a free trial
for a little bit. I always start by
cropping my image. I usually use the golden
spire to crop my images. If you're not aware
of what this is, it's just a way
of cropping where the subject is in the
middle of the picture. I can go up and down and look
for different positions. Or with the letter O, you can change cropping
tools to different settings. This will be the most usual rule of thirds, diagonal, center. I like golden spire the best
and that's the one I use. Once I have the
image how I like it, then we can start
with a light editing. For example, I have
here some presets. I usually don't use this, but I want to show
you where to find them just in case
you're interested. I will use landscape
because this is landscape. If you can see here, there's a bunch of beautiful
presets that you can use. Once you choose
the one you like, then you can continue
editing on this section. Contrast, I like always
a little contrast. Pull the highlights a
little bit so you can appreciate the water better. Shadows, well, you want
to make sure that you can see where the rocks are. But also I'm going to show
you a neat trick because this will actually light
in the entire image. But if we go up to this section, is a mask and we
just use the brush, you can highlight
the parts that you want to see better and it
will do the trick for you. There you go. That's it.
Now we're going to try to move the shadows over a little bit so that you
can appreciate the rocks. You can see the
before and the after. You can see the rocks
a little better on the right side.
Now we'll go back. Here the precepts are already
taking some of the changes. This is vibrance. I know vibrance is better than saturation and I
will show you why. If we move saturation
all the way over, the rocks look a little
weird hue with colors. They look unreal, I
don't like using that, so we're going to move it back. You can also play
with the color mixer. If you have greens, for example, in this case, you
go down to dial. It will take away the greens. But if you go up the dial, it will increase the
greens in the scene. I like them a little bit
green, not too much. The blues, same thing. If you have blues in the water, they will show even more. I like a little bit of clarity
just so that the rocks are extra sharp and I just will use a little bit of
dehaze on this image. Always use chromatic aberration. The geometry, I usually
put it to auto just in case I miss something
and it's not straight. See, there's nothing
to correct here. I think the image is
looking the way I want it. There's just one
little thing here. I'm going to show
you another trick. This is only for small things
if you want it to change. I don't like this
distraction here. If there's a lot to change, I will not use
Lightroom for this, I will use a different
tool in Photoshop. Now that's disappeared,
which is great. We go back to editing. I think we're done. Now, one more tip. Let's say that you have
a similar image that you want to look the same
and you want to save time. All you have to do is
copy paste the settings, right here there's three dots. It will show you settings. You copy and go
to the image that you want the same settings on and hit "Control
V" or paste settings. It will automatically
change your image as well. That will save you lots of time. Or look it up here, it also paste edit settings. Let's take a look at our image. Let's check before and after. This is the original image. This is after the edit. I just wanted to show you a little bit of
what I do in Lightroom.
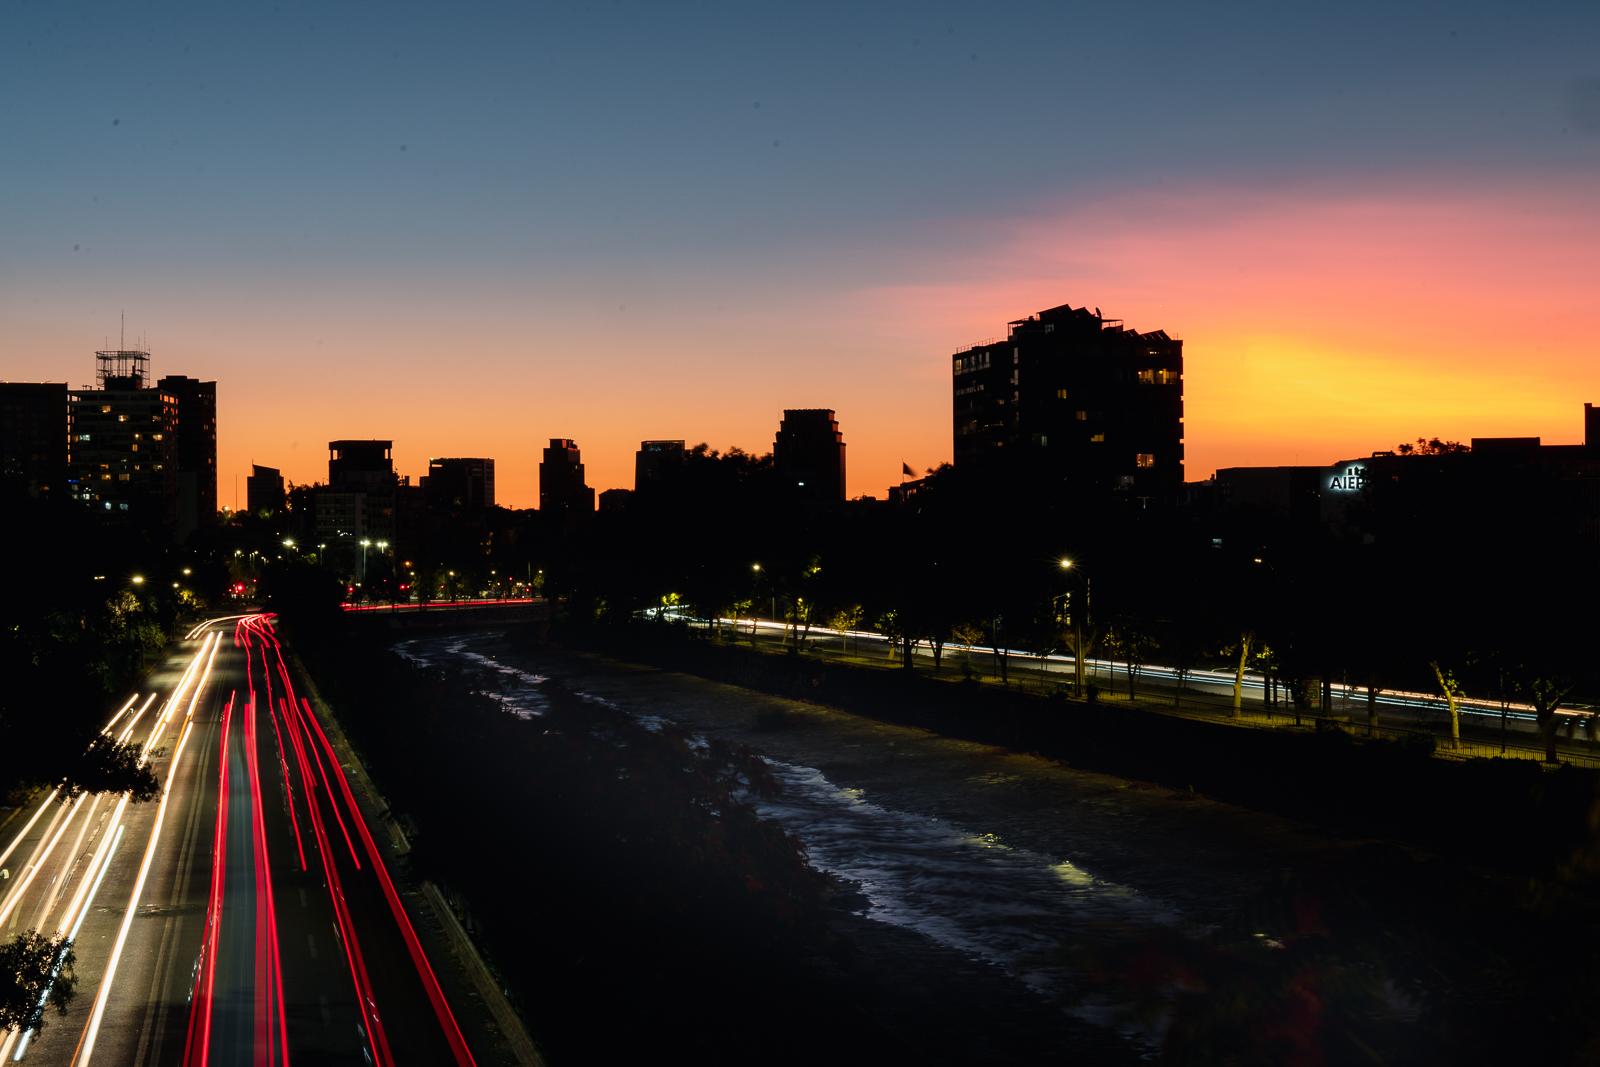
6. Night Project: [MUSIC] For this project, we'll be going over the
step-by-step process of taking a long exposure
picture at night. We're in Santiago, Chile, known as the country of poets, at El Fuente de los Candandos. We are looking at
an amazing sunset. Tonight, we'll be needing
a camera and a tripod. It's a hot February summer day. I'll be waiting
until it gets a bit darker to take the
picture of the city in the background with
amazing sunset colors and some cars on the freeway to get the effect of
dragging lights. Since there's still a lot of ambiance light from
the sun on the street, we won't be needing to leave the shutter open for too long. We'll try between eight
seconds and 10 seconds. Let's talk again
about the settings. Remember, set your
camera on a tripod. You have the option,
shooting raw. Set your white balance
settings to auto balance. Move the focus of your lens from automatic focus
to manual focus. Turn off Auto ISO, and move it to
either 100 or 200, depending on the
light conditions. Use a remote trigger for your shutter or set it
on a two-second timer. This time, I will be using the two-second
timer on my camera. I couldn't stop myself and start shooting with still
a lot of light. These were the results. [MUSIC] It's a beautiful
Sunday night in February, not a lot of cars around
9:00 PM in Santiago. It seems like Chileans take
February as vacation time. Almost everybody flees the city, since it's the hottest
month of the year. [MUSIC] Now that I've found the correct
settings on my camera, I'll be waiting to get
more cars in the scene. [MUSIC] I'm happy with
the 10 seconds pusher, and that's a wrap for tonight. [MUSIC] Welcome back to
editing in light room. We're going to start
by cropping the image. Even though these golden spirals' not on top of the
lights here on the road, I did not want to
crop it too much because then that means
that we lose the sunset. We can check on this. I still like the
image as I shot it, so I'm going to
just leave it as. Since I'm not doing
any of the cropping, I am going to start
with highlights. Move the highlights
a little bit down so you can appreciate
more of the sunset. Shadows. I'm going to leave the
shadows, put a little bit. I'm going to work on
the river on my own. We're going to go
back to the brush, and we are going to highlight that river
so we can see it better. That way, it wouldn't
touch the buildings. We are going to full the shadows so we can see the
river in the middle, and the buildings will
remain dark, which I like. Going back. Now, let's see whites. Overall, little bit. We are going to move vibrance a little bit over so you can appreciate all the
colors in this picture. Since we have pinks
and orange and yellow, we're going to move them over a little bit so you
can see them better. Check on the yellow. Let's see a little
bit of the blues. A little bit of
clarity and dehaze. Let's move dehaze back. I did not like dehaze on
this picture particularly. We are going to
check on the auto. We've corrected it a little
bit, which is great. I think that's it
for the picture. I'm very happy with it. I will actually
love this picture. This is a 10-second exposure at 100 ISO and an f-stop of 22, which is the maximum
allowed on my kit lens.
7. Conclusion: [MUSIC] When I was
starting photography, I started with black
and white film. I would get super
excited and I will use a roll of film in five seconds. I would just shoot everything
that pass in front of me. What I've learned is to be a little bit more
deliberate because after spending hours
and hours on lab, I realize that out of the 24 pictures or the
36 pictures that I had, I could only use one
maybe, like one. I learned to slow down, look around me and take the picture that I
really, really wanted. If anything I can
give you is that. With [LAUGHTER] digital cameras, it's even easier to take 100 pictures and maybe you
won't like any of them, so be deliberate,
enjoy the moment, take your time and
when you're ready, take the picture. [MUSIC]
 Ileana Chase, Creativity in Motion