Transcripts
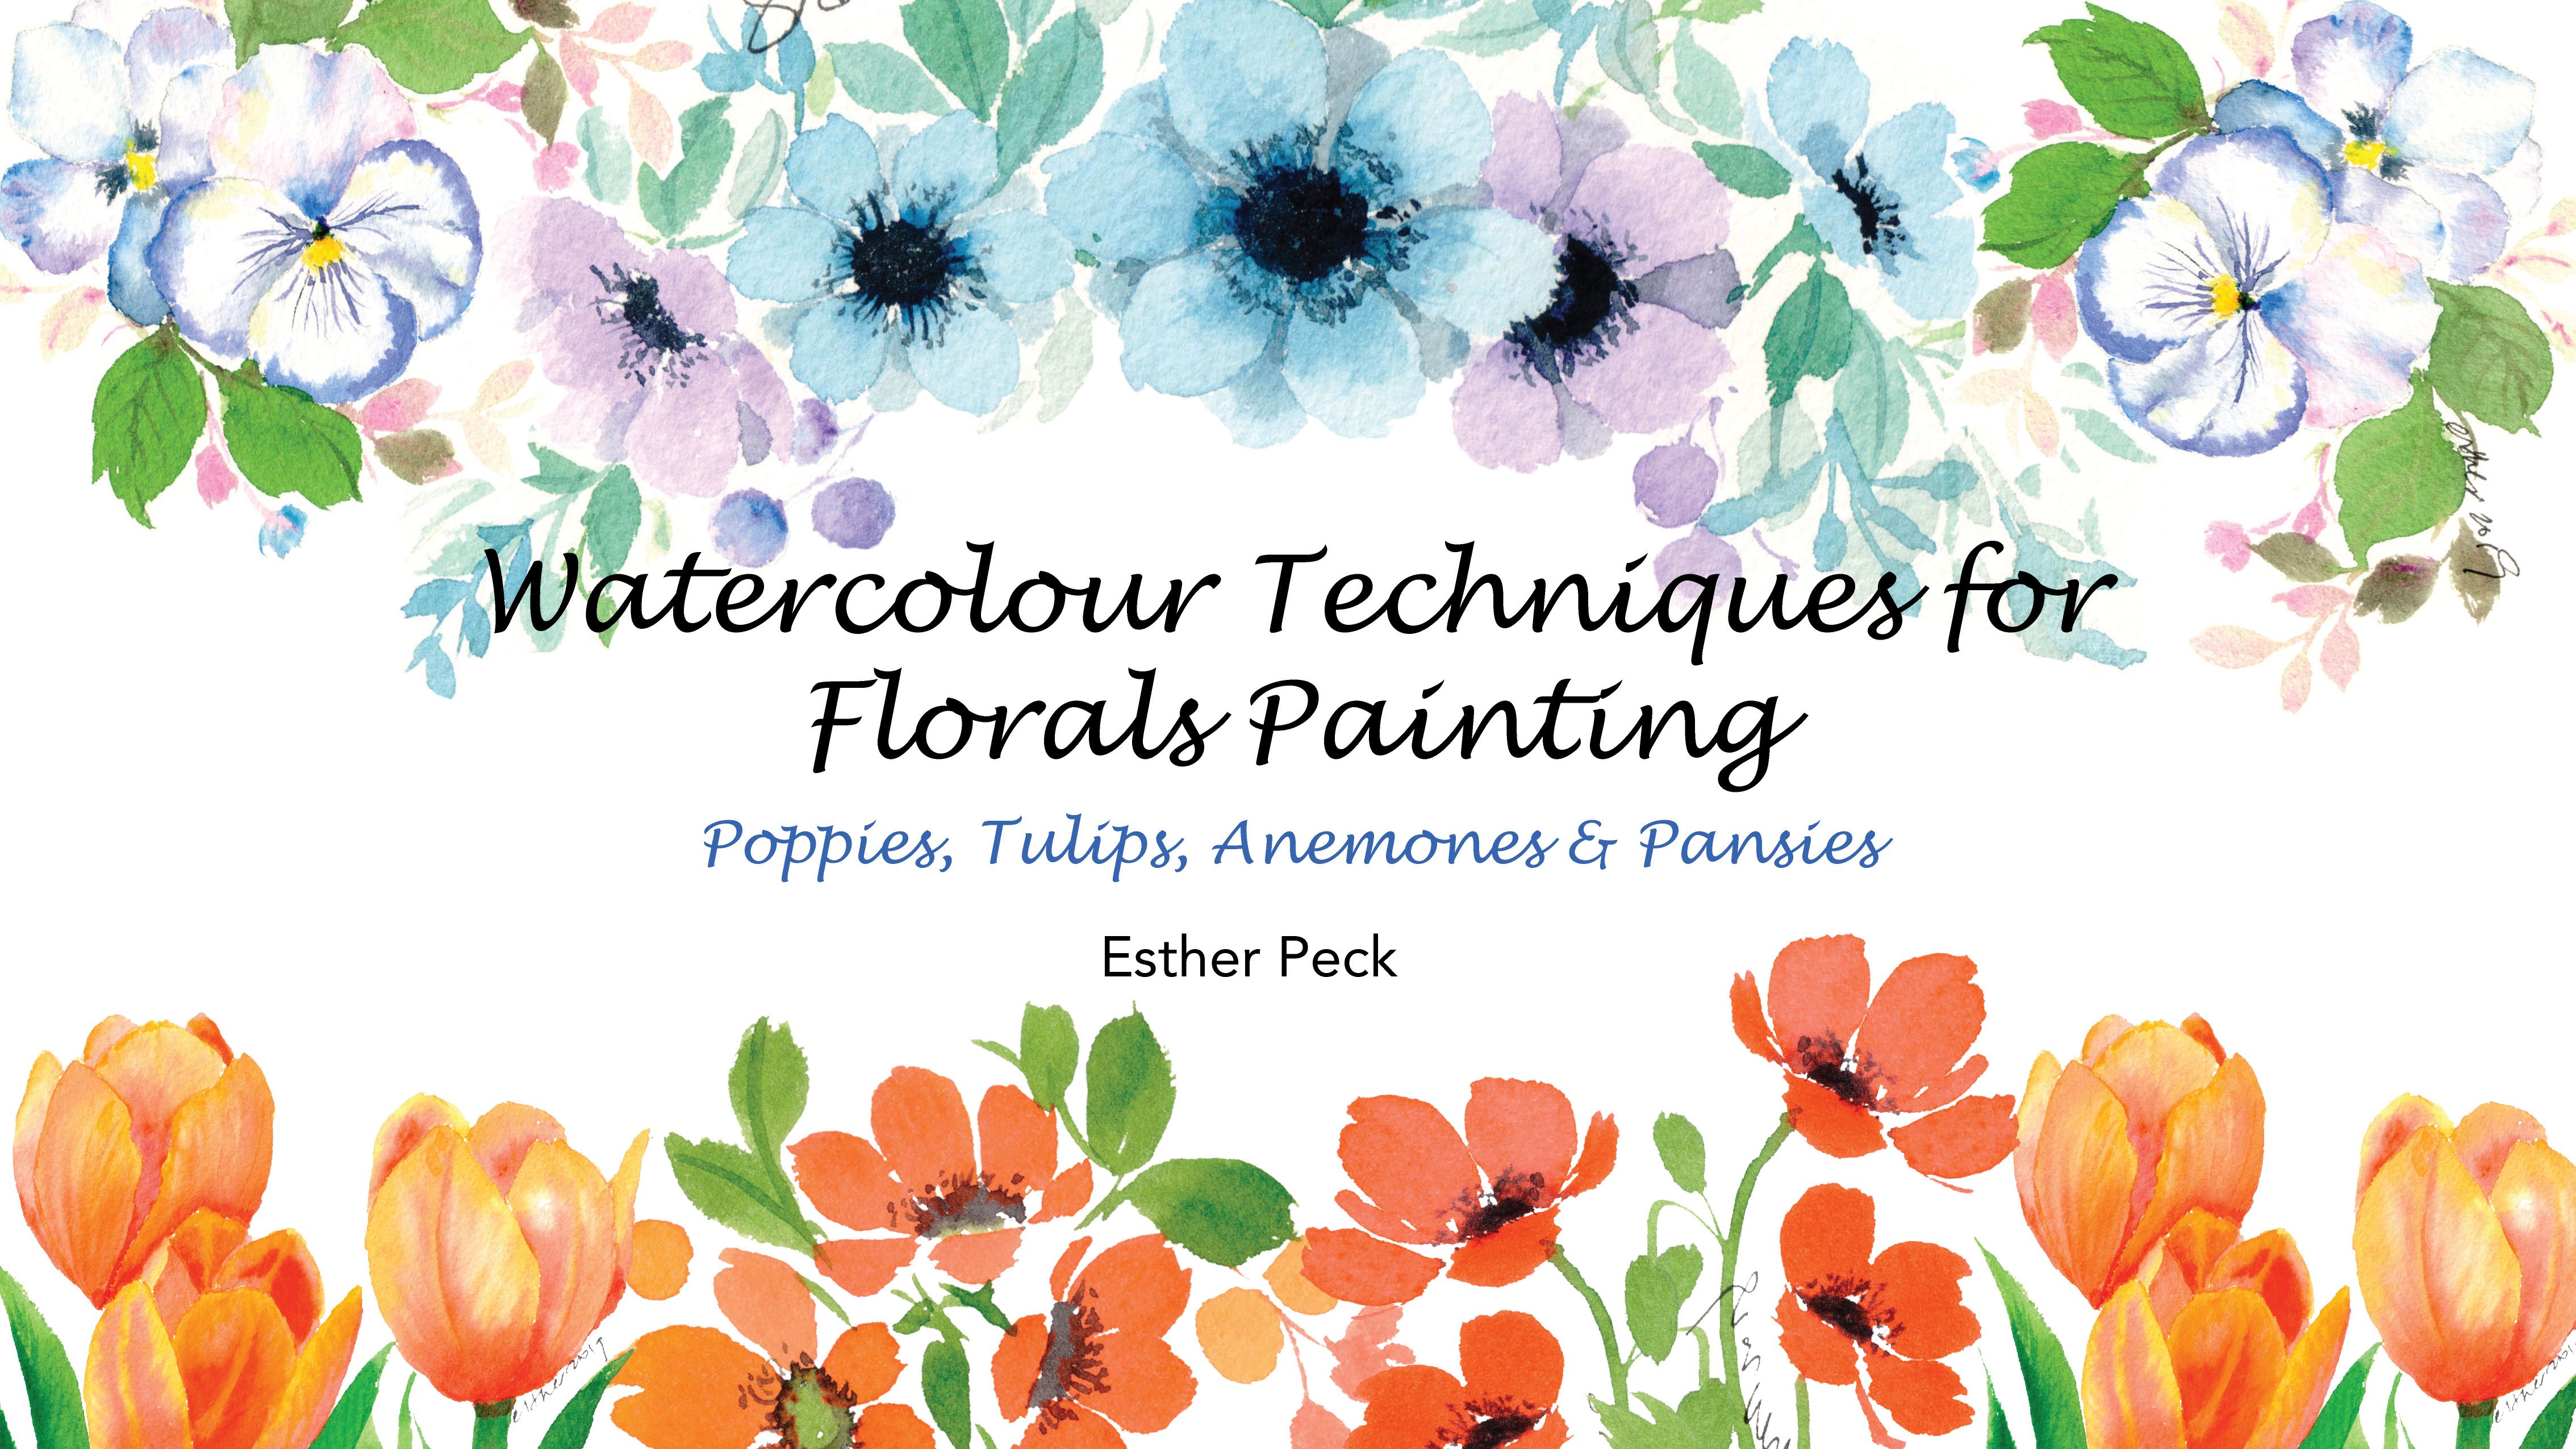
1. Class Intro: Hi, my name is Esther, and I'm a professional
watercolor artists. I specialized in
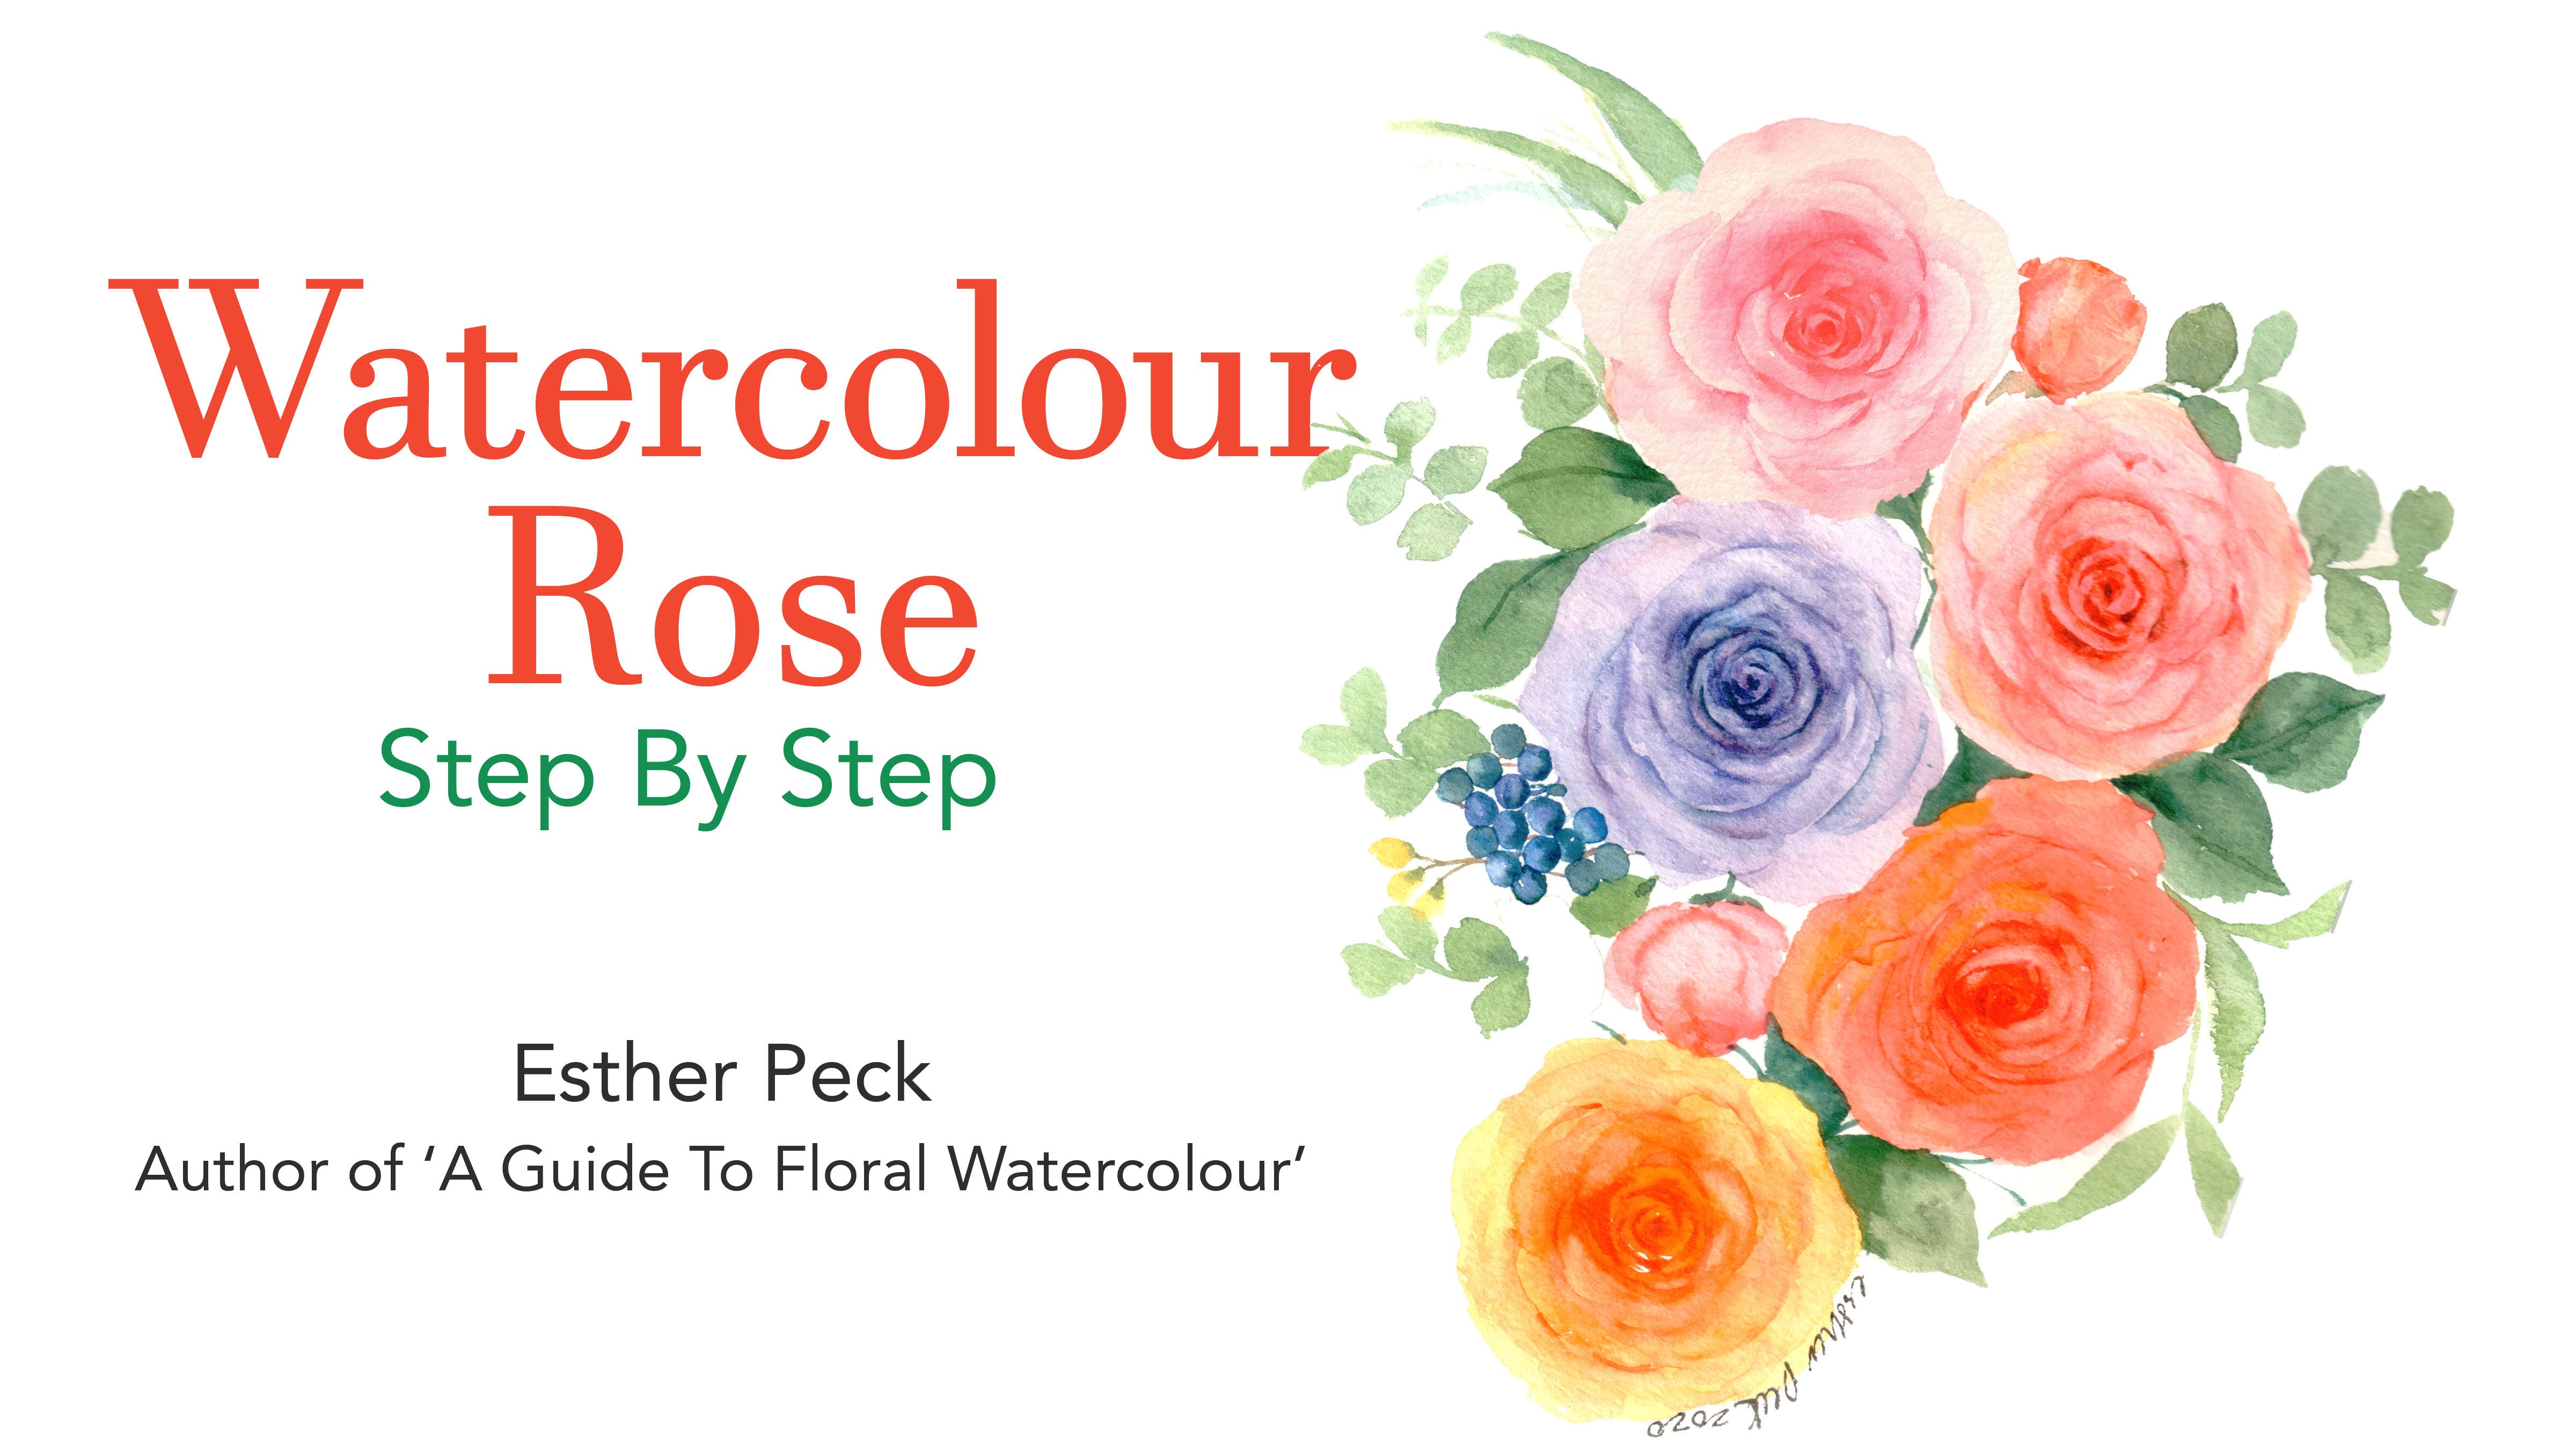
floral watercolor. Today, I'm going to
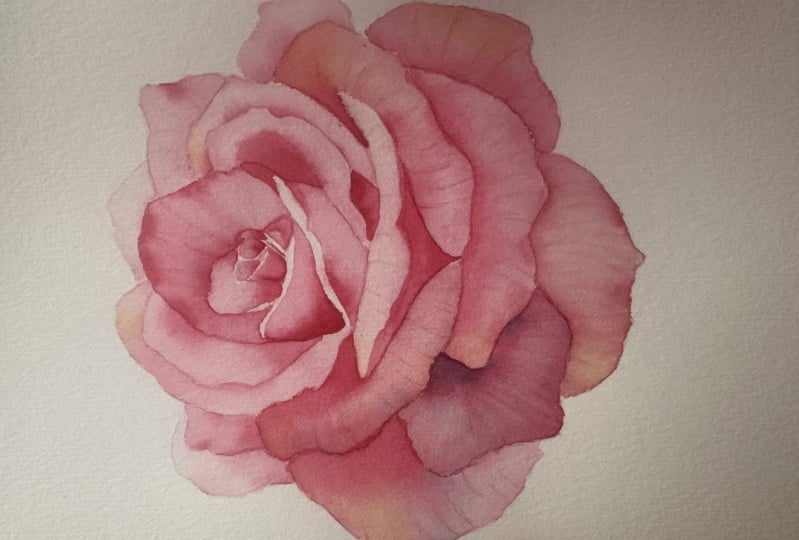
teach you how to paint this beautiful
botanical rows. This class is suitable
for all levels and beginners are welcome
to join this class. I will get you from
color recommendation to variegated wash, black and white tones. We were pinned a
rose petal by petal. And I will point
out where to give more highlights and shading for the center of the rose opinion enlarged version so that
you can see clearly. Lastly, I will end the
class with teaching you how to paint the rows with
lifting out pins technique. I hope you enjoyed my class and pin this lovely
rose with me.
2. Art Materials : My PDF attachment was
showing you all the pins, brushes, and papers
needed for this class. And talking about the papers, it would be good to use at least a 50% cotton paper because you will be able to
see the bleed very well. But if you're using
cellulose paper, you will not be able to
achieve the nice meeting. And it would be very
frustrating if you can use a 50% or
100% cotton paper. Even for practice,
then you'll be able to see the effects and
results of nice meeting.
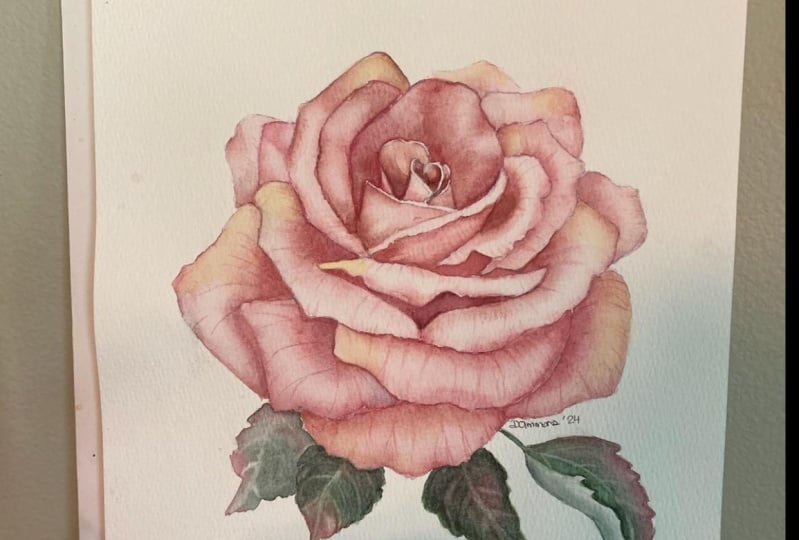
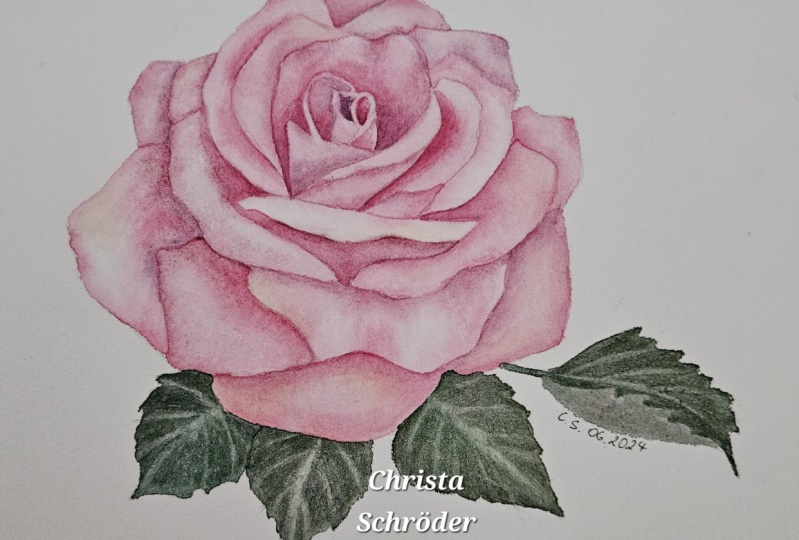
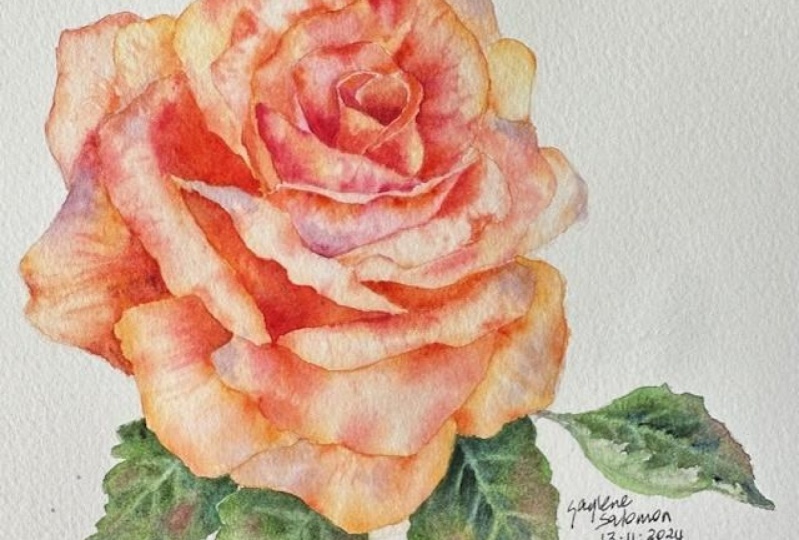
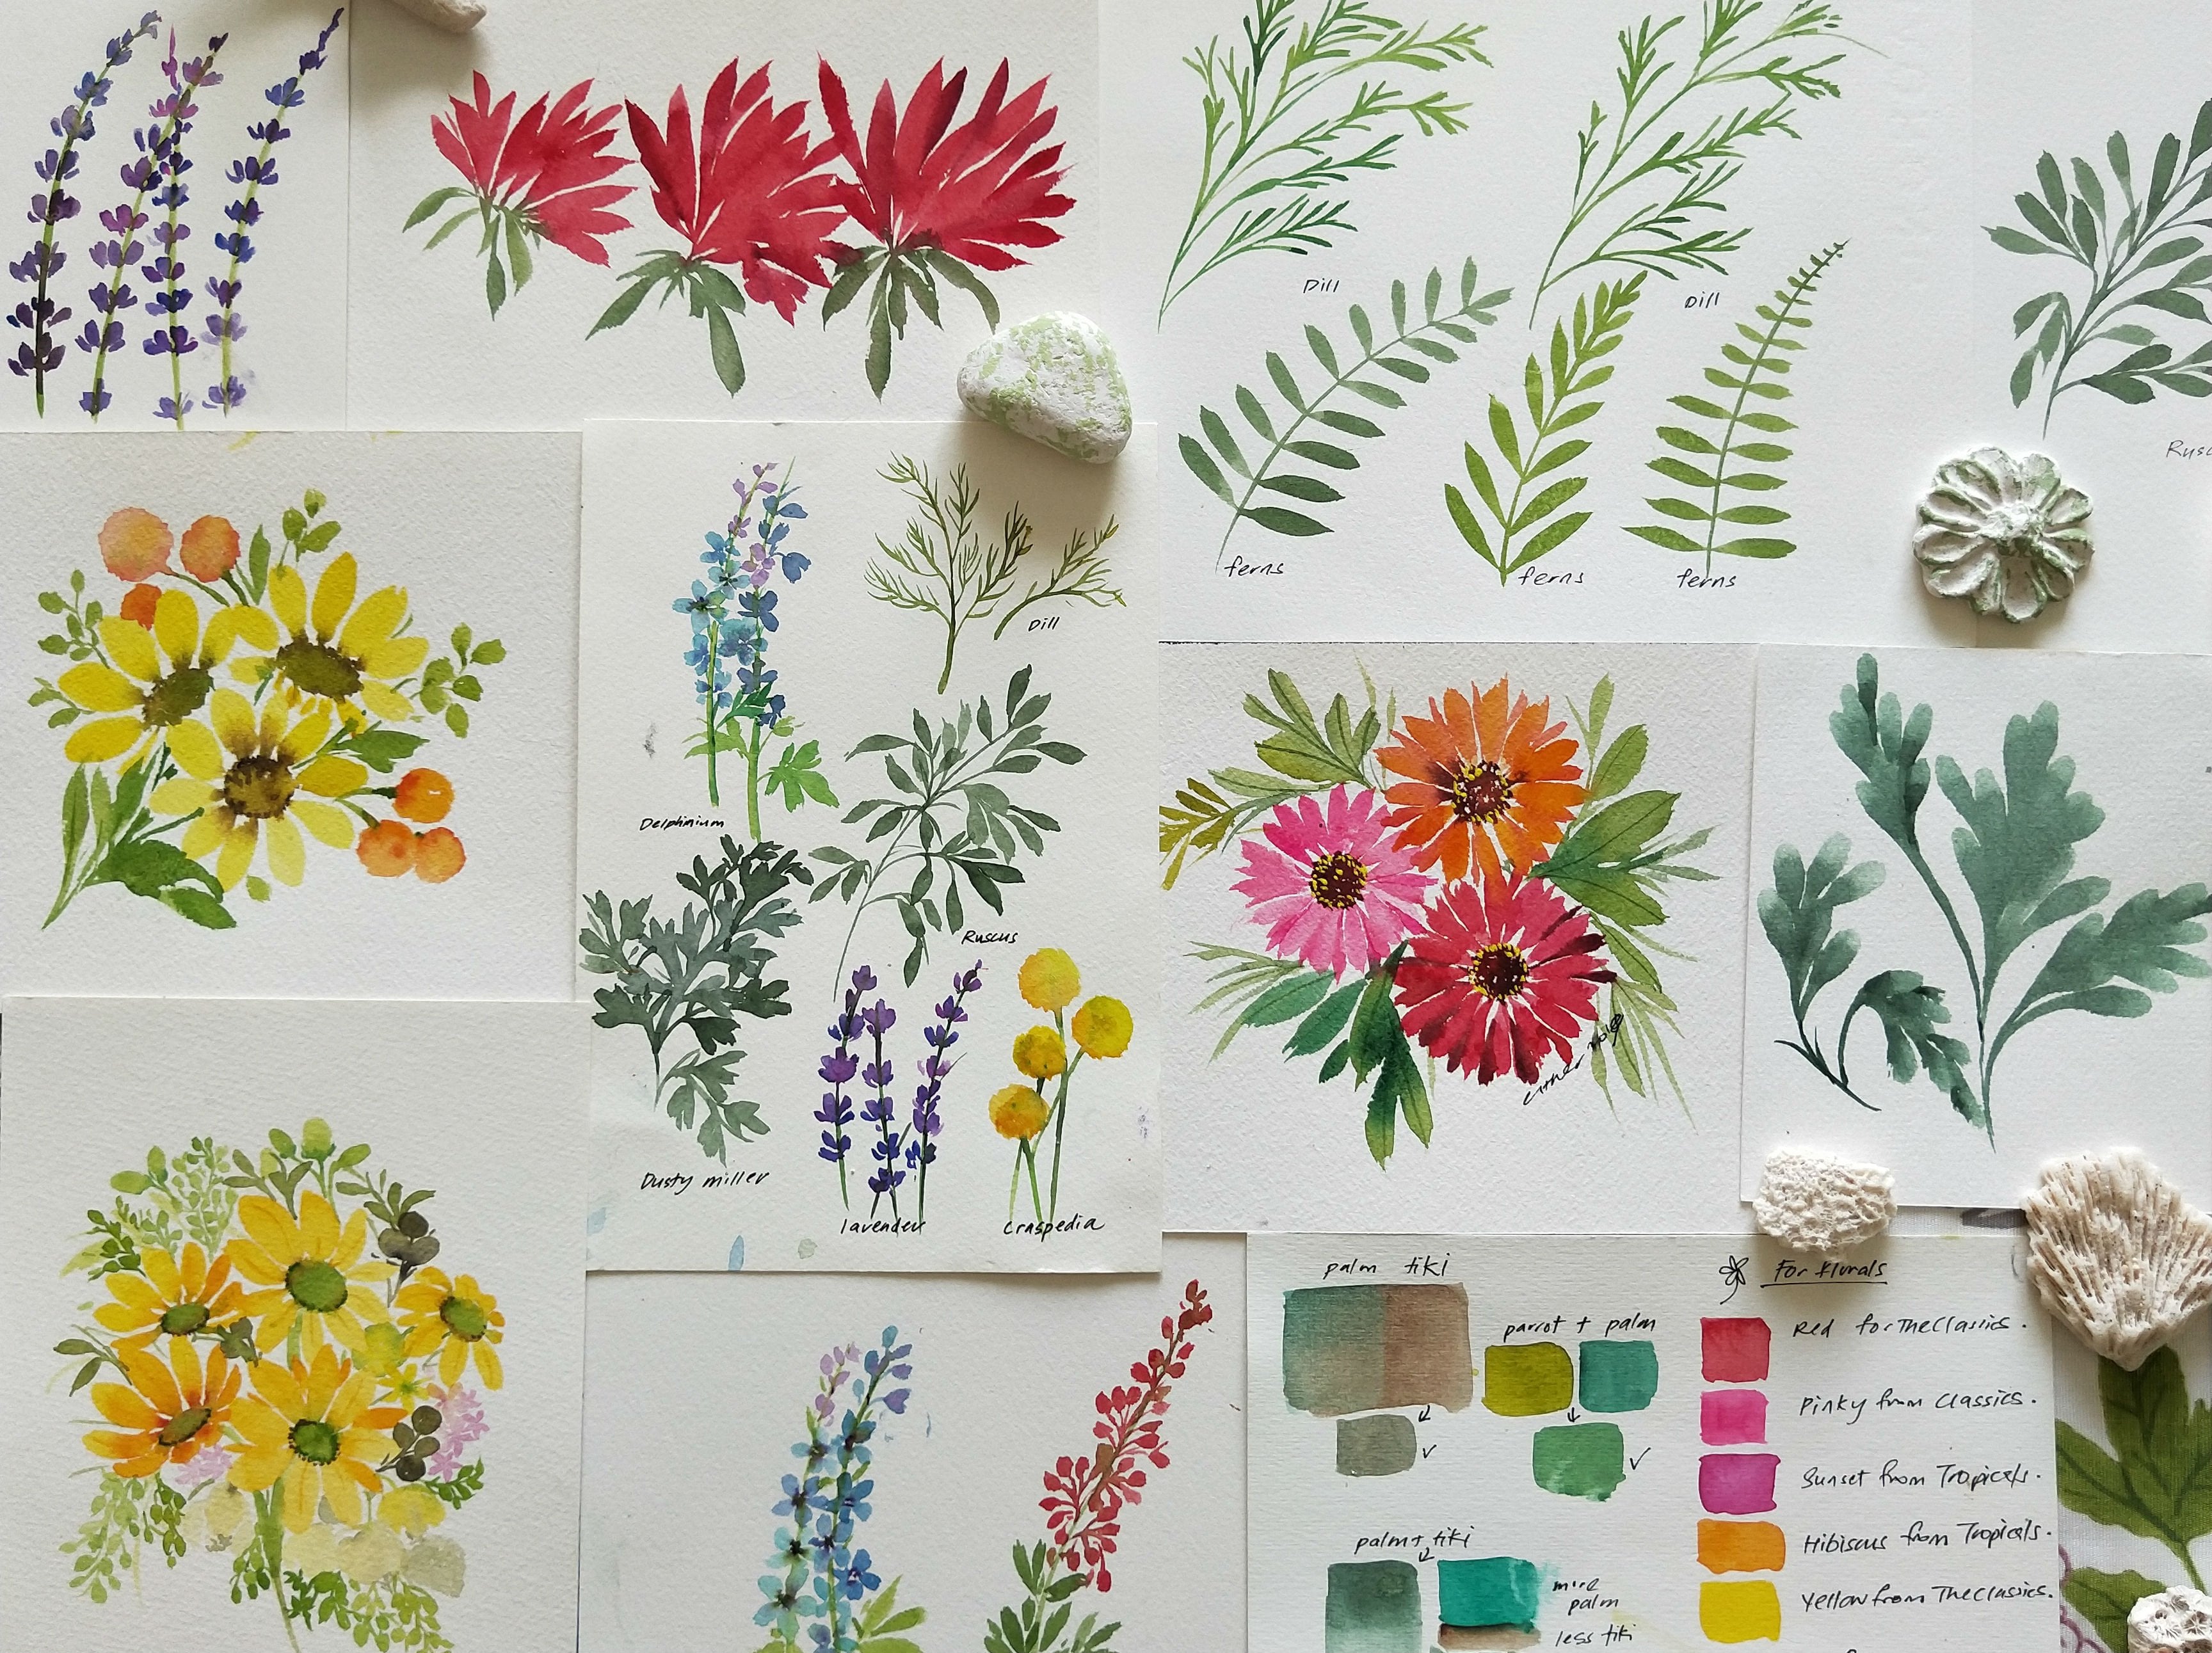
3. Botanical Roses Progress from Past to Present 2: Hi, Welcome to the
botanical roofs class. Before the class, that's, I'm going to show you some of the botanical roses
that have painted. This piece is a recent one. Let me go back to five
or six years ago. I think this is one of the
first pieces that have done. And I paint it with
a reef editor. I like it so much that I
make prints for these. I explore it and paint it more botanical roses
with different hues. And I also painted this botanical
piece with more angles. I love how the colors
turn up subtle unmute. Recently two years ago, I painted a large
botanical rules as I wanted to
print my own cuts. These other roses that
we'll be learning today. So let's jump into
our class now.
4. How to draw Rose Step by Step: So before we move
on to painting, I'm going to show you how to
draw the botanical rules. Once again, you will
have step-by-step PDF, several steps, and I'm breaking
them into small parts. So for step one, we start
with the number nine. I draw nine and I draw a shadow. You will soon find
out what this is. Another loop for step three. And I'm creating a small bag. For step five, I draw
another small open petal, if a shadow, this
more full and closer. And then three other petals. For step 678, I
draw another petal, which I describe it as
looking like a year. That's my way of referring. On the right side, I draw
another open petals, which also looks like a year. And this is Step nine, just in case you're
not following. Step ten, I draw
three more petals. Later on, I'll be
naming the petals, which is also under Print. And you can refer
to it easily when I'm talking about which
petals we are painting. And we have just
finished step ten. So let's move on. This is the center of the rose. I'm adding afforded petal. Here. I will draw two big petals, B and C. So after I draw
these two big petals, I edit on another
petal I in-between. So now you can see I'm
adding on petals in-between. And again, between these two, B and I, I draw
another big petal. And between b and k, I have another vector, L. For the right side. Between CNI, I drew
another big petal. So there's a lot of
pectus going on. And for the bottom between k and I will have a big pectoral. And now we will look at
the overall shape again. I feel that I should have
a smaller factor H here. So to balance it, I have
another smaller Pepto D. Well, I think my rose looks pretty
decent after drawing it. So I would like you to practice
drawing these rules for about ten minutes at
a ****, asking a lot. I'm doing this on a
regular printing paper after drawing the rules. And if you're happy
with how it looks, you can transfer over to watercolor paper and we will paint them picked up by petals. Have fun.
5. Tonal Rose: Right. Before we move on to our
first practice of the factor, let me show you the black
and white toner rows. Alright. This is
the color print. In black and white, you
can actually see clearly, which is the Docker tool, which is the medium tone, and which is the lightest tone. I'm sure that you can
see it very clearly. So I'm just pointing
out to you over here. And here. The other adapt, these
other doctrines. And all these. I'm just showing
you some samples. These three lines do not
represent only treat that twins. So now I'm pointing out
more of the darker tones. When you're painting the
roles you will know when you have to draw in the
darker pink mix. And for meat tool,
it is actually created when two darker
tones or blended. So this is the in-between tones. We also have
highlight like this. And maybe I show you
a color printer. These are most white, even these are very
light in color, and all these lines here
are highlights too. So when you see that
it is very quite, we're not actually
adding white people. We're just not using any pins. Water. So just remember
about the different tools. And then you are having difficulty in
differentiating the tools. Just use this as a reference.
6. Painting Technique - Variegated Wash: So let us get into
our first step is the lender pin,
variegated wash. I've drawn pepper n, and now I'm applying a tin glaze of
water over this petal. The paper I'm using
is 100% cotton paper. So it stops at water very fast. When painting this,
I suggest that we do not work with a fan
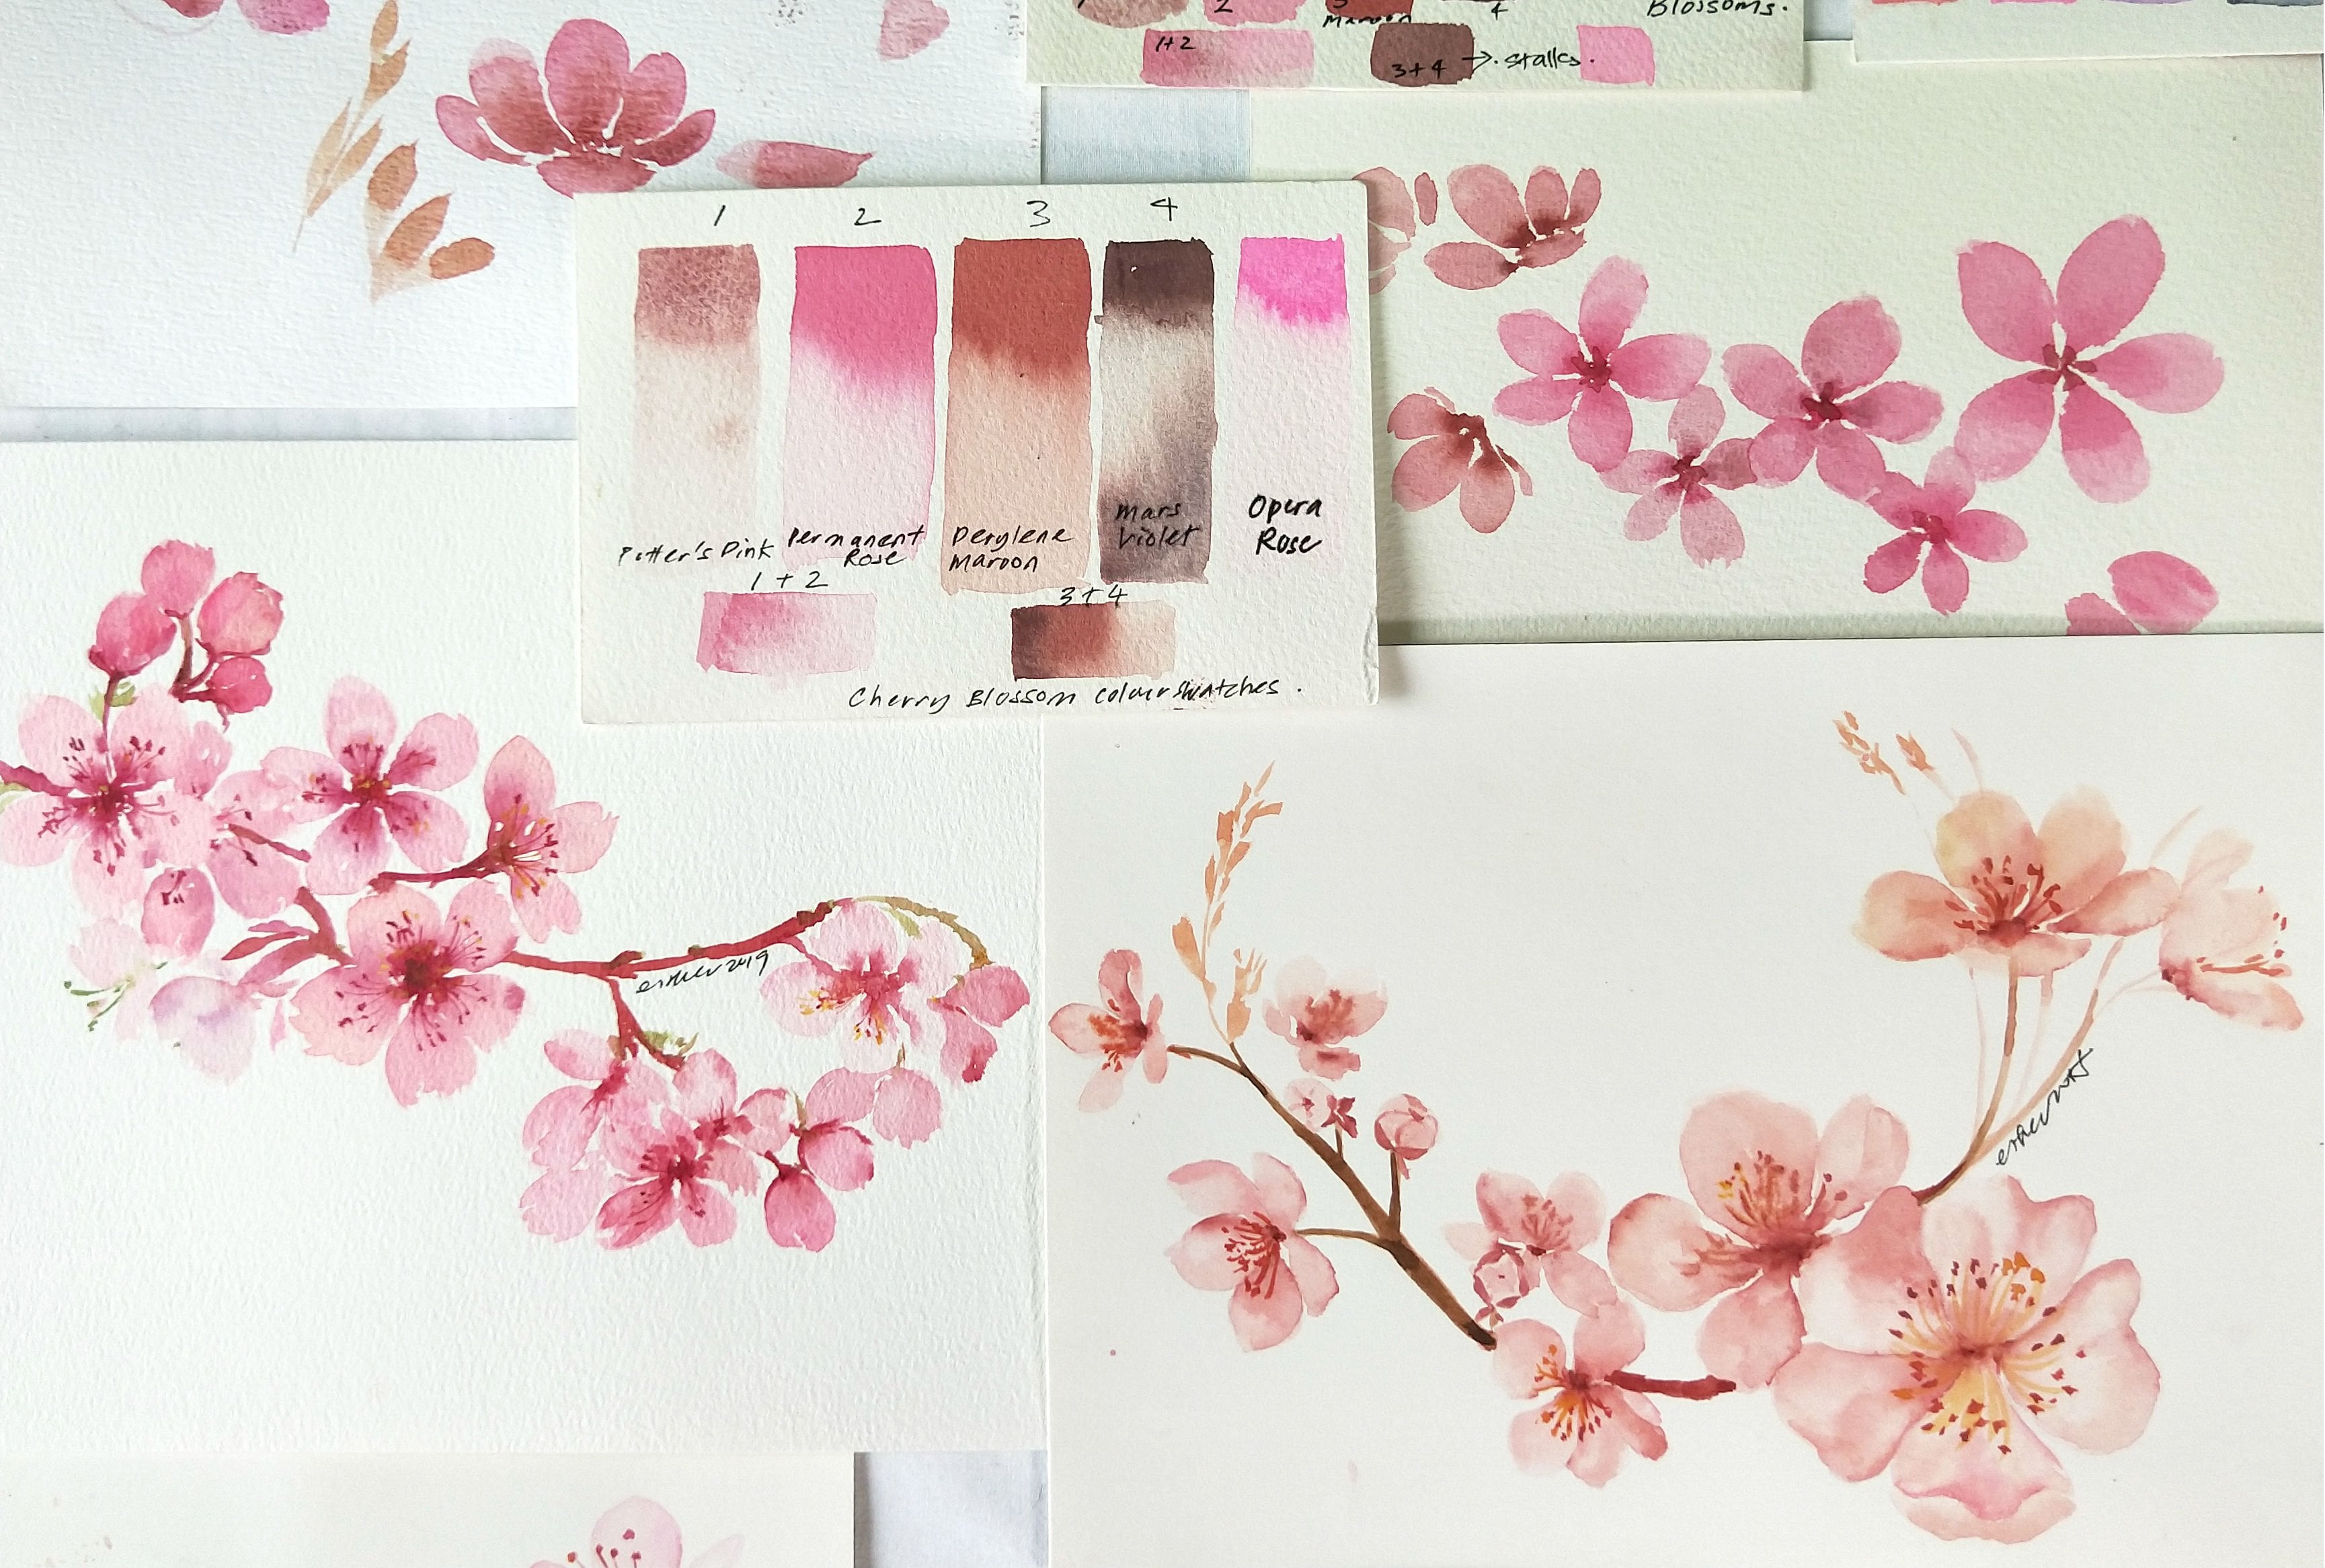
directly above you. This is shimmy rose madder. I'm mixing a slightly
mid value rose madder. I love this vibrant pink. And I hope you have
done your swatches to. So this is rose
madder participants. If you'd like to get
a more subtle color, mix, rose madder,
and potters PIM. For proteomics. And this is a lighter value and try to graze near
the pencil line. So when we dropped the
pins from left to right, you should see a soft
cotton H like this. And with the water, the paint spread very fast. So this is my top layer. I like to give depth
to the indent areas. Now I'm quoting my paper a little tube to allow
the paint to flow down. Very quickly. I turn the paper to
the opposite sector, work on my bottom petal. I'm dropping pins on the
bottom of the petal. When a pencil wet,
you can see that the pins through is
very magical, isn't it? I'm adding depth
again and tilting the paper a little bit to
allow pins to flow downwards. Wash my pins and a tip
excess water under Soviet and holding my
brush a little lower. I blend the two ages. The Brenda area, this is a mid value and the center
here is beta highlight. We have actually painted. I'm using my number two, round brush loading with rose madder and madder
pain is still semi dry. I'm adding in TIN lines because we know that roses
have fine veins, don't worry. I'm happy with how
Saturdays lines loop. We are actually
working on one Petr. Make sure that your
brush is not too wet at more depth on the
indented areas with rose madder. So apply pins here. Well, we have finished
with this petal. I hope you will take
some time to practice. So see you in the next lesson.
7. Painting Petal By Petal A: So we're back with
painting pet to n. I'm sure you had
fun painting this. And now we are actually
going into real painting. You should have enough
practice before you move into painting this anisole, you should look at
it to none again. So I have provided you
with a color print. Refer to that too. As I mentioned, this
n that we have done. And I'm going to pin
and another one here, something to take note. The petals surrounding
the rows at data inputs. And actually all the petals
are lighter influence. And apply the mid-value mixed, allowing the pH to spread
from left to right. Tilting my people
a little higher, the pins flew down and I deepen the indented areas
again for more depth. Now you can see that
beautiful bleeding. I love how this looks. I remember after this step, I have to wash my brush again, set of excess water and hold my brush to just blend the pits. By holding the brush though, the water from my brush, if any, is not
flowing down fast. What painting, this
big petal n here, you need to take note that you should not paint the
petals next to it. If the pentapeptide is not dry, it might get messed up. You should go to Petals m, just to check is
the corner is dry. This petal is durable. Cost is something
that we have learned. So big leisurely of water again, very neatly, making sure that the water doesn't go
beyond the pencil line. This indented area
has a lot of shading. So I turned my
paper very quickly again and drop the pin
from left to right. Since my brush tool has Pin. Now I wash my brush, tap the excess water and Soviet hold my brush a little
low and a blend the pins. Lenny, according to the
contour of the petals. It's this way down. Once again, I'd like you to
refer to my color prints. Now we can move to pet the key. I have grace. What are other petal
applying pin as previously? More on the indenter areas. And the non-indented
areas will be less pain. After this, wash your brush
again, PEP excess water. Lowell your brush again to
blend the two ages together. Shipping the pencil lightly so you can actually
see the highlights. Again. We have finished factor k again. Now we move on to
the smaller petals, petals D, and the
smallest pectus. I liked the importance, as you can refer to my print. So very, very light
mixing brush. I apply on the glazed area and I just blend
like the lease term. Without washing my brush. I like to have a
little more shading. I just add on, but just take note
not to overdo it. So the standard game. Next, we move to
another smaller vector. O. Crazily you of water again, observe the areas to apply
more pin the indenter areas. So these go in these two. And here is the indented
area. And these. So we quickly wash
and excess water and Soviet and
holding brush loop. We blend it. This is a very small
Pacto enlightened tool. Once again, be
finished this Pepto. And let's move to pet the GI
gracefully of water again. Apply your light mix more on the indented areas and less
on the less control areas. This is the technique
that you need to remember what painting. Again, holding my brush to
blend the two ages together. I guess we're finished
a small petals. Now we move to e. You said that easier Pepto to work
on based on what we've learned from petals n
In the previous lesson. Apply more pins on
indented areas. Again, refer to
your color print. There are a few indented areas. Since it is long. I'm applying a little more depth to some indented areas again. So now I blend the pins up. What's shot strokes
upwards, lending them. I actually miss
out this portion. So I need to add more
pins to form the shape. Looking on it slowly. Next we move on to pet the g. Applying a team
glaze of water again and light mix up paying
an indented areas. And again, we blend lightly. So you can see that
all the pentose outside a very, very light. Now we are moving to Petr L, which is a latch Petr
and has a Latina brew. So I have to get ready. My blue grace, a thin
layer of water again. And apply more mid-value
pins on the inventor area. This patch here, as this
is also a large packet. I don't more pins on the second
layer before it dries up. Applying wet on wet technique. You're familiar with this? Now I moved back to
apply on the bottom of the petal and on the
indent areas again. Here and here. While
it is still wet, I wash my brush, tap the excess water and Soviet, you see we keep repeating on the same process and techniques. And I hope you have
remembered this. Strip your brush to
blend the pin slightly. Earlier on, I mentioned
about the blue tint. So now I'm picking up
the lectin off boom. Applied lightly and blend the pins on some areas
and blended densely. I believe we've finished this
pattern to hope you can see that there are highlights on all my lunch peppers
that we have painted. Had fun painting this.
8. Painting Petal By Petal B : Now we are painting
pet a, B, and C. And even this Petr, that looks like a year, which I mentioned in
my earlier class. Let me welcome Pat to see. I have a plate, a thin
layer of water, better see. And I'm applying my
higher value mix on the indenter area, which is this bowl, which require a lot more
pins and shape here. And this other indented portion, and this part where
there is a slightly then here and here. And very quickly,
I wash my brush and stripped my brush from top
to bottom. The blend pins. We can associate
backwards to blend. This is how it goes. The pins here I'd like to edit more ****
on this poll again. For these petals, see
what it is still wet. I should pick up the pen
here to create a shine. Now we have finished pet to see, and I'll move the
vector b. Once again. Take note that you need to apply more sheets and pin
on this portion. So I apply the glaze again. Okay, we are ready to drop our higher value mix here
and turn your paper. Will apply the pins. Take note of this pole here. As I don't drop the pin decks. Applying pins on this
more indented areas, owning an adding
slightly more pins here. Quickly wash and
tap excess water again and blend this petal. Looking at very quickly
to see that effect. And yes, I'm
sweeping and picking up the paints to create
the shiny thing. I'm showing. You can see these. I feel that I need more shape
on the bottom of the petal. Also adding a little
tint of blue. A little here and here. The shadow and neat more sheets. And so I add up more. And I'm sure that
you can see that the rose petals are
coming into shape now. As mentioned, sometimes you
can get them very nicely, but sometimes because
of the timing, the blending may not turn
out as nice as we hope to write for this piece that Petraeus turn
out very nicely. The foal looks very 3D. The secret is that I'm
using at-risk people. Now I realize I have
a hash line at each, which might happen
to some students. So I need to work on this
later when it is dry. Sofa, trouble. Getting
back to Petr see again, as you can see, that the colors after it's dry gets fainter. Glaze it again. We call this
technique wet on dry. Lot more pins on this board game and on the indented areas. And I'm going to blend
with my clean, damp brush. Again, your people and sweep your brush is just that you
are shading with a pencil. But now I'm blending
with my brush. So I'm quite pleased
with how it looks now. Let us move on. Now to pet the key. I would like to
work on pet turkey again from previous class. As the pin has
become a lot fainter after it is striped
bass overbooking. And now I layer a tin of like
blue on the indented area. I feel that this way of grazing book Spector
and small, manageable. I think I love how it looks now. So now I'm getting back
to this hash line again. Using my clean them flat brush. Who loved the pins that
form the hash line? As I mentioned, sometimes these will happen
to some students. These is how you can amend it. So I've mentioned this is
how to fix that hash lines. Well finally, we are working on the pattern
that looks like a year. Lisa Lee of water. And we're applying
the water thing about where you are
applying more pins. I'm sure by now you know
where to apply more pins. Great. You guess correctly. Yes, it's here. So we dropped
a higher value of pain mix here, here, and here. Checking on the indent, erase again and drop in more
pins again for more sheets. Once again, we've
clean damp brush, strip up this path. And at the same
time, I worked on the blending with strokes
booking from top to bottom. Well, can you actually
see a small year here? I'm sure you do. Now we're
going to move to Petr I recently of water
again and quickly apply a mid value of pin
mix on the indented area. Hi Bill, identify them. And turning my paper to apply
on the bottom of Pepto, I believe that you are familiar with the steps of
painting variegated wash. Now, after washing the brush, you blend the edges. Like me. I noticed that there's some blue team and work
on it after it is dry. Check on the areas that you
need to add more sheets. I think here. I think it's here. I think I'm pleased
with this pattern. Now I'm working on this
pole that is below pattern. Using a high value, I go straight to pin this portion without
glazing with water. And basically painting this area with my high value of pin mix. Now we need to add more
sheep at the V-shaped area. And some of the indented areas as this part of the
rows is pretty dark. So you can see that
the botanical rules is slowly revealing itself. Now, I'm going back to some
small Pepto, them mixed up. I think this little
petal here, penta hitch, apply a glaze of water
again and a light value of pin mix on the Indian area and with a clean
brush brands likely. Now, let's move on to peptides, which are observed
the etas a few fools after glazing applied
pins on the indent. Again, I believe we are really, really very familiar
with this now. But if it's your
first time painting, I will keep repeating the steps. Reapply pins on areas that
we need more shading. Just referred to my toner. If you need to. Get to. Next, we move to pet to see
which must be set to eat. Apply the grease again and drop mid-value mixed here and here, and a few indented areas and blending lightly with
my clean damp brush, this brush holding low. Now we move to pet the
crystal layer of water again. And with a light value of P, we apply on the slant and
then erase top and bottom. So finally, we finished
a main chunk of our rules and we will move to the center of the rose
in the next lesson.
9. Centre of the Rose : So we're going to start
the center of the rose, which is only this portion. Further detail
center of the rose. I suggest that you use
it number two brush, and later use a number
six for the bigger ears. Apply a glaze of water again
and drop perylene maroon. This part here is very dark. And since it is still wet, I will not work on the
surrounding petals first. So I walked on
this outer portion by placing a layer of water. At the beginning of the lesson, I mentioned that all these
lines are also highlights. And so I'm leaving
some white spaces intentionally because roses
to have a tin thickness, though they're not there ethic. Back to this petal, pluck them, meet their looping on
these V-shaped corner. Now we look on the other side, making sure that the
center is dry and dropping pins on
this other corner. I'm adding on more shape
with perylene maroon. Remember, there's
a thin line here. So I make sure that you will not touch when
applying more Greece. In case it gets messed up. This path should
have more PM and this indented area to this
part should have more ****. And I will drop more
pins and brain. Remember the branding
stroke is from H to H. I need to add a
little more pink on this slightly indent areas. This portion here is
actually this part. I believe it should be dry now, this little folder here is so tiny that I need to
switch to number two, brush, apply some
sheets here and here. Refer to my rose print. A little more pins on the
phone line for more depth. Just wait for it to dry. I'm going back to number six again and dropping
more pins here. And here. In Fayette here, I dropped
more pain for more sheets. Let's blend again. And all the foods
needs more sheets. Now we look on this, Add a full apply glaze and drop pins for more sheets
on the indent area. This is the overlapping
of another petal. That's why we need shading. I will quickly
blend this portion. So now you can see
the false right? Now we're working
on another petal full play Greece again, and add on more
pins for shading. Actually, we are
completing our row soon. I'm working on it and latch piece so that you
can see better. This will be the path that
it has more highlights. Now we work on the
big picture here. Apply glaze of water first. Be careful not to run out of the pencil lines or else
it might get messy. I'm dropping pins on the
areas that testimony shading. I loved the company
feel how the pin split. Now, more pins on this
indented area here, more on this tip
and then the path. And now on top of the
petal where they are smaller indented areas. Yep. So now I worked a bit faster
before the water dries up. Pull my brush low again to
blend the two ages together. So I just blend them again
for a more natural few. Pulling up some pins from the bottom and creating full
lines at the same time. And switching to
around two again. I also add Vince, when the paint is
still semi wet. Makes me work on this
lower large petal. Apply glaze of water
again and then drop mid value P and more pins
on the V-shaped corner, which should have more shading. And a lighter value here. Tin line here to show the
thickness of the rose petals. And a brand that, that very
pins with upward strokes. And I love how this looks. The gradients looks amazing. Play a little value
of pin here to review the thickness
of the row speckle. Next, we'll move on
to this big fall below recently of water. And now my water is
actually a lower pH, which works for me. Quickly. We apply a high-value
mix along the full line. And I'm actually coming to
the end of painting the rows. And I believe you know
what I'm doing now. I have washed and
tap excess water and subject before blending
the ages together, moving my strokes up and down
for a smoother blending. Next, I apply high-value pitons below the full line
again to create shadow. Now apply a tin water glaze
again before applying a mid-value pain from
top and blend it gently. Well, we have completed
this center of the rose into practice
and pin your rows. See you in the next class.
10. Painting Leaves: I have placed a
layer of water as usual and apply my
mid value green mix randomly on the large leaf. More higher value of perylene
green on top and side. I also add some rows
metal on my palette to give some interesting
hue to my latch leaf. I'm actually working quite quickly before the
pins straight up. Now I move to the
folded leaf with a little dirty
water from my jar. And I just want to talk
further laterally, the pins will not dry up. This is the inside of the folded leaf shape behind the full. Now I go back to
the latch leaf and with my flat brush number ten, holding upright, I lifted up the pins to form mean vein
and the subsidiary veins. The veins to look natural
and not to string. I think this is looking good. Let's go back to
the folded leaf and apply more shades of green
and blending on the pins. As adept in. I also added in some metal rows here and blend in
with the greens. While waiting for
these leaves to dry, I work on another larger leaf
with the same technique. Grease, meat value pins, high-value green again and
pink for interesting hue. Now I'm going back to
the folded leaf again. Using my number
ten brush to lift up the main vein and
subsidiary events. And also the other latch leaf, we're just looking really good with the contrasting
greens and pinks. As to paint this smaller beads painting according to the
contour of the leaves. For a more natural field. We have to go back and flow. Now, I'm going back to
the food that leaf again, Grace water again and apply mean value perylene green
on the lower portion. And sweep brush upwards
to blend the pins. And before it dries up at a little more shape
with the same mix. Blend again. I'm really pleased with
how this turned out. And our next lesson will
be the final details. I'm excited to see you again.
11. Final Details: Well, we've come to
our last lesson. Finer details. I'm going to moisten
the whole painting rose with a tin
grease and water, making sure that
it is fully dry. So some of you asked me, where do we add the yellow
hue to have a warmer hue, gray severity in Greece of lemon yellow on the spots that
I'm Mark why on the print? You don't have to follow
exactly where it should go, but rather randomly. Don't panic if you
talk too much pain, but just soak up
the excess paint. I'm using blue for this area
to add more shadows and contrast and glaze a very
light ones on some petals. I think it's looking good. For the veins. I glaze it
10-day of water again. And using a number to round brush with meat,
they're looping. I painted some beads
on the bigger petals. Unless I'm painting a
large row, select these. I think it will look nice to
have more detailed Vince. If not, I will keep it simple. So now back to my painting. You will see that this
rose is actually this. So you can actually
compose your Florida Reef. One rows here and another
identical one here, but hidden partially
and a smaller one. The one with the center of the rose and just
add a few petals. So you will have three roses
are ready and in the leaves. So do enjoy painting this
beautiful botanical roast. And I do love to
see your projects.
 Esther Peck, Educator, Author