Transcripts
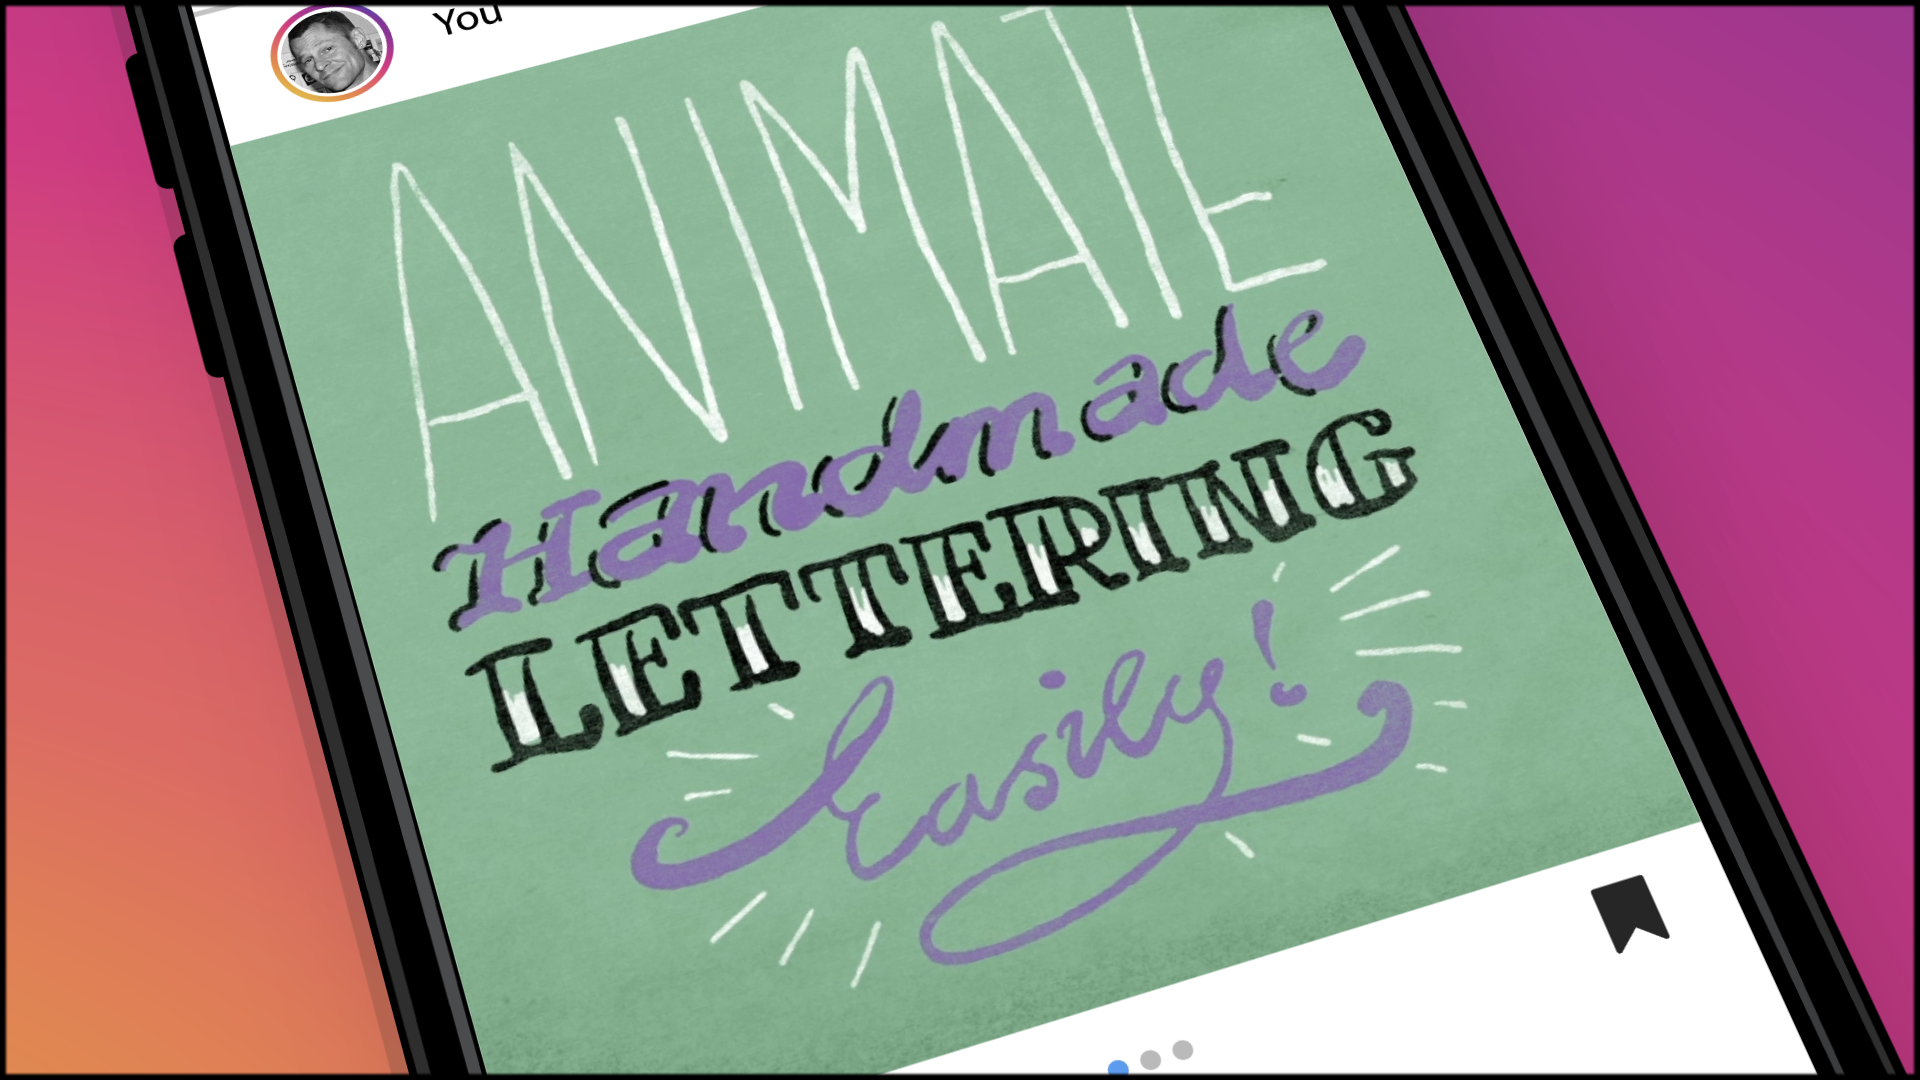
1. Introduction: Yeah, it's another decent day in Stockholm. Hope your old well out there. My name is Lisa. I'm a freelance motion graphics designer. 20 years back in my office today, we're gonna take a look at creating handmade lettering in Illustrator and then animating it in after effects to make the letters appear in a magical way. These things used to take quite a bit of effort to do, but has now become very simple. If you do it my way, this class is quite an easy one. Were not too many steps but a little bit of experience in the adobe after effects and Illustrator will be needed. Revealing lettering calligraphy on bond drawings in this way is often asked for by clients and does in fact seem to have quite a bit of narrative mileage, meaning that it yields much animation by not too much effort. It's also fun and kind of calming to watch joins appear. In addition, it's a very useful technique for infographics. I've been developing these techniques for quite some time now. A lot of assignments have been for the big stage for theater place, where they needed drawings to appear on a projected surface last year made 45 minutes of animated material for big music show with the Swedish rapper team back to Boats a month and 1/2. So the workflow had to be type and efficient for the class project. We're gonna make a one by one short instagram movie presenting your hometown. By the end of this class, you'll be able to create the bit off handmade lettering in Illustrator and then use after effects to turn that into an animated movie. And we're also gonna look into a little bit of text oring to make the final results look a bit more analog again. My name is Dr G's. I'm very glad you joined me here in Stockholm. Let's get on with class.
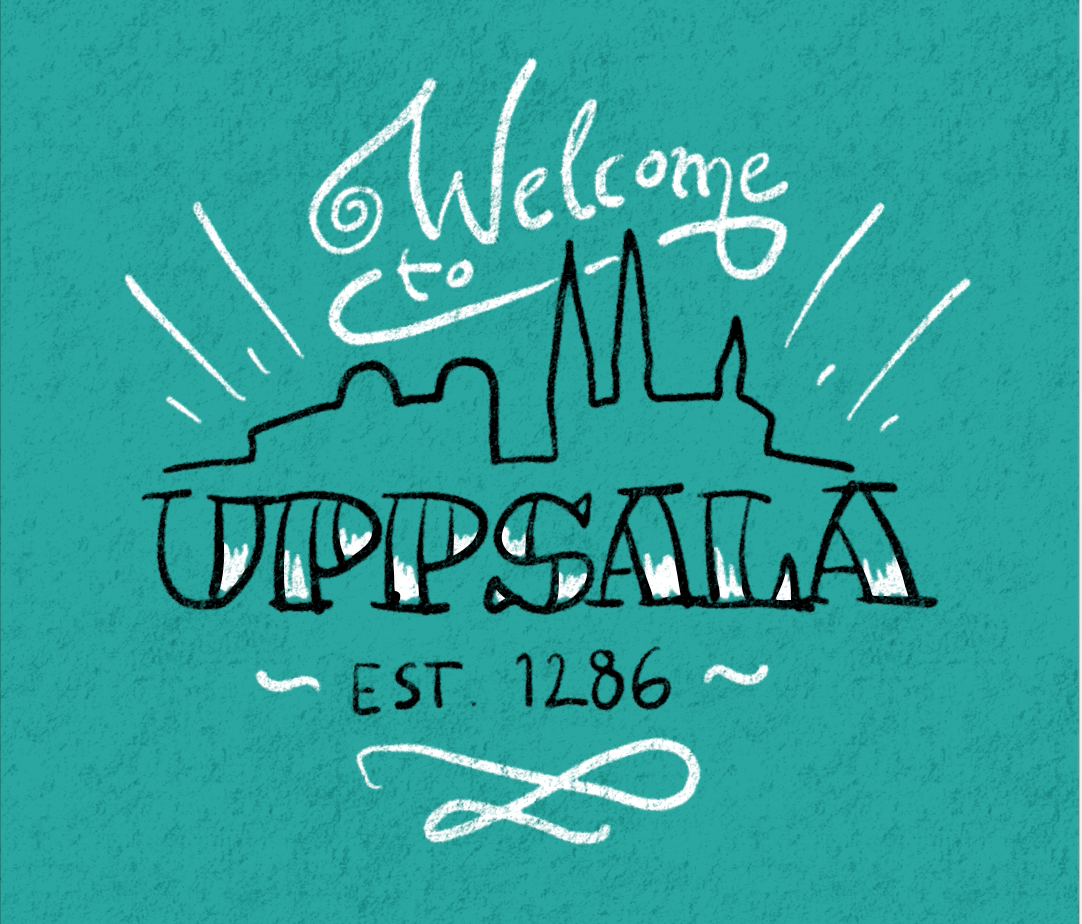
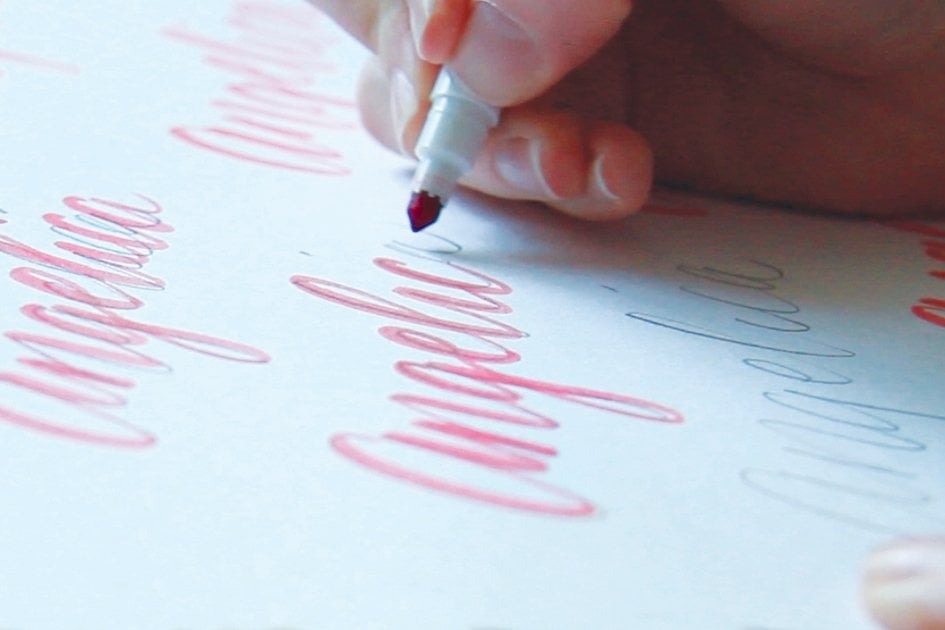
2. Sketching With Pen And Paper: we're gonna be animating handmade lettering in an easy and effective way using Adobe Illustrator and after effects, we're gonna do it through three steps, first, make a sketch with traditional tools and then using that sketch to make a drawing in Adobe Illustrator Vector drawing and then using those vectors to make an animation in After effects on for the class project, we're gonna make small join presenting your hometown and then transform that in after effects into an animated movie suitable for instagram or social media. So let's get started with a sketching. So I'm gonna use my sketchbook for this. Gonna put my glasses on our hometown. I'm Swedish. I live in Stockholm now. We have beautiful view outside the window, but I'm not born here. I'm born in a town called Uppsala A bit north. Maybe you heard it. It's been mentioned in history channels, for instance, where it looked a bit like this. But in fact it looks a bit more like this. But anyway, you can see over here there's a significant little piece of skyline going on with the castle and the cathedral. It means a little bit to me, this skyline so I'm gonna use. It s so we're gonna have a square surface foursquare surface like this. I think a center composition is a good idea. I'm gonna put the skyline somewhere here. Um, not too big. So we have the castle. It looks something like that. And then right next to it, the cathedral. That's not steep enough. We have this really pointy spires like that. And then it has another little tower like that, So yeah, And this is where we used to sit around when it was a teenager. Beverages. Anyway, so we're gonna have the name of the town in a nice Baldoni like here. Let's see if we can fit it in. And of course, you can draw whatever you like here. You can just make scribbles if you like, writes the name of your town Just straightforward with single lines. Whatever you need to do. Yeah. Way gonna make a small text underneath here as well. It is an old tone we're gonna write, established so and then I think 12 86 is correct here. So and then I'm gonna make some kind of slushy and nice welcome appear cheesy. But then again, it looks nice with when you use this technique to have a little bit of, you know, ornaments going. So I tried to to make a lettering composition like this. Interesting. It could be useful to have a few different phones happening or styles. One script, one capital style, maybe something that's a bit more dense and something that's lighter. So you get some dynamic there some contrasts happening. Let's use that. I'm gonna touch all this material in the folder that you can use if you're not really up for making the drawing yourself yet, I'm also going to use Ah, welcome, welcome, welcome synthetic board, the one with the screen inside, which is very nice to use. If you don't have that, it works. You can trace this with your mouth, so your touch pad or anything. I'm just kind of into doing things with a pen. These days. I'm actually mailing this image to me to myself. In order to pass it on to the computer, you can use a scanner or webcam or whatever you like, but for me, I think it's easiest to use the the telephone. So let's move on to the next step. Bring this drawing into ah illustrator to make a vector image out of it.
3. Tracing And Tricking: So we're gonna create the new document in, uh, illustrator, we're gonna go to film on video and let's call this doors. We're gonna make an instagram movie, right? So we're gonna need the documents. That is 1080 by 8080 pixels. And one more thing we're gonna do is turn off the transparency grid because it's kind of annoying to watch the chicken pattern when you work. And first we're gonna place the drawing room, made this right here. I'm going to use that as a template for our victor's. You need to scale that down a bit. So here we've got our template, and, uh, gonna make sure this one is locked so we don't moving around too much command, too. We make a new layer on which to draw, and we need to make a new nice brush. That's touch sensitive. So, uh, let's create the new brush, Cala. Graphic brush way. Want the size to be pressure sensitive size of the brush Could be, like 12 on the variation, maybe 10. So I'm going to start with making the white lights layer. There we go. I'm gonna open a new layer for the black lines. I'm gonna try to trace this headlines. I'm gonna make small letters. I want to make this city Skyline Castle, The dome. That's it. It feels like home. I'm gonna go back to the white layer brush again. Gonna add a little bit of extra decoration here. Also, make some feelings line. All right, let's make it shine of it. Okay, That'll do. Now we can switch off our background. It is a good idea in these cases to use ah, solid background color that is not too bright and not too dark so that you can apply white strokes on black strokes on it. This gives a good color dynamic to the image. And I might want to reposition this whole thing now that I seat without without the template, something like that. And now there's just a few more tricks that we need to do in order to make this file animate beautifully in after effects. So we're gonna need the guidelines in our project that have a center vector line that after fix can use and I'll show you how to do it first. We name this a bit more accurately. Background called it one called it too, just so we can find our way around the project way. Open it in the next programme, make copies of these. We're gonna name these guide. Now we have to change the line type into basic for these guys. This is for after effective able to trace the lions in a proper whale way. Turn up the weight of the lines until they completely cover the thickest parts of the lines we have. We changed the caps to run ones. Corners gonna be round. Same thing, the other color selected. Turn it into a basic line. See, we get this center stroke instead of the oh, nice turn the weight up changed caps, corners. And finally, one little thing that I noticed is that if you take this into after effects and animated by train parts, which is what we're gonna do, the lines are gonna appear. So before we say this is one more thing we need to do is follow me Select, go to path and then reverse path direction. Thanks. Later. Select. Go to path. Reverse path direction. No, we're good to go
4. Animating And Texturing: Welcome back. It's time to move on to the last chapter off this class project. We go into aftereffects and we make our Victor's move. We start by importing our file that we made this one called vectors. Make sure we open it as a composition. This way, we will get a nice project with the right dimensions. Right length, 10 seconds. Unless your timeline is 10 seconds, here is where to change it. Composition settings, duration. Okay, 10 seconds. There it's 1 80 by 1 80 already, like are illustrated project waas. So first thing we gotta do is turn all these vector layers into shape layers. So you command, click or right click. You go to create, create shapes from vector layers. I can see disables all our original layers here, so we might as well delete those. And now, if we go into one of our guide layers here, this is where we're gonna animate. I'm gonna use it as a track matte to reveal our dynamic strokes here which look look nicer , see? But this one is what aftereffect is going to use to animate what you do. You open this the properties and you add dream path. This is where the magic happens. You see, this would make the strokes animates automatically. We don't want them to go simultaneously. That could be changed into individually. And here we go. We have the whole thing happening, but we want to do it this way. You take it to 100 and then we go down to zero over here and we get it animating the right way. Okay. Has always without defects. You push this little stopwatch, you change the properties, and the program will make the Tweens for you. We set the timing of this later. So that's the dark lines. Now we go for the guide layer for the bride lines. You add train pumps right down in the bought him here, under all the detector groups, you have the properties for the animation. Make them go individually. He said one value of 100 in the beginning, and you set one value of zero a little bit further in your timeline here. We got those lines animating as well. It turned these on, and actually you're gonna turn all these on. And now we're going to set the track matte on the first set of lines to Alfa Matt of what we have about this will disable this one, which is what we want and make the animation in this layer revealed this layer Do the same thing with call the number two on. Now we got our dynamic lines animating. This is starting to look really nice. If we use just push you on the keyboard on this layer on this layer, we see where it all starts and ends. And we can, uh, set the timing the way we want it to be. Okay, so now we got the timing set up here. We're happy with it. The white lines come first. And then the name of the town and it all feels in, and it ends with a with a light rays in a nice way. So, uh, final step. We're going to go and do the, uh, text string of this. So I'm going to show you a few more tricks here. First, we pre compose all these lines. Can, uh, right click, actually to make up pre composition. Let's call it going, Onda. Um, since this is full of nice alpha channel material, we can use this effect called rough edges driving home to their It looks kind of singing. But hold on, Let's set the border to three Onda Uh, the scale to 10. We got some nice kind of inky blurriness happening if we said it to maximum. You see, there's not bad. We're also gonna import a little bit of paper texture that I am included for you in the project pack. Put it right here and we're gonna do a track. Met Louima inverted Matt to the thing above. You see, we get a little bit off breakage and, um, let's do something about the background as well. We take down another copy of this paper texture, and, uh, we make a new adjustment layer. We make the adjustment layer be controlled by the paper texture. And this time we use Bloomer Matt, No. When we change, uh, when we change the levels, for instance, for this background, we're gonna have only the parts determined by the texture layer here influencing the background. So this is, uh but what I intended to do, Onda, I hope you enjoyed it. Now we just go and render this Andi. I think it's a good idea to render in a job. Media encoder. If you do an age 264 with these default settings going to get a nice film that you can upload to Instagram. Here we go. Thank you so much for watching. And we'll see you. Next time. I'm gonna find out something else to teach you. You enjoy this.
5. Thank you!: Thank you so much for joining me in this class. What? We have learned how easy it can be to make a vector drawing move with the after effects. This technique can be used for all kinds of purposes. I can't wait to see the results of your class projects. Please upload them so we can take a look on. Remember that this time it's not the actual result that is important, but rather that you have learned how to use this technique and how fast it can actually be . So thanks for joining me. See you next time.
 David Giese, MA graphic designer, animator, director