3 Ways to Create Repeat Patterns by Hand
 Heather Mueller, Illustrator & Designer
Watch this class and thousands more
Watch this class and thousands more
Lessons in This Class
-
-
1.
Introduction
0:56
-
2.
The Folding Method
3:29
-
3.
The Cutting and Shifting Method
3:30
-
4.
The Half Drop Method
3:17
-
5.
Finale
0:34
-
-
- --
- Beginner level
- Intermediate level
- Advanced level
- All levels
Community Generated
The level is determined by a majority opinion of students who have reviewed this class. The teacher's recommendation is shown until at least 5 student responses are collected.
132
Students
4
Projects
About This Class
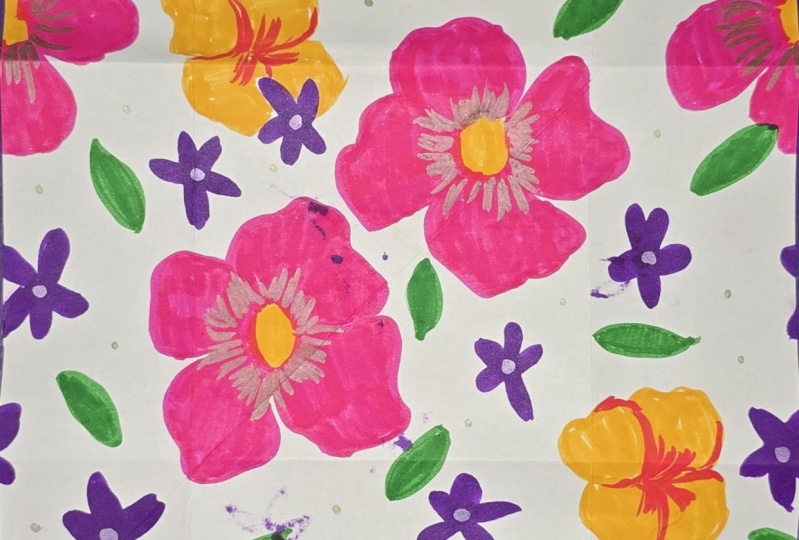
Let your creativity run wild as you craft beautiful, handmade repeat patterns!
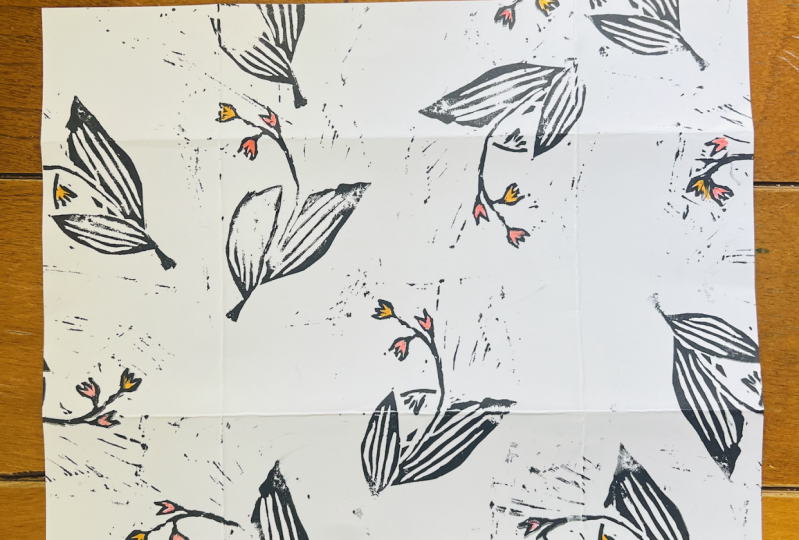
Learn how to create playful, handmade repeat patterns using traditional media. In this beginner-friendly class, you’ll explore three different techniques for designing seamless, hand-drawn patterns that can be used for textiles, stationery, art prints, or surface design. Whether you're a traditional artist, illustrator, or creative hobbyist, this class is a playful and practical introduction to the world of repeat pattern design by hand.
In this class, you'll discover:
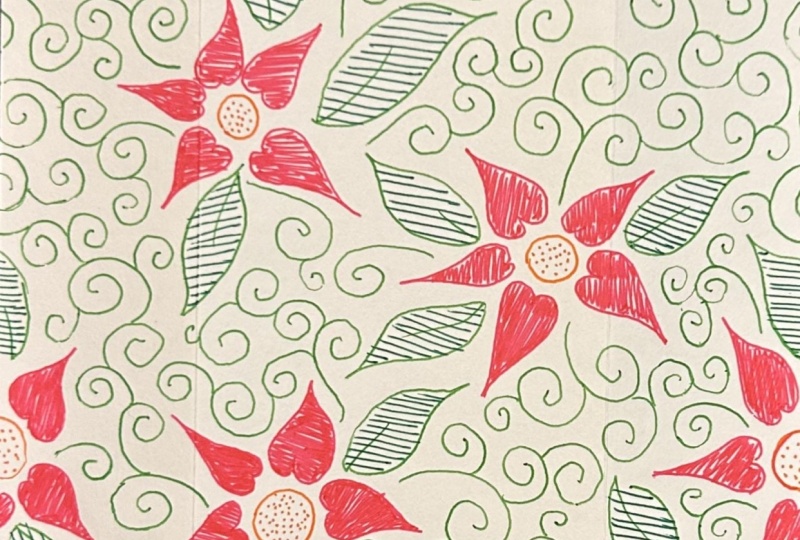
- How to create seamless repeat patterns using three analog methods: the folding method, the cutting and shifting method, and the half drop method.
- How to position motifs for a seamless repeat.
- Tips for cutting, and reassembling your pattern pieces.
- Inspiration for pattern themes.

Why this class is beneficial:
In an increasingly digital world, working with your hands can unlock new creativity and deepen your design intuition. Learning to make repeat patterns by hand helps you:
- Understand the fundamentals of pattern structure without needing design software.
- Create personal, expressive artwork that feels authentic and tactile.
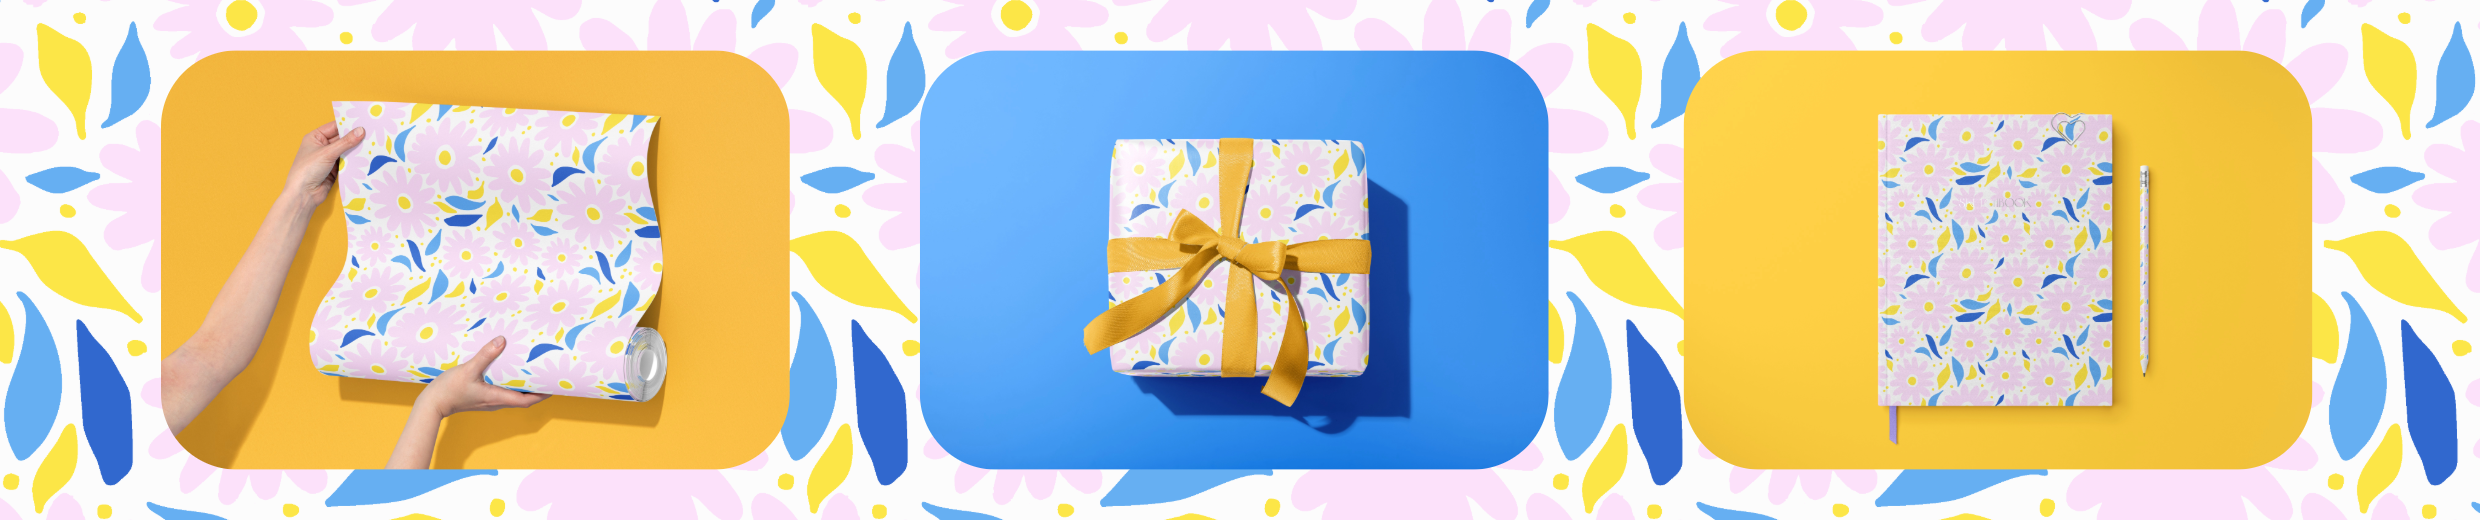
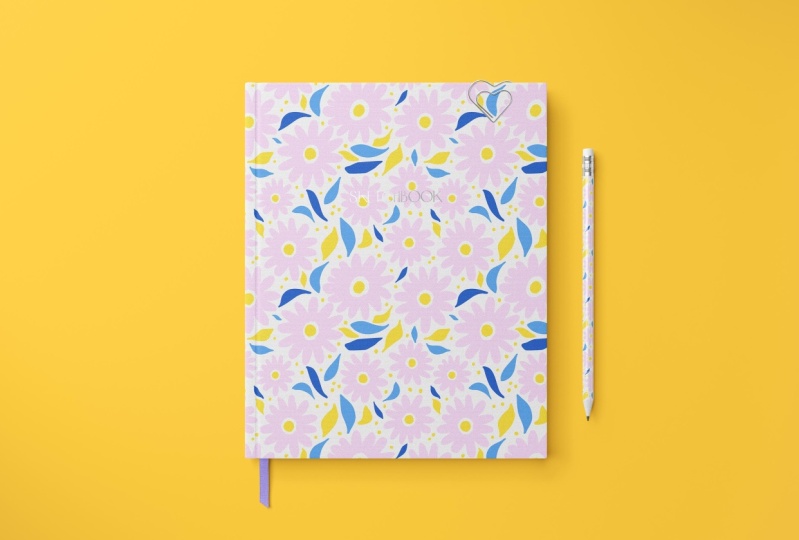
- Develop patterns you can scan and apply to products like fabric, gift wrap, or prints.
- Practice mindfulness and creativity through a slow, intentional process.
This class is perfect for:
- Artists, illustrators, designers, and crafters of all levels.
- Beginners who want to learn pattern design without software.
- Surface designers looking to expand their toolkit with hand-done techniques.
- Anyone who enjoys drawing, doodling, or paper crafts.
No prior experience with pattern design is required; just curiosity and a willingness to experiment!
To follow along, you'll need:
- Paper: medium weight paper in square or rectangular format.
- Pencil and eraser for sketching and measuring.
- Pens or markers for final designs.
- X-acto knife and a cutting mat (as shown in the class) or scissors.
- Tape.
Optional: scanner or camera if you'd like to digitize your pattern after class. I’ll also include a simple resource guide with examples and tips for continuing your pattern journey!
Meet Your Teacher

Hi, I'm Heather!
I'm so glad you're here! I'm an illustrator, hand lettering artist, surface designer and educator living in the San Francisco Bay area. I've been making art for as long as I can remember. Curiosity, nature, and the seasons of life inform my work. I'm also inspired by vintage package design, the art nouveau period and flora and fauna. I make bright, and bold art for brands, run drawing challenges on Instagram, and love to share what I've learned on my journey as an artist, with others! I can't wait to see what you create! Please be sure to post your class projects, and if you share your work on Instagram, be sure to tag me @heathermuellerdesign!
Claim your freebie Instagram Reels guide here!
See full profile
Hands-on Class Project
Class Project: Create Your Own Handmade Repeat Pattern
In this class, you’ll unleash your creativity and learn how to design your own handmade repeat pattern using simple tools and accessible techniques. Whether you’re a beginner or a seasoned creative, you’ll follow along step-by-step as we explore three fun and effective methods for making repeat patterns by hand—no digital tools required!
Your project:
Choose one of the three techniques taught in class—the folding method or one of the cutting methods—and create your own seamless repeat pattern. This project is all about playful experimentation, so feel free to get expressive with your shapes, lines, and colors!
When you're done, snap a photo or scan your final pattern and upload it to the project gallery. You can even turn your pattern into wrapping paper, stationery, or a textile design! I would love to share your work on social media too. Please tag me on Instagram @heathermuellerdesign
Project goals:
- Learn the basics of pattern design by hand
- Experiment with traditional paper techniques for seamless repeats
- Discover your own artistic style and visual voice
Share your work and get inspired by your classmates! Thank you for taking my class; I can't wait to see what you make!
Class Ratings
Why Join Skillshare?
Take award-winning Skillshare Original Classes
Each class has short lessons, hands-on projects
Your membership supports Skillshare teachers
Learn From Anywhere
Take classes on the go with the Skillshare app. Stream or download to watch on the plane, the subway, or wherever you learn best.