Transcripts
1. Introduction: Hello. I'm Helen Kobrick on Welcome to my first ever skill share class. I'm really excited to be here. I'm hugely passionate about journaling on creativity on the many benefits I think it can bring to your life. I started sharing my journal pages online nearly three years ago, and I've been lucky enough since then, to be featured by The Daily Mail on international podcasts and lots of books on. I have my own book on product range coming out later this year, which I'm really excited about. I decided I wanted to teach on skill share because I get lots of questions about how to start a journal, what types of things to write about. So I'm going to run through all of those things in today's class. So we'll be looking at three different types of backgrounds you can create on your journal page to get you past that fear of the blank page. Look at how toe add different creative elements and structure your pages and also talk about the different kinds of things that you can write about in your journal. So I really hope that you enjoyed today's class on that. If nothing else inspires you to pick up your journals and notebooks and get creating on documenting, so let's get started
2. Finding Your Journal Style: Before we start the lessons on creating your own journal pages, I wanted to talk about finding your own creative style. It's one of the things I get asked about a lot is how I found my style, how I know I want to do. And you'll see from the journals that I'm flipping through, that I actually use lots of different styles, and they've changed significantly over time. So my best advice is to just start, start playing with the different tools and supplies that you have, and see which pages were enjoyed creating the most, and also see which ones you like looking through the most. One of the great things about keeping a journal is that you can't do it wrong. This is your journal. Its reflection of your life right now and you're changing style on your pages will also be a reflection of the different things you've learned and how you're feeling on the days you create those pages. When I first started keeping a creative journal, I had no idea of what my style would be or how I wanted my pages to look. It's wise to look at other journal pages being created online and start trying to recreate some of those and just pick the elements that really appealed to me and just had to go. And over time I've really learned which kinds of things I like to keep on my journal pages . What kind of color palette so enjoy using. And now it comes naturally. But in the beginning, it certainly didn't. So please don't feel that you need to know your own creative style before you get started. It will come to you. And the more you create on, the more you have a go at different styles. Over time, you will find that it just suddenly clicks. And you know which kind of pages you really love creating in your journals. I hope that haven't had a quick look through my journals. It's given you a good feel for the different types of stars that you can create and that you're excited to get started in the next lesson. We're gonna have a look at some of my favorite journaling supplies
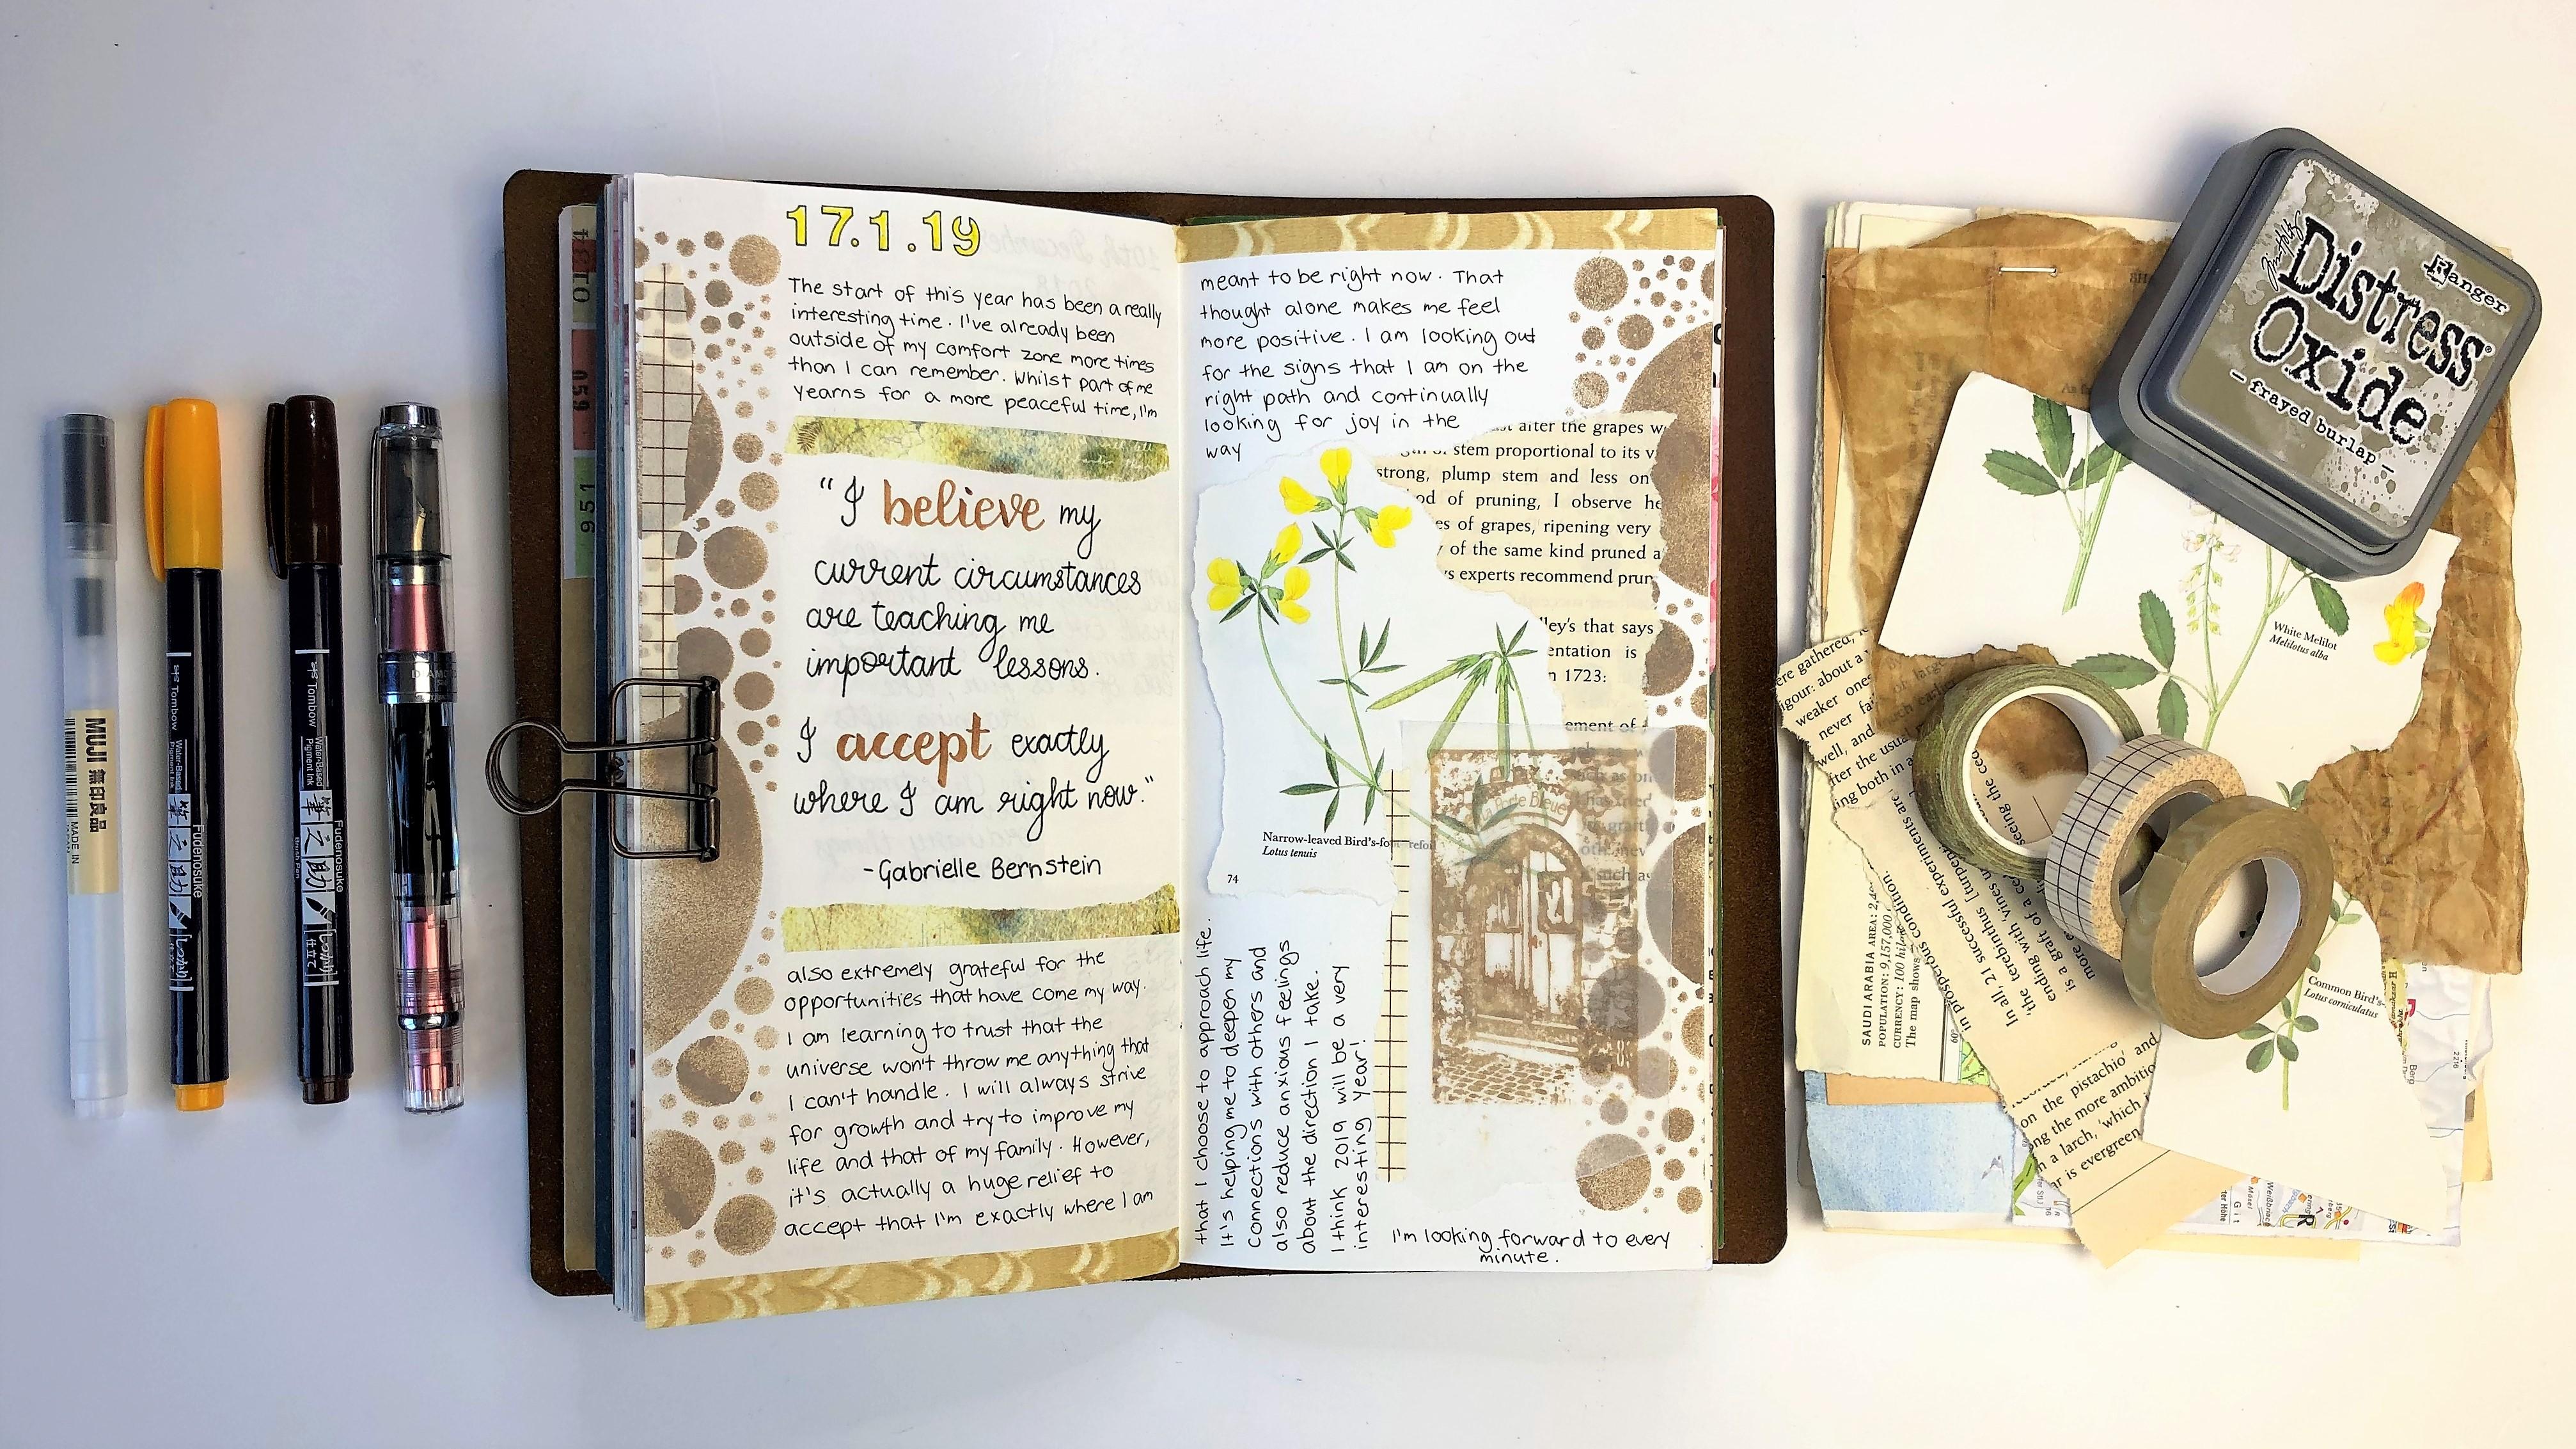
3. Favourite Journaling Supplies: the journal RB Using in the following lessons is a blank insert of a Travelers notebook standard size and also be using a range of pens, including a waterproof pigment liner, a Muji black gel pen, a tomboy Futuna Suki brush pen and a fountain pen with an extra fine new. But please don't feel that you need anything special. You can really just get started with anything you already have. Adding collage. I'll be using some old vintage papers, including book pages, brown paper, and I'll also be using some scrap of paper, so please use anything that you have. It could be wrapping paper, brown paper gift bags or anything that you already have in your stash. There is a document loaded on the project section, which shows some of my favorite supplies and retailers just in case you are on the lookout for anything new. I love using stencils in my journal, so these were definitely feature on my pages. On This is just a range of some of the different stencils I've collected over the years. I also love using stamps on my pages. There a really quick way to add some designs, so got a range off wooden block stamps. Clear acrylic stamps on Cem vintage style alphabet stamps. Some of the other supplies I love to use our different colored impacts with an ink blending tool. Washy tapes an absolute favorite of mine, different types of glue seizes Onda watercolor paints. I absolutely love thes handcrafted water colors, but that any that you have will definitely be fine. I also like to use a portable photo printer.
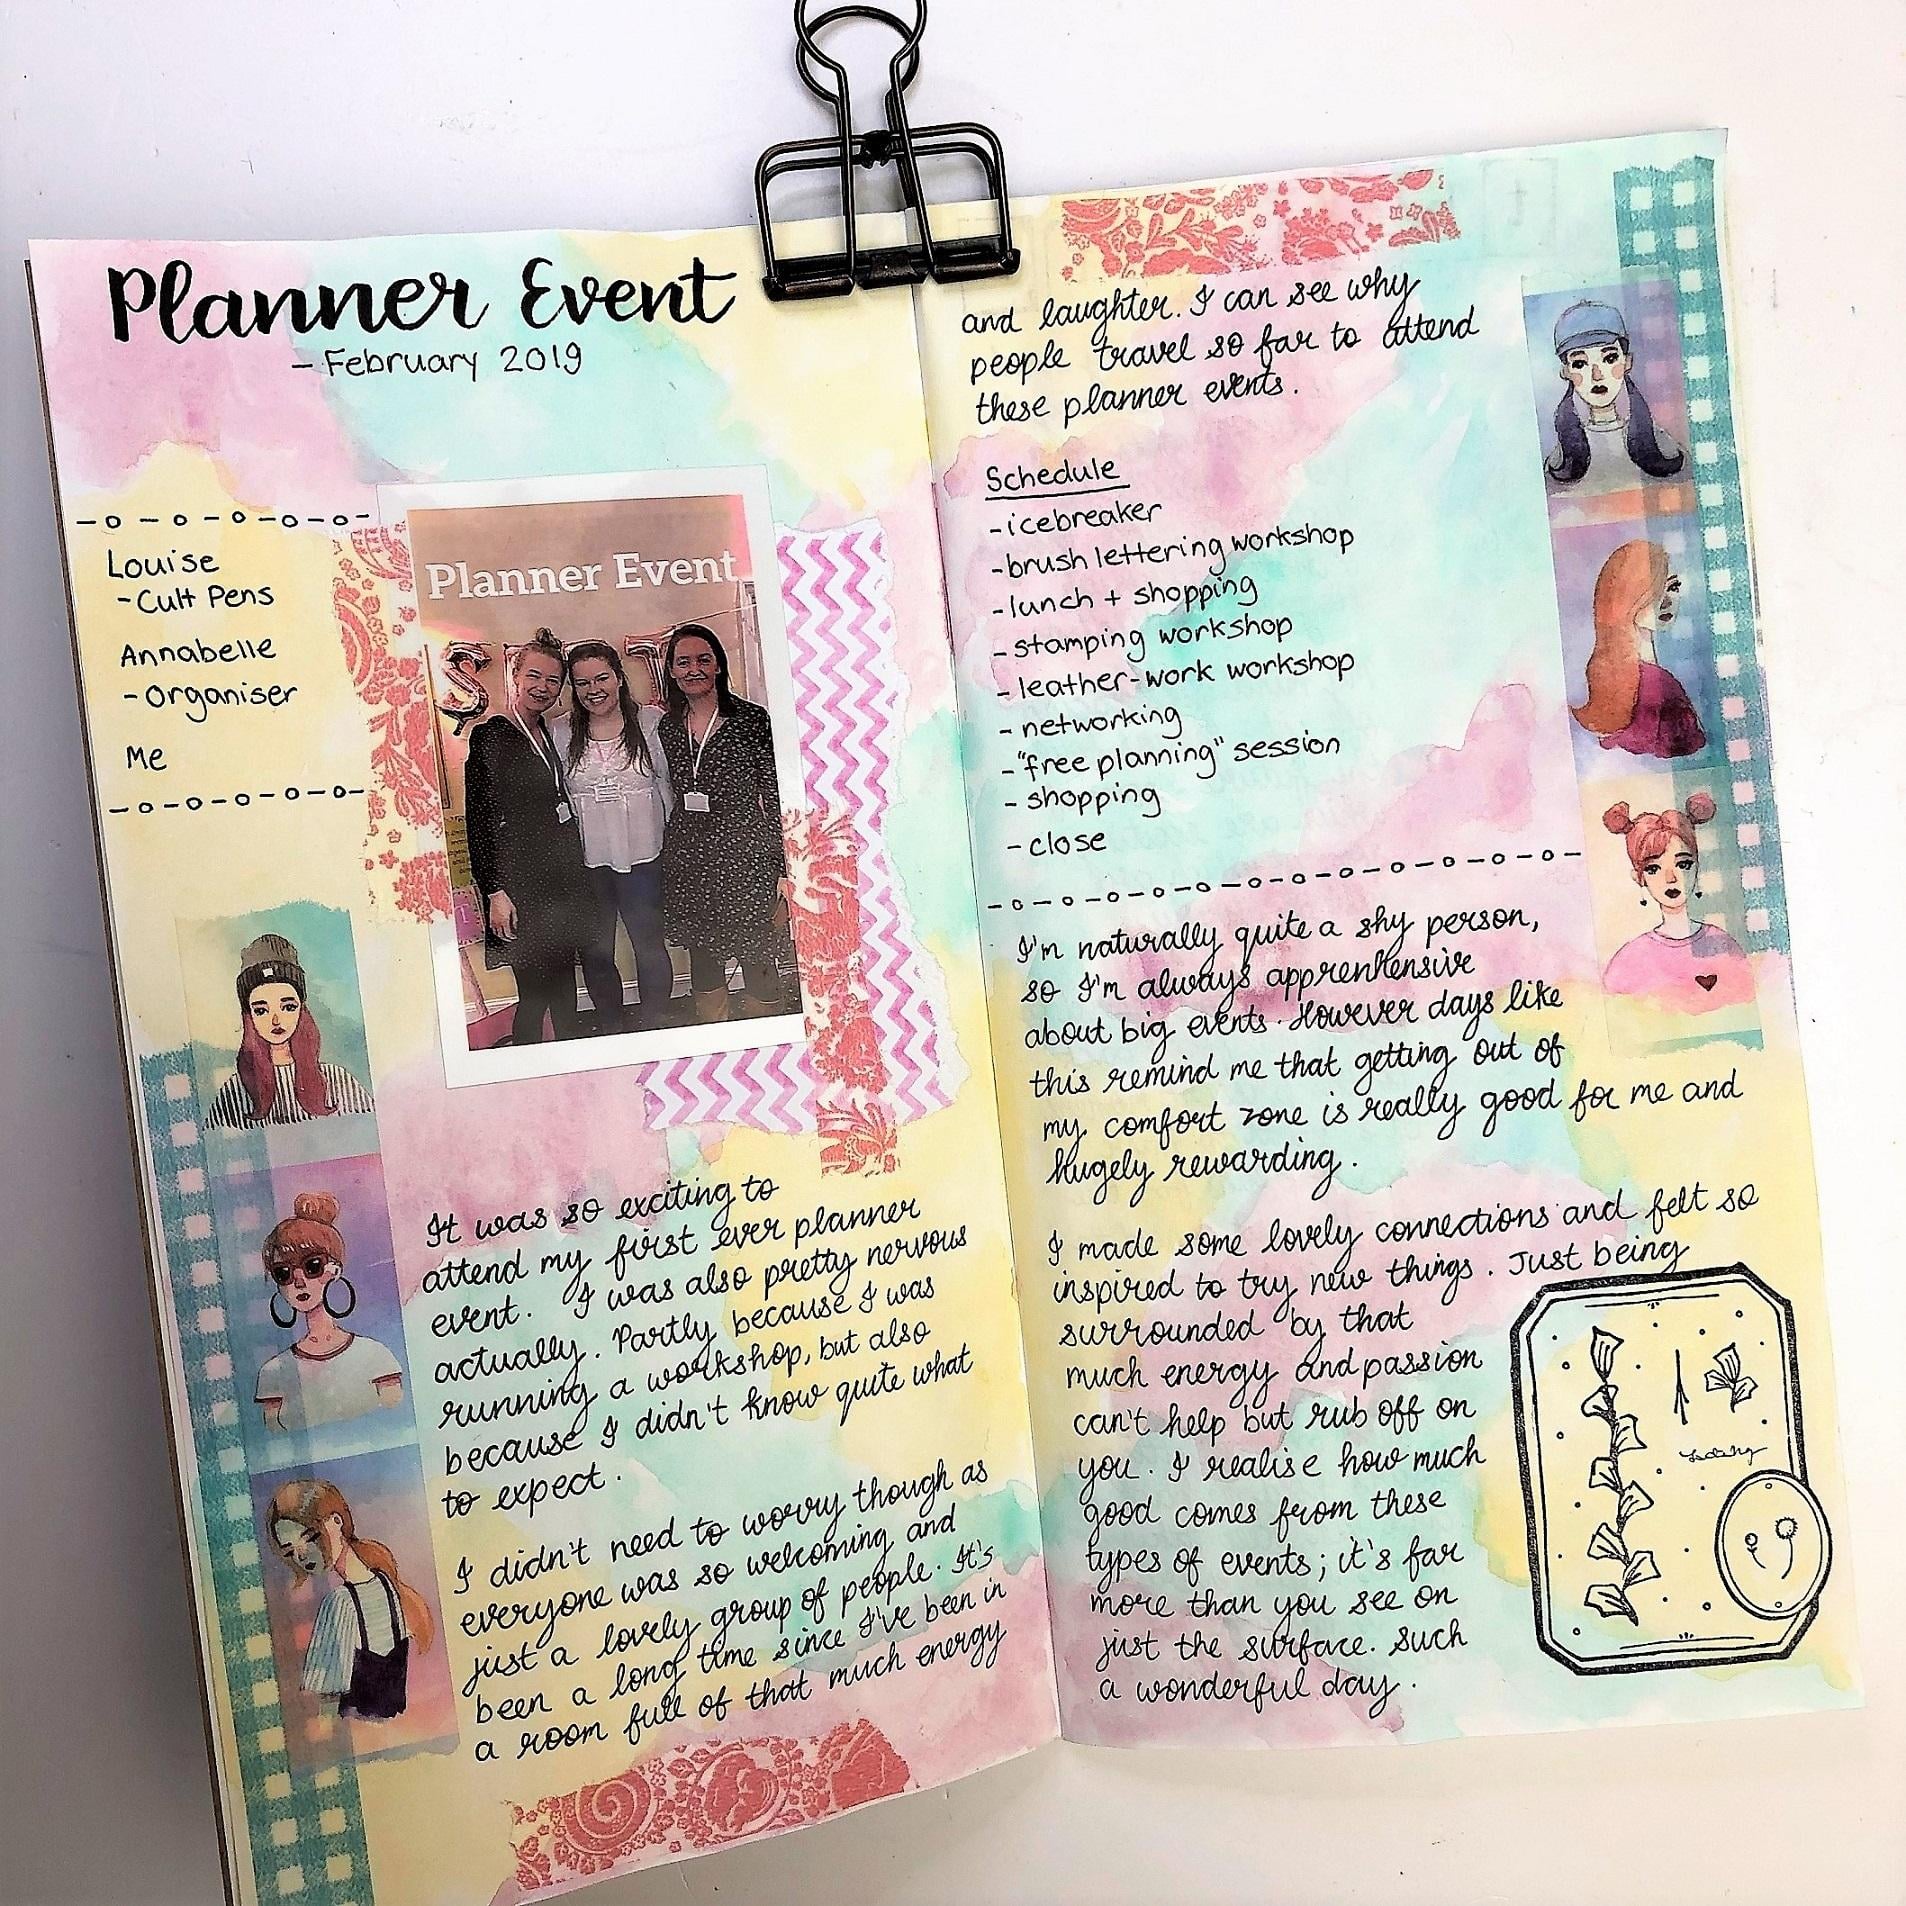
4. Creating a Watercolour Background: in his first lesson. I'm gonna be sharing with you a really simple technique, and it's one of my favorites, and that's adding a watercolor background to your pages. So by the end of this lesson, you should feel able to create something similar to this. I'm just gonna show you initially the technique for adding that paint on picking your own color scheme that you wish to use. The first thing I'll be doing is selecting the water colors that I wish to use, abusing suma clean water, a watercolor brush, a mixing palette and some kitchen roll to clean off my brush. I'm starting off with a really light purple color, and I know I'm going to use these pages to document a spring planner event. So I'm picking some colors that I think really tie in with that lovely spring feel. I imagine lots and lots of water because I want to make sure that it's a really light wash on my page. A quick tip is to add some plain paper behind your journal pages to make sure that the color doesn't seep through onto any of the pages below are now using that really watery wash just to add splotches all over my page. I'm going to use three different colors and I want to make sure that they're reasonably evenly balanced. But I'm not going to worry too much about it if I'm ever fearing how to get started on that blank page. This is just a great technique for me because you can just put down the pains and you've already gonna be creating something really pretty, which we encourage you to get started and start adding other creative elements. I'm now adding a kind off turquoise e color. I thought that much doing really, really nicely. And this journal isn't watercolor paper, so there are gonna be lots of crinkles in it. And I really, really love that in my journals. I think it adds a certain style to them and won't save be impressed Flat in my Travelers notebook cover. It will certainly start to flatten out some of those pages. But if crinkles in your page bother you, then you might want to look about what kinds of journals years I'm certainly not precise. And where I add those different splotches of color, the anything I'm trying to bear in mind is making sure that there isn't just one big block left for when I put that third color down. So I'm making sure that I break up the page into lots of different sections. I'm now going to add my third color of paint to the page on getting for a lovely yellow color, which reminds me of the sun. So I think they'll be really nice combination for my Spring planner event pages. You can use any color she wants. I always just try and keep them reasonably light colored because I know I'm going to want to right over the top of thes pages before adding the next stage to your journal pages. You can either let them dry naturally or use a heat tool, and we'll be coming back to these pages later on in the lessons to look at how you can add different creative elements over the top. But I hope this has given you a really quick and simple technique that you feel you can use to get your creative journal pages started
5. Using Stencils in Your Journal: in this next class, I'm going to share with you two different ways to use stencils on your backgrounds. I've got lots of sense ALS, and I don't always use them as much as I should. But actually, when I pick up my journals, there's so many different ways to use them. So I'm going to show you one technique, which is how to use stenciling is the border along the side of your pages. On the other technique will be how to incorporate them into the middle of your journal pages and turn it into something really lovely. So I hope you enjoy it and you ready to get started. Let's get going. I'm going to use to different stencils on these journal pages, and the first ones I'm going to start with are these Donna Downey stencils cord bubbles and they're just circles. So I'm gonna use them as a border on both the right hand on left hand page. Again, I'm putting some paper behind my pages, and I've used a binder clip to keep him in place, are gonna use a blue and a green distress oxide in pad, and I'll be using an ink blending tool to push that. Think through the stencil. You could choose to use a critic, paint or special stents or paint or even draw through the stencils. Depending on what you already have. I'm going to use the blue ink just in various places along the side of the page, and I will then use the green ink next to it. One of the reasons I love using stencils and ink pads is it's another really quick and easy way to get started on your pages. And if you create a border like undoing here, you also reduce the amount of white space that's left and again, that really helps me to get rid of that fear of the blank page. And I think this gives a really lovely effect. I'm now going to add that same border to the other page, and I'm just going to swap it around so that I start with Green at the top. This time. Andi at the blue is the second color, and that just adds a nice balance and interest to the page. I hope that you can see you don't need any kind of artistic skill or any great creativity, skill to really quickly be able to start making some interesting looking pages for your journal on the next pages, I'm going to use my stencil to create a centerpiece for the page rather than using. It is a border. I'm using this lovely floor stencil from paper artsy, and I'm going to use some pink and yellow distress oxide ink pads. And I'll be using exactly the same technique, using the two different colors on the ink blending tool straight through the stencil onto my page. Using your stencils to create centerpieces adds a really different looked your pages than when you're adding a border, and we'll come back in there later Lessons to see how we can turn both of those into a really lovely completed journal pages. I'm using really pale colors for these flowers, and I will show you later on how we can really make those pop from the page, because at the moment they're not that clear. I don't want to make sure that that detail all stands out, so we'll definitely come back to this one on creating at my second page. I don't want to run the risk of any ink from that stencil accidentally going onto the page of completed. So I'm just using a sheet of paper underneath the stencil to protect it. News I had. This inspires you to have a look through any stencils that you might have laying around and get creating with them to have some really lovely, quick and easy elements to your journal pages.
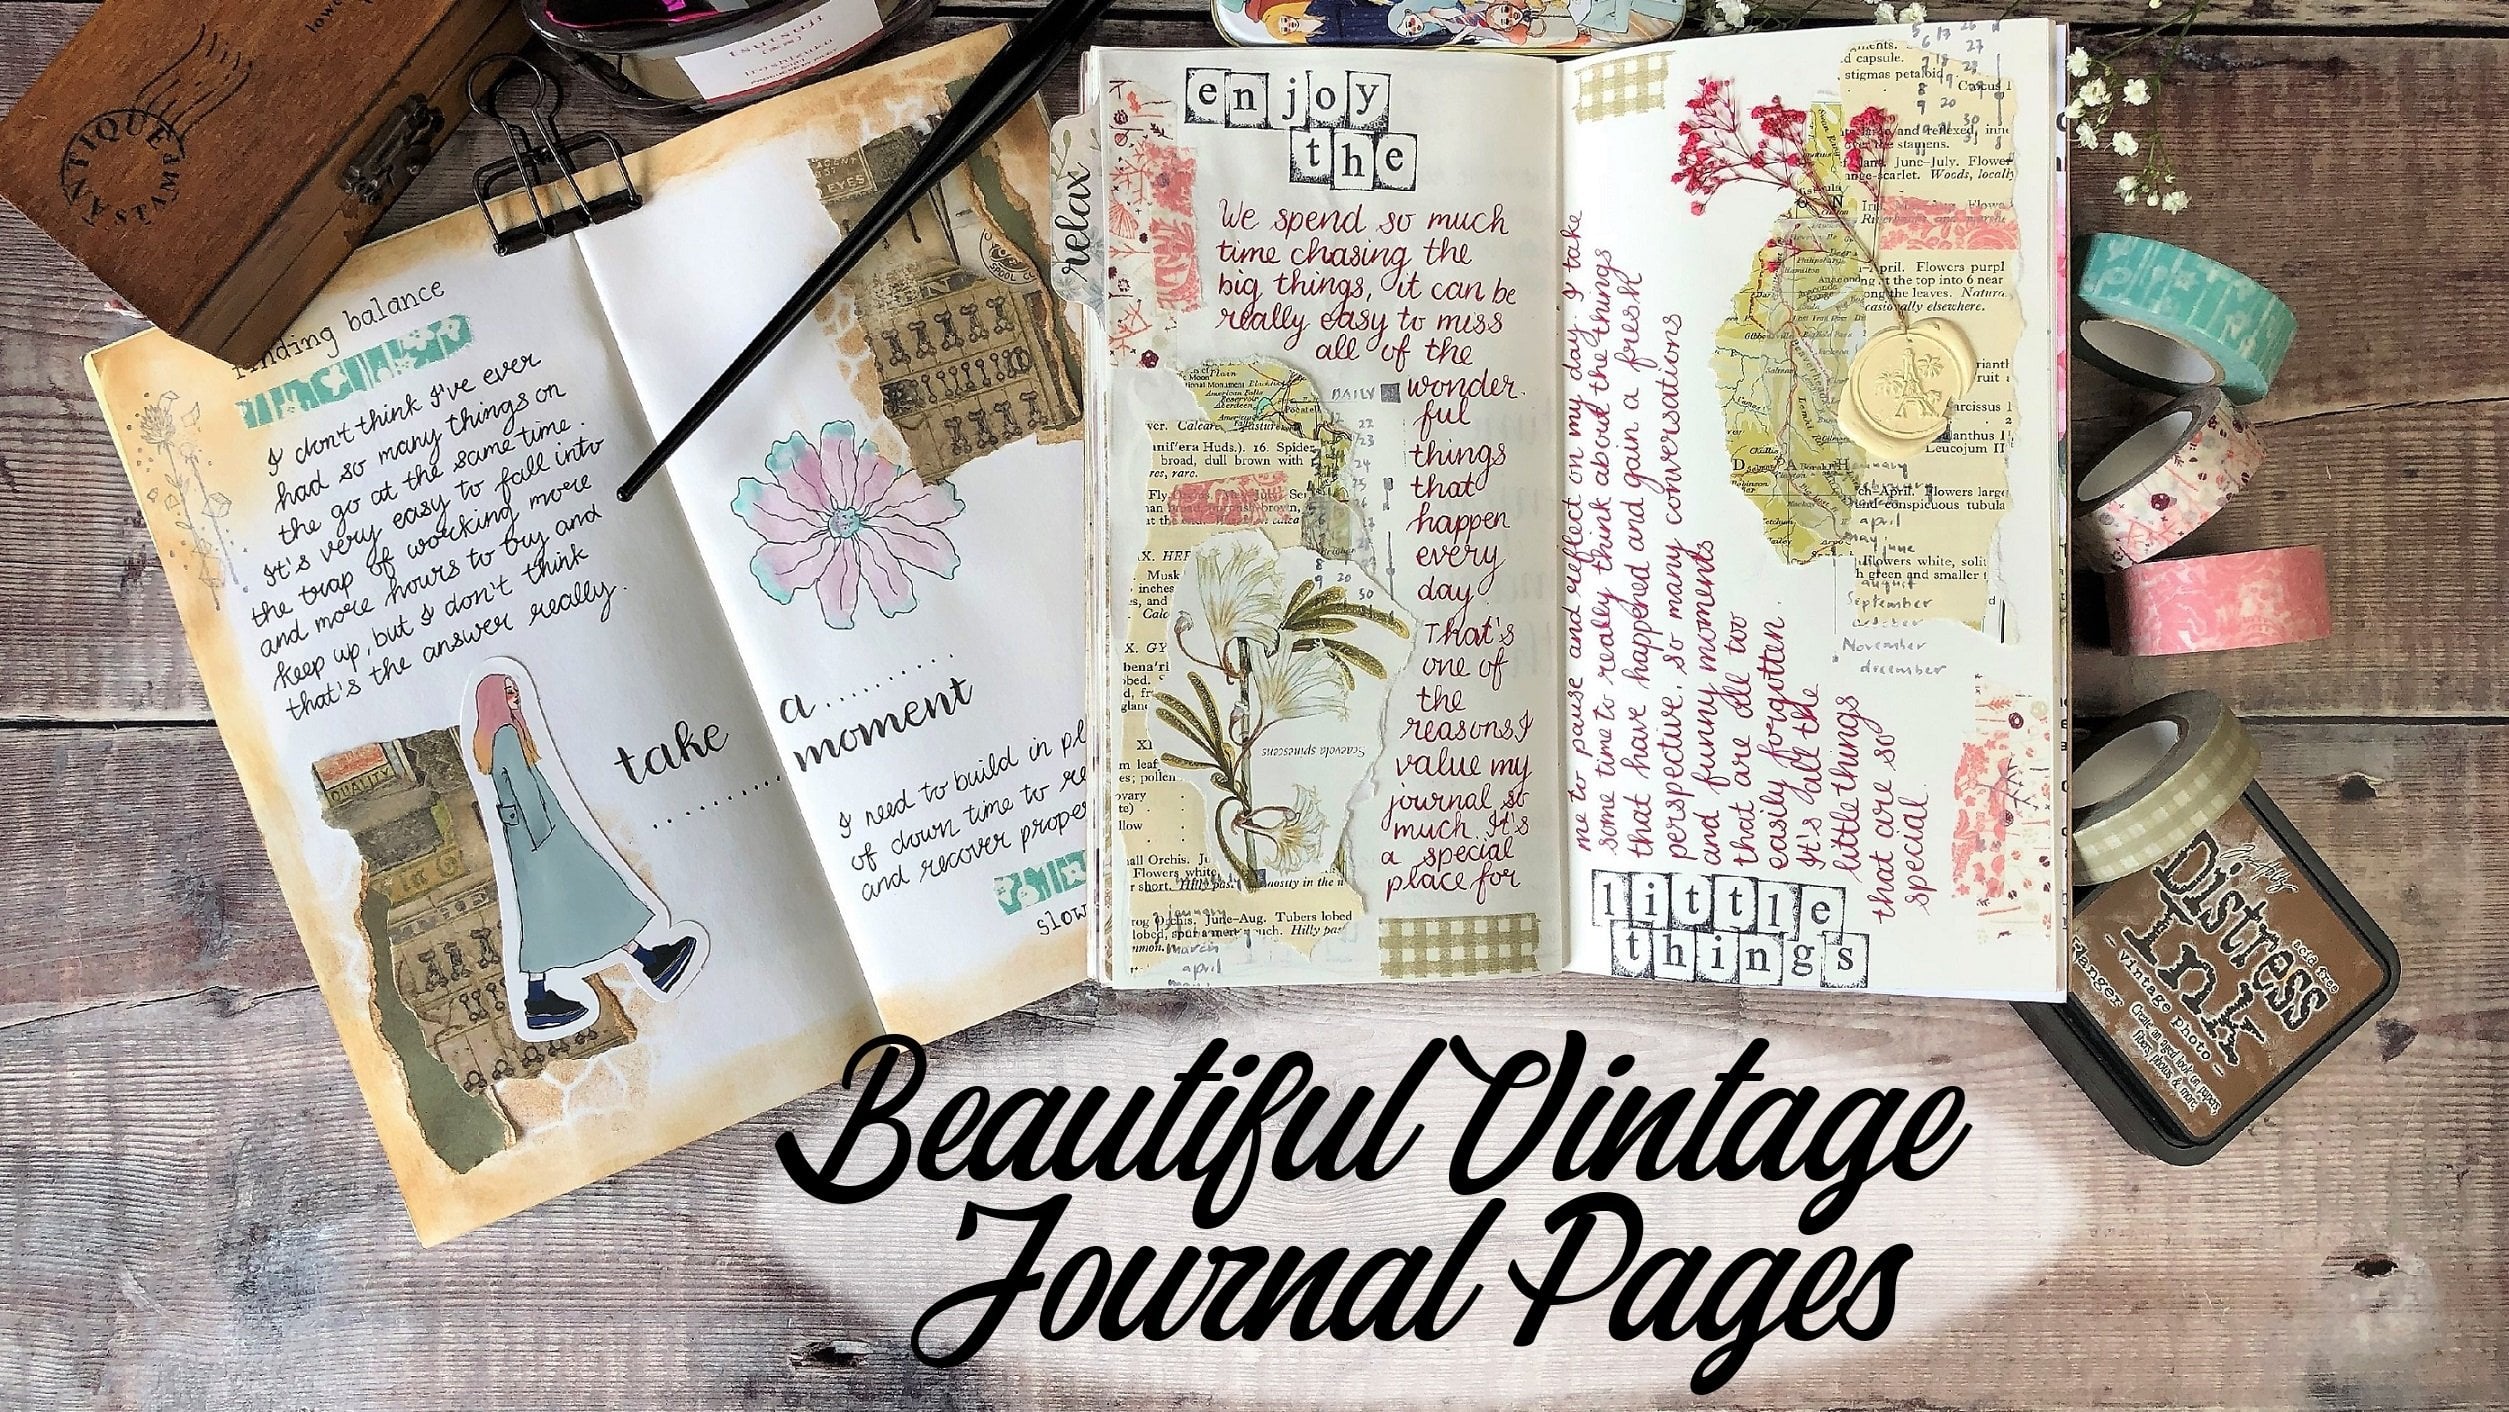
6. Creating a Collage Background: in this lesson, we're gonna be looking at KHAL large and how you can use that on your journal pages. And this could be things like old book pages, newspapers, paper gift bags, wrapping paper. Or you might have some scrapbooking paper that you want to use on. By the end of the lesson, you should be able to create something really pretty like this in your journal to trade my collage. I'm going to use Cem old vintage papers and I'll be using Pritt stick. So just a glue stick to stick them to my page. I really like the effect of using old vintage papers on my journal. It gives it kind of an old classic feel, so I'm just gain through these bundles of paper and selecting some of the different pieces of paper that I'd like to use. I gained for mainly browns and whites. I like to add a little bit of white with the brown so that I've got some nice contrast. I'm also adding surma clear vellum type paper. I know I'm looking for something more decorative to add to the top, and I decided to get with the's daisies on the butterfly in previous collage pieces. I've also used paper doilies, napkins and tissue paper. So absolutely anything will do. I just try and find some colors that really complement each other on will be representative of the kinds of things that are be writing about and documenting on that page. Feel free to cut up your pieces of paper if you prefer straight edges. I always tear mine, cause I like that added contrast on structure to my page. I think it just adds another bit of visual appeal before I glue anything down. I always like to play with the arrangements of the different pieces of paper. Just to check that I'm happy with the overall effect. I'm now carefully tearing around the daisies, and I will then tear around the butterfly to use as well. I like to add my pieces of paper in a slight pattern so that each piece of the paper still shows through, even though they're on top of each other, and I like to alternate the different colors. So in this example, I've got brownie pieces of paper within a white one. On top of that, and then there'll be another brown pace and adding that clear vellum paper on top of the daisies means that you've got a slightly different look, with one daisy showing completely through and the other one slightly hidden behind that clear paper, there's no right or wrong way to do collage. It just takes a little bit of playing around with until you get an effect that you're happy with. Using different colors and styles of paper can instantly add a different feeling to your journal. Save years. Bright, vibrant colors is gonna look completely different to feel using old vintage style papers. And that's one of the things I love, because it's just another quick and easy way to add a creative touch to your page. I'm always looking for ways to balance out the look of my journal pages, so I'm going to add that butterfly to the top left hand corner that came from the same sheet of paper is the daisies. I hope he shows you how quick and easy it is to add some really simple collage designs to your journal pages. The final thing I'm doing is adding a little more glued to the edge of each piece to make sure that everything is securely stuck down
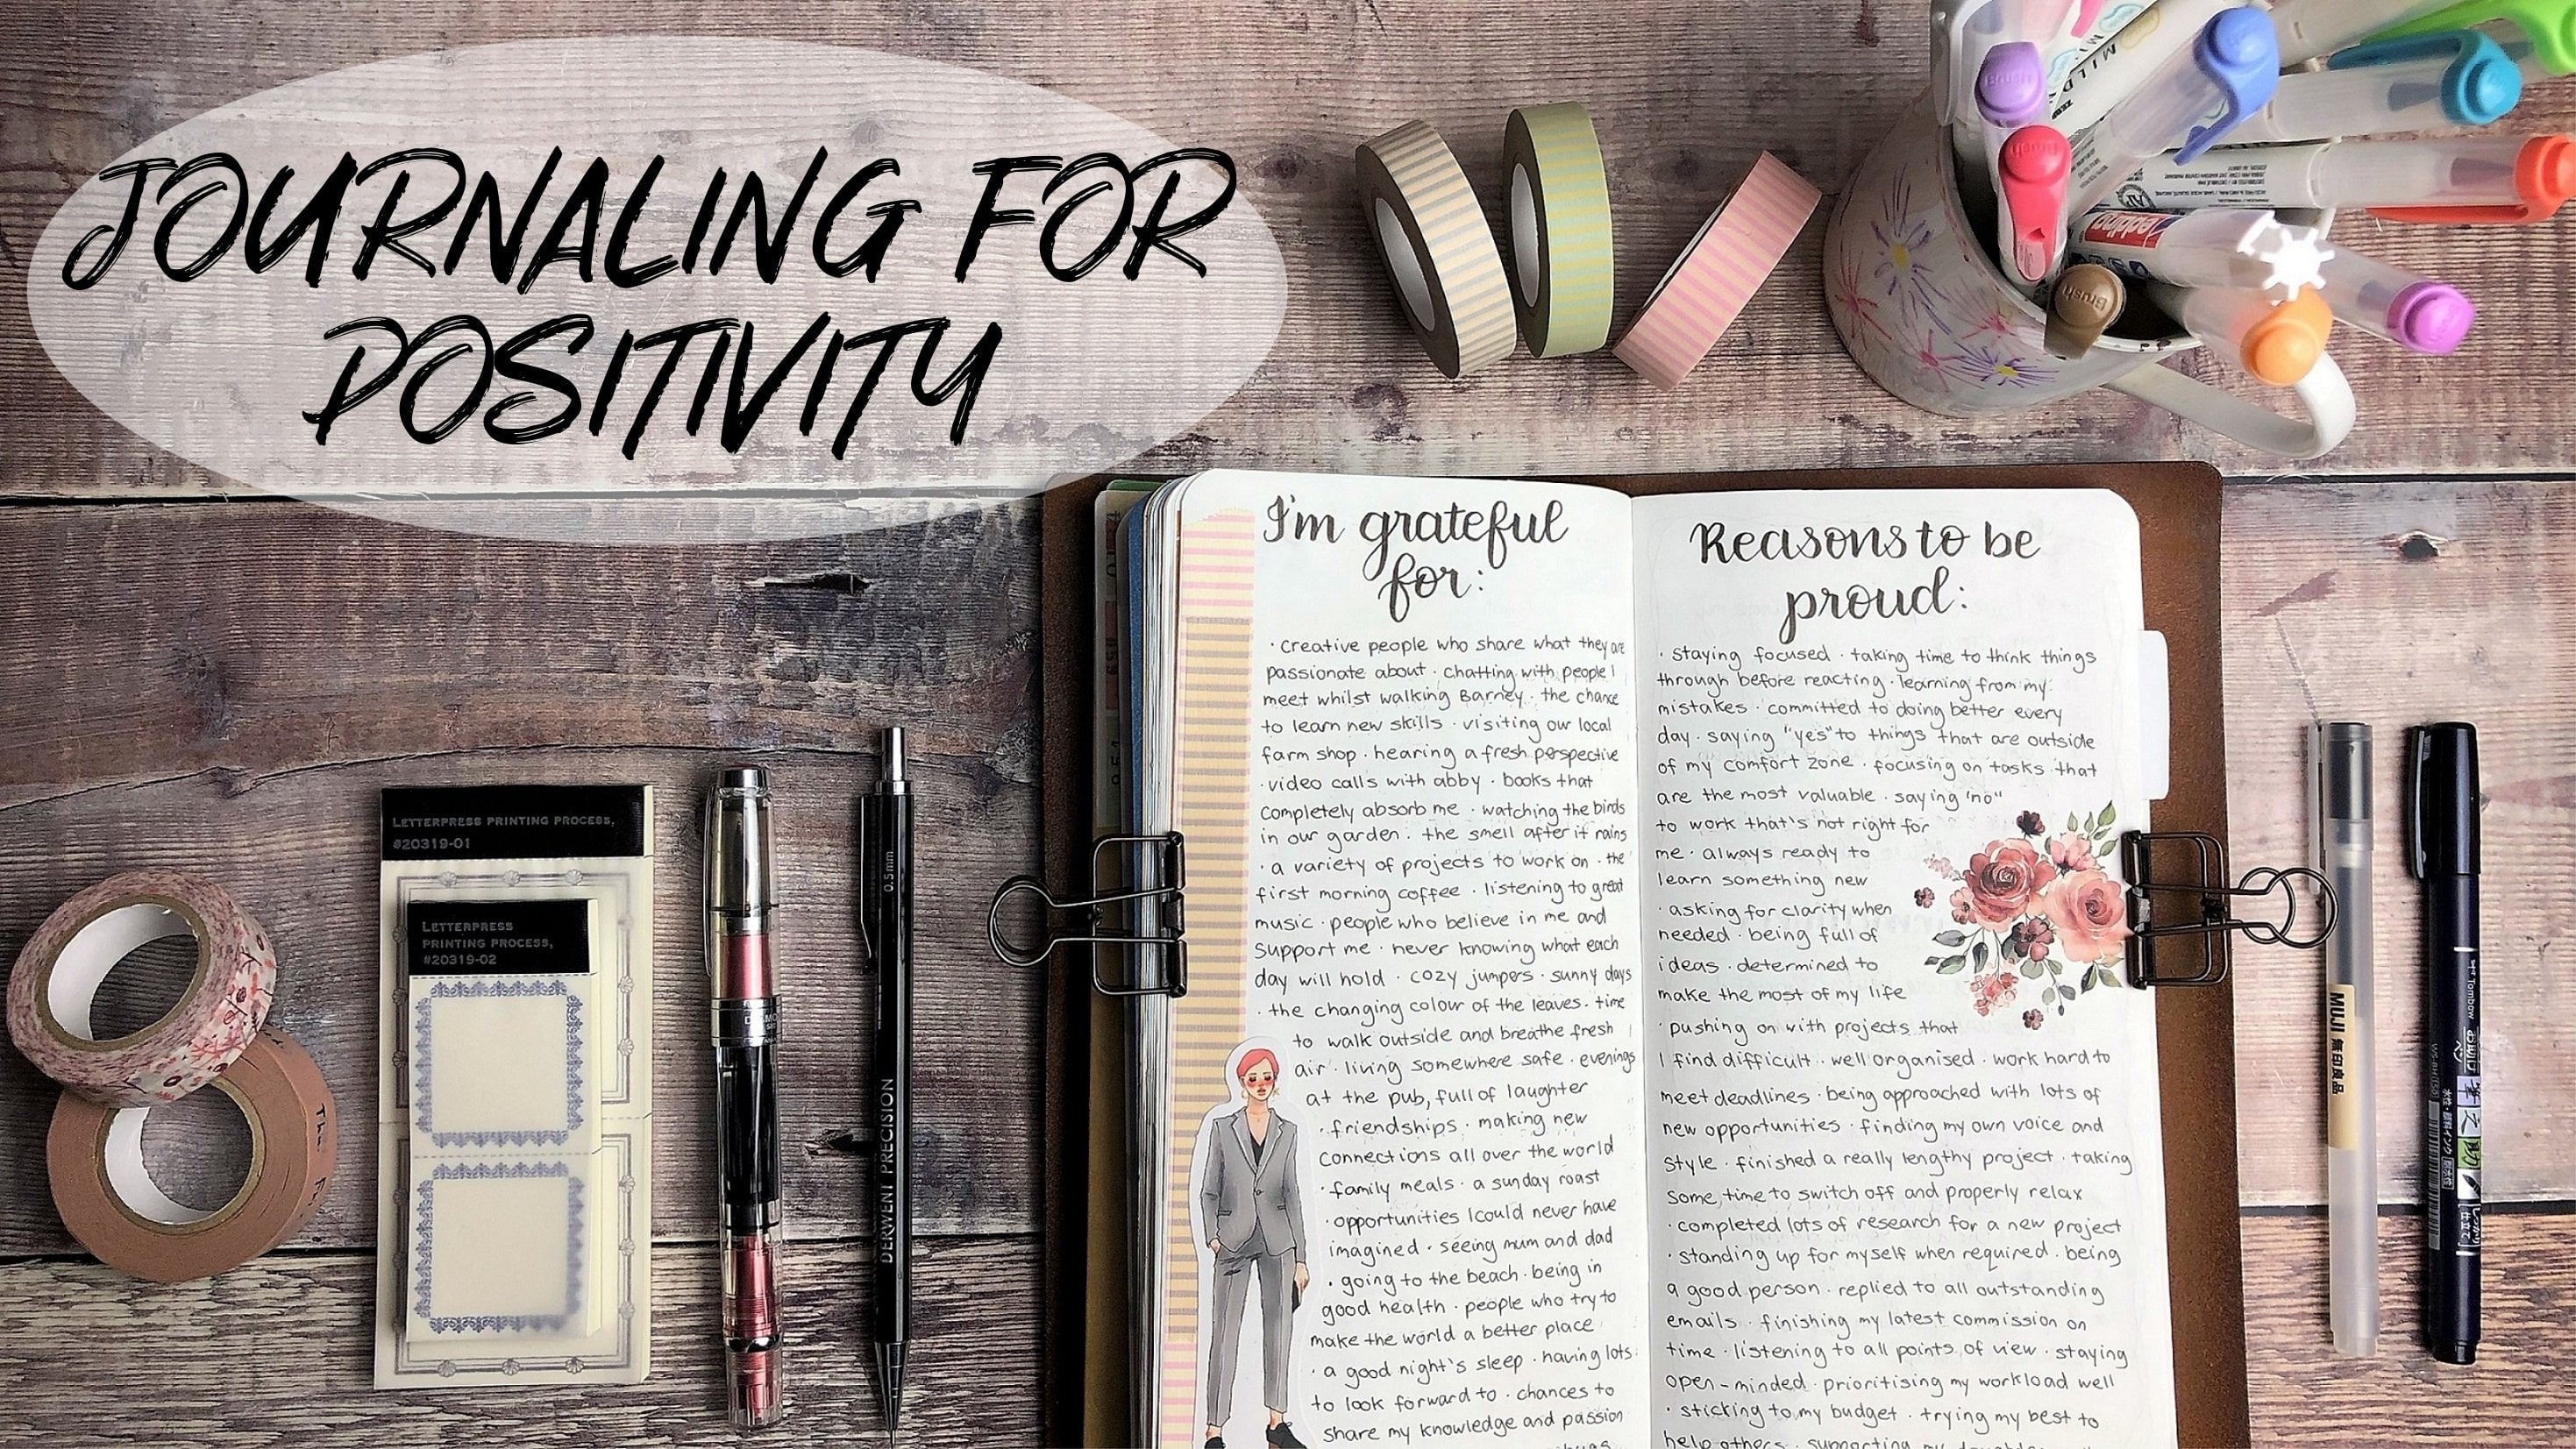
7. Adding Creative Elements: in this lesson, we're gonna be looking at how you can use different creative elements in your journal. So this could be anything from what she tapes stamps using different pens, dried flowers or adding photos or anything that you may be already got in your craft stash . So be looking at composition and how you can use different colors to really make your journal pages pop. Now we've got all of these backgrounds completed. We're going to move on to the really fun step of adding looks different creative elements. So on this watercolor backgrounds that was created earlier, I'm going to add some strips of washi tape, and I've picked colors which time really nicely with the colors of the paints that I've used. You can certainly cut washi tape, but I really like tearing it and having those slightly rough edges and imagine one type of tape directly on top of the other. The next thing I'm doing is adding a photo to my page, and this photo is printed using an HP sprocket beagle easily print one from your home printer. I want to amount that photo on top of some scrapbook paper to make sure that it stands out from my page. Once I'm happy with how they looking. I'm going to stick them onto my journal pages in the HP Sprocket prints straight onto sticker paper, which is really handy. I decided I wanted to add some Matmour washi tape. So I'm using this pink floor tape and I'm tearing it right down the middle. So I've got some sinner strips. I'm gonna use those on each side of the photo and also at the top and the bottom of my pages to make sure everything balances out really nicely. My title. I'm using the Tom both Fitness Suki Brush pen. This gives a really nice clear title on my journal pages, so I'll instantly be able to see what I've been writing about. The next thing I'm doing is adding a stamp, some using this rubber block stand with some permanent black ink. I always just rub off any ink that's got onto the corner of the stamp that just gives you a far cleaner result. If you want to see the completed pages with all of the journal writing, you confined the photos in the description down below. I'm now moving on to my next pages that we created. Using a stencil, I've decided to add some stickers for decoration. And as it's all circles on the border, I thought it looked really great If I did some circle shaped stickers and I said some pink in those stickers. I'm now using some pink washi tape and again, it just makes all of the pages look cohesive. As I'm going to add some more stamping, I've put an underlay board underneath my page, and this gives you a nice firm surface to be able to stamp on to. You could easily use, um, firm cardboard or something like that. Underneath these pages are gonna be all about my thoughts and feelings, so I'm using their alphabet stumps so that I've got the headings on the top and bottom of both pages. One of my tips for composition of your journal pages is to do something similar on both sides. So natives I've added a sticker to both sides or she to both sides. Andi. Now I'm adding some stumping to both sides. It just gives that overall feeling of the page being balanced. I decided to add a quote to this page and I'm using a pink brush pan on the quote reads. Gentle ing is like whispering to oneself and listening at the same time. And I thought that was a perfect quote. I've used a pink pen to tie into those colors. I'm now moving onto the pages where use the stencil as the centerpiece, and the first thing I want to do is make those designs clearer. So I'm using a stater pigment liner to draw around those designs, and that's definitely helping those colors to stand out more so that you can more quickly see the designs of the stencil. So if you have ever had anything to your page and you don't think it looks quite right, it is nearly always a way to fix it. And sometimes just dealing around the designs can really make a big difference. And I decided to use thes pages as my Gratitude Journal. A fun and easy thing to do is adding a border to the edge of your page, and again, it's really simple and makes a huge difference to how the page looks once it's finished, I'm now moving on to these final pages that I started and I'm going to use some washi tapes that match him with the colors of the collage, some starting off with a pale green color tape. And I'm adding a kind of gray color tape with printed text on top. As before, I'm going to add some of that same tape to each page. I'm now adding some brown washi tape to the top and bottom of each side. I love adding dried flowers to my journal pages. I thought it would look really pretty to add that just below the yellow daisy. And to keep it secure, I'm going to use, um PV a clear craft glue. I'm using a metal spatula to firm it down on all. Also, add a strip off washi tape just across the stem. And as a thing I like to add to my pages is old postage stamps. So I've had a look through the ones I've got, and I've picked two. There are of a nature scene, and again I'm going to add one Teoh each side of my journal pages. I hope this has given you lots of different ideas for how you can add different creative elements to your journal pages. And don't forget all of the completed pages with the journal writing are included down below
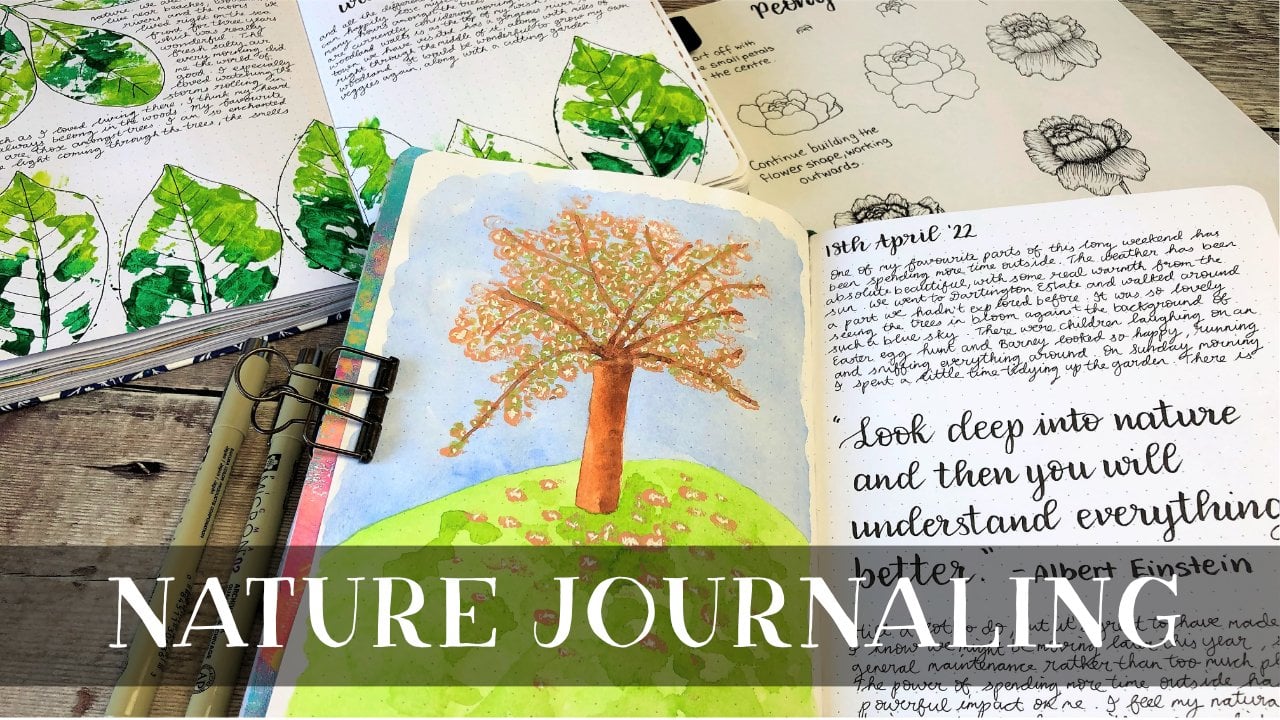
8. Topics to Write About: I often get asked about the sorts of things I write about in my journal. So on the next slide, I'm going to show you some of my favorite topics each evening. I like Teoh right down a quick recap of my day, and this tends to be quite factual. Just what I've been up to, who I've seen anything that I'm working on. I also like to write about my thoughts and feelings. I find it's really beneficial to get things out of my head and onto paper, particularly if they're things that I'm struggling with a gratitude journalist, something I add to every evening. I spend a few minutes just writing down some of the things I'm really grateful to have in my life. I find this is a really good mood booster. I like to keep a sketchbook journal from time to time. So just a quick sketch that summarizes my day or something I've seen that really captured my imagination. I also use my journals to plan out my dream life. So I've created vision boards in my journals and written down a few notes about where I'd like to be in life in a one or five years time. I also like to record quotes in lyrics that really means something to me. I always take my journal if I go on holiday, so I use it as a travel journal or even just for a fun day out. I like to record special events like birthdays, anniversaries, weddings. I enjoy going online and looking for different journal prompts, looking at their questions and recording my answers in my journals to see what kinds of things that throws up. And finally, I also like to document my hobbies so that could be creative projects that I'm working on, or even things like books I'm reading or films I'm watching. They all go into my journals, so I hope that helps to give you lots of ideas for things that you can write about in your own journals.
9. Class Project: Now that we've finished all of the lessons, it's time to talk about your class project. I've kept it really simple. I'd like you just to complete one journal spread, which is two pages and could look something like this. You can use any of the tips and techniques you've learned your in these lessons on. Of course, Please do add your own personal style. That's one of my favorite things about journaling is that even if you use the same things you've learned today, every single person's journal pages will be completely different. It's your place to express yourself and really learn more about your own creative and journaling style. So please do link your project down below. I can't wait to see them, and I would definitely be providing feedback and make sure you look at everybody else's journal pages as well. I think you'll be surprised at how many different styles there are, so please get creating, and I can't wait to check them out
10. Final Thoughts: Thank you ever so much for joining me on my first ever skill share workshop. I really hope that if nothing else, it's inspired you to pick up your journals in your empty notebooks, look through your craft supplies and get creating on documenting your life. Don't forget to load up your class project. I can't wait to see what you've created. Andi, thank you ever so much for watching.
 Helen Colebrook, An avid journal keeper/creative