Transcripts
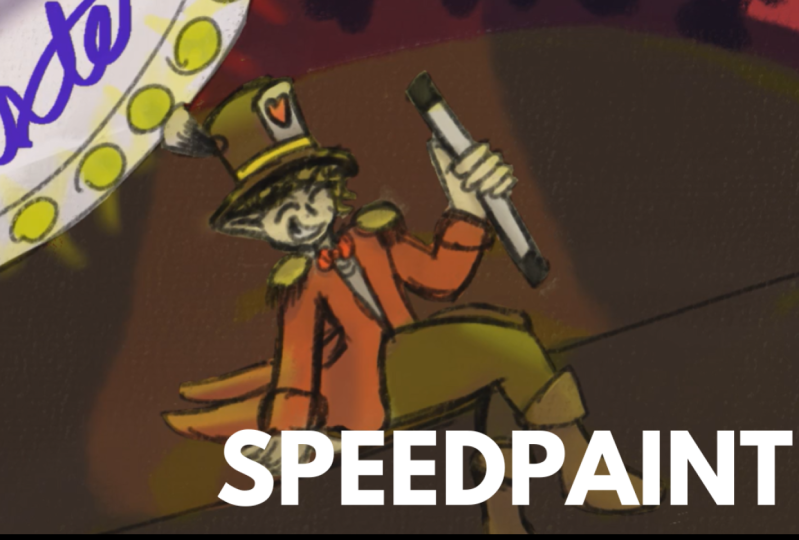
1. Introduction: man. I wish there was an easy way to get a bigger art following online. Do people ever look over your shoulder when you're drawing yet? Has anyone ever looked through your sketchbook without your permission? Yeah. Has anyone ever said Will you draw me? Or I can't even draw a stick Figure every time. Then congratulations. You have what it takes to be an art youtuber, where people can watch you draw without creeping you out. But people have set short attention spans. Who's going to sit down and watch me draw for five hours? Body, Which is why you're going to speed it up like this. Combine a speed paint with a charismatic commentary and you have a great, easy video. This is no dream. All you need to do is follow three easy steps. Record yourself drawing and speed it up. Wait. What's the most of the equipment you need is free or can be done with the things you already have? What happened to the enemy? She could question you're going to draw anyway, so this won't take long at all. Okay? I have something to go. Take care of. Out. Come back after I've improved is an artist? No. The sooner the better. Anyone can speed pay. Okay, fine. I'll do it. Good First you'll do step number four taking this class. But what? Step that we only have time for one more question until after the lecture. Why are you a bird? You're asking that now?
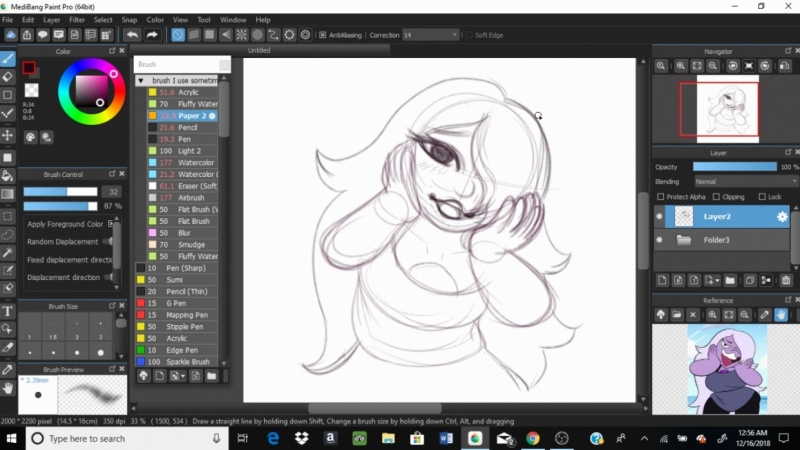
2. Equipment: Hey guys, it's Piper, and this is what my voice actually sounds like. For the most part, you probably already have everything you need to make a speed paint. You have your art skill, all your art supplies. And, as I stressed in the intro, all the skills you need. But there may be some equipment you need before you can produce your first video. If you're a digital artist, you can record your screen with O. B s. It's free, and it works on Windows Mac and Linux. If you are traditional artists, you're going to need a camera and a tripod, or maybe a really, really tall stack of books. If you prop up your campus, you don't need a fancy camera, but you do need good lighting. Otherwise the quality will be low and your art will not look good. It's probably cheaper to make a light studio than buy an expensive camera honestly, and the results will be better. Just make sure that your camera is good enough to record at a high resolution. You're also going to need a video editor. This may surprise you, but Windows movie maker has everything you need to make a speed paint. This or a similar program may already be installed on your computer, but if you don't have a video editor already, don't panic. Here's a list of features to look for. Speed up your video at an audio track and insert a picture like a PNG. Don't insert a J. Peg. Please be sure to avoid software that puts a watermark on your video. Even if it's free, it's now worth it. You may get views, but no one will actually sit down and watch that video trust May. You'll also need a microphone so you can do a voice over. Your mike doesn't have to be expensive, but it has to be a decent quality or else your audiences ears will bleed. I use a blue snowball that I bought for $50 it sounds better than a lot of the more expensive Mike's. If you can't afford a mike, there are APS that allow you to record audio from your smartphone. Your video editor will probably have a function for you to record an edit audio to some degree, but I strongly recommend downloading audacity for this. It's free, and it's available on Mac Windows and Linux. From there, you'll get more options than you will in Windows Movie Maker or whatever you end up using, though I admit you won't need very many of them. To avoid that awful noisier Mike makes, you'll need a pop filter. You can buy one for about $10 or you can make your own with nylon stockings and a wire coat hanger. Or you can go ghetto and stretch a sock over your mike like I did. Be sure to hold your mike at an angle if you do this or else it will not be enough to help . You could also go sans pop filter, as I did before. I knew what one was a k up until the day I started recording this, but I do not recommend it. If you genuinely cannot afford a micro smartphone, you can put music in the background like everyone in their grandma. I'll tell you how to do that, too, but I strongly advise against it for reasons I will get into later, you can find links to the programs I've mentioned, as well as alternative options in the course materials
3. Step 1: Record yourself drawing: Step one. Record yourself. Drawing. Everyone already knows how to use a camera. Make sure the lighting is good. Set up your camera hit record, but O. B s the recording software he mentioned in the equipment section. Maybe a little harder. Traditional artists please stay tuned through this explanation because there's more coming up. There are a lot of options, but luckily you only need to use a couple. Sometimes there's a glitch where Obi S will record a black screen. This is easily fixed by running the program as an administrator. You can do this in Windows by right clicking the desktop icon and selecting run as administrator. Once you're in, the first thing you're going to want to do is go to settings and then output. From here, you can choose where your recordings air saved, make it somewhere easily accessible or suffer the consequences. Hit the plus button under scenes and name it after the program. You'll be recording so you can find it easily. From here, you have two options. One is display capture and the other is window capture with display capture. O. B s will record everything on your computer, even if you switch windows. So every time you want to find a reference picture online or open iTunes to skip the next song, your viewer will see that. And trust me when I say none of that is even remotely interesting. The other option is window capture. I usually go with window capture. So that way, my secret identity is never discovered by the citizens. This will only capture one window, no matter what would know you're currently on but at a grave cost. Anything that opens a new window within the program will not be recorded. This is especially bad on programs like paint Net worth a gimp, which have a different window for every other option. So this cuts a part of your process out the viewer would be interested in, and instead they'll be confused as your cursor jumps around his own of nothingness. But the drawing is still changing. There is a work around, but you'd have to manually add every single possible window and O. B s. And if that window has ever closed Ah, once you have your recording set up, it's time to draw. Do this is normal, but when you're drawing here are a few things to keep in mind. Fan or it will usually get more views, shares and interactions than original art Niche. Fanar is better for beginners who don't have a following yet You can monetize your fanar videos as long as you swear up and down that you're drawing a Princess Ariel lusting after her own human reflection is educational. It's best to draw things that will appeal to your target audience. Fan I or not. And now, for the most important tip of them all. Listen, everyone be aware that everything you do is being recorded. Do not zoom in and out and scroll around the canvas constantly or rotate your page in a different direction. Every other minute may not seem like a big deal now, but when you speed the clip up, it will be blindingly hard to look at. And I'll just be blunt here. Maybe it could even kill someone with epilepsy if they're really sensitive. I don't know. It doesn't matter how many subscribers you have if they're all dead, because then they can't you know. Uh, all that said, your first assignment is to record yourself drawing do a quick piece of art that takes you no longer than 10 minutes. Make it Q Or at least something you can halfway tolerate looking at because it is part of your class project. So save your work. He will be using both the footage and the picture again in Step three. Check the course materials. If you are totally stumped and don't know what to draw next, all offer some ideas.
4. Step 2: Record yourself talking: step to record your commentary. You may want to jump to speeding it up, but you should really record your audio first. Otherwise, you won't know how high to set the clip speed. Most people just time it to a playlist of songs, but I strongly recommend you not do this. Songs air, heavily guarded by copyright and YouTube, has a search and destroy system that automatically finds copyrighted music. In your video, you risk the audio being muted, that producer putting ads on your video and getting 100% of the revenue or your video being taken down altogether. Even if you legally acquire the music, you run other risks, like YouTube, automatically taking it down anyway. And you have to appeal the action people not watching your video because they can't stand your taste in music, etcetera. But if you insist on using music instead of a commentary for whatever reason, here's the best way to do it. Ask small musicians who do vocally music stuff like that for their permission, and be sure to credit them. But you'll have to wait for their permission and who knows how long that will take and you might not even get a yes, so it probably be best. Ask a crack ton of musicians ahead of time and make a folder of songs you can use. But as long as you have a decent microphone that doesn't cause ear bleed, there are no downsides to a commentary. It's social science. When people hear your voice and learn more about you, they're more likely to get attached to you and want to subscribe to your channel. Even if your are is complete garbage, people will stick around. If you have charisma, you'll find yourself getting a lot more comments. View share subscriptions, everything good. I still don't think you have what it takes to record a commentary. Let me put it this way. Have you ever had a single friendly conversation in your entire life? Yes, Good. All you have to dio is talk into the mike like you are confiding in your closest friend. Everyone who crosses your channel is a friend. Not everyone will like you. That's just how life is. But the more personable you are, the more people you will draw in. Sometimes it's hard to figure out what to talk about, So here are a few pointers. It doesn't matter if your commentary is relevant to your art, it can be as tame or its controversial issue want. If you're artists fan art, you can talk about whatever and people will come in. Go ahead and talk about the drawing itself. But for original art, you should be talking about virtually anything else. Would you rather listen to me? Talk about Stevie Hide a character from a comic I haven't even put up yet. Or would you rather listen to me rant about five ahead on an animate form when I was 12 over whether or not dark skin people could pull off got fashion? Hint. They totally can. Hello. It suits them perfectly as a general rule. If it would make a good vlog, it would make a good commentary. The only tricky part is keeping your commentary at the right length. If it took you two hours to draw something, you can talk for, like five minutes, maybe less. But the faster you speed something up, the more seizure inducing it can be. So if you're full recording is 10 hours long and your commentary is five minutes, you'll be speeding up the Video Times 120 to match up your commentary, which will lead to a lot of flashing images. And anyone who sees your video will either die or be cursed with blindness. You're much better off talking for about 20 minutes and cutting out the sketching and cleanup phases. Anything boring if it genuinely takes you that long to draw? Not that taking a while is a bad thing. I mean, some are is really intricate. To figure out how long you should talk, take your video, lengthen minutes and divide that by the clip speed you want to set your video. My art usually takes about four hours. So say I want to multiply the clip speed by 2200 and 40 Divided by 20 is 12. So 12 minutes I should write a script that is about 1600 words long. Also, remember that YouTubers have short attention spans. Try to keep your video under 15 20 minutes, if possible, but speeding up your video too much will cause I burn. How much faster is too fast? Depends on how fast you draw and how long it took you. Once you've decided what to talk about jot down some talking points so you don't sit it. Mike and Dio Ah, do who? Um Ah, thinking of what word? Vomit to cough up next. After that, you can either just start recording or write a script. If you can't so natural when reading off the sheet of paper scripts may not be for you, so you might want to go with talking points. It doesn't matter how you're recording your commentary, though. If you're using audacity like I suggested, it's Azizi is hooking up your mike before launching the program. Otherwise it won't recognize it and then select your mike from the drop down menu and then hit record. Once you're done, export your file is an MP three or a wave or some other kind of audio file whatever your video editor will recognize. If you're not using audacity, your video editor may have an option to record audio as well before you move on to Step three. Brainstorm something short to talk about, depending on how long the recording is. But don't script it yet. In general, I find that I can speed up a drawing time 16 before it causes. I burn and about 20 times for pixel art, you may have to see your video time lapse set two different speeds before you know how far you can push the limit.
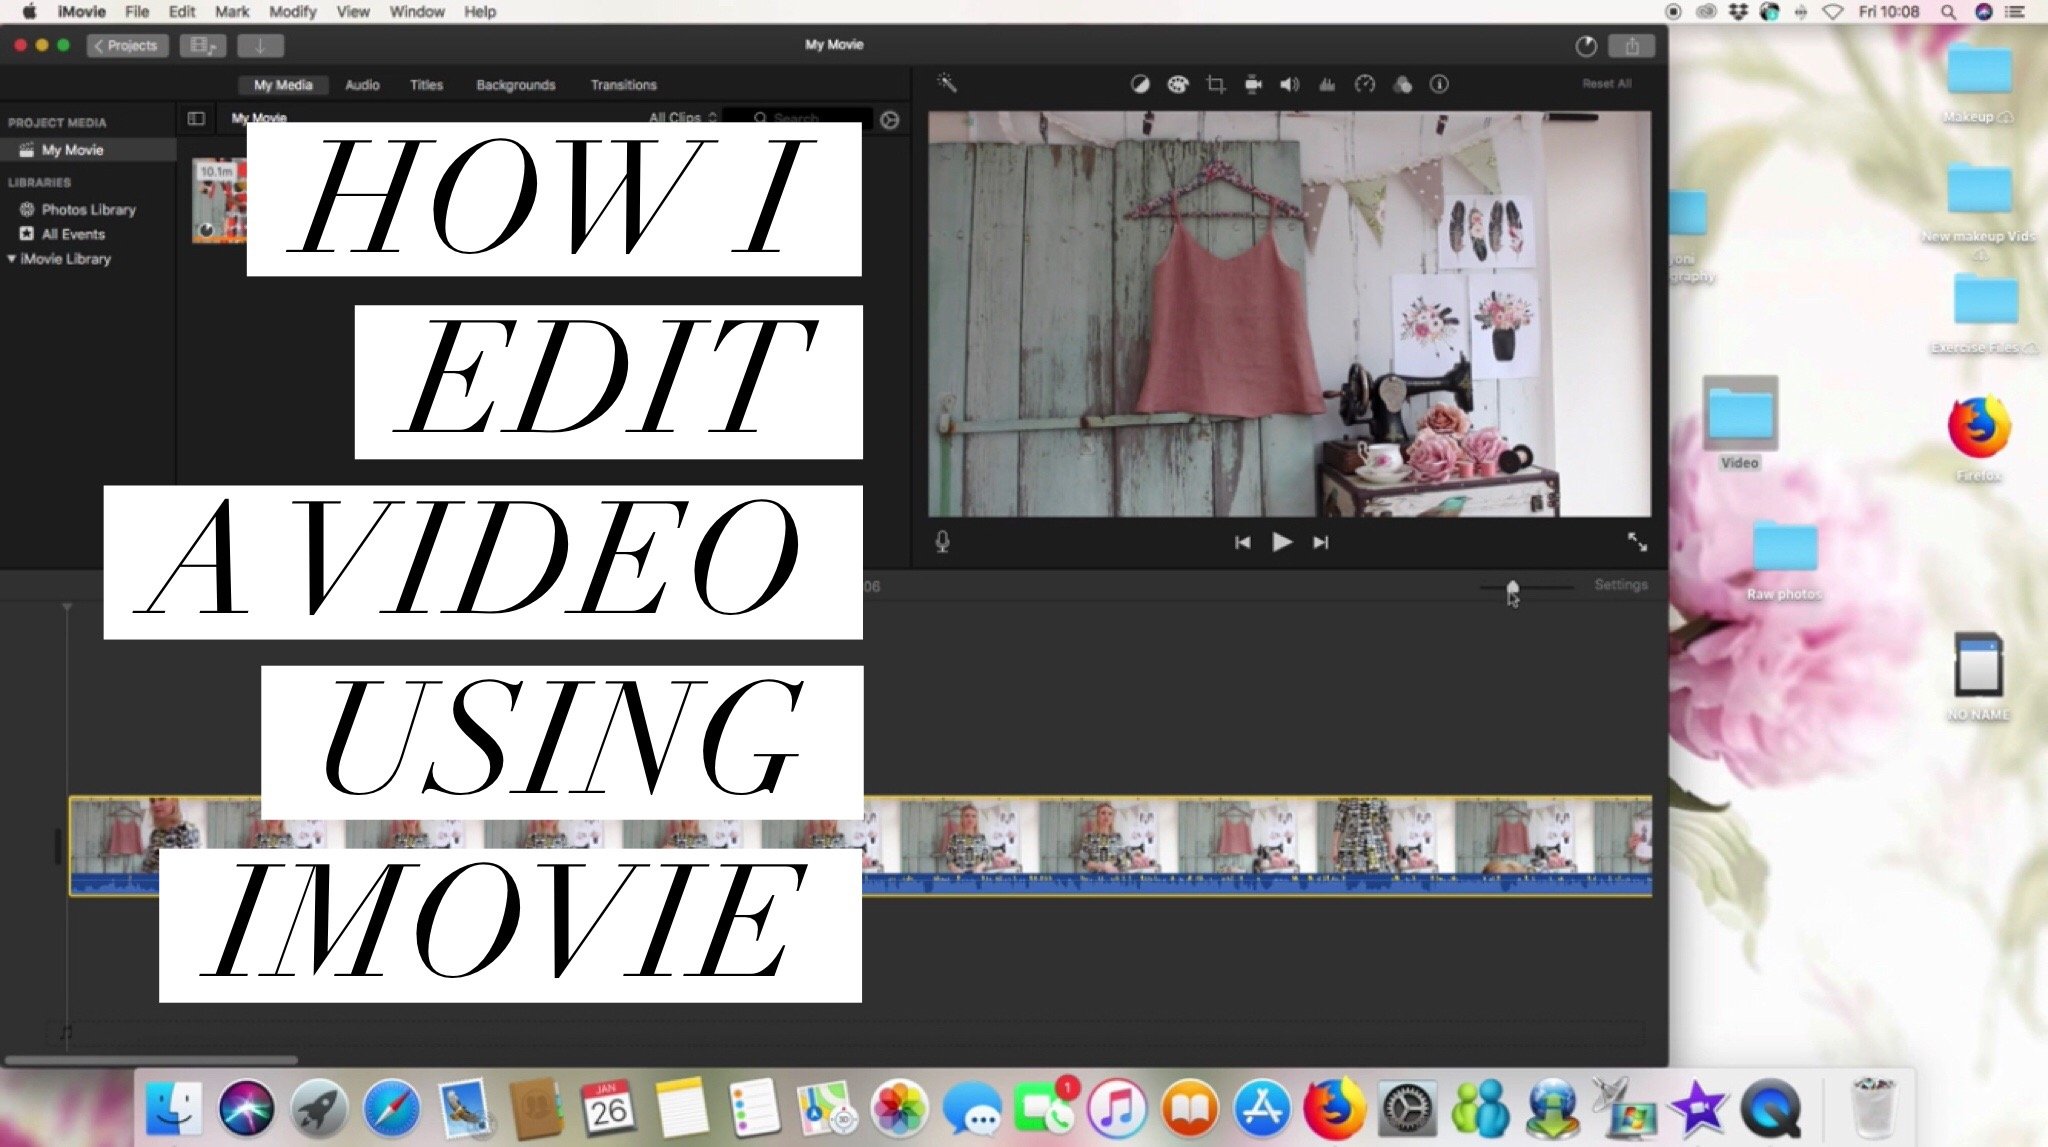
5. Step 3: Speed it up!: Step three speeded up editing basics. Every video editor is different. Windows Movie Maker is pretty instinctive. There's a preview attract to put your files on and a button tad audio. But most video editors in general looks something like this. On one side, there's a preview for your video. On the other is an empty void where you import the files you want to use in your video. This will probably be one or more video files, an audio file for the commentary and an image file for the completed product. At the bottom is a track zone where you drag and drop your files in the order. You want them displayed first drug the audio down, then put all the videos down after that changed the clip speed so that it will be even with the length of your commentary at the end. Put the image file and set it to last about 24 to 26 seconds. A YouTube end screen is 20 seconds long, max, and from there you'll have links to subscribe and see your other videos. The extra padding is there to give your viewers a few seconds to look at your finished product before all that crap pops up on the screen. After all that is done, render your video as a file format that YouTube except the most common R M O V MP four MPEG for a V I and W M V. Then all there is to do is wait and wait and wait. Your video may be under 20 minutes long, but your video editor is actually processing a video that is multiple hours long. Usually, if your computer is garbage like mine and can't even handle rendering and Internet ing at the same time, expect to be waiting several hours without computer access. Sorry. Luckily, your first project was a doodle, so take a breather because you just made your first speed paint. Upload your video to YouTube so you can post it in your class project. And if you don't want people who are in the class to see that video said it as unlisted. But be sure to share it with me and your classmates. Whether it takes you 10 minutes or 10 hours, your video is done. At this point, if you're already familiar with YouTube, the next few lessons will be a refresher course. But first, here's an example for your class project
6. Example speedpaint project: I had a nightmare that I was stuck in a survival horror game that took place inside a high school in Tokyo, Japan. I started out in the hallway dirty footprints leading to the girl's restroom. I was not sure who or what the enemy Waas Just that blood was everywhere, completely unarmed. I entered the restroom, appeared under the stalls where I saw the dead bodies of my classmates. All of the stalls were locked except one which was cracked open. I investigated. Sitting on the toilet paper dispenser was a note that read I'm thirsty. Can I drink out of the toilet below that scrawled in red? Go ahead. I'm not your mother.
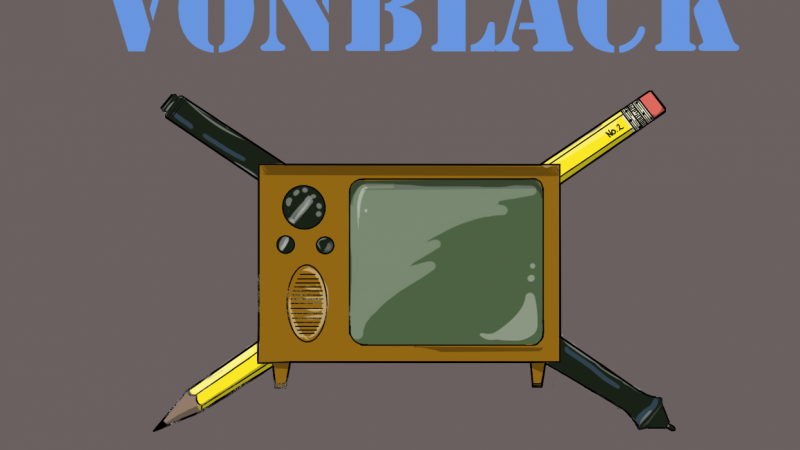
7. Make a good thumbnail: all right, Time for the easiest part. Making your thumbnail. Go ahead and upload your video to YouTube now because it might take a while now. Your one and only goal for your thumbnail is to get people to click on it. The thing you're showing off is usually going to be the art. Words are unnecessary unless there's something else you can say that will grab people's attention. As matter of fact, they get in the way. This video's commentary is a rant. So let's put this in big capital letters to attract all the angry people who will angrily share it with other people who will also be angry. Let's make it stand out, but not clash NYSE Other times you may need to get creative if your art doesn't look good with a rectangular thumbnail, seeing is how well you don't really have any other options. This is the thumbnail of my current most popular video. As you can see, I airbrushed my pixel art to make it stand out more, which breaks basically every rule of pixel art. But I don't care if you're are is too small to fit 12 80 by 7 20 which is the dimensions I'm using here. Just stretch it out, thumbnails or small. No one will notice unless they're browsing YouTube on a TV, but who really does that?
8. Your Outro and the Class' Outro: and screens and closing notes. Uploading your video to YouTube. It's pretty instinctive, but the end screens are a little harder to get to so beginner. YouTubers may not be able to find them at first if they know about them at all. In the last 20 seconds of your video, there are customizable links that you can insert that will appear. That's why I suggested setting your image to last more than 20 seconds. Your viewer has a few seconds to admire the drawing before you pressure them to watch more of your videos and get sucked into a whirlpool of your influence in order to navigate here , your video has to have already been uploaded. Then you can click, return to editing from the upload complete screen, or just hit the edit button under your video. From there, you'll see the option under annotations and in screens. If you're worried about people seeing your video before it's ready, you can get around this in one of two ways. You can upload it as private, then at the end screens and then set the video to public manually. Or you can schedule it automatically to be released on a specific date in time. In the course materials, you'll find a playlist of full length speed pay examples. Don't just watch the videos. Carefully analyze them and the descriptions. These videos were selected carefully to show the different techniques that other you tubers use. Think about the commentary in the editing. What works for you? What turned you off? Try to identify the YouTubers John Run Target audience. Is there anything you'd change about the video? What could make it better? What could make it worse? What do you like or dislike? You don't have to watch all of them Justus. Many as it takes to get the point across. Then you can apply all you've learned to make your first fooling speed paint and upload it publicly to you to be sure to share your channel. With the class getting started, it's hard. So get the word out that you've launched your channel and be sure to have a great day. CIA
 Piper Sweeney, caw cawww!!